Holiday Crochet: Amigurumi Leprechaun for St. Patrick's Day
After I completed my previous crochet project I wasn't sure what I wanted to do next. There are some more Star Wars ones I want to try, but I need to get some more yarn in different colors for those. But this round of the Ultimate Crochet Contest has a St. Patrick's Day theme, and since I've also wanted to do more experimenting with my own design ideas I got the idea of attempting to design my own pattern to make a leprechaun.
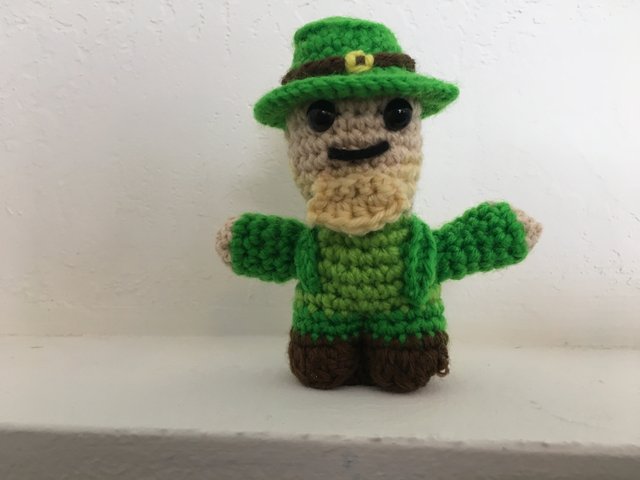
I had a basic idea of what I wanted to do for the design, but I also did a Google image search for leprechauns to see what the common design elements were. Obviously they dress in green, they wear hats with brims, and the hats often have a belt with a buckle on them. Their clothes tend to be somewhat fancy, including a coat with lapels. And they usually have beards, often with the beard-but-no-mustache look. I had two different colors of green yarn so I figured I'd be covered there, and I could use brown for the accents like the hat band and shoes. Most of the images give them the classic carrot-colored red hair, but the only orange yarn I have looks a little more like a safety vest than human hair. Some of the images gave the leprechauns blond hair, so I decided that I could use some light yellow yarn for the hair and beard.
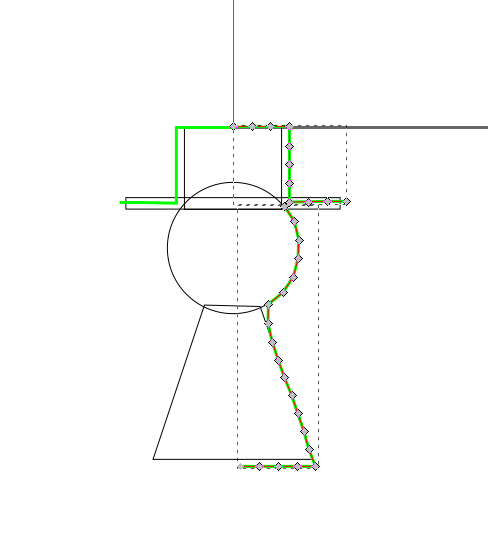
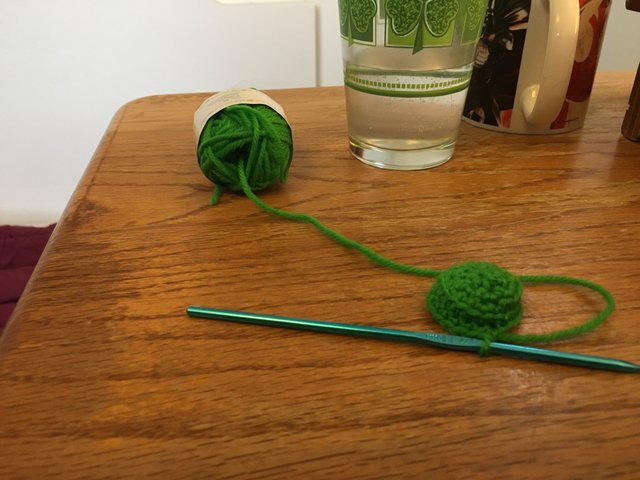
In order to plan out the pattern I needed to measure how much space the various stitches took up so I could plan out the geometry. I crocheted some simple objects so I could measure them and take an average. As near as I could tell with my initial measurements, a single-crochet stitch with the yarn and hook I was using turned out to be about 0.5 cm tall, and 0.4 cm wide. Then I drew out a sketch of the overall form and traced along the edge in 0.5 cm increments, since that would be the distance that each round would cover. Then, doing some math, I figured out the circumference of each round and then translated that into a number of stitches. And then for the pattern I picked a number of stitches for each round that was close to the number I calculated but also took into account that smooth transitions were valuable.
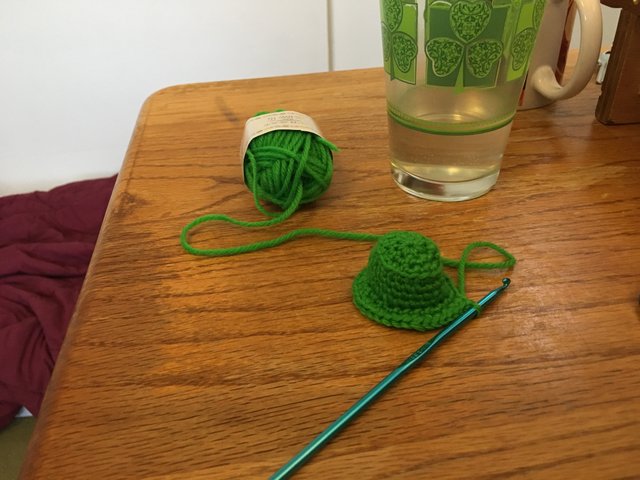
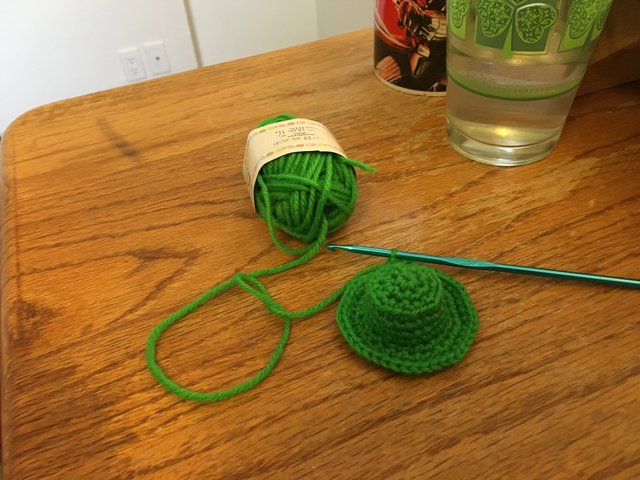
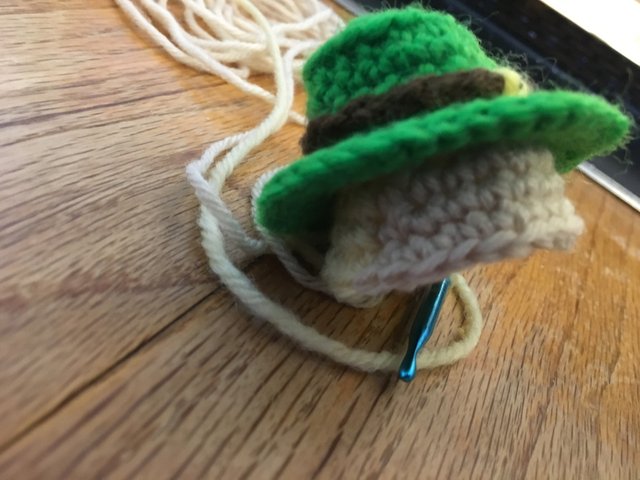
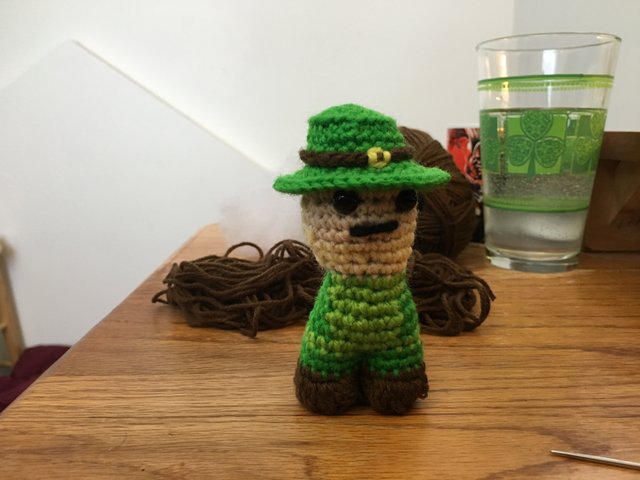
Starting at the top with the hat was the biggest challenge for getting the geometry right, since there are supposed to be some flat sections but they end up curved if the numbers aren't right. My first attempt at the hat didn't work as well as I wanted it to, and I realized my measurement for the width of a stitch was probably a little bit off. I recalculated with a width of 0.42 cm, and used some front-look-only/back-loop-only stitches on the corners of the cylindrical section to give it crisper transitions and my second one came out much better.
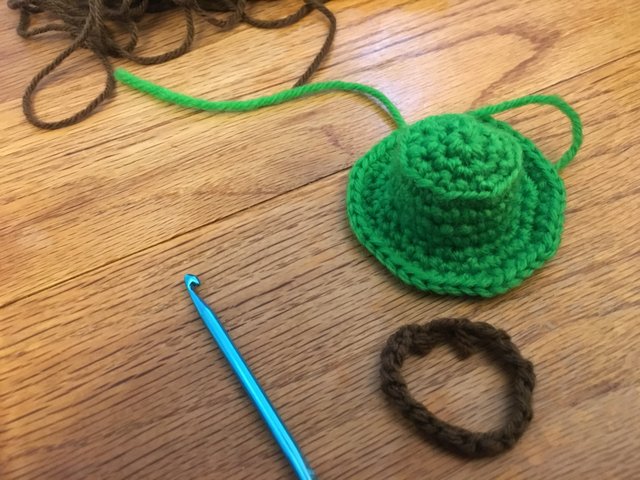
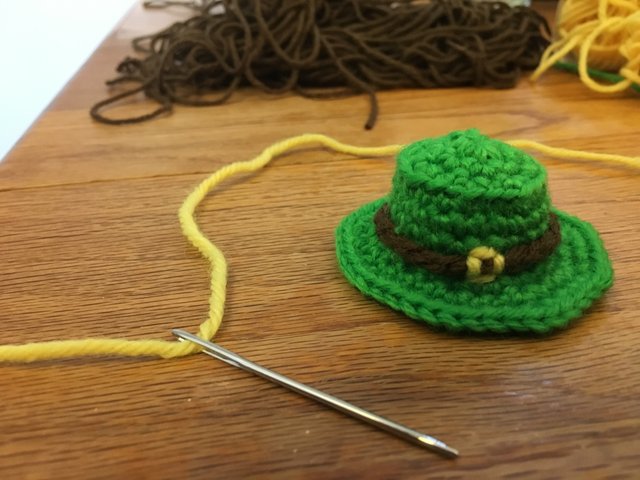
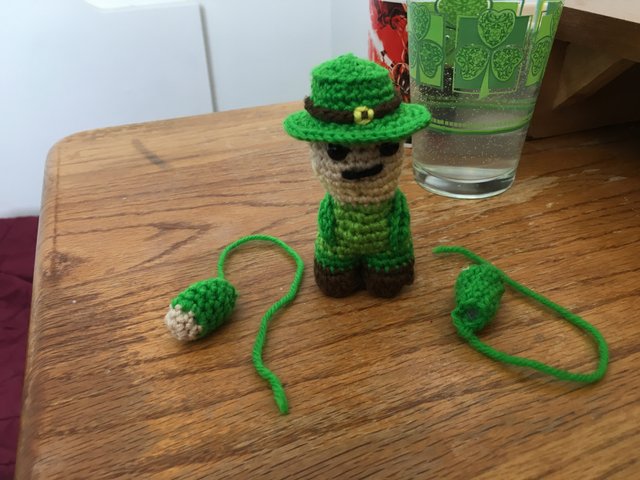
For the belt/band I chained some brown yarn and formed it into a loop and then used some bright yellow thread to sew it onto the hat with a buckle-shaped pattern.
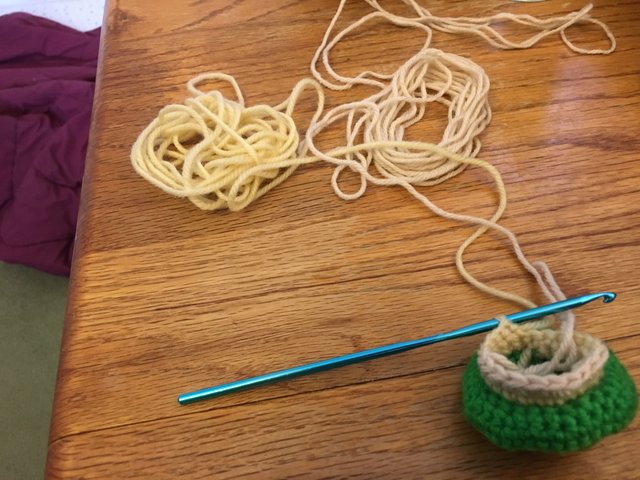
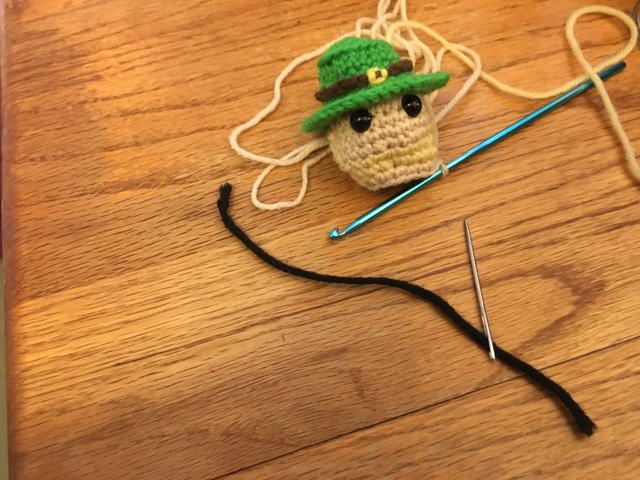
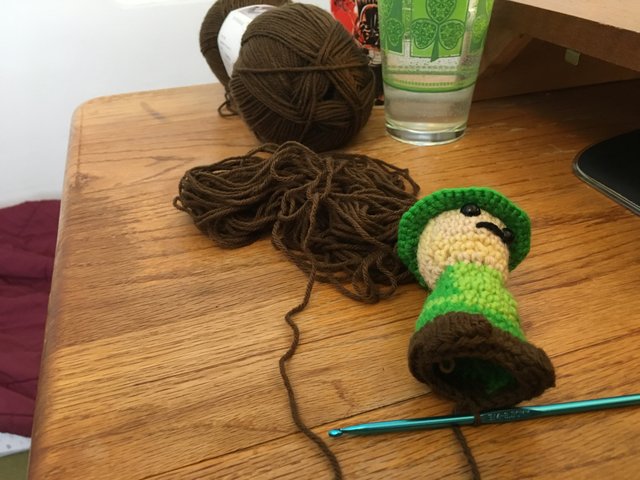
Then I started crocheting head, with alternating colors of light yellow for the hair sections and a sand color for the skin areas. Connecting on the loops that were still exposed from the hat/brim transition was trickier than expected, but I think I figured it out eventually. I'm not sure the blond hair gives the greatest contrast with the skin, but that was a risk with this plan from the beginning.
My plan with the beard was to use color transitions on the head to cover the sideburns and chin area, and then extend a full beard from the chin later. In an ideal world I would have figured out a way to plan out the transitions ahead of time, but I decided to just wing it and I think it worked out OK.
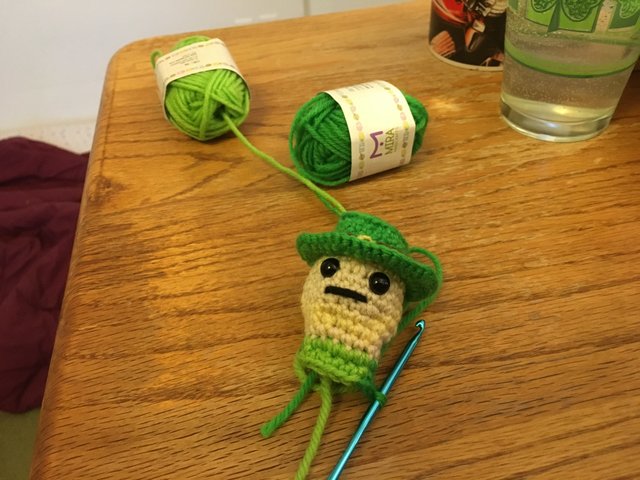
To achieve the coat my plan was to create most of the body in dark green, but use a lighter color in the chest area where the coat wouldn't be covering, and then add on lapels and a collar later. I decided to use a light green for the shirt/vest under the coat. Again I sort of guessed where I should do the color transitions and it worked out OK. I also figured I should have the shirt color for a round below the bottom of the coat so it would read more like a coat than a jumpsuit, since I also planned to make the pants dark green.
I went with brown shoes, and I used the simplified leg approach that I've been using with the Star Wars patterns rather than what I was attempting with my previous experimental project.
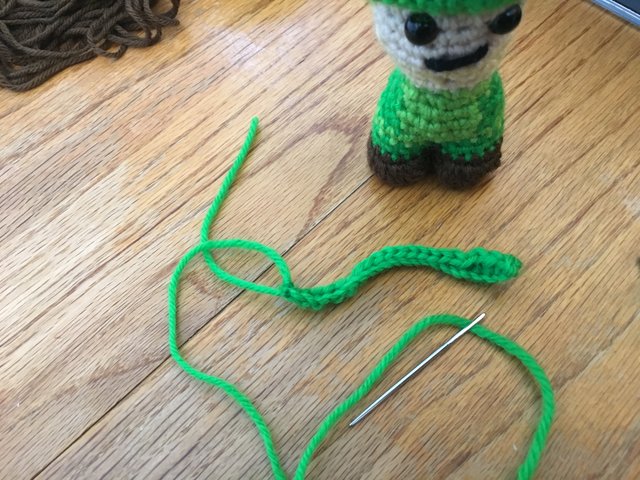
For the lapels my idea was to start a chain and then use a series of stitches of increasing height to get the triangular look: a slip stitch, a single crochet, a half-double crochet, then a double crochet, then back down to a slip stitch for the notch between the lapel and the color, a single crochet, and then slip stitches for the color that goes around the back of the coat, and then the lapel pattern in reverse. I think one side came out OK, the other one came out a little blob-like. (In the picture before it's attached it looks like a snake, where's St. Patrick when you need him?!).
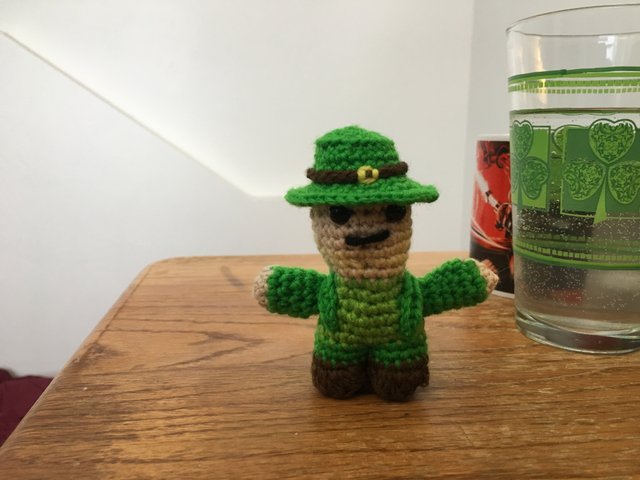
I tried to give him somewhat stubby arms and legs so he would read as “small”, since leprechauns are supposed to be tiny.
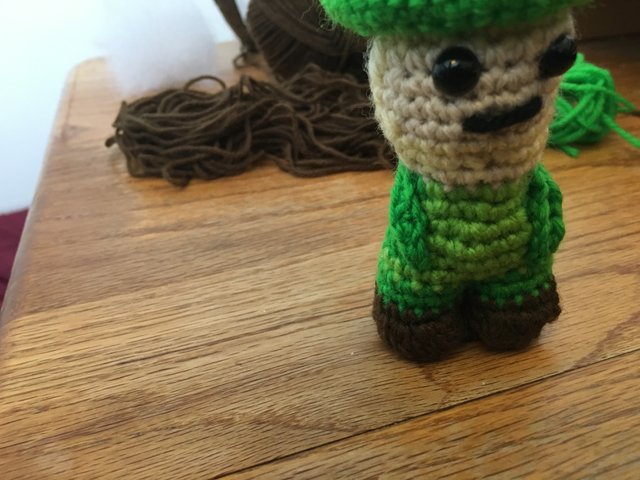
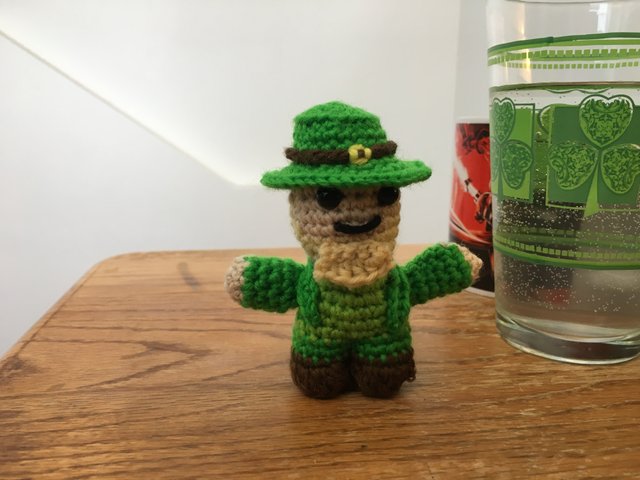
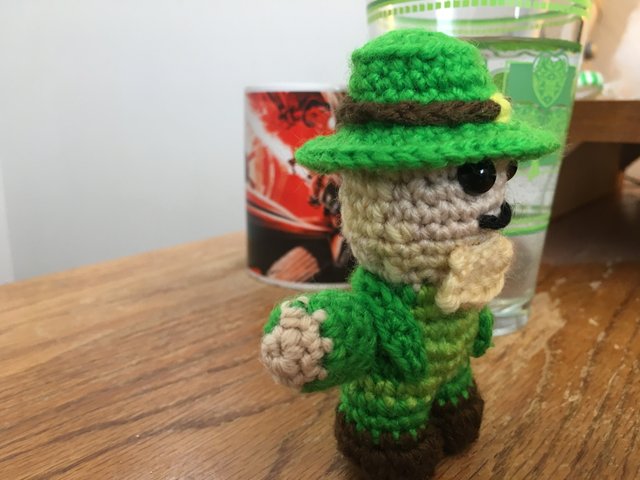
And finally I crocheted a beard to affix to his face. Again I tried using some half-double and double crochets to make it a bit longer in the middle, but I'm not sure how much it showed up in the end result.
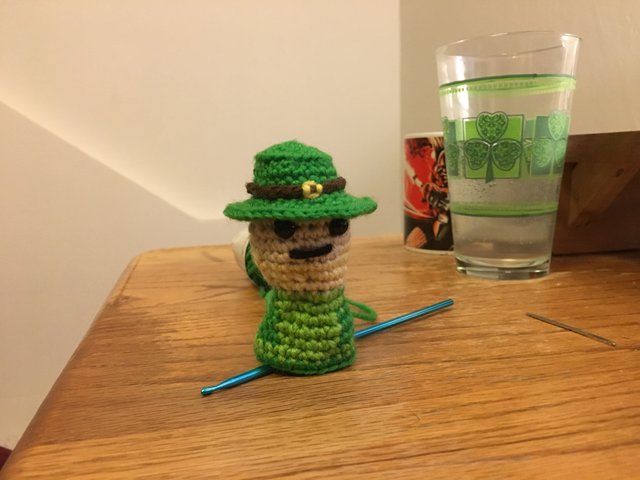
Given that I'm still a beginner at designing these things I think it turned out pretty well. If I was going to do it again knowing what I know now I'd put a few more rounds of height in the hat so it looks more like a tophat and less like a park ranger hat. I'd make the shirt area a bit narrower so that the lapels are more prominently in front than on the sides, which I think might help it read more like he's wearing a coat. The beard could use some work, too, but I'm not sure exactly how I'd improve it. And if I had a better orange for the hair I would definitely use that, just so that it's easier to see. In an ideal world I would have used some sort of 3D visualization program to figure out the “pixel art” of where I wanted to do the color transitions, I might try to explore something like that in the future.
I included the pattern below.
Pattern
Use a 3.5mm crochet hook and DK weight yarn.
The pattern below uses American terminology and the following abbreviations:
| stitch | abbreviation |
|---|---|
| abbreviation | meaning |
| ch | chain |
| sl st | slip stitch |
| sc | single crochet |
| hdc | half-double crochet |
| dc | double crochet |
| sc2tog | single crochet two together |
| 3dcbob | three double-crochet bobble stitch |
| BLO | back-loop only |
| FLO | front-loop only |
Hat
Start with dark green yarn
Rnd 1: ch 2, work 7 sc into the first ch (crocheting over the tail), pull tail to close loop. – 7 st.
Rnd 2: 2 sc in each st – 14 st.
Rnd 3: [2 sc in next st, sc in next st] 7 times – 21 st.
Rnd 4: in BLO, sc in each st – 21 st.
Rnd 5: sc in each st – 21 st.
Rnd 6: sc in each st – 21 st.
Rnd 7: sc in each st – 21 st.
Rnd 8: in FLO, [2 sc in next st, sc in next 3 st, 2 sc in next st, sc in next 2 st] 3 times – 27 st.
Rnd 9: [2 sc in next st, sc in next 3 st.] 9 times – 36 st.
Rnd 10: [2 sc in next st, sc in next 4 st] 9 times – 45 st. Finish off.
Hat band
Use dark brown yarn.
Chain 24, slip stitch back to first chain to make a loop. Place over hat and use yellow thread to sew four lines making a square buckle that also connects the belt to the hat.
Head and body
Star with hair-colored yarn. You'll be crocheting onto the “inside” loops left over from round 8 of the hat.
Rnd 1: sc in each st – 21 st.
Rnd 2: sc in each st (switch to skin-colored yarn when crossing from back to front of head, switch back to hair-colored on the other side) – 21 st.
Rnd 3: [2 sc in next st, sc in next 3 st, 2 sc in next st, sc in next 2 st] 3 times – 27 st.
Rnd 4: sc in each st around – 27 st.
Rnd 5: [sc2tog, sc in next 3, sc2tog, sc in next 2] 3 times – 21 st. (use skin color in the back, only use one or two stitches of hair-color for sideburns)
Rnd 6: sc in each st around – 21 st. (use hair-color in front in beard area)
Rnd 7: [sc2tog, sc in next 2, sc2tog, sc in next st] 3 times – 15 st.
Rnd 8: sc in each st around – 15 st. (Use skin color all the way around)
Switch to dark green yarn.
Rnd 9: sc in each st around – 15 st. (Switch to light green yarn for shirt area, then back to dark green)
Rnd 10: sc in each st around – 15 st.
Rnd 11: [2 sc in next st, sc in next 2 st, 2 sc in next st, sc in next st] 3 times – 21 st.
Rnd 12: sc in each st around – 21 st.
Stuff the head.
Rnd 13: [2 sc in next st, sc in next 6 st] 3 times – 24 st.
Switch to light green yarn
Rnd 14: sc in each st around – 24 st.
Switch to dark green yarn
Rnd 15: sc in each st around – 24 st.
Rnd 16: [2 sc in next st, sc in next 3 st] 6 times – 30 st.
Switch to dark brown yarn
Rnd 17: sc in each st around – 30 st.
Find front center, then count back 10 stitches, mark it (this is where a foot will start).
Rnd 18: sc until marked stitch, 3dcbob in next 4 st. sc in next 6 st., 3dcbob in next 4st, sc to complete the round. – 30 st.
Rnd 19: [sc2tog, sc in next 3 st] 6 times – 24 st.
Stuff the body, leaving the “legs” area lightly stuffed.
Rnd 20: [sc2tog, sc in next 2 st] 6 times – 18 st.
Rnd 21: [sc2tog, sc in next st] 6 times – 12 st.
Rnd 22: sc2tog in next 6 st – 6 st.
Finish off and leave a long piece of yarn. Use it to sew up the hole in the bottom, then use the yarn to sew from the front to the back, creating “valleys” that separate the legs from each other.
Lapels and collar
Chain 23.
Row 1: sl st, sc, hdc, dc, sl st, sc, sl st in next 10, sc, sl st, dc, hdc, sc, sl st. Finish off with a long length of yarn and use it to sew to figure along edges between shirt and coat.
Arms (make 2)
Star with skin color
Rnd 1: ch 2, work 6 sc into the first ch (crocheting over the tail), pull tail to close loop. – 6 st.
Rnd 2: sc in each st – 6 st.
Switch to dark green
Rnd 3: [2sc in next st, sc in next st.] 3 times – 9 st.
Rnd 4-8: sc in each st around – 9 st.
Rnd 9: [sc2tog in next st, sc in next st] 3 times – 6 st.
Slip stitch and finish off leaving a length of yarn, use that to sew arm to body.
Beard
Chain 6.
Row 1: sc in next 5, ch 1, turn
Row 2: sc, hdc, dc, hdc, sc
Finish off, sew to face with flat part below mouth and curved part hanging down.
I had to comment though. This is fantastic! As a fellow Crochet Dude, I salute your skill! Thank you so much for the pattern.
great job so adorable haha!
Wow, beautiful 👍
Posted using Partiko Android
Excelente, buen trabajo saludos.
Wow, you did a great job. Thanks for the detailed pattern and pictures.
Wow! Just wow! I am amazed at how you get such little details on there like the yellow buckle on the hat. You didn't skip anything at all. I would have just sewn in a yellow square lol. Hats off to you! Or more like hats on with this amigurumi :p
My favorite part is his beard :3 That thing is adorable! Thank you for entering the contest! I love what you do ^_^
What a fun project for Paddy's Day!
It would make a cool gift or Patrick's party favor :DDD
Such a wonderful Leprechaun 🍀 I am amazed how organised you tackled this new pattern. If I trysomething new it’s mostly try and error for me :-DDD I love all the details you have crocheted, the little beard, the jacket, and the belt on his head.
Will you put this pattern on Ravelry? I think it would find many fans.
I don't know. I haven't really explored Ravelry yet.
I am not sure if I should recommend revelry... it’s down the rabbit hole :-DD So many wonderful projects there, that I can browse through them and forget the time.