Markdown Formatting, a Minnows Tale!
Styling Like a Minnow
To begin a journey into the New World, one simply makes articles with images that go with the post. Words are simply added above or below images like this. Without style, simple effective at first, and easy to create. As one begins the decent into the world of SteemIt one will see these types of layouts are not all that can be made. Some people are very talented and know layouts and design. Others simply start to use some of these tips and tricks.
Starting to put the tools together!
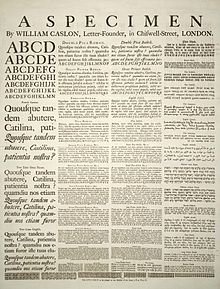
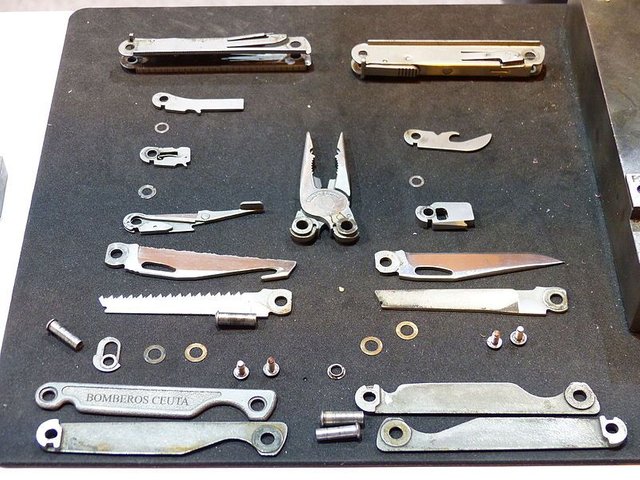
We start with a broken set of tools, uncompleted, being we see others are doing tricks with the text, moving images left, or right, and having the text flowing on the side of the image! As with this, the image is on the right, as the text is flowing next to it on the right. We see these things being done, and just assume they know some magic! It is much easier than you would think, being that one of the tools we can use here on SteemIt is the Markdown Editor, it is just simply using HTML divisions inside the markdown text.
Making text flow around images!
In order to have the image be on the left, or the right of the screen you simply use
<div class="pull-right">
image address goes here
</div>
You can even use the word left, center or right depending on where you would like the image to be on the page.
Example in use ...
Centering our text!
As you can see the image will go to either the left or right, and yes I did use 2 separate images for this example! In case you noticed I also centered the text I added under the images. You can center headers text and other items inside your post. To do this you would add <center>Your text would go here!</center>. This will center the text on the page, or on the side of the image.
Example:
Using headers
As for the headers of the sections on your page, it is always nice to have them. I also recommend having the ones in the body smaller than the one at the top. The differences are small, but they do make it obvious when reading the page. There are 6 levels of headers ranging from large to small.
# Header 1
## Header 2
### Header 3
#### Header 4
##### Header 5
###### Header 6
They will look like this as they get smaller:
Header 1
Header 2
Header 3
Header 4
Header 5
Header 6
Along with headers if you wish to make inline changes like Bold or Italics your text you would use the **Bold** or *Italics* and if you would like both you just use 3 asterisks ***like this***.
Adding lines to break up text!
As you have seen so far, I have tried to make a point of breaking up each of these sections to make is easier to follow! To do this @pap-pepper uses his cool little line of pepper, or I have been using the horizontal line. I tend to use the HTML code here all you add is the <hr> to the text to have the horizontal line added to break things up!
Example:
Task list
I have spent some of my time learning a few tricks, there are several others that can be done as well like creating check lists.
- [x] this is a complete item
- [ ] this is an incomplete item
To add a line you can use the either an * or a - (dash) then add the brackets and what you want on the list. Simply add an "X" to mark the task completed. Like this - [x] completed item or like this - [ ] not completeI know this may seem basic to me now, but three months ago I had no idea any of this could have been accomplished!
Tables
And then there are even tables. To do these you need the | to make the columns. To get started making a column you simply decide the number you would like in this case 2 and type it in like this:
First Header | Second Header
------------ | -------------
Content from cell 1 | Content from cell 2
Example of 2 column table:
| First Header | Second Header |
|---|---|
| Content from cell 1 | Content from cell 2 |
| Content in the first column | Content in the second column |
Conclusion
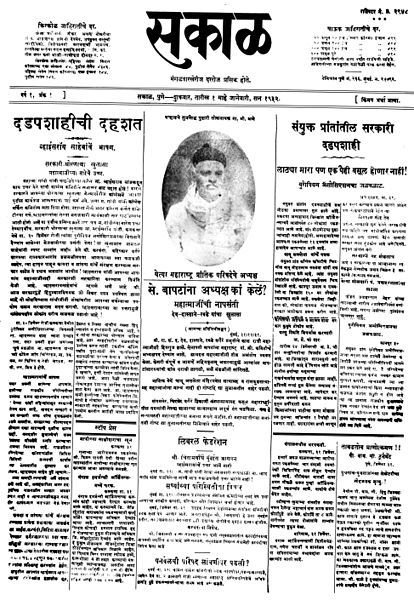
If your not use to using the markdown language like I was not, just about three months ago, then all it takes is to simply work at adding one or two of the to your posts. As you get to be more familiar with them you will see your post layout goes from being not great, like my example at the top of this post! To the end where it is styled. If your like me, I am not good at making layouts, so what I did was experiment. But most of all, I remember looking at news papers, they paid people to make the layouts look impressive.
I know I may be missing several different formatting tips, these are some of the basics I have learned, and obviously I have also started using them in my posts. So being just a minnow swimming against the stream here I hope that I have been able to help you learn a few of the fun styling tips, let me know what you think of these. If you have a simple tip or cool style you have used on your own that would help please let others know in the comments. There is no limit to how creative we can make our blogs.
Most important just have fun with your post, if you feel these tip will help you then go ahead and use them. Thank you for reading and I hope you enjoyed my formatting tips and tricks! If you like this post you can always upvote, follow and resteem!

Thanks to @son-of-satire for this gif.

Thanks to SteemVerify.com and @elyaque


This is great.
I have been thinking of doing something similar like this for weeks with some of those tips seeing new people coming in all the time - for my #Crypto101 series since I started focusing more on formatting.
Another great post. RS this for you.
Yes, I am having a lot of problems sleeping.
Thank you for the support I just had the idea and started working on it. Was actually surprised some of it worked out.
I hope you can get some sleep I know the feeling I don't sleep much.
Thanks for sharing! Your post was included as a recommended link in the Steem.center wiki page Tips for formatting your post. Thanks and good luck again!
Wow, thank you I did not know there was a wiki. Thank you for letting me know.
You're welcome! We also want to share the amount of steem collected here to reward the wiki collaborators.
Awesome just checked the link. Looks like you used the first tag as the user name.
As you noticed the username citation was wrong but now the wiki page is correctly updated. Thanks again!
:)
Great post, Sullivan! I enjoyed reading it.
Upvoted & Followed you as well.
Impresionante querido amigo @smysullivan, gran trabajo te felicito.
I wrote a part in Spanish for you to practice the language, excellent post dear friend, congratulations, many thanks for these tips
Your welcome. It seemed like it was worth posting being it took time to learn all this.
This post has been ranked within the top 80 most undervalued posts in the first half of Jan 28. We estimate that this post is undervalued by $4.78 as compared to a scenario in which every voter had an equal say.
See the full rankings and details in The Daily Tribune: Jan 28 - Part I. You can also read about some of our methodology, data analysis and technical details in our initial post.
If you are the author and would prefer not to receive these comments, simply reply "Stop" to this comment.
For example </ center > is it the same in Dutch?
That part is HTML so it should be the same for anyone round the world.
</ center > where do I put the text? can you put a X there please?
< center> XXX </ center>no spaces in the <>Nice tips. Peace
Your welcome
Maybe I didn't read it but how did you do these ones ?
Image Source 1, 2, 3, 4, 5, 6
Sources 1, 2
Your right I skipped those ones, for links it is
[text](http://link-here)Sorry about that I forgot to include it. Guess it just seems normal since I use it often.
No sorry . Thanks man . Peace
No problem. Hope it helps.
Awesome guide, thanks for sharing- upvoted
Your welcome!
Tweeted on @smysullivan1
https://twitter.com/smysullivan1/status/825252085679607808