A whale passed by - The making of #1
This post is a making of post

In my post a few days ago called A whale passed by I showed a short animation of a swimming whale. Now I think it is fitting to give you all a small walkthrough af what it takes to make something like that.
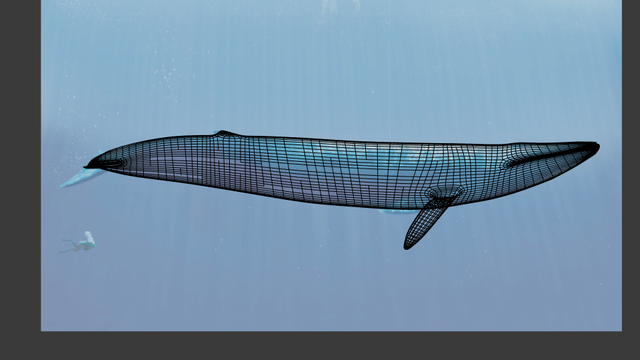
I usually start with an image, which I then trace in 2d.

I then bulk out the shape, trying to get as close to the real shape as possible

this is often hard to do and you may need more than one image to get more angles. Thats usually easy with machines since they will often have blueprints you can use

it is a lot harder to find with living things since they will not be posed or scaled similarly from different angles. Then you will just have to just your imagination and experience
I work with a mirrored mesh, effectively halving the work.
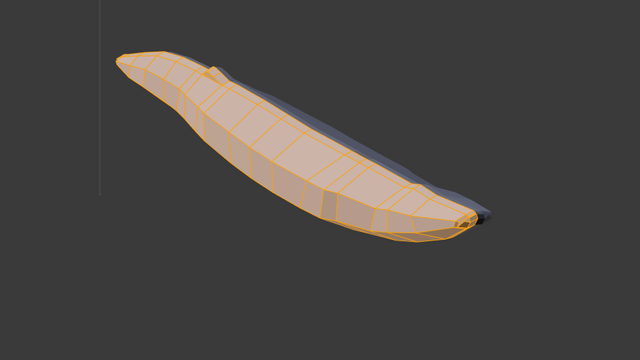
Having gotten the basic shape more or less made, I start to add details like fins and tail.

At this point the mesh is very coarse and that is on purpose. With a little experience you can learn to do very lowresolution modelling. That makes it much easier to see whats going on when the mesh is not cluttered with small details

Now I can add a subdivision surface on top. This smoothes the mesh, and if I have made a good mesh underneath it will not destroy the details
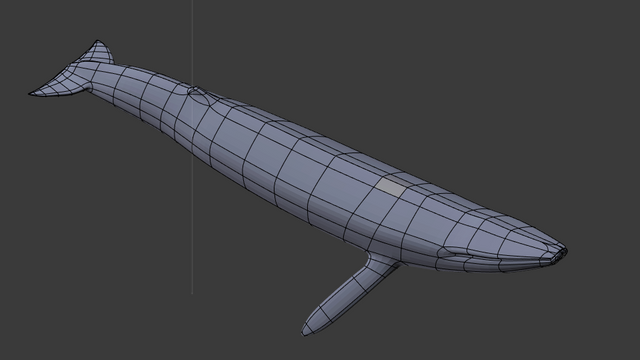
Then on to adding details such as eyes. As long as I am careful this need not clutter the mesh at all.

This mesh is for an animation where the viewer never gets too close to the model and there will be all kinds of athmospheric effects in the way so I do not bother to much with adding all the little intricacies. But i will need a texture for it
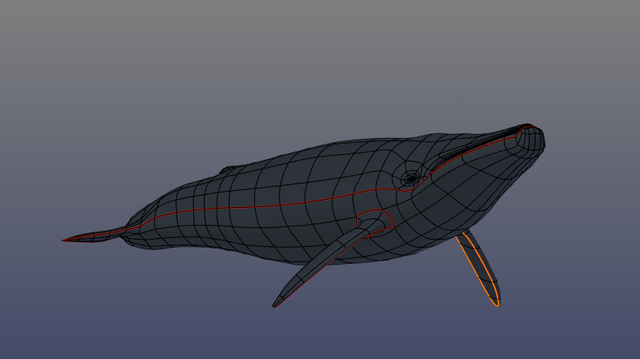
To be able to paint colors unto the mesh I need to give it a texture which can the be painted. for that to happen I need to be able to flatten the mesh unto a surface. I will make a separate post about how this is done. For now I will just show where I have chosen to "cut" the mesh. The red lines show where I have placed seams. These tell blender where I want the mesh to be cut when flattening, giving much better results when I unwrap (the technical term for the flattening operation)

Finally I can put on a texture. The one shown here is just a test-texture with squares on it. It makes it alot easier to see if the texturing has gone well. What I want here is for the squares to not be too deformed

Im EvilHippie, a compulsive creative and jack o' trades. if you want to know more about me check out my introduction post here
If you like what you see, feel free to upvote, follow and resteem
Can't wait to see it come to life! Thanks for sharing.
Thanks, you will just have to be patient for a day or two :-)