But, where is the color man?? a Step by step Fast coloring tutorial with PHOTOSHOP

The preliminaries
It happens sometimes, I just read two or three lines of a commisssion email and then I begin to draw. When I finish it, I send to my customer, looking forward to receive honors and (money!!) and ready to go for a beer, or two..
-Man, where's the color?
-What?
-the color !! I told you we need a COLOURED picture !! you missed that?
-WTF ??
-Listen, we are publishing in three hours. Do your best. Bye.
So, I have a ZULU MODE solution for this situation. This is what I call F.E.C.Z.M.: Fast and Eficient Color Zulu Mode
Goal: Color a picture.
Time: less than 3 hours.
Risk: High.
The Process
Step 1: Choose color palette:
Time to send color for review? no man. So, I jump into old painting art, those guys rarely missed a painting.
Fortunately, I have some good reference from old master painters. For this one, I choose portrait of Giovanna Tornabuoni from the italian painter Domenico Ghirlandaio 1488. (1488! waaouu, Cristobal Colon even discovered America) And this guy already understood how warm and hot colors work.
(time saved: 1h30)
I have a pixeled version of the painting, and, using my powerfull Charlotte Distance to separate colors (which is explain in an almost invisible post here) I get a very nice palette to pick folors from the 15th century.

Step 2: Building the Photoshop Workspace
I take my black and white drawing, I extend the canvas, and I locate my palette at the side of my picture:

So, I can very quickly pick up color without changing the focus. Time saved: A lot, stress saved: unquantifiable.
Step 3: Separate Line Art
If you don't have this Action preloaded in your PHOTOSHOP, load it. This script separates lineart from the background and allows to color below without worrying about the line. Time saved: 5 hours.
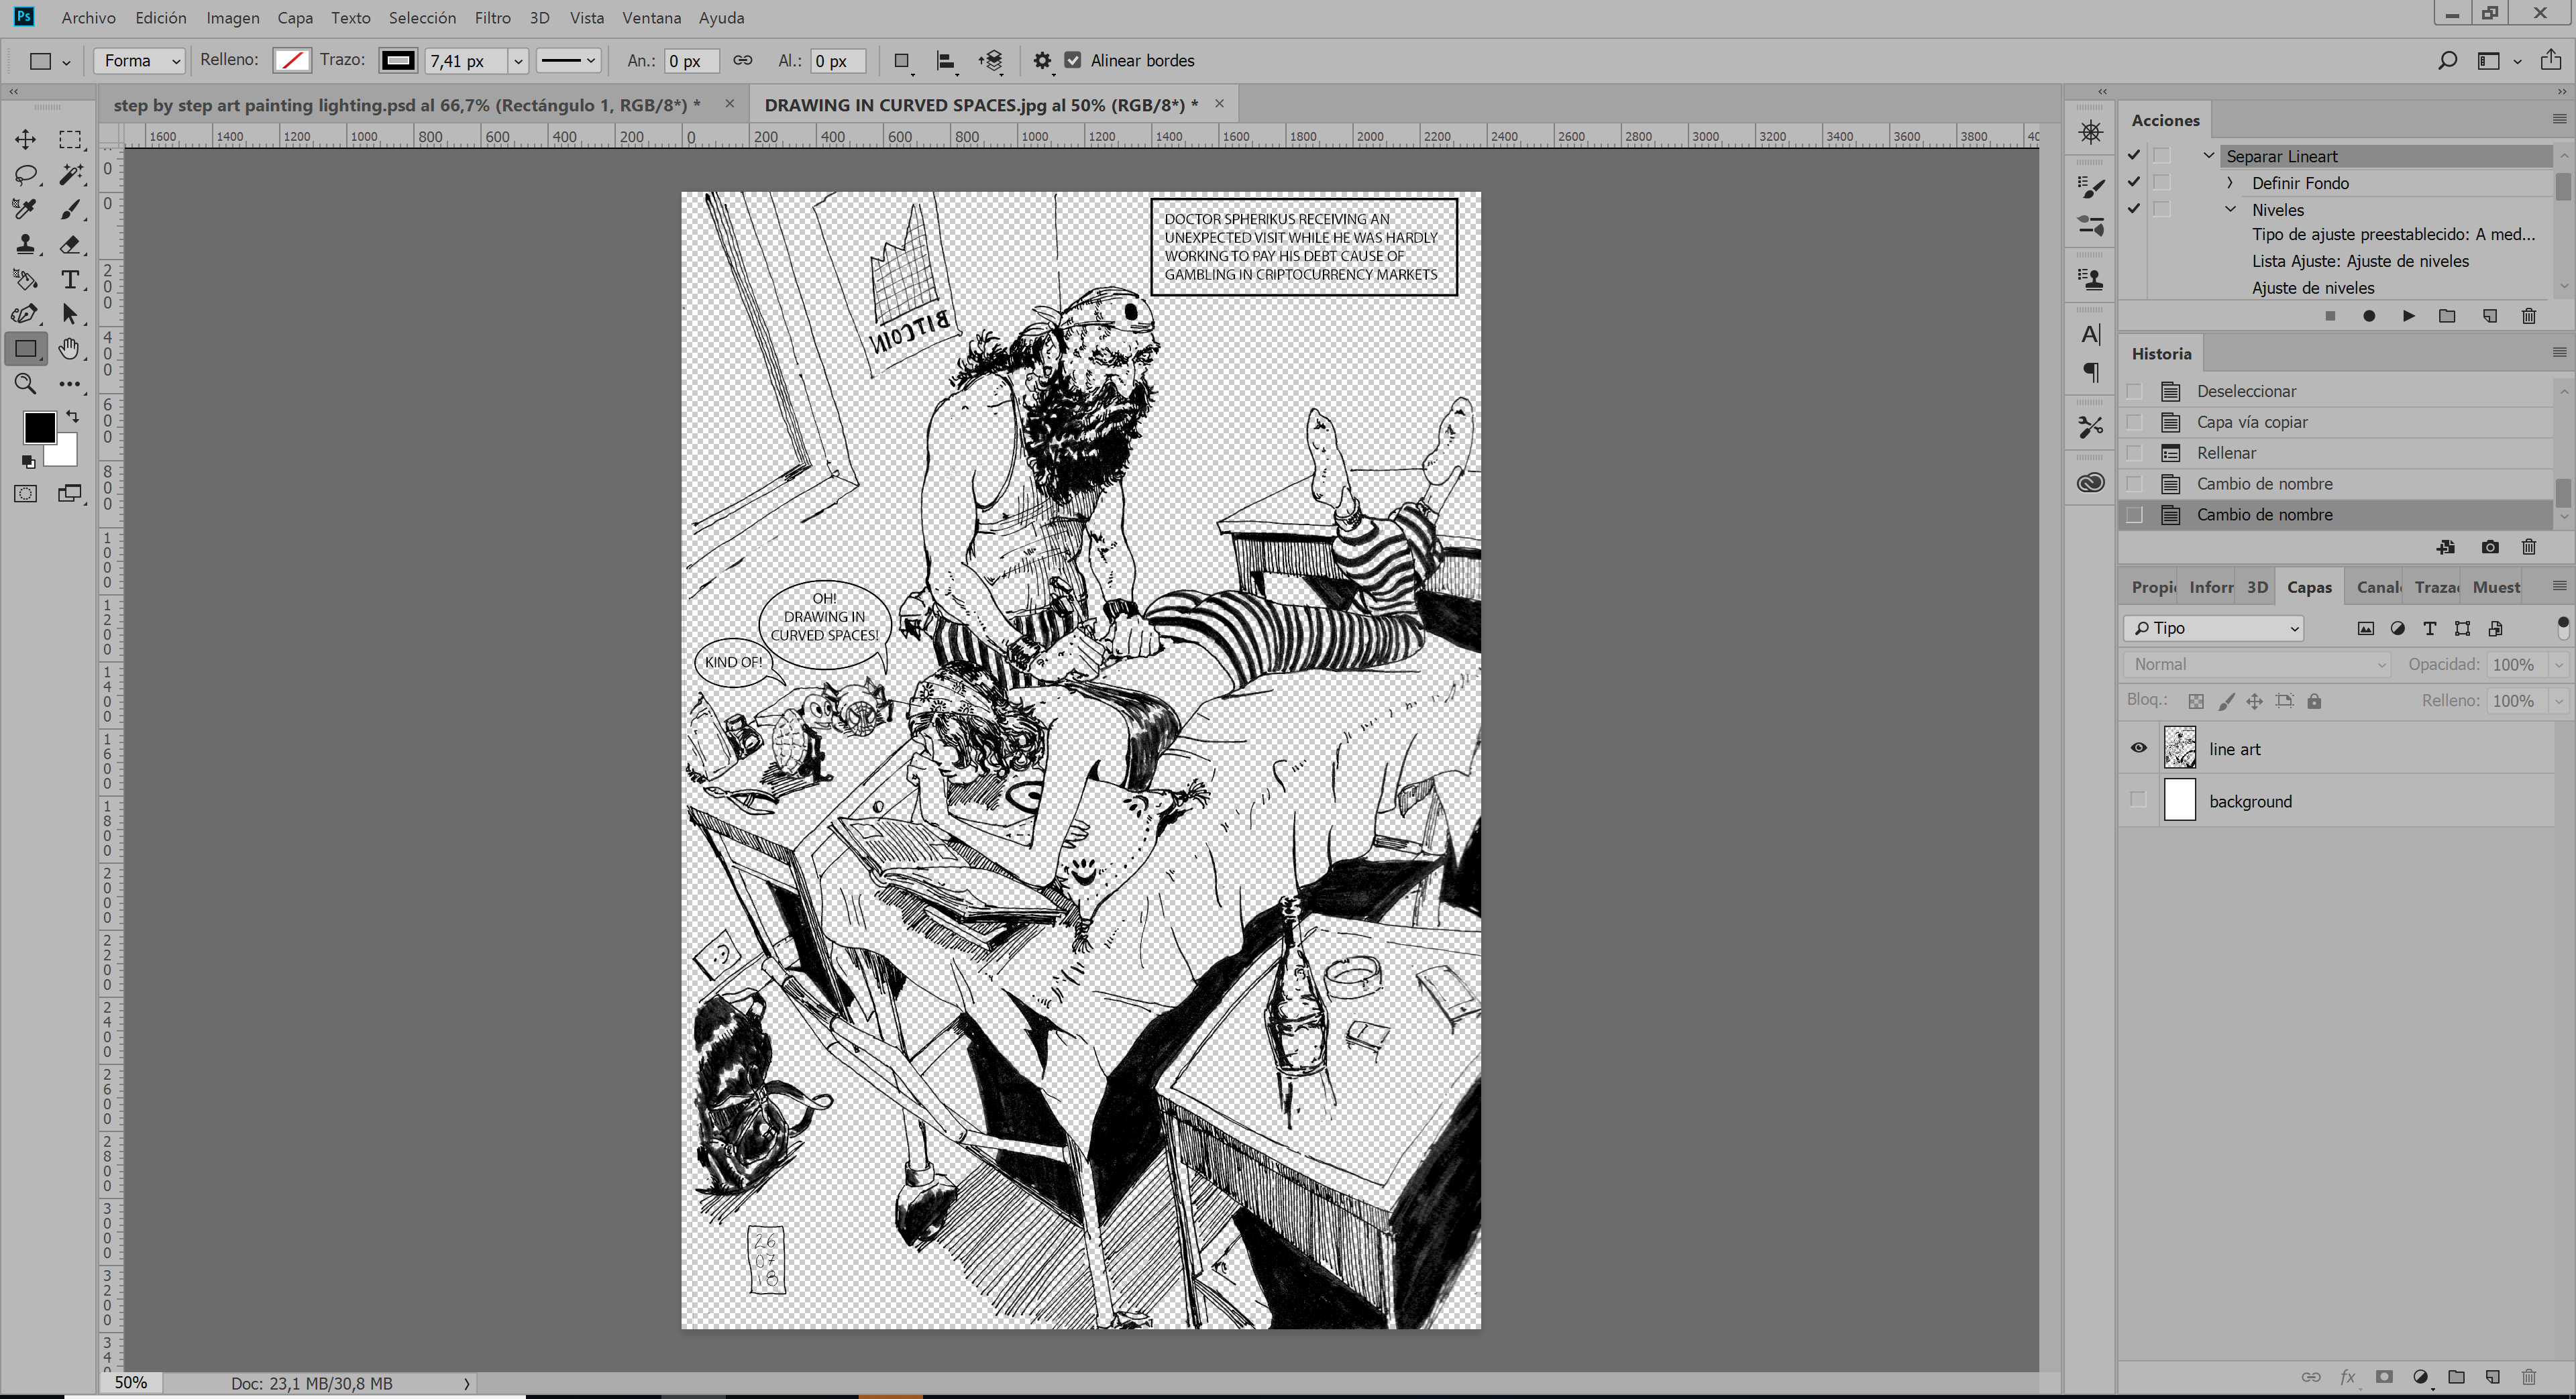
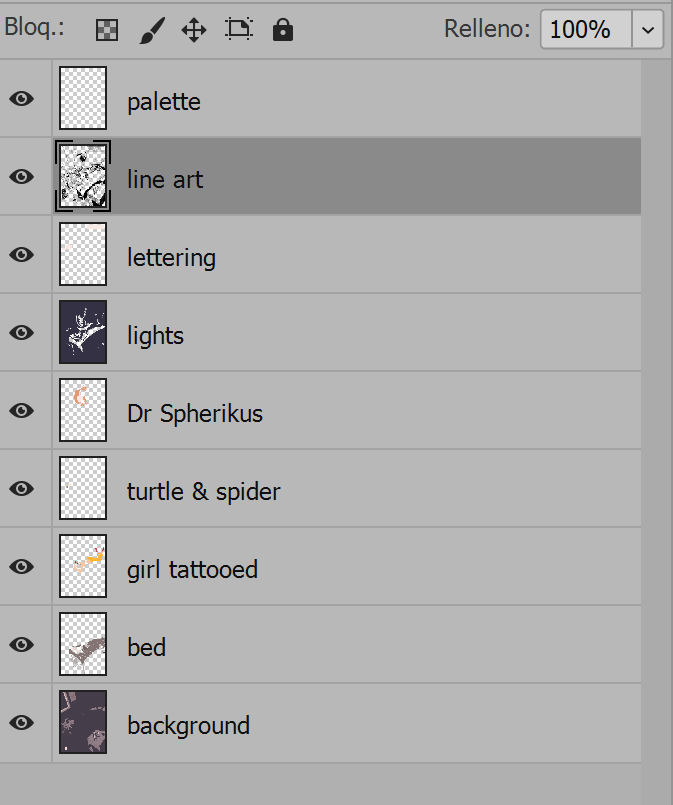
Step 4: Building the layer's stack
Push your line art at the top of your stack, below the palette. Then create a layer for each remarkable feature or character you want to standout. Reseve a layer for lighting and another one for the background.
Step 5: Choosing the background color
Take a middle shadowed hue from your palette. The colors above will appear more brighter and your eyes
will thank you. Never work with a bright white background!

Step 6: Select and Paint
Here is where the speed painting begins. We only have time to do some flat colors and a lighting layer.
The process is very simple:
We chose a character or a feature to paint
We move to the lineart layer
we use the magic selection tool from PHOTOSHOP (maybe you need to close your shapes in your artline, otherwise the magic selection tools goes crazy)
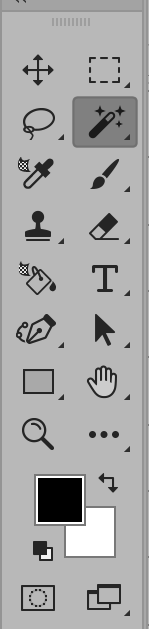
set the magic selection mode to this one:


Now, just click in your character skin and expand the selection:
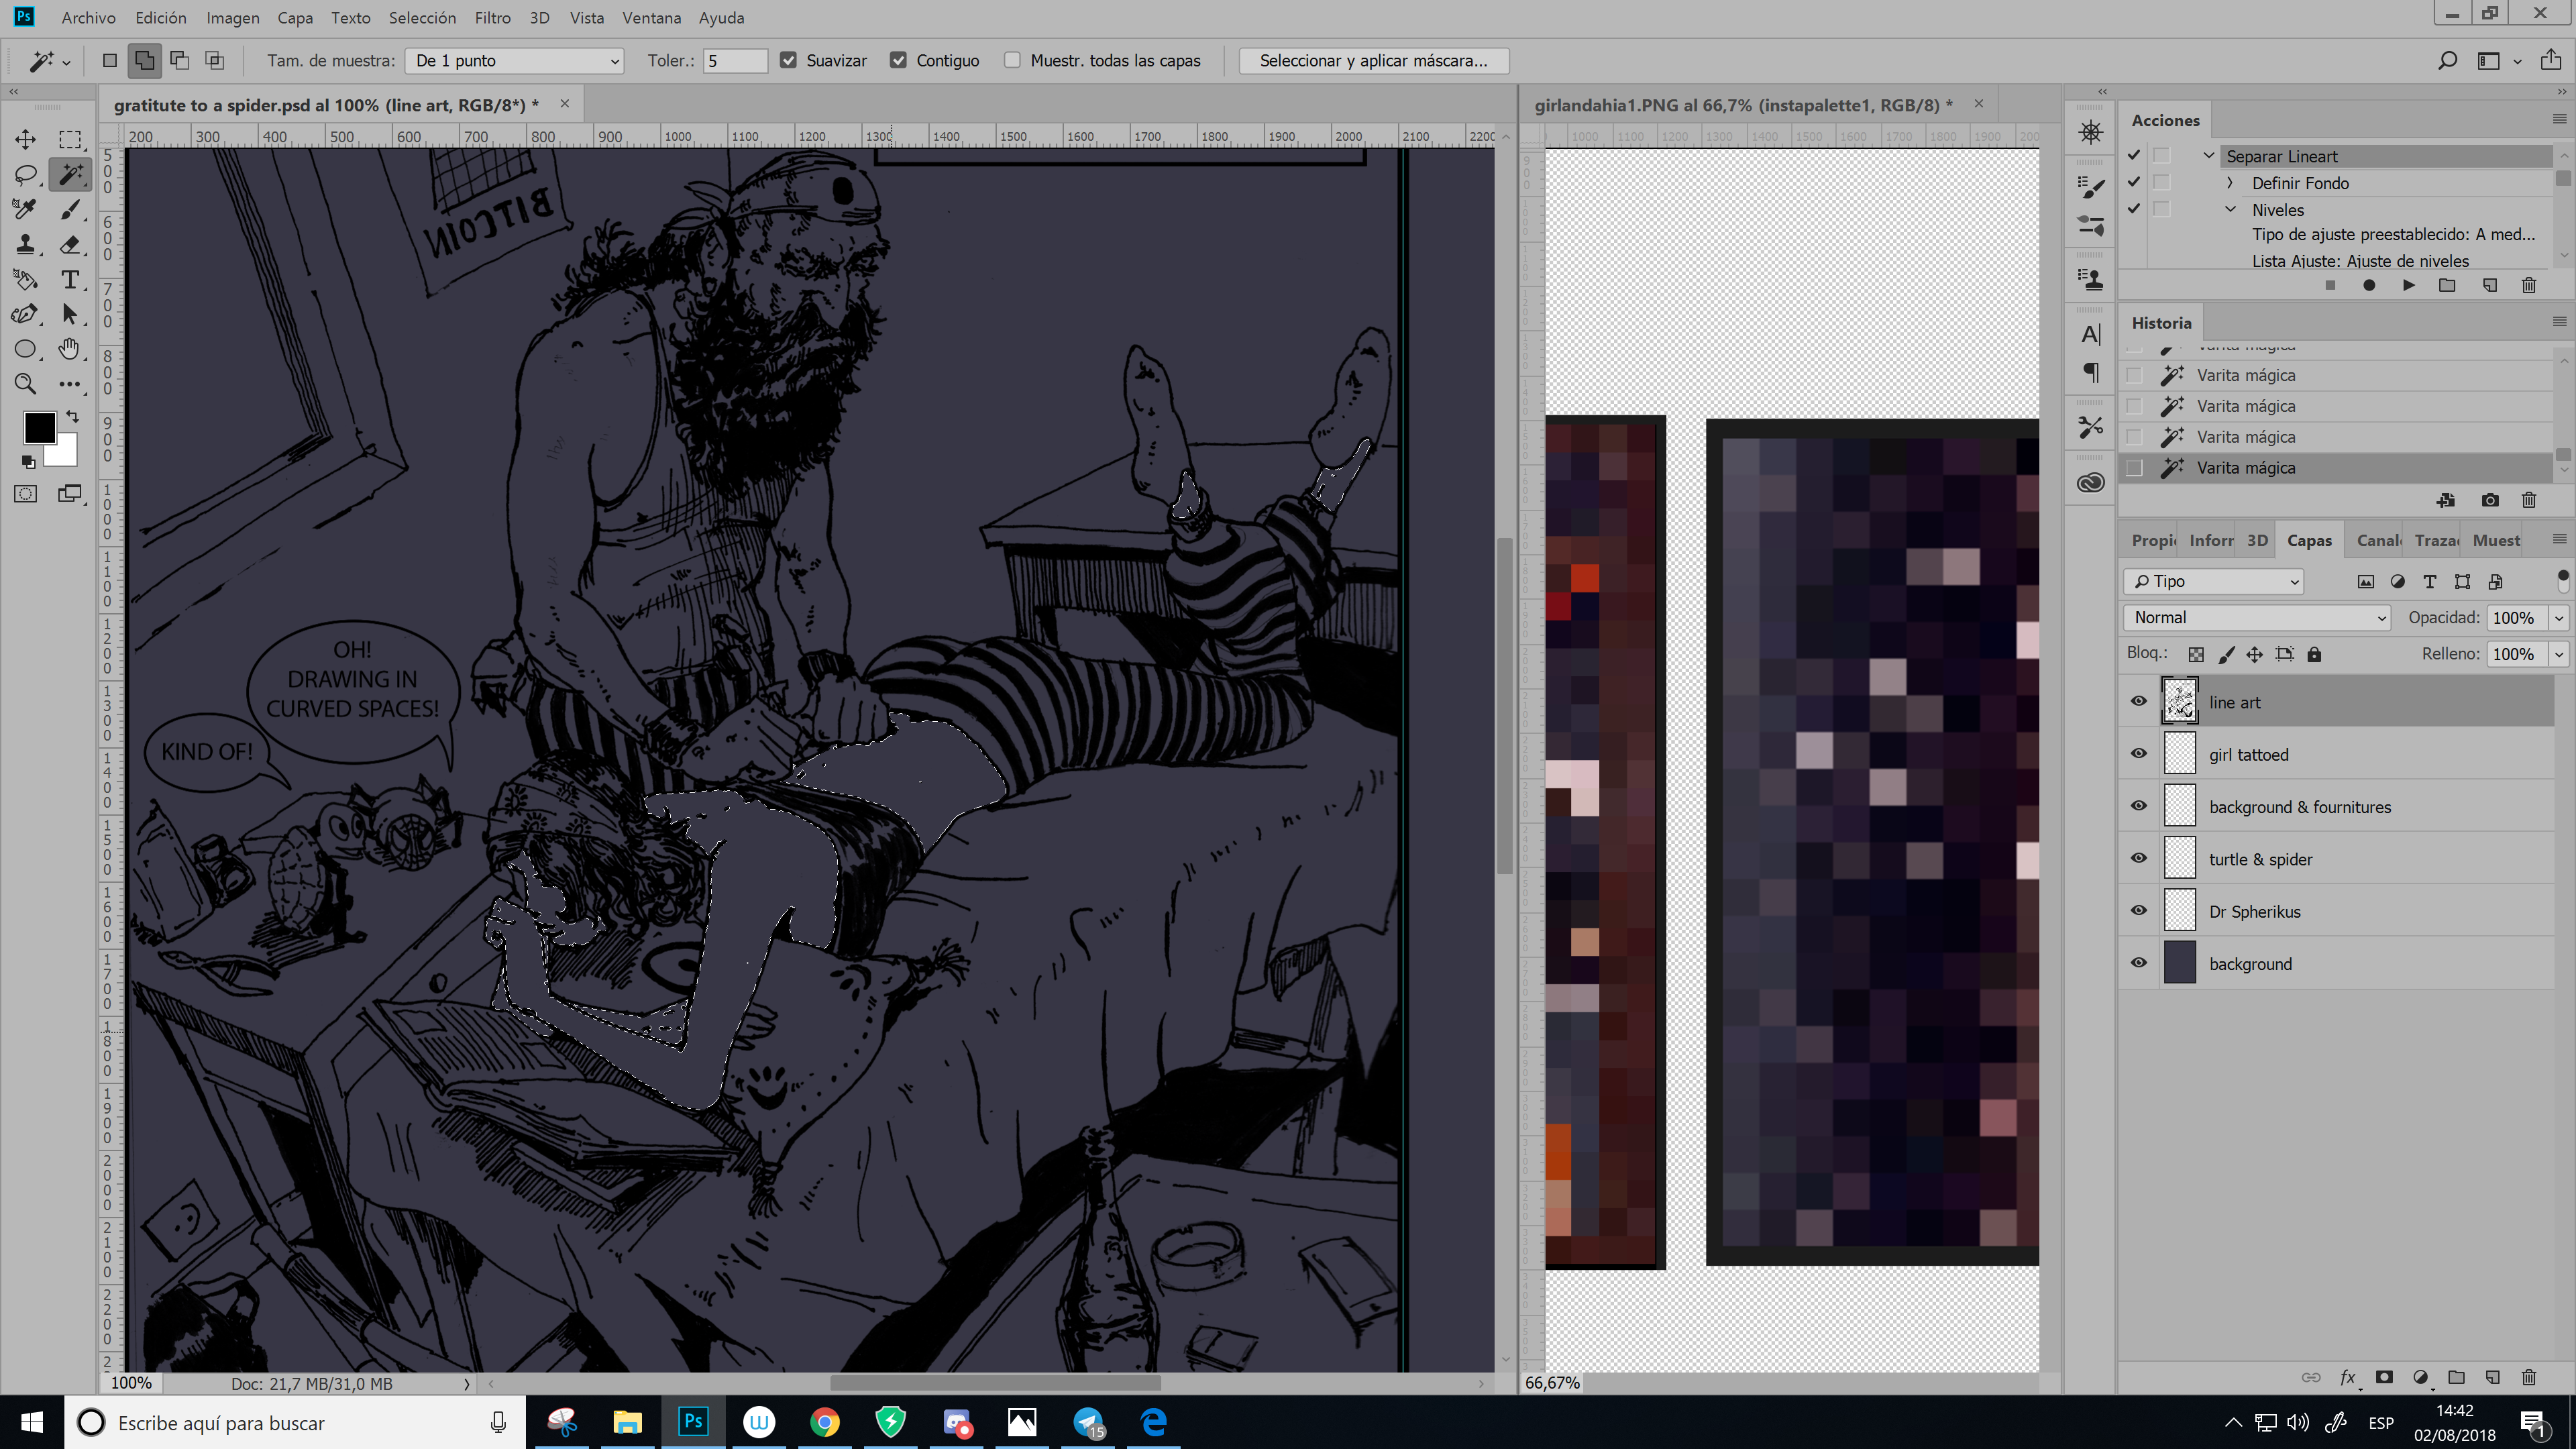
Once we have the selection that will be painted with the same color, we move to the feature layer and we apply the pigment using this funny tool:

The pigment must be applied in the feature layer, this is very important!
Here's the complete sequence of the painting process:

Step 7: Lighting
Finaly. we are going to add some lights to this artwork.
We move back to our lighting layer, which was sleeping during all the process, we add some color value, and we decrease opacity from 100 to 45:
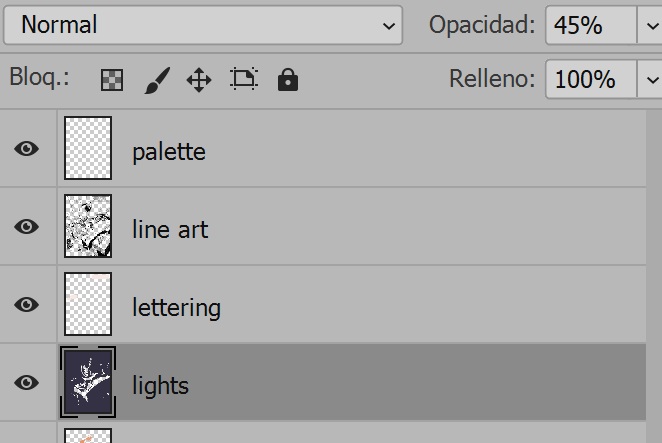
Then, we take the eraser tool, and we cut some shapes through all our different features, without leaving the lighting layer, to have some nice lighting:

And that's it. I can now send back to my customer:
-Yeah! I has been very very hard :)
Thank you for reading and have fun!
This post was shared in the Curation Collective Discord community for curators, and upvoted and resteemed by the @c-squared community account after manual review.
oh man, this is a really cool post that shows a great instructions on how to bring an ink piece into a colour finish * ___ * wonderful !
the finished and coloured version looks really nice, it brought focus and life onto the picture !
but.. but.. I didn't even send it to you!! You are faster than a bot!! LOL
i have spider sense !!!
Yeah, they can move really really fast... LOL
Spectacular!
thank you @pangoli!
Lovely and artistic. Bravo Javier
thank you @scarletmedia
This is a great process - thanks for sharing!
thank you! hope it helps!
Nicely coloured. The colours make it looks much better and more focused :).
Good tutorial as well.
thank you @scrawly!
<3
thank you! @paulavg
Incredible you!
First of all, I love these ZULU mode posts. The flow and determination is perceptible! I checked out that link to your color theory paper as well, its above my head but maybe I'll go back when I have a bit more time and a beer or two in my system.
Second, this comic is hilarious! I love the backwards bitcoin graph!
Third, I'm not sure if you meant to put the 'Hardly working -> Working hard' transposition, this is a general mixup in english and has led to a pretty common joke about 'working hard or hardly working'. Either way it also made me laugh at this poor gambling debt ridden doctor!
Steem on Javier!
thank you! @ecoinstant! your comments encourages me.