Art - Illustrating Creatures - Traditional to Digital (step by step)
Hyaaa there people!

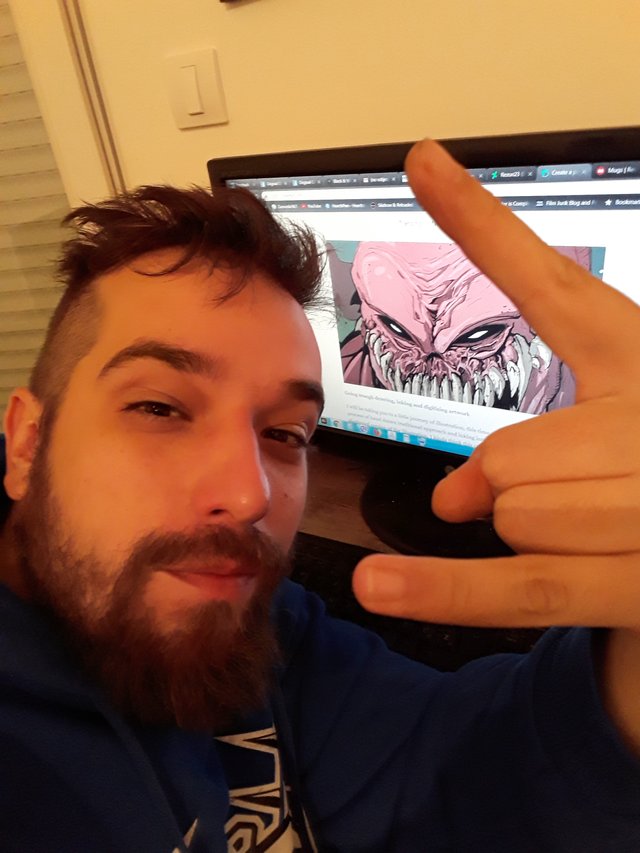
Going trough drawing, inking and digitizing artwork
I will be taking you to a little journey of illustration, this time we will talk about the whole process of hand drawn traditional approach and inking into a full digital colored and shadowed version of the illustration. I kinda think this one is gonna be a really fun ride trough art and the steps needed to accomplish making a full blown image!
Full art:
Al right, this one is focused on the process, all of it is about those steps needed to make a boom! Like, boom here it is, all done, happy about it, spent some time but the results are almost good, gonna go and be better next time!
First steps are full ink sketching and doing the inked up version ready for scanning, took a photo this time tho, then digitized it to finish up the work. After that next steps are done in Photoshop with a help of drawing pad, to add color, shadows, lights, lighting, and them small details :D
I am still looking for a job but, my decisions gave me a ton of clarity and inspiration, I know what I want and, damn, gonna fight for it with my best arsenal of weapons, creativity, willpower and never-ending curiosity! It is kinda hard to live with the bills and all but there is something greater in there, the inspiration and sense of accomplishment that was killed and stepped over in a corporate business non related to art. Now is the time!
Okay, enough small talk, let's go to the process of making this creature design and talk about the things involved in it.
The process:
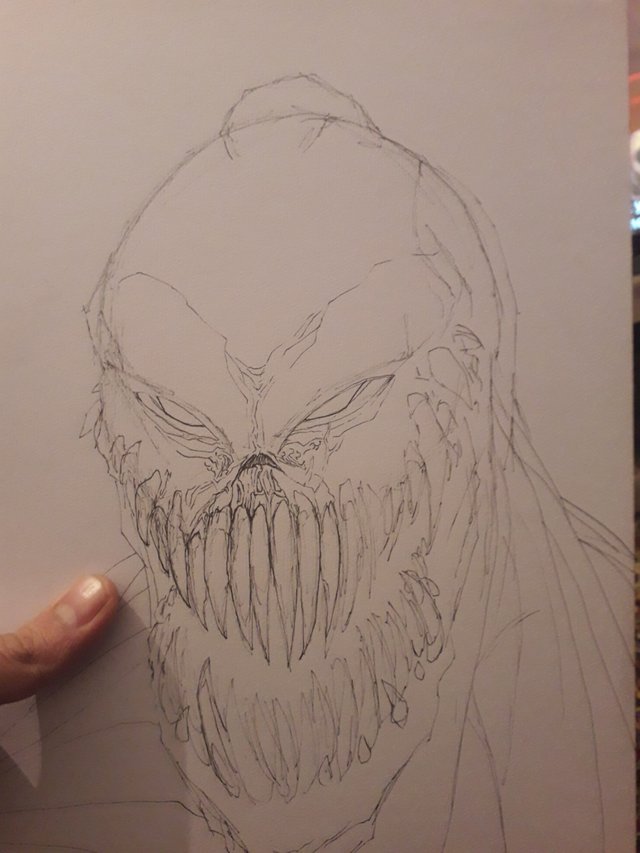
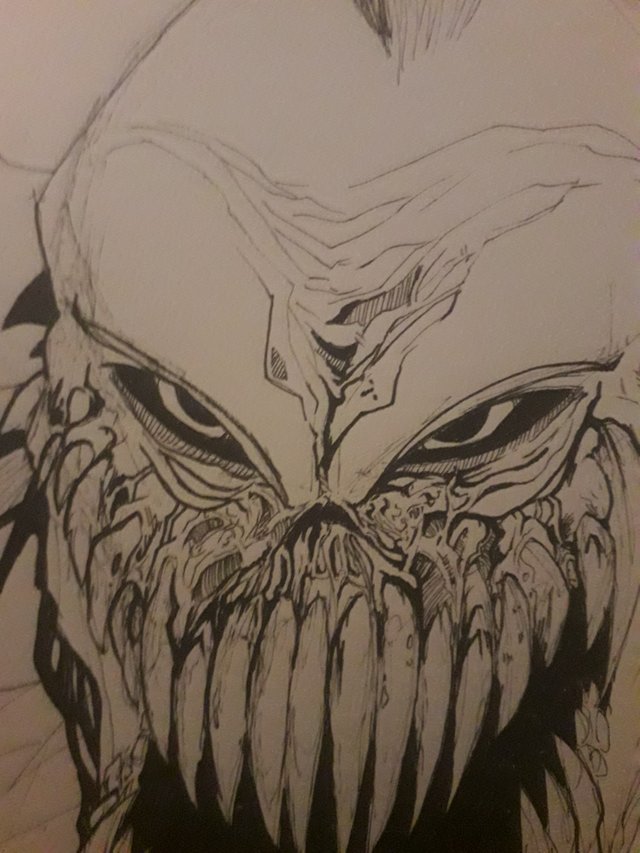
Original ink sketch, lines piled up, making some kind of form of a nasty looking creature. This is the first baby step that is most important, the rest is the easy part. People tend to confuse inking and detail work for a greater part of illustration, but, you know, it all comes down to that original idea, small ugly sketch that's becoming something greater. It is just ink on paper, but later...
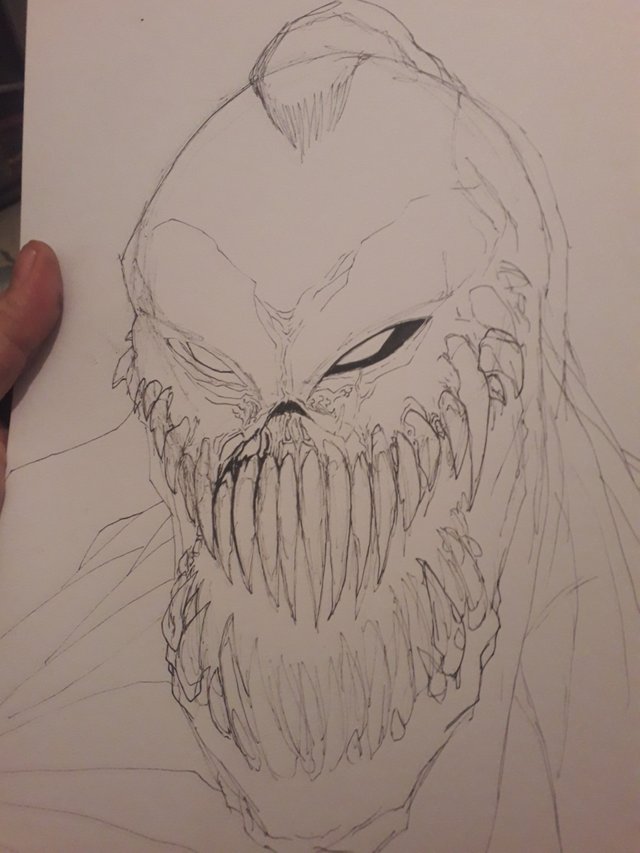
This is a part when them hard lines come in, the inking part, what I'm showing you here is the start of making lines bigger, better, stronger, without the undo, just going in there and talking bout decisions.
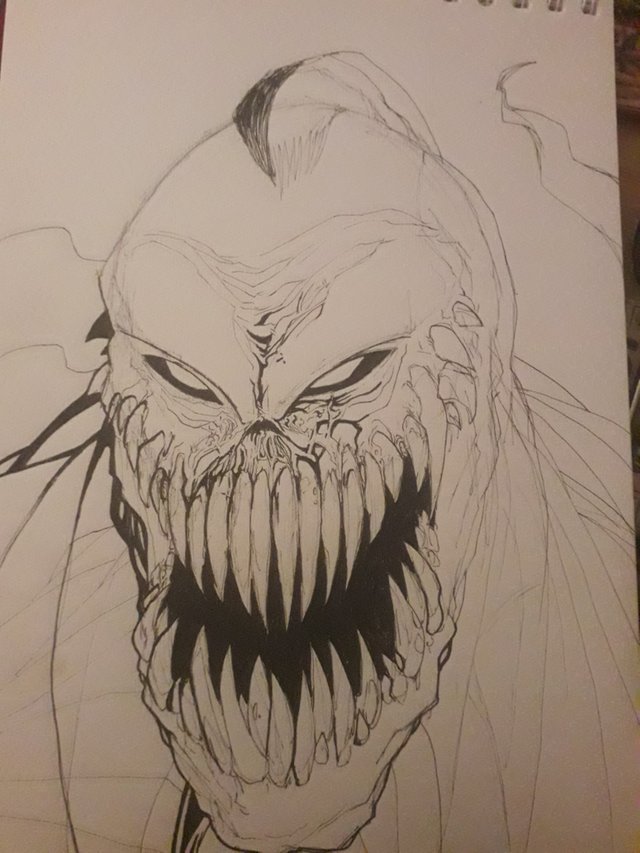
Adding black, black and some more of black! Not looking so great at the moment, but you gotta, I mean gotta have some patience and a wish to break it down.
This one is a close up of the eyes and the detail work down there around the nose area. As you can see the eyes are not the same as in the final one, and we will get to that part later on. The thing is, if you wanna go and make something, mistakes tend to happen along the way, but... You can ignore them and work on the tiny stuff, detailed stuff and come back to it to fix it, I mean, easily!
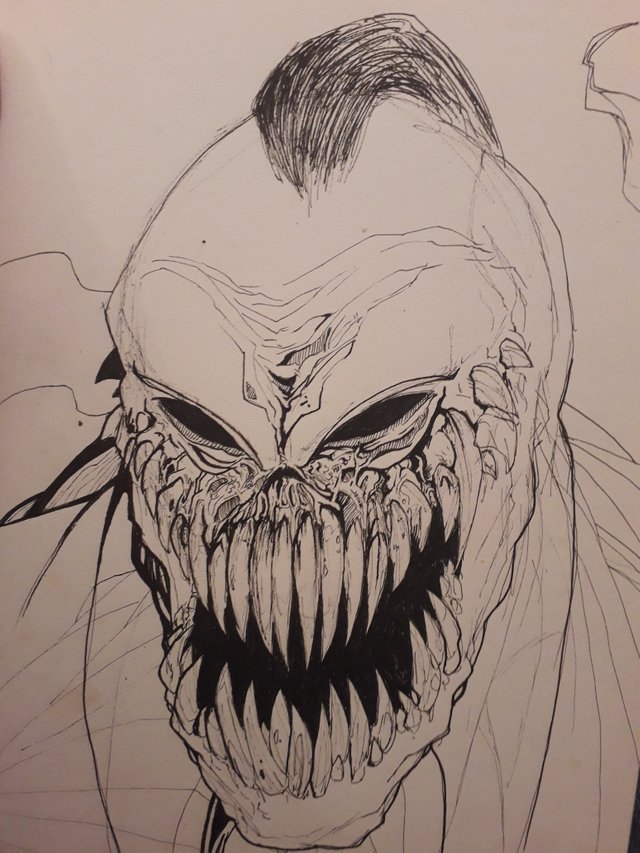
Now, here is the final art, when we talk about the traditional approach, this is my scan! Not a scan at all, just the photo of a drawing shot with a mobile phone and sent to a computer to work on further, let's go into that.
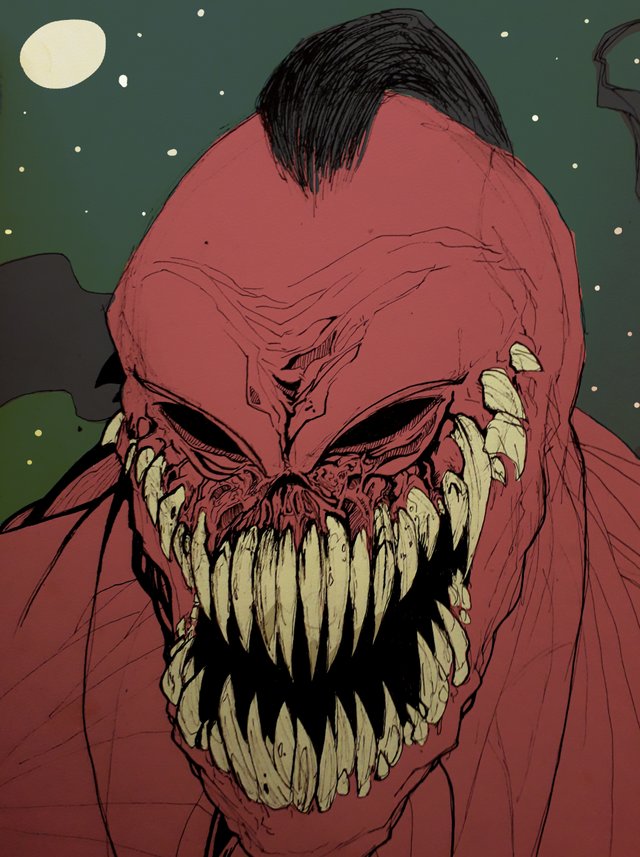
The Photoshop part! Alright, here we have a photo of the illustration, let's put the layers on top of it, make the settings set to multiply and color over it, a nice awesome trick you can research on YouTube :D
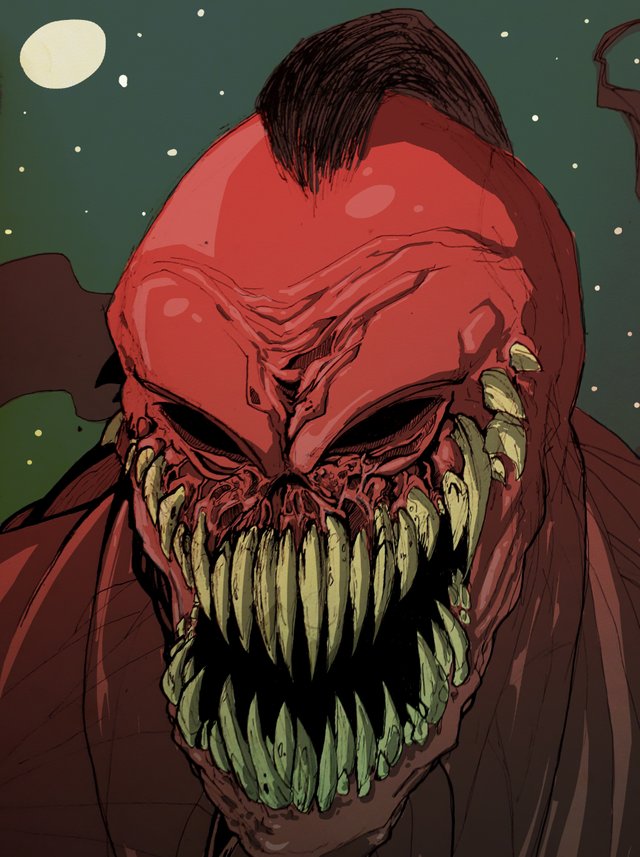
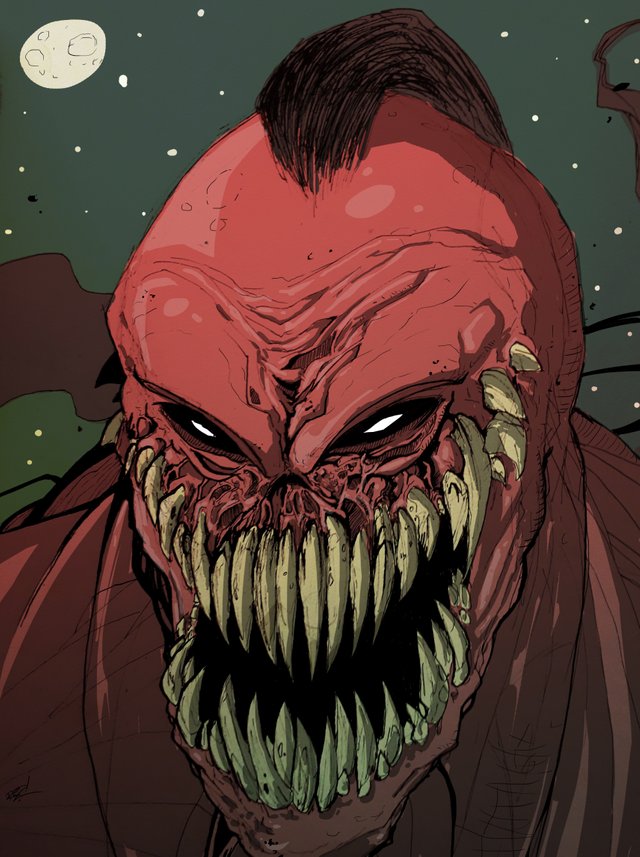
Let's go and talk a bit about the hard part. The hard parts contains a lot of work and patience. When the base color is set then you can get into shadows and lighting, the light and all. The shadow work is interesting when you have a light source, especially, like the moon here. All is based upon that, the light is coming from there, so the shadows are on the opposite side and the lights are there, closer to the light source, so is the light work, the red part that is accented more in the particular area.
And the final part, the thing is, it is a most relaxed part of all. All about adding a bit of details on top of it all, fixing mistakes (eyes here) and going to a completion phase. Doing some color correction, making it more awesome and just adding stuff till you think you are fine with your artwork. Boom!
Keep in mind that this is my approach, not the best approach, and you can find something that is closer to your hart, this is classic comic art approach inspired by the 90s, the era of comics that I love the most, with a bit of modern influence along the way.
Hope you liked it, or found it helpful, that's the most important thing about this post, drew this one for the sole reason, to show people how I go trough this wonderful art journey!
A big thanks and huge hug for all the people on Steemit that are commenting here, you spread love and awesome feedback! Thank you, some of your words helped me get on my way and try to be in the illustration game, keep on pushing, YOU ROCK!
I am a 31 year old comic book artist and geek from Serbia, doing illustration work for 15 years now, really enjoying it!
Congratulations @theartofrez! You have completed the following achievement on the Steem blockchain and have been rewarded with new badge(s) :
Click here to view your Board of Honor
If you no longer want to receive notifications, reply to this comment with the word
STOPTo support your work, I also upvoted your post!
Do not miss the last post from @steemitboard:
Oh my! What a creature ! I love the design heaps and the colours are so nicely done too <3 Amazing step by step presentation, as usual, Rez <3
GOTTA LOVE 'EM TEETH <3 <3 <3 <3 <3
Thank you! Hahaha yeah, put some work in the teeth >< >< ><