New Pendant with Tutorial
Implosion Pendant Tutorial
So I finally got some time and studio access and I make a new pendant. While the pictures in this tutorial aren't extensive (it is difficult to work with glass and take pictures at the same time) I did take a few pictures along the way.
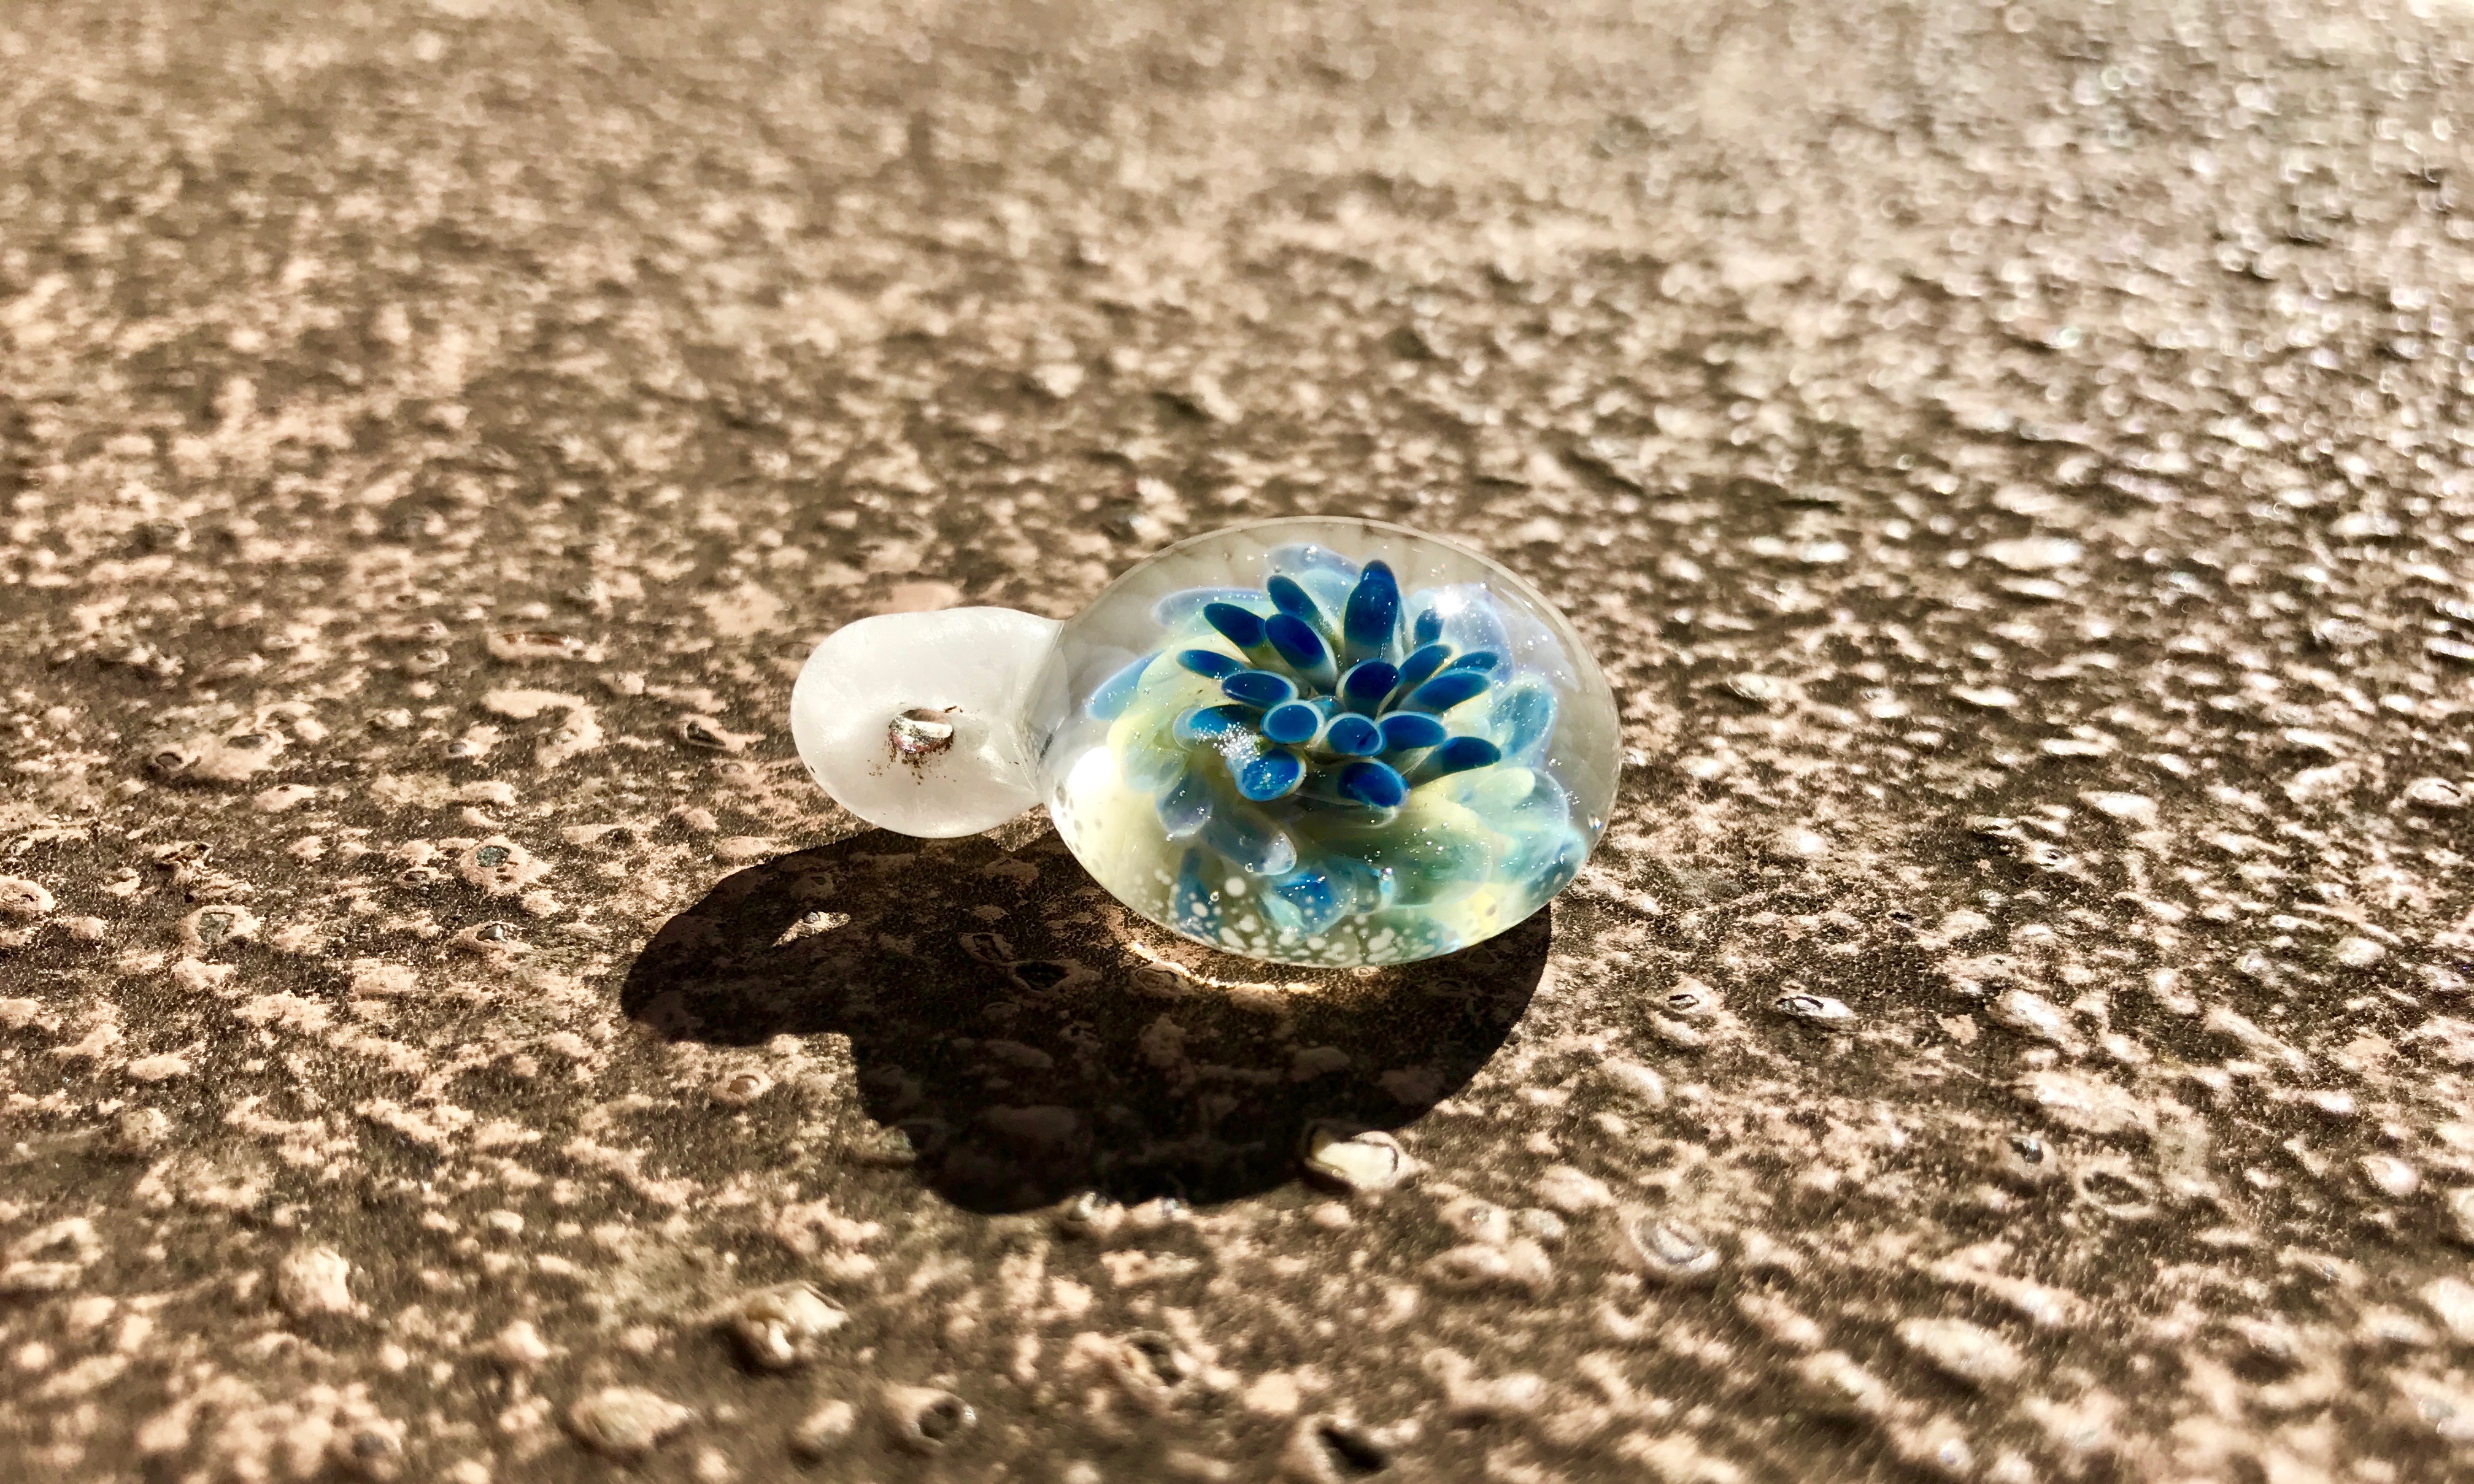
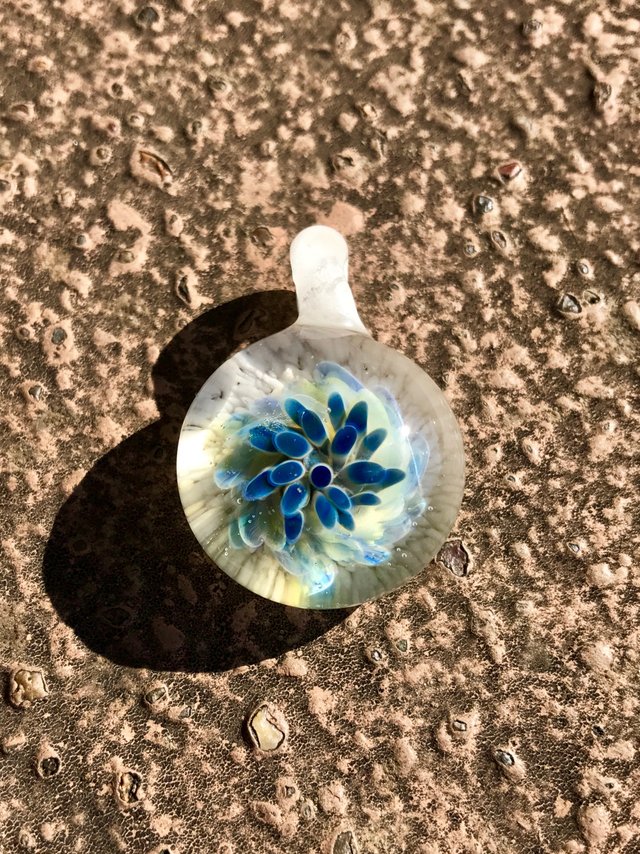
Here is the final product, but I'll walk you through the process.
.
.
.
.
.
.
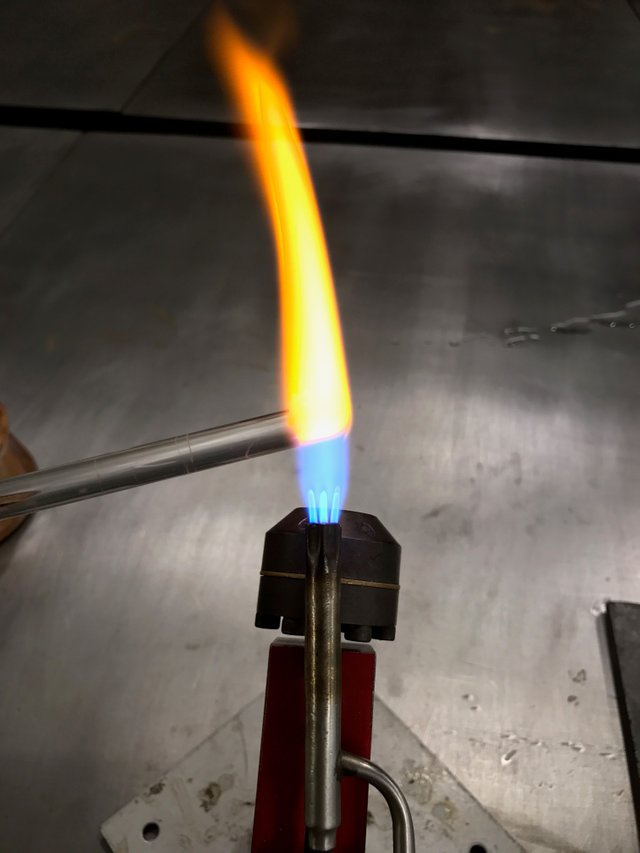
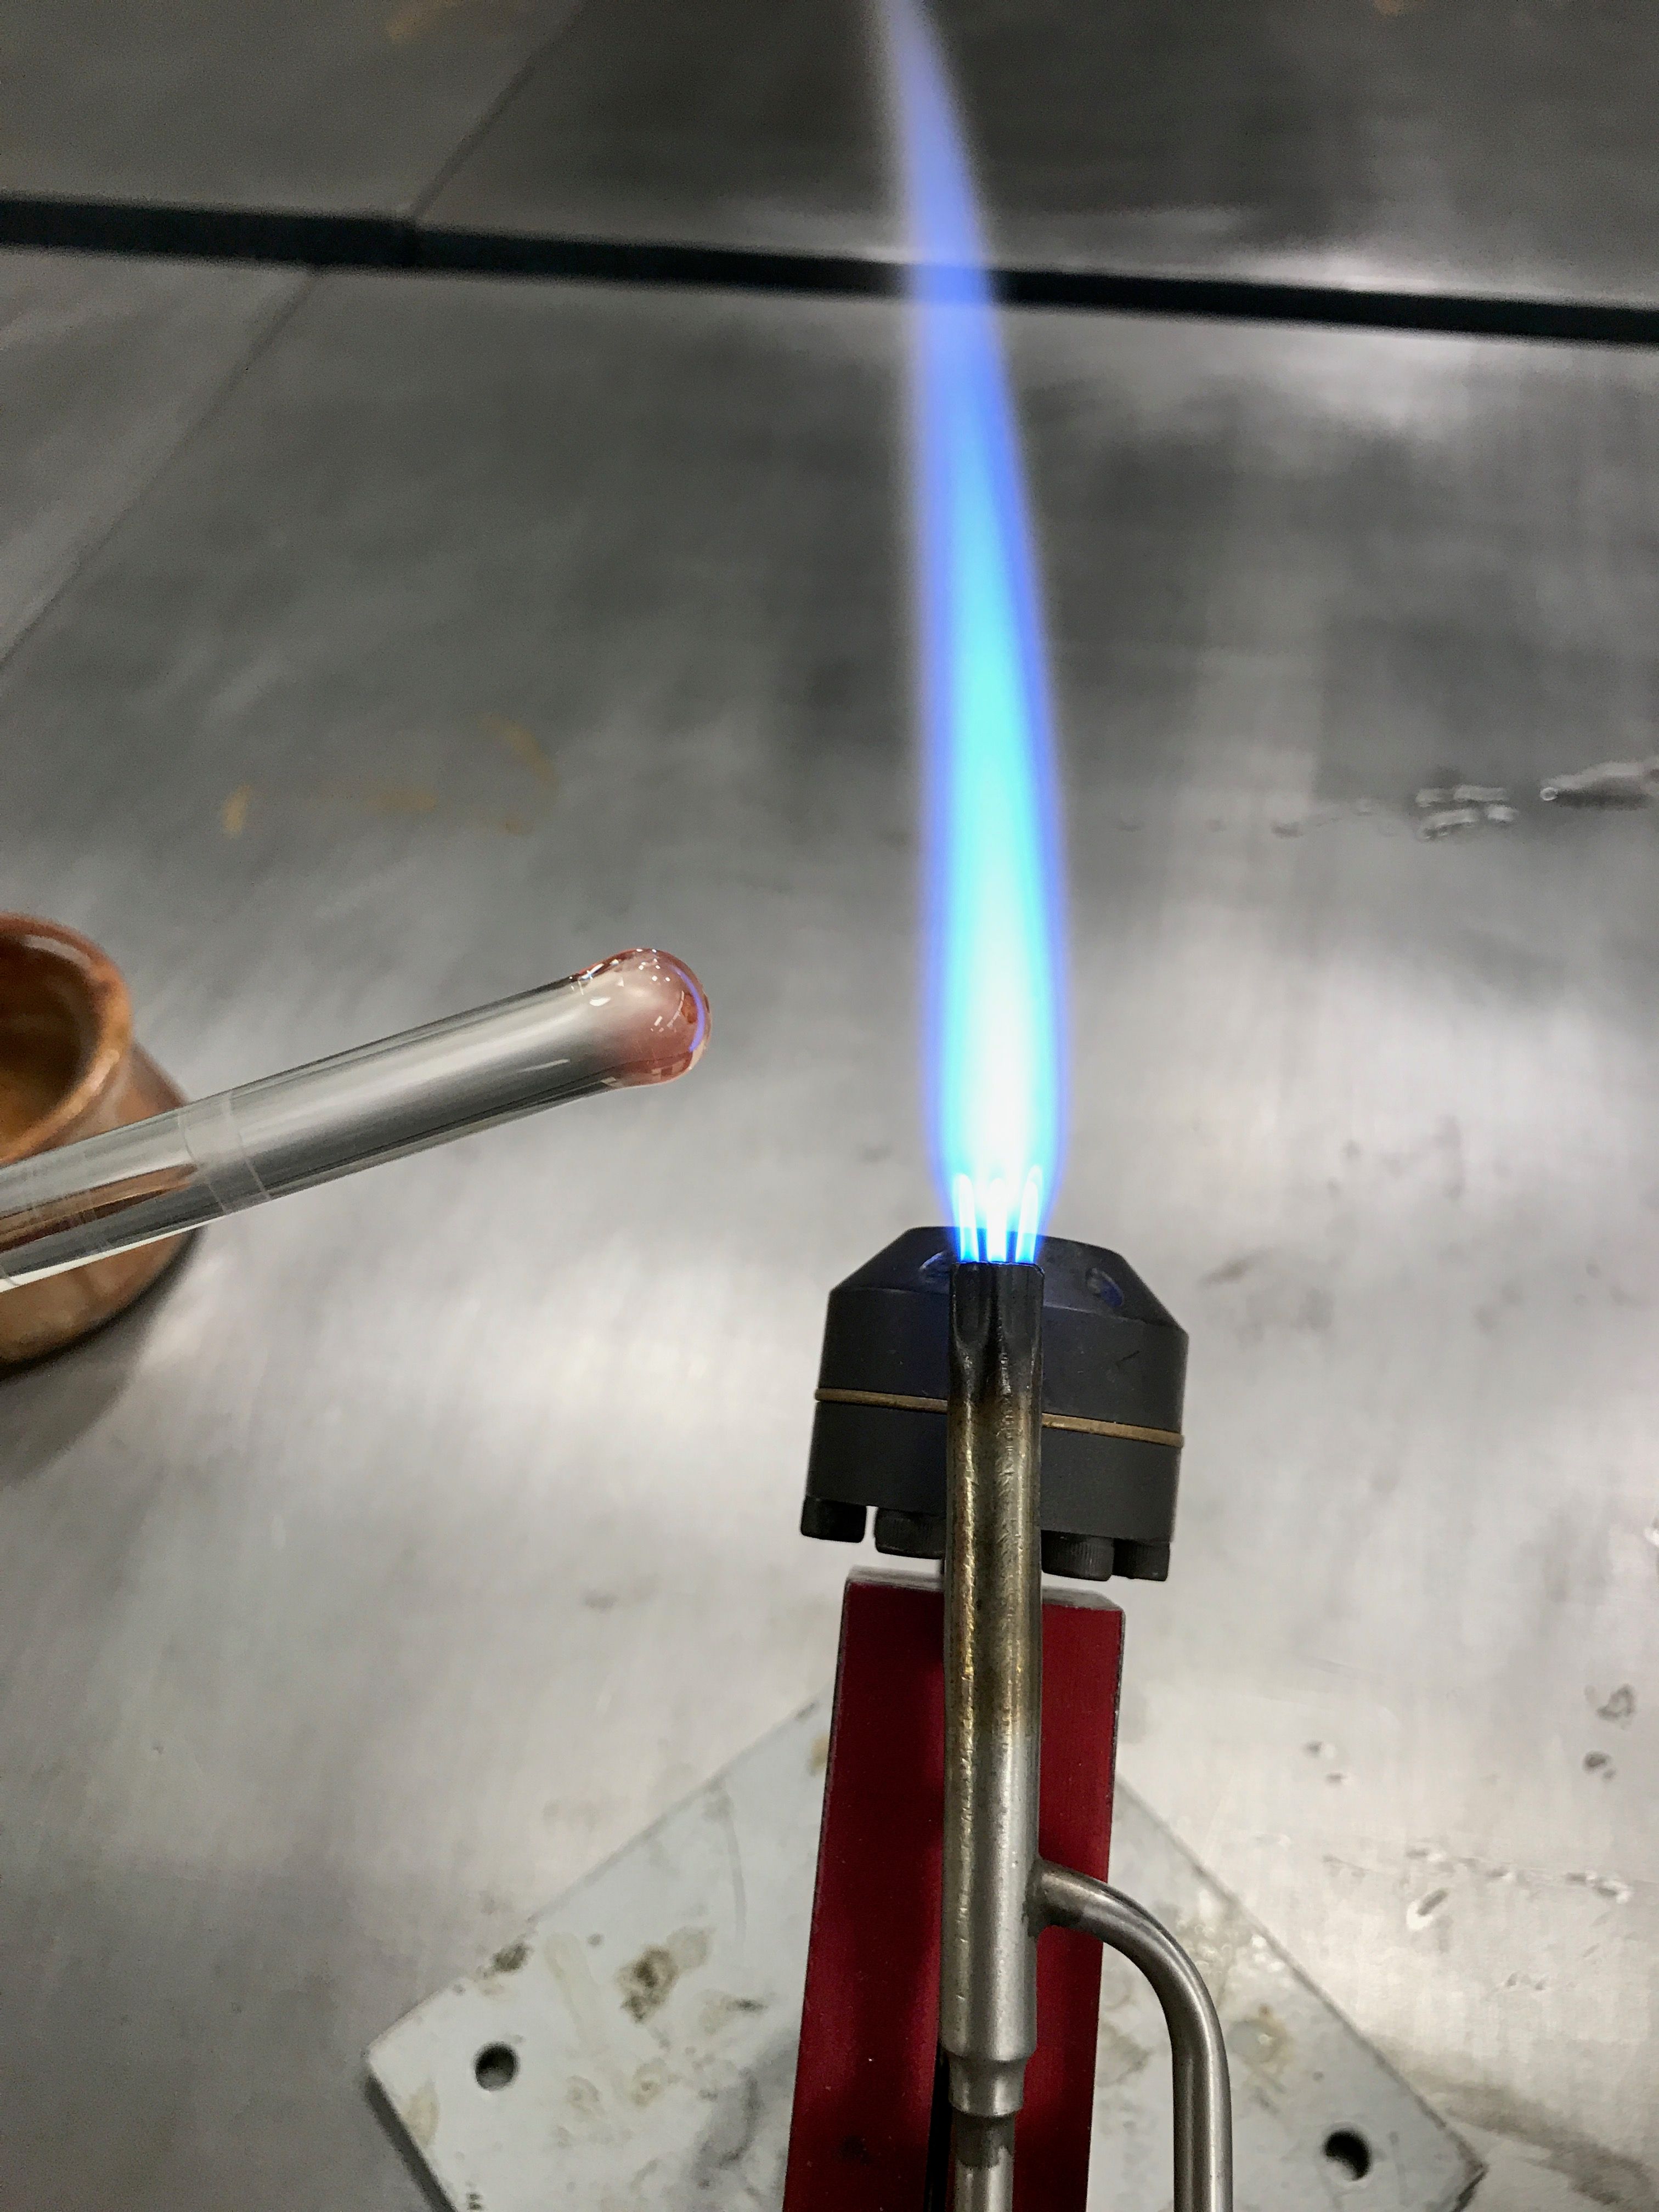
This process all starts with a rod of clear glass and a torch. The torch emits a mixture of oxygen and natural gas which burns at a very high temperature.
The trick is to melt the clear rod into a small ball shape.
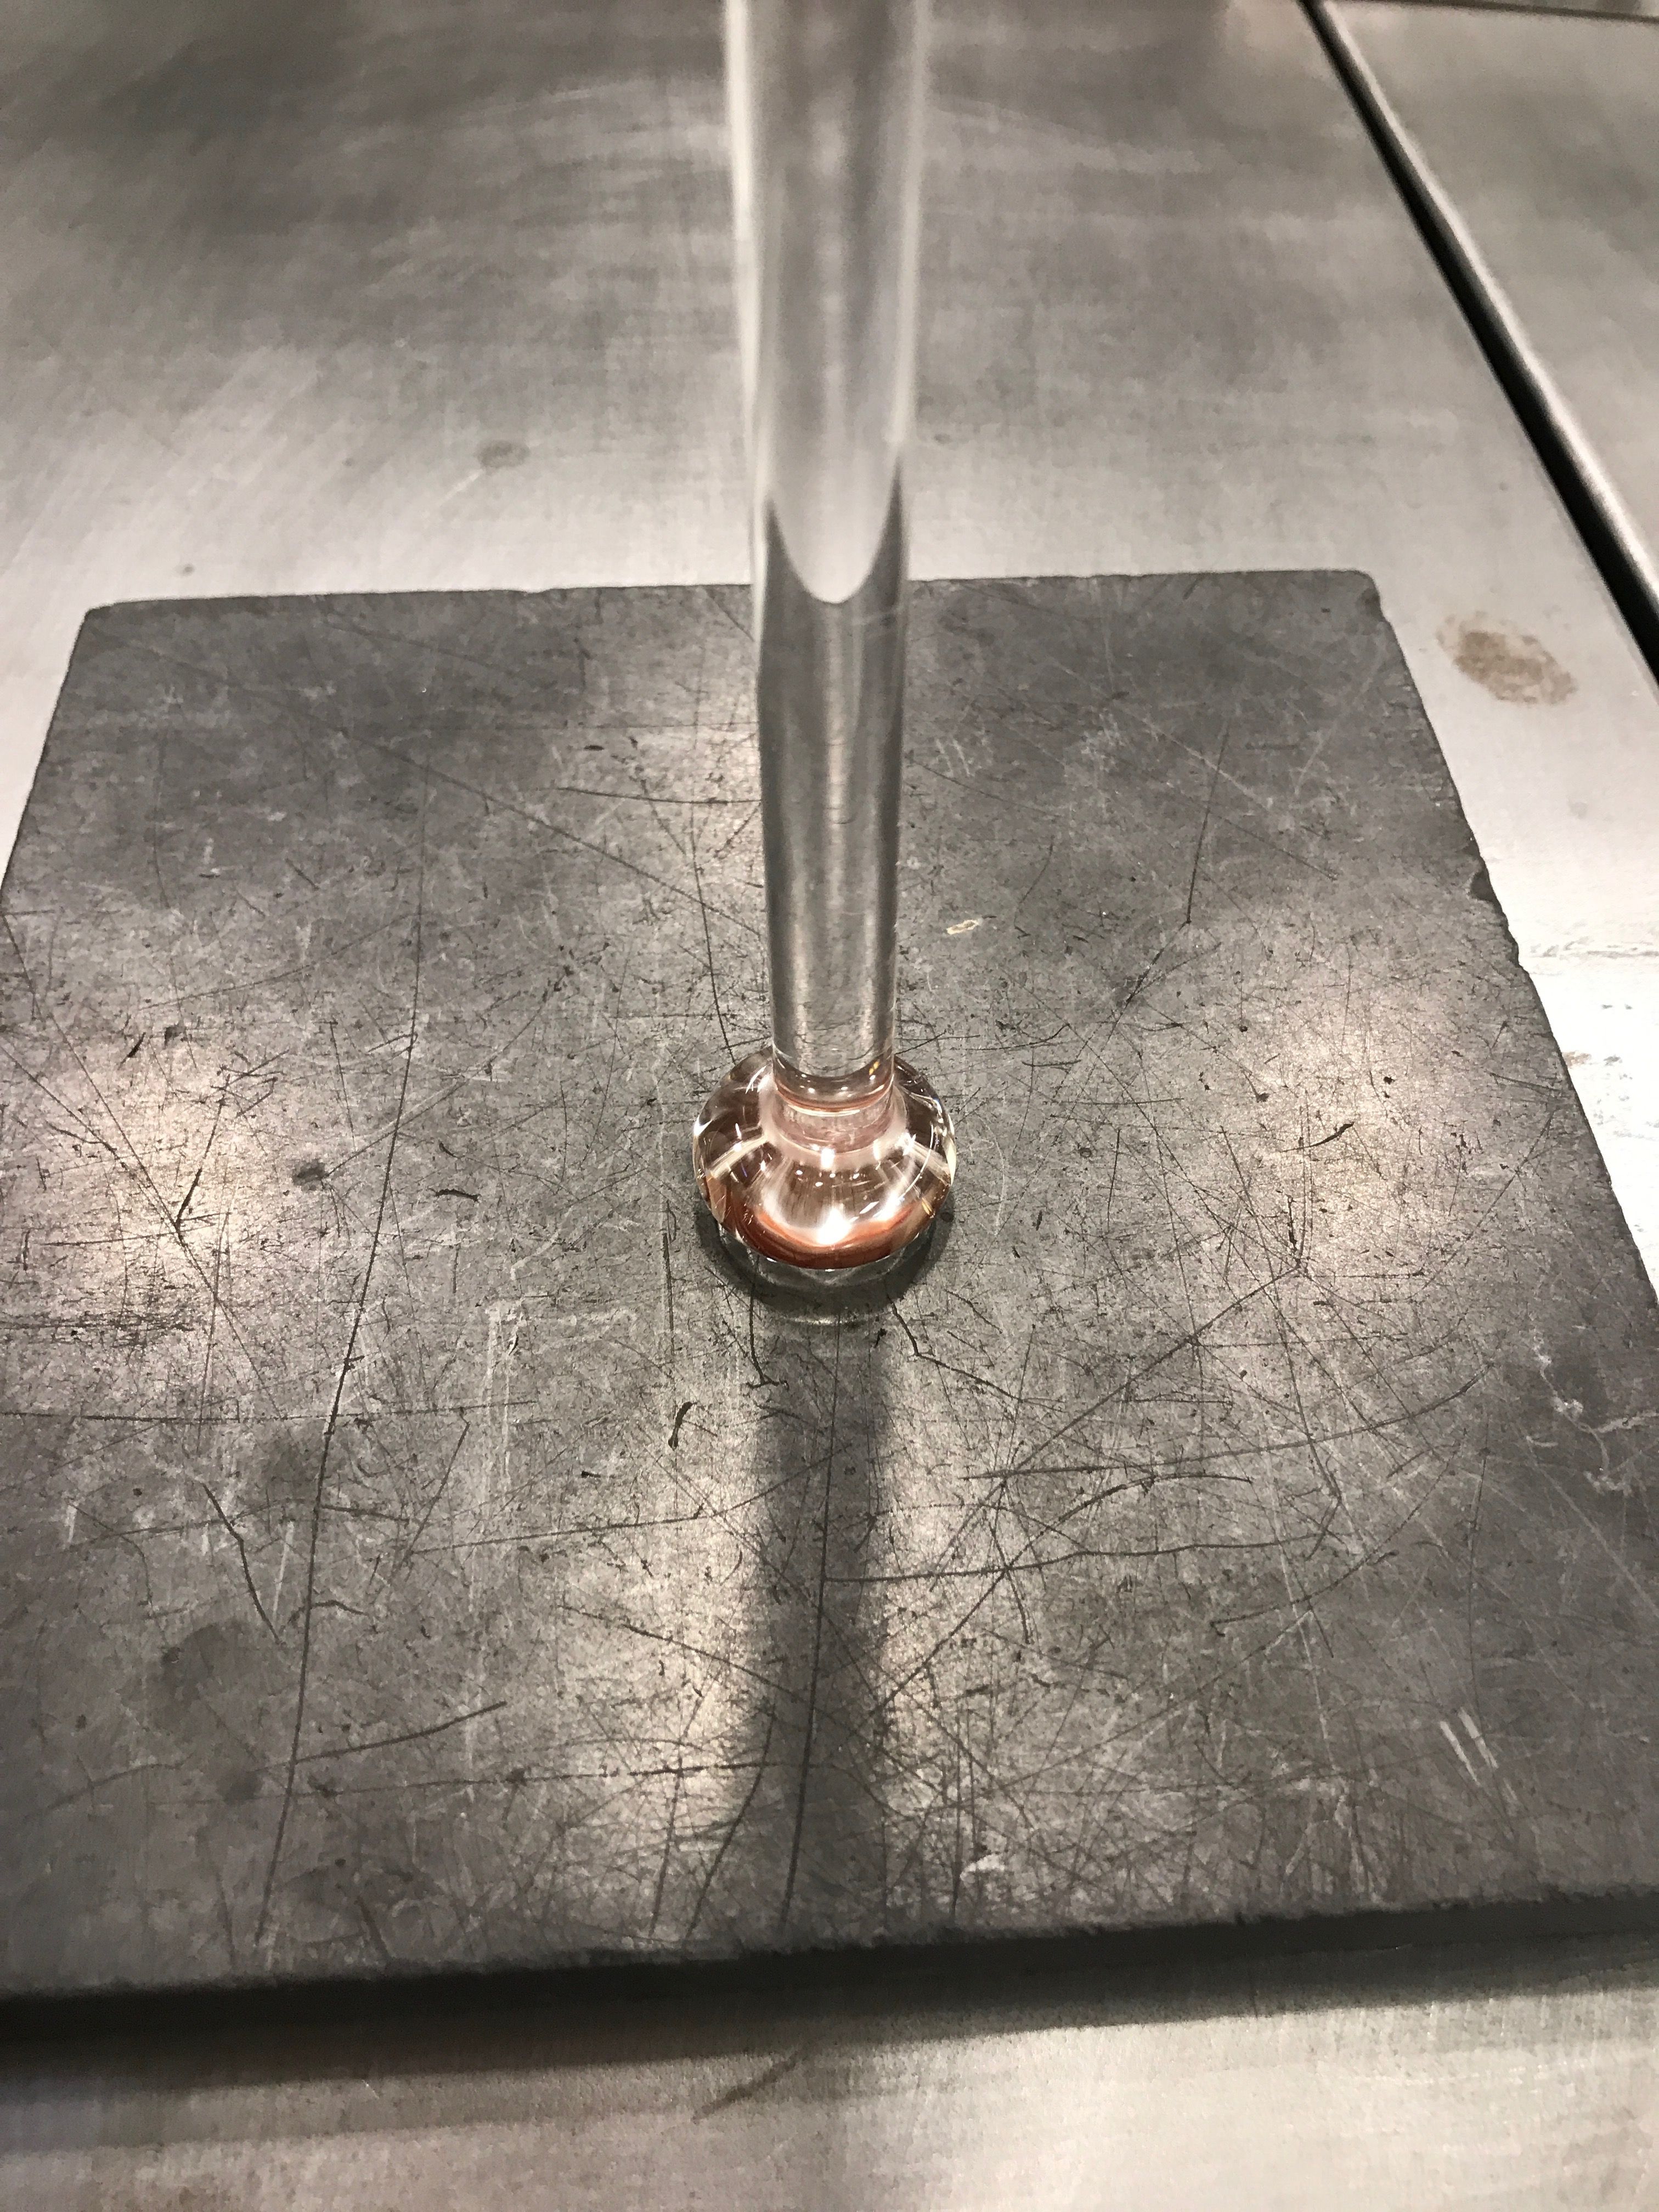
Next, we press the ball into a graphite pad. This flattens the sphere into a hemisphere shape. The flat part of the hemisphere will allow an easier application surface for color in the following steps.
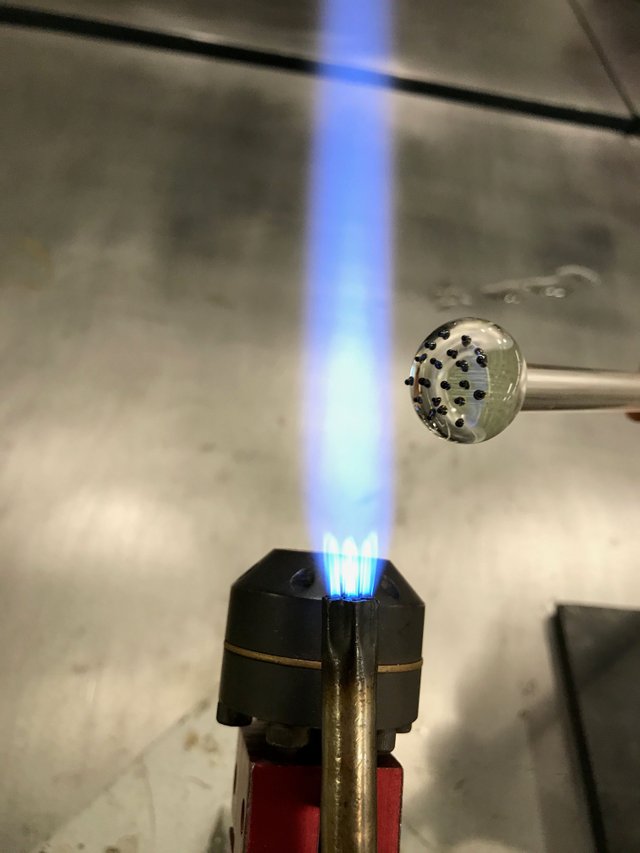
At this point we have a flat surface to apply dots of color (these are the dark blue dots in the final product picture). This step requires glass rods of color, which we melt and then press quickly onto the bottom of the hemisphere.
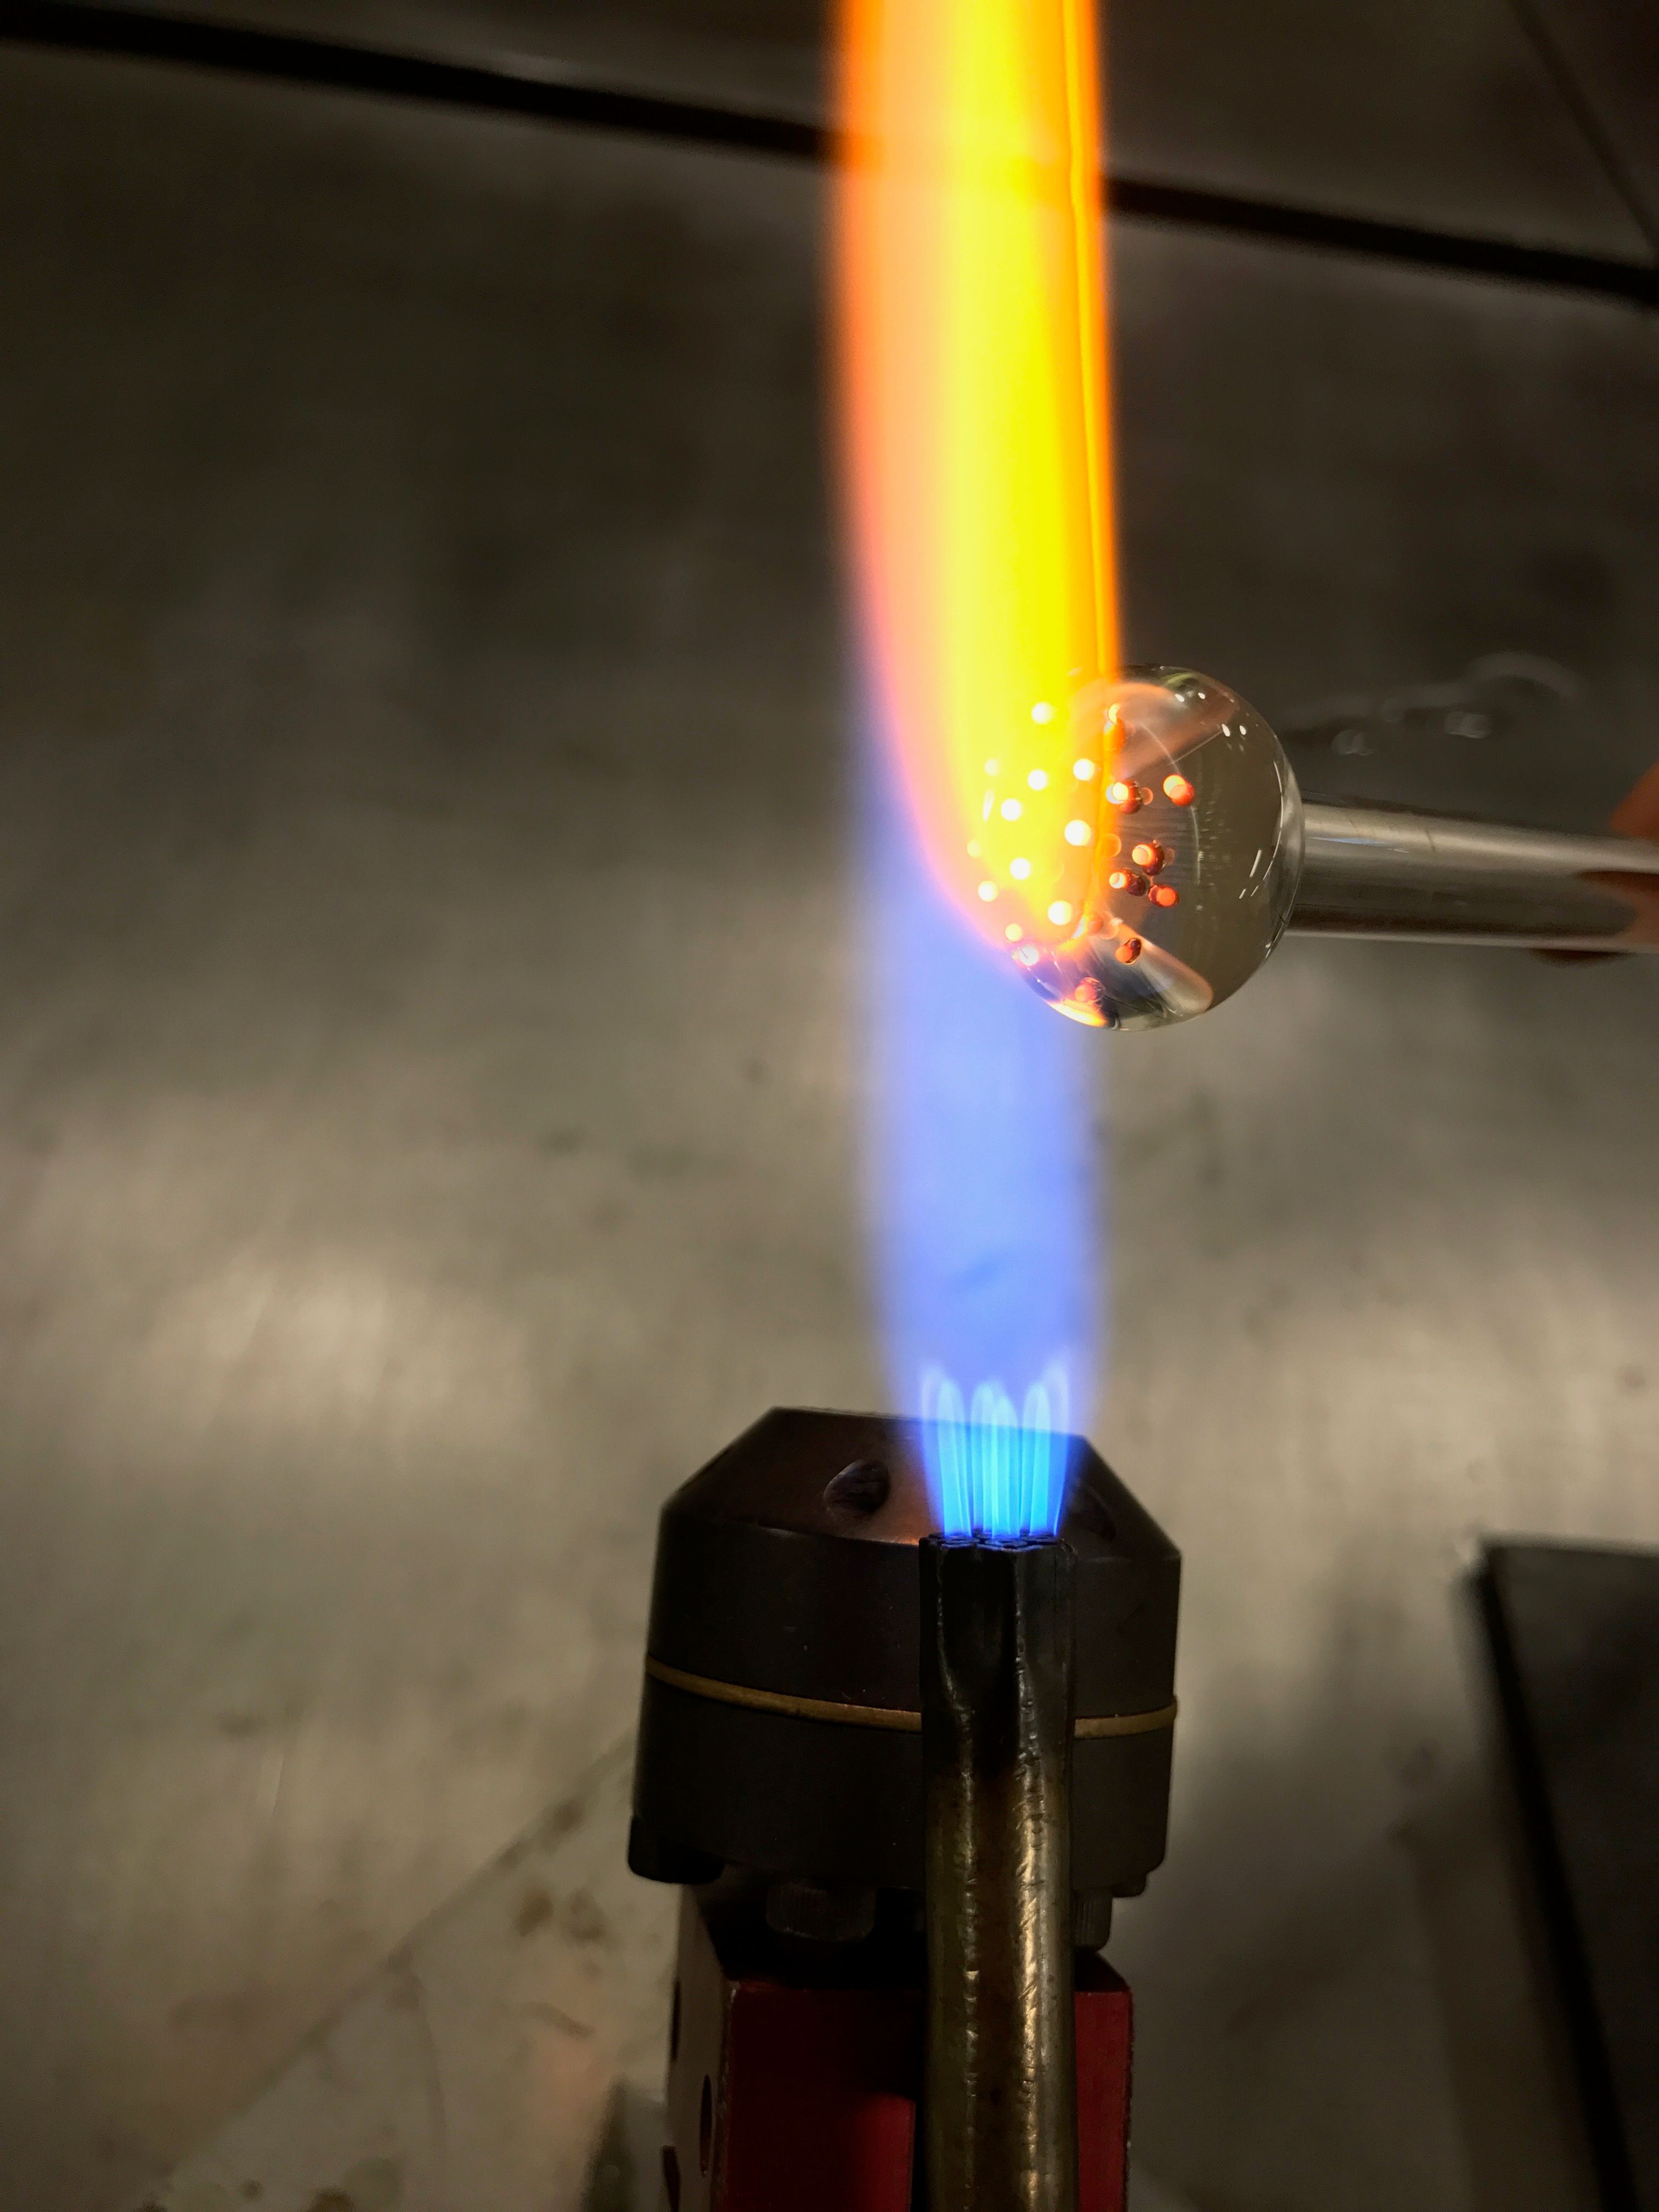
After we apply the color, we can melt this into the hemisphere.
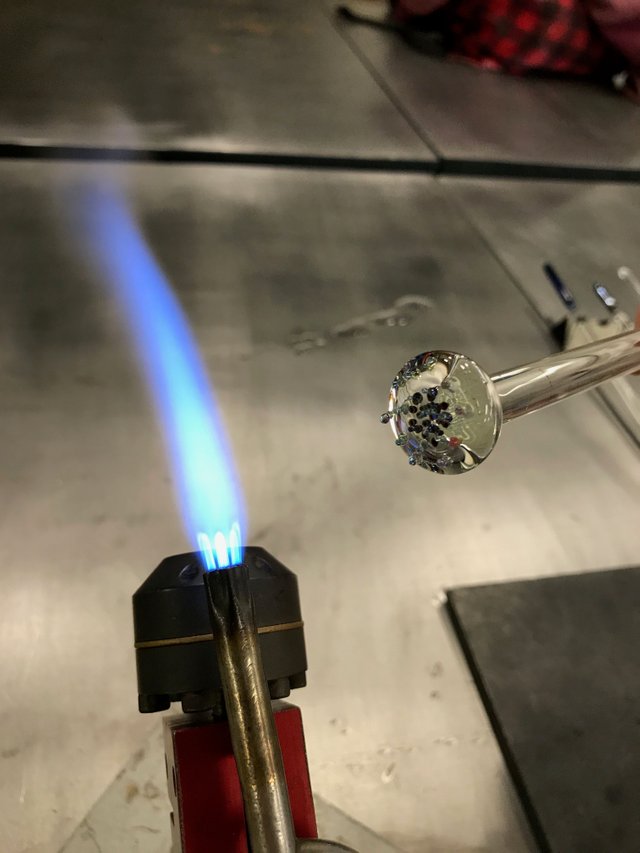
After this we melt the rod with the color applied into a sphere shape and press it down on the graphite pad again. This forces the color dots up inside the now hemisphere shape. After doing this a few times we apply another layer of color (this will be the lighter blue).
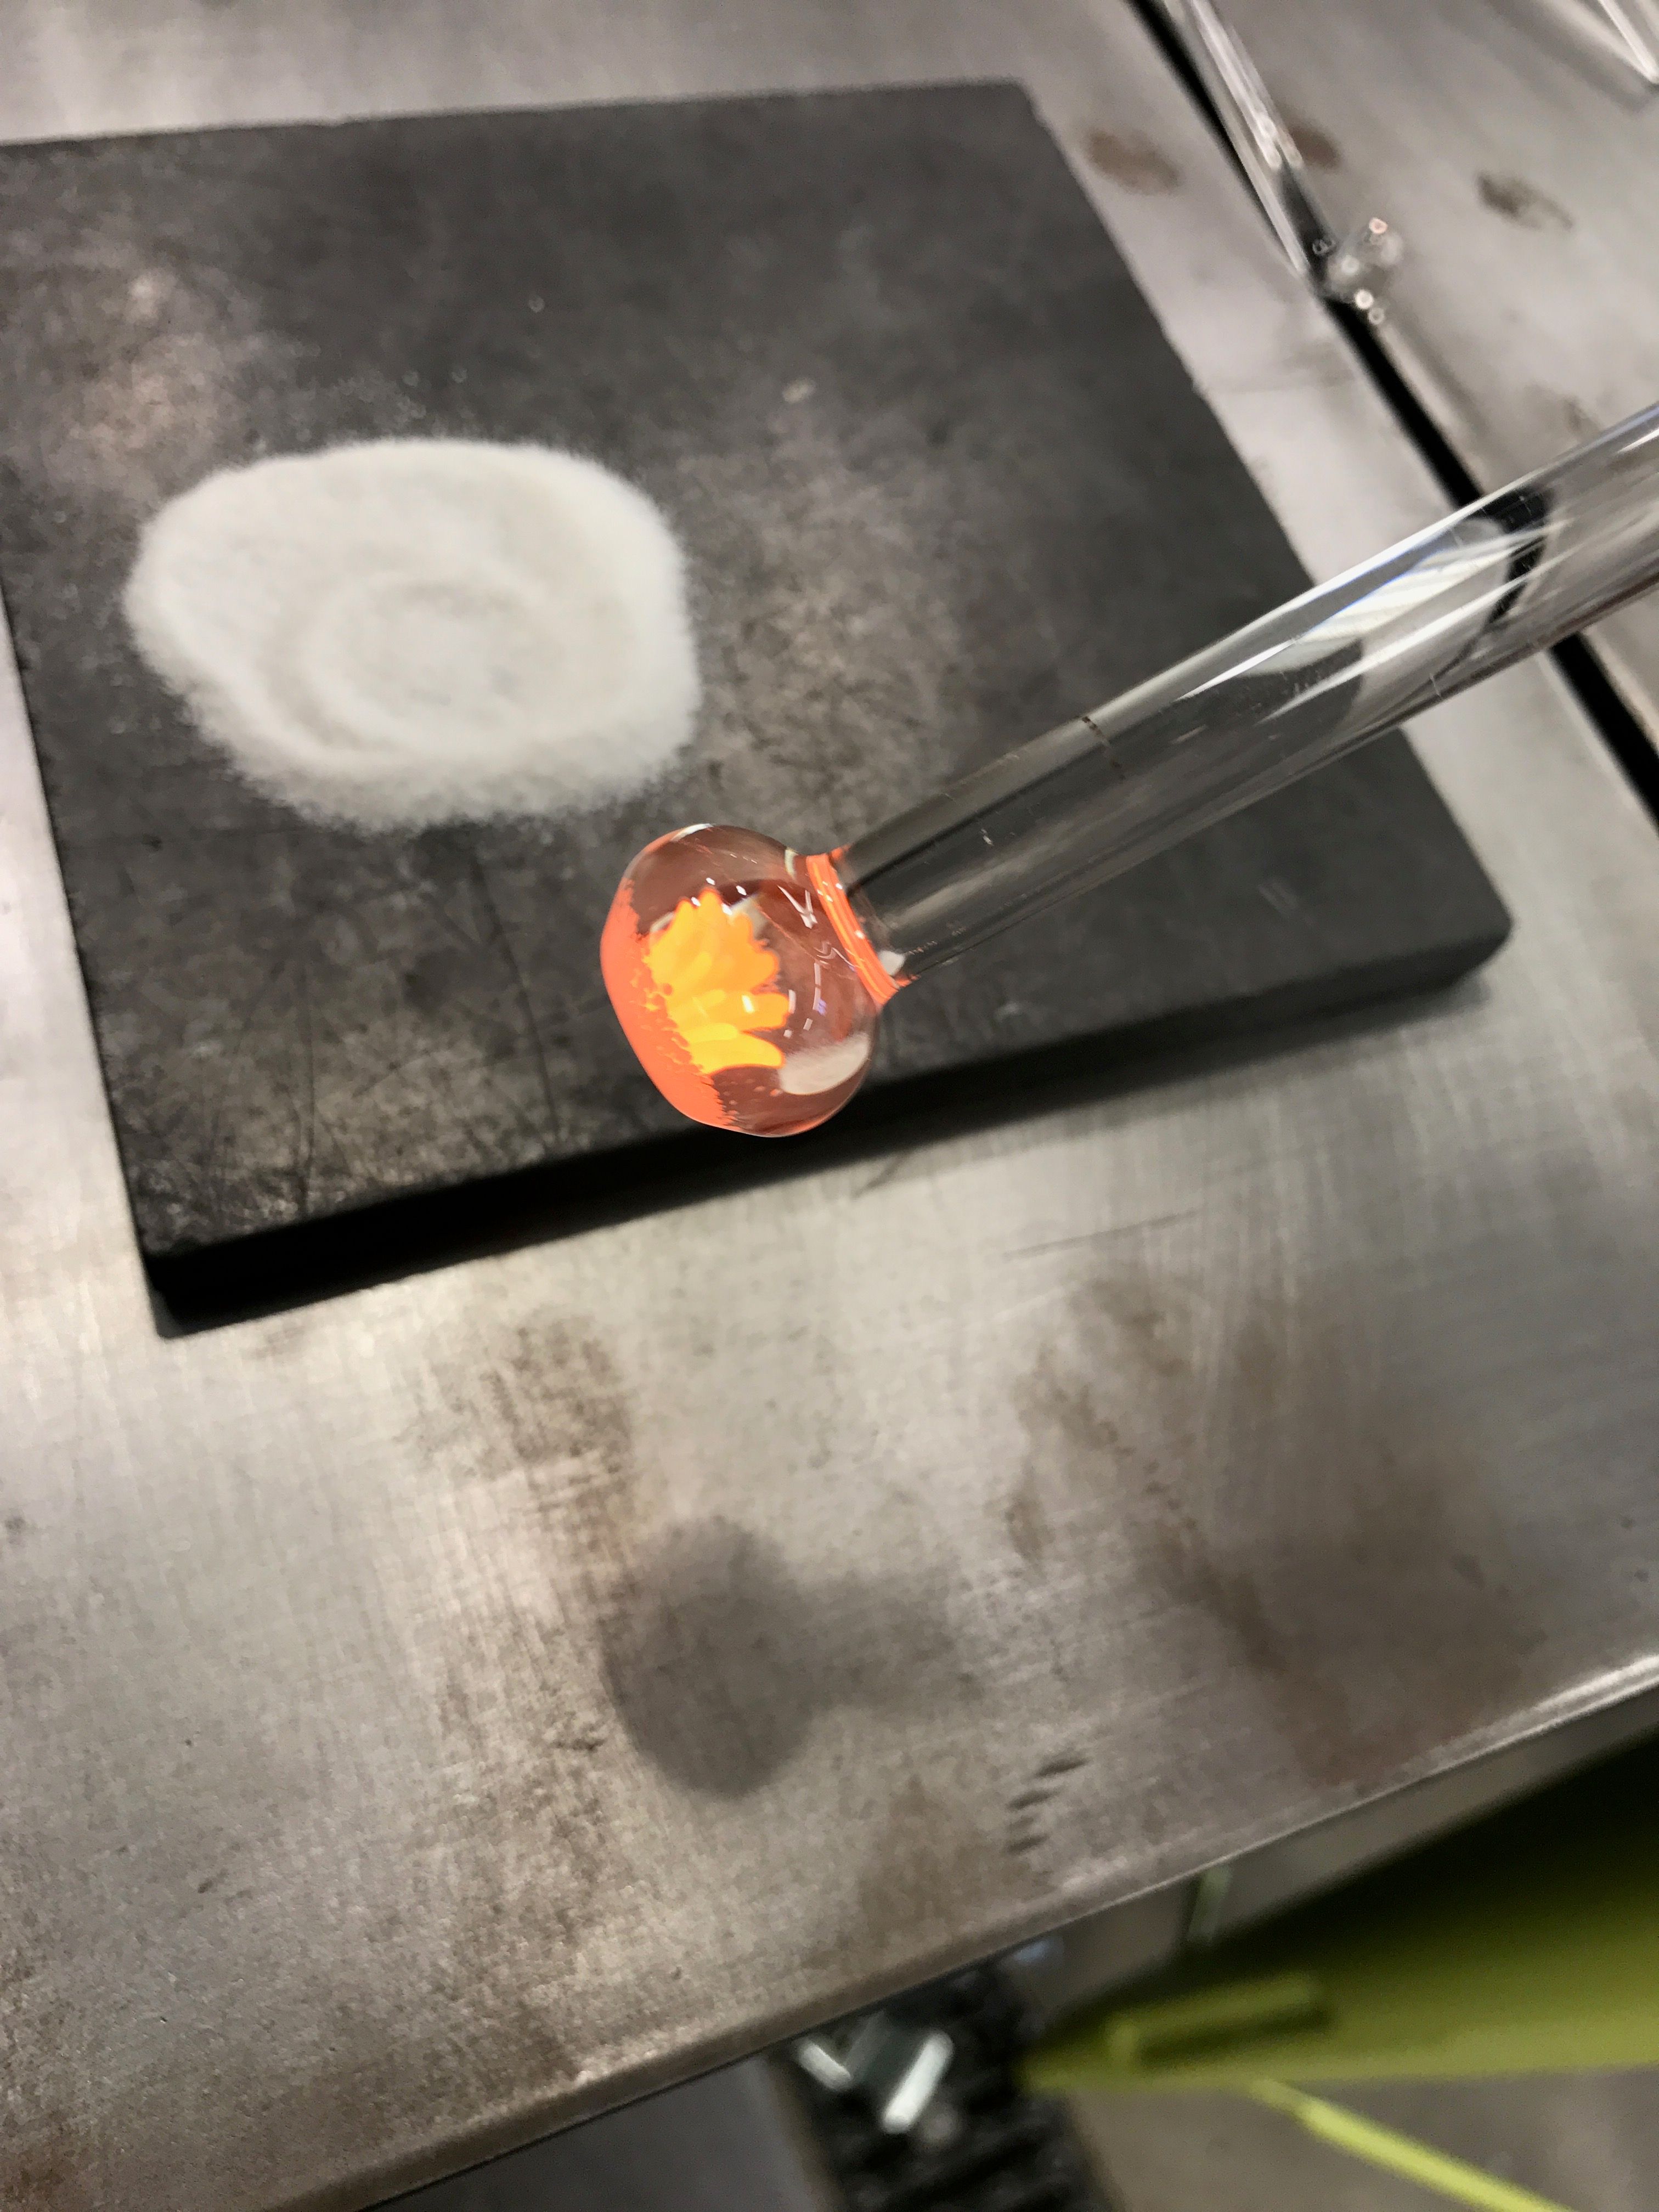
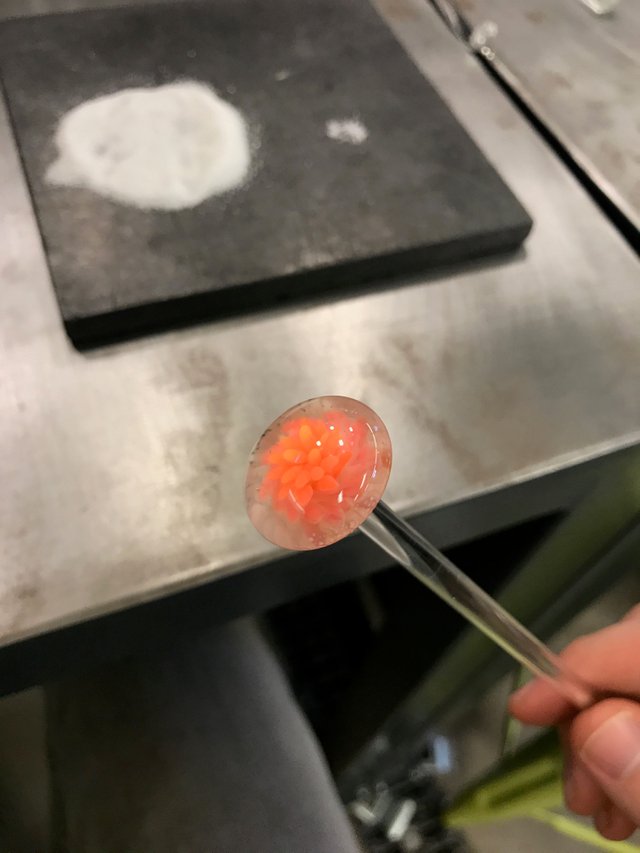
Here, I wasn't able to take many pictures because I didn't have a photographer and needed both hands. But the next few steps involve melting and then pressing the piece onto the graphite pad until the colors are satisfyingly imploded.
Then we use powdered glass (the white background) to create the backdrop for the implosion. This step involves heating the bottom and pressing it onto white powdered glass (this is on the graphite pad in the background of the picture).
After this, we attach a small glass rod to the bottom of the piece and flame cut the large glass rod off the top of the pendant.
Lastly, we attach a small piece of white glass to the top and melt it into a hook (the part of the pendant that the string goes through on a neckless).
If everything goes well you end up with a pendant like this!
Thank you so much for reading!
Please up vote and follow if you enjoyed this content.
I have glass work for sale on Etsy here: https://www.etsy.com/shop/SteveChadwickGlass?ref=profile_shopicon&order=relevance
If you have any question feel free to ask in the comments!

Thanks for the tutorial! The pendant looks amazing
Thanks for reading!
looks cool!))
Thanks so much!
Incredible work thanks for showing us how its done.
Thanks man!
Congratulations @spc, this post is the second most rewarded post (based on pending payouts) in the last 12 hours written by a Dust account holder (accounts that hold between 0 and 0.01 Mega Vests). The total number of posts by Dust account holders during this period was 3008 and the total pending payments to posts in this category was $931.04. To see the full list of highest paid posts across all accounts categories, click here.
If you do not wish to receive these messages in future, please reply stop to this comment.
Wow when I asked about process pics I assumed you would have someone else in the studio help you... this seems dangerous! I had absolutely no idea what was involved in making a pendant, I think I had turned it into something more complicated in my head. I wouldn't say this makes it seem easy, but it does ground it in reality where before it was kind of just swirling around the cosmos for me. The pendant is beautiful and I really enjoyed this post. Thanks for sharing! Cheers - Carl
Haha yeah, glass does seem really inaccessible until you see how it's done. It takes a lot of practice to have the glass do what you want it to, but it isn't crazy difficult. If you have an opportunity, I recommend taking a class if there is a studio near you. Thanks so much for reading and stopping by!
cool
Thanks!
Super:)
Thank you!
When looked at the first photo I was wondering how you achieved a different color inside. Further description of the process fascinated me.
It's so amazing that will be my first resteem here!
Thanks so much! I'm glad you enjoyed this!
that's so cool :)
Beautiful work ! Thanks for the demonstration ... what a fantastic craft.
No problem! Thanks for checking it out!