An in depth process post about drypoint- All you need to know!
Hello everyone! :)
Today it's drypoint time!
I haven't been working with my drypoints in forever due to the fact that I'm depending on a press o produce my prints, so today I had a much longed for printing session!
A few weeks back I was asked if I could take on a drypoint comisson something I was very flattered by. The woman who wanted the comisson asked me if I could make her a ''partridge''.
I'dnever heard about them before, but turnes out they are the prettiest little birds and I've totally fallen in love..
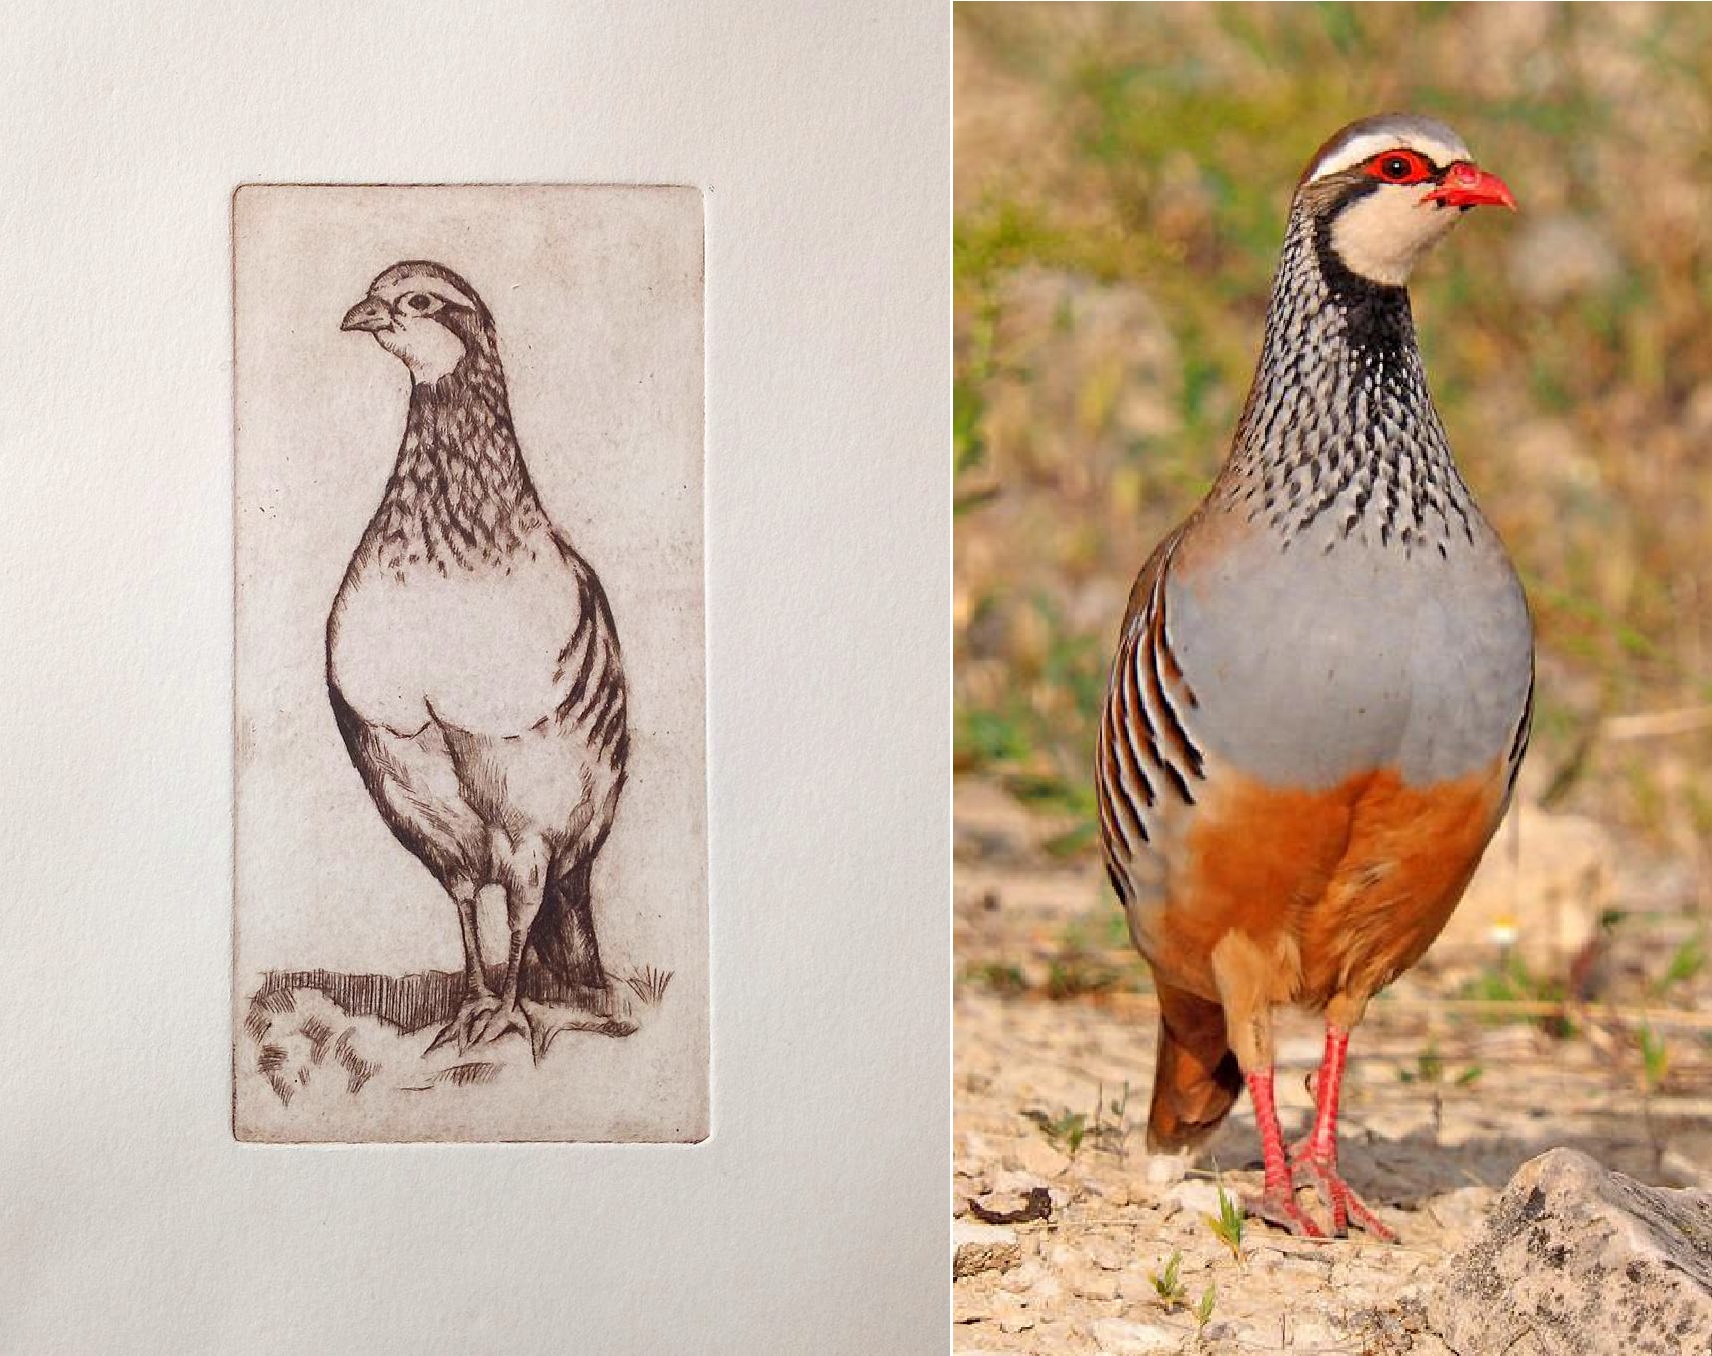
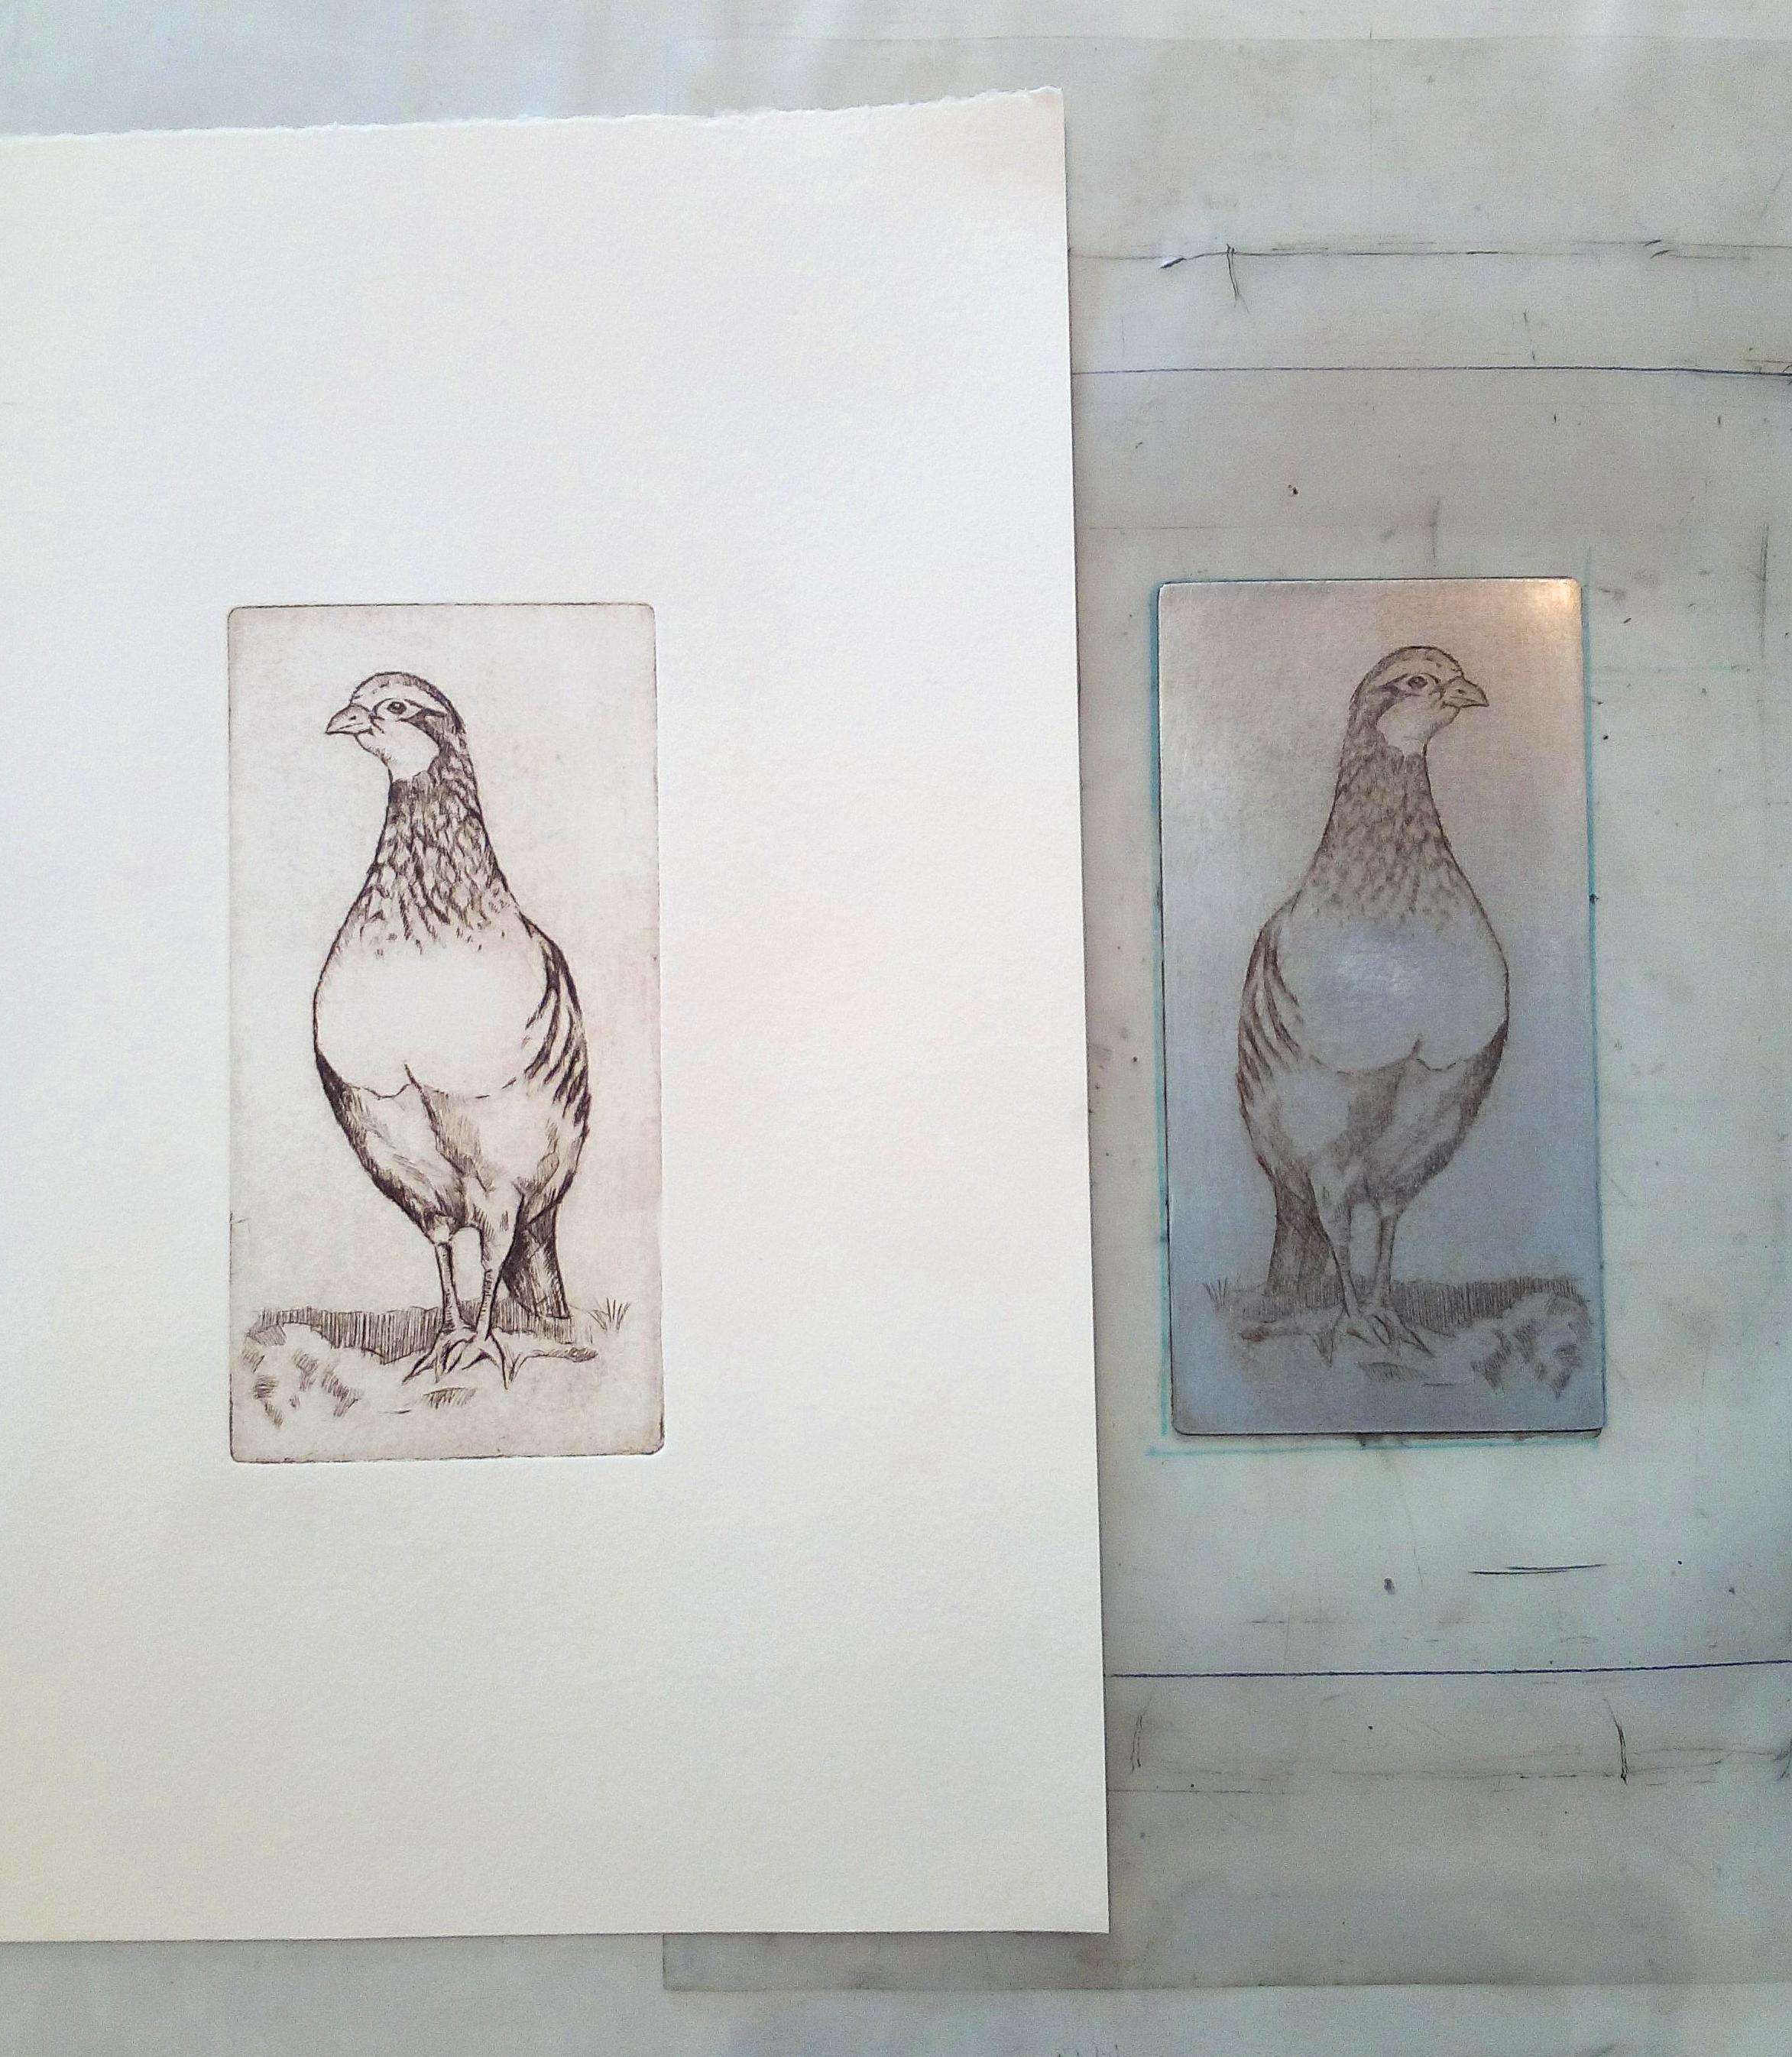
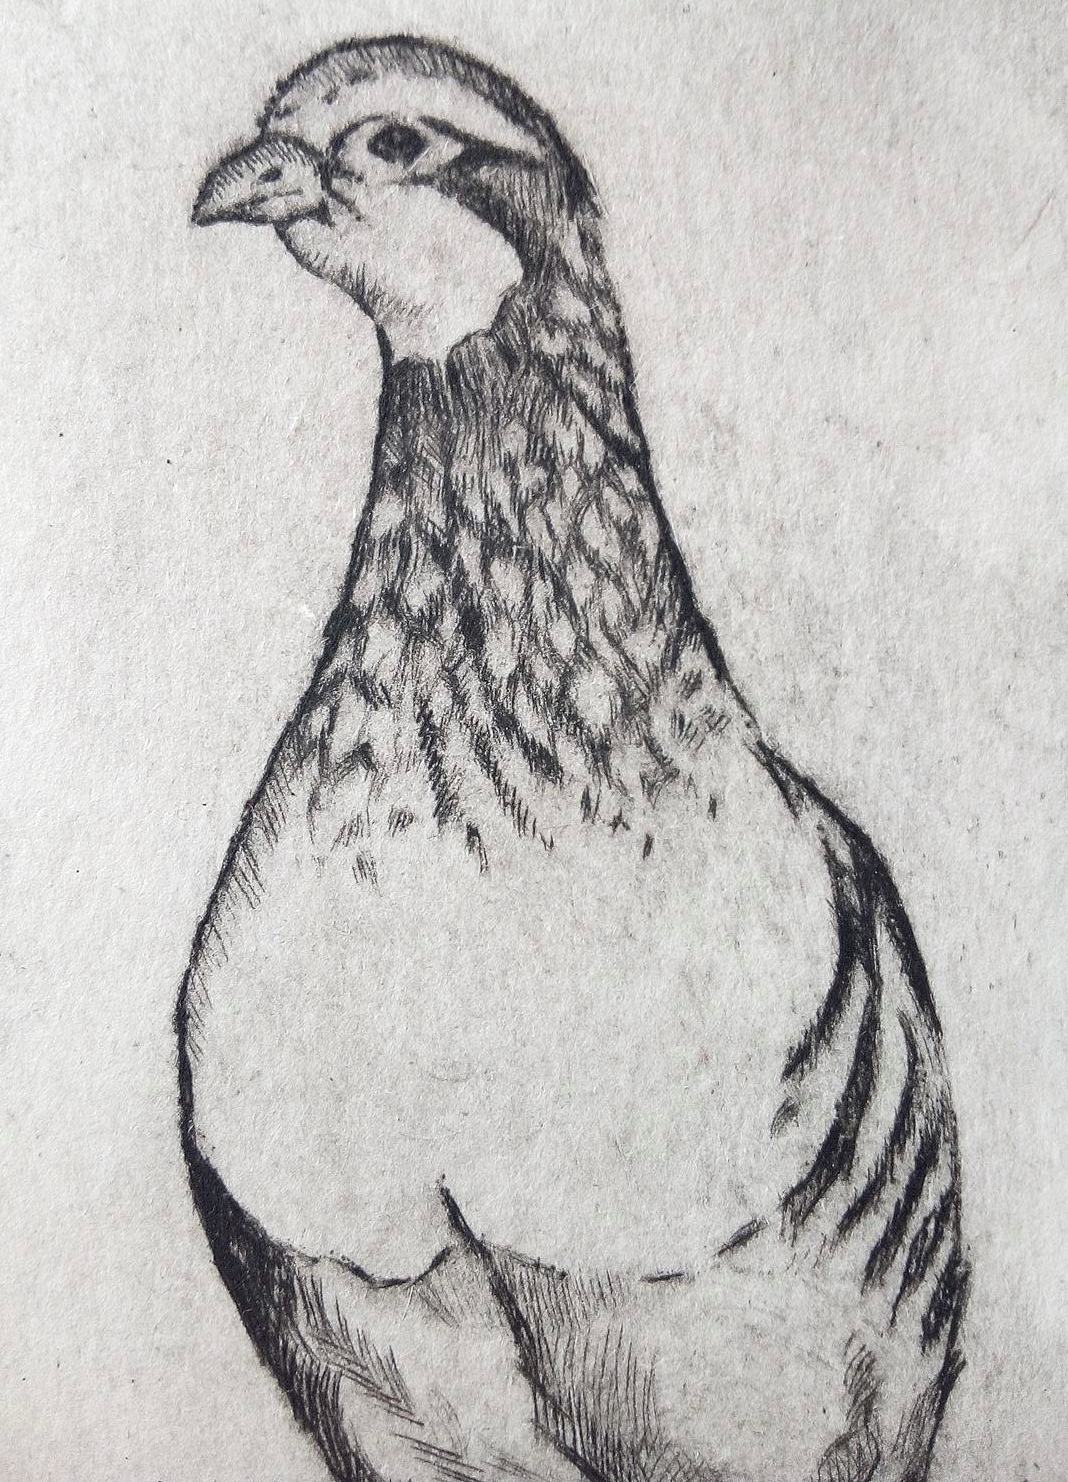
To the left is the finished drypoint and on the right is the image that I worked from. I don't know who the photografer is, but he sure took a great photo.. ;)
As far as choosing and finding a photo to work from I did a quick google search and decided on the photo above because the partridge was in a great position to fill out the plate dimentions that my client wanted.
This time I documented all the steps for you guys to see what goes into a drypoint from start to finish.
It is a lot of work, but when it's all done and you got your plate you do have the possibility to produce quite a few images.
The first thing I am going to show you is how I prepare my plates. I've never written about that before and it is quite a big part of printmaking.
Preparing the plate:
When we make a drypoint we want to work on copper, or zink plates. A lot of people prefer copper because they claim it is easier to engrave on it, but I myself actually prefer zink. In addition, zink is way much cheaper than copper which is always nice.
On my ''plate preparing day'' I wanted to make three zink plates;
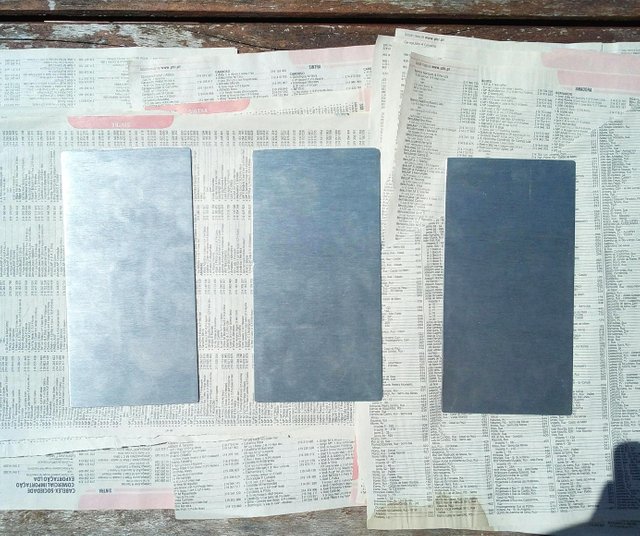
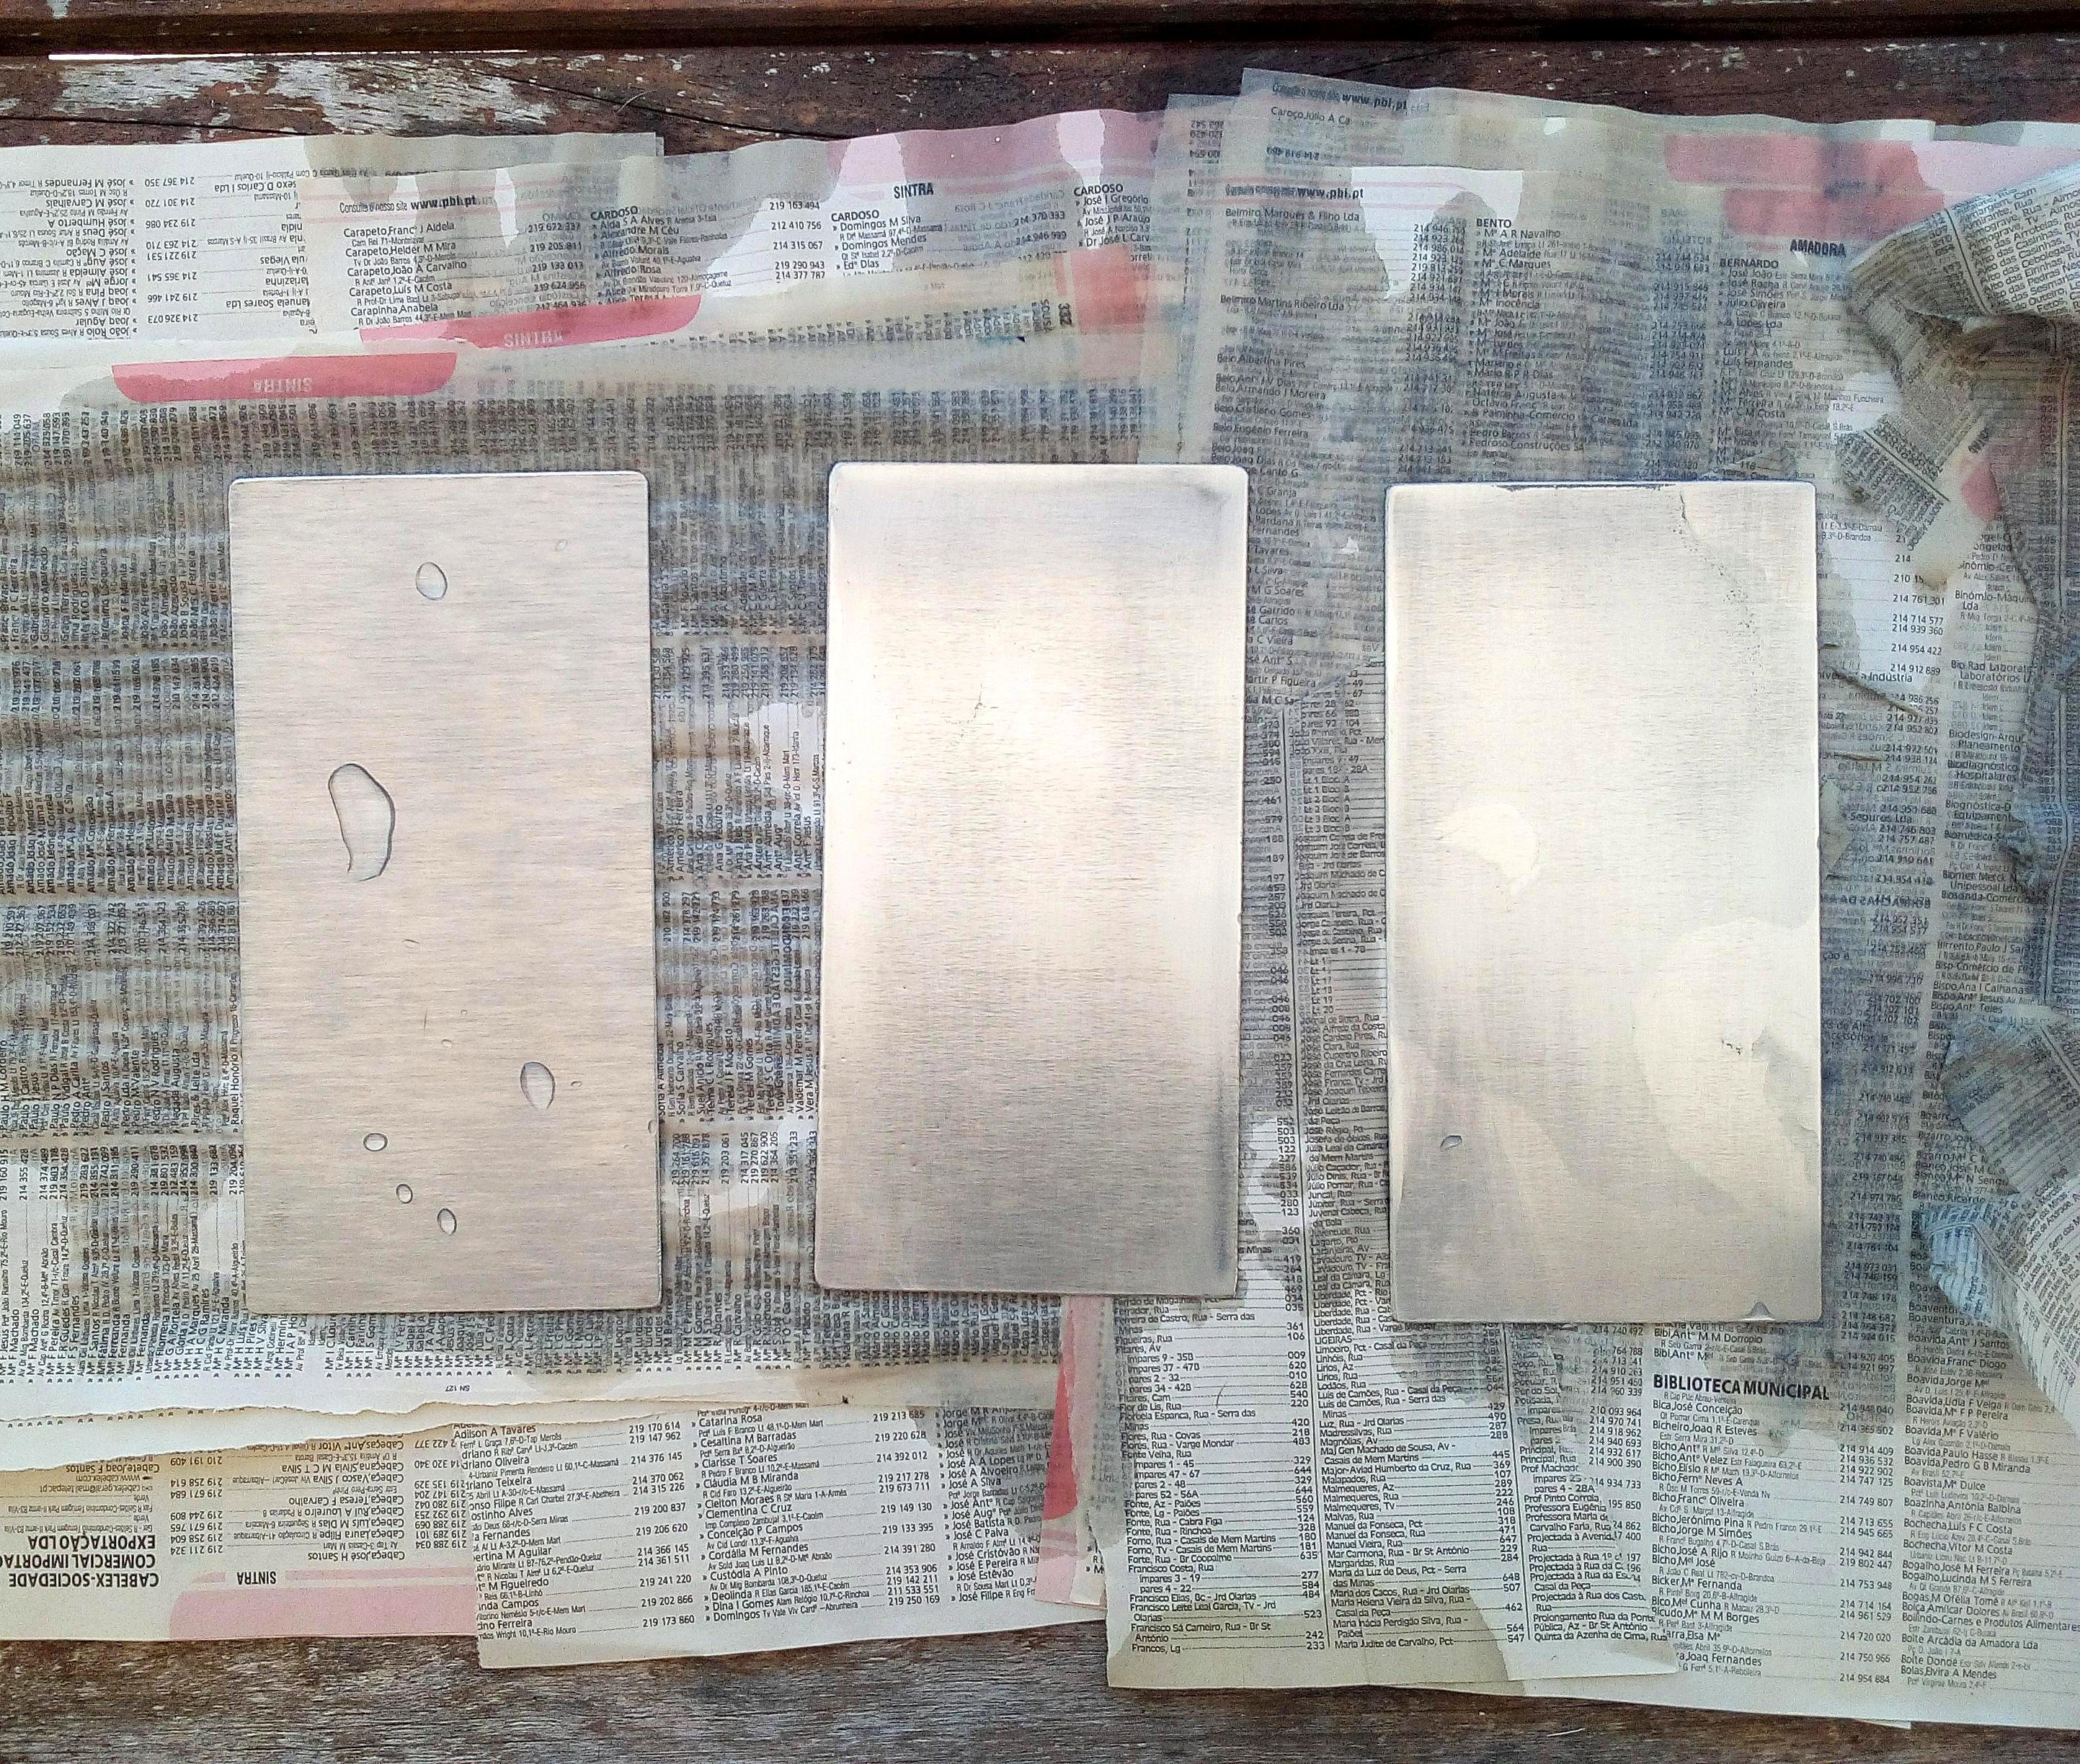
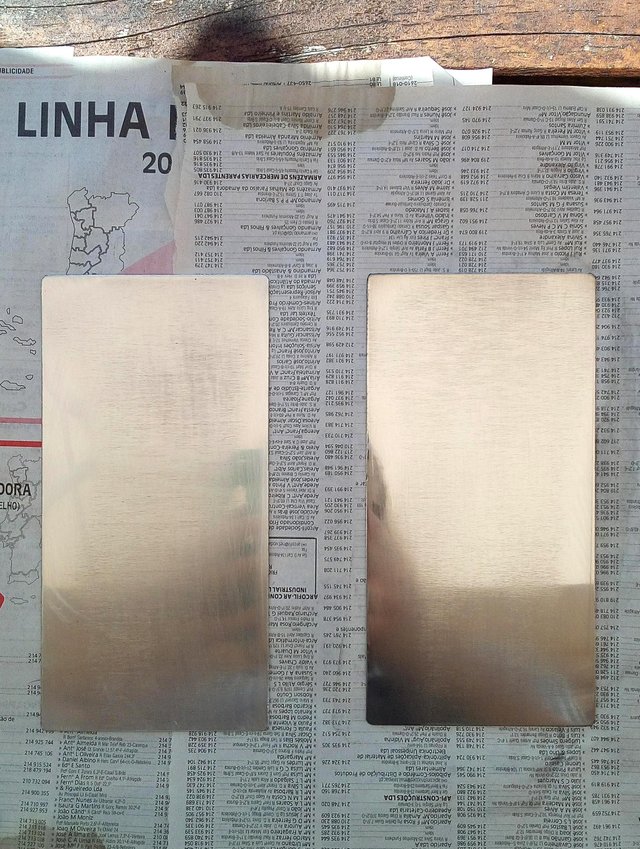
Here you can see the plates before I did anything to them.
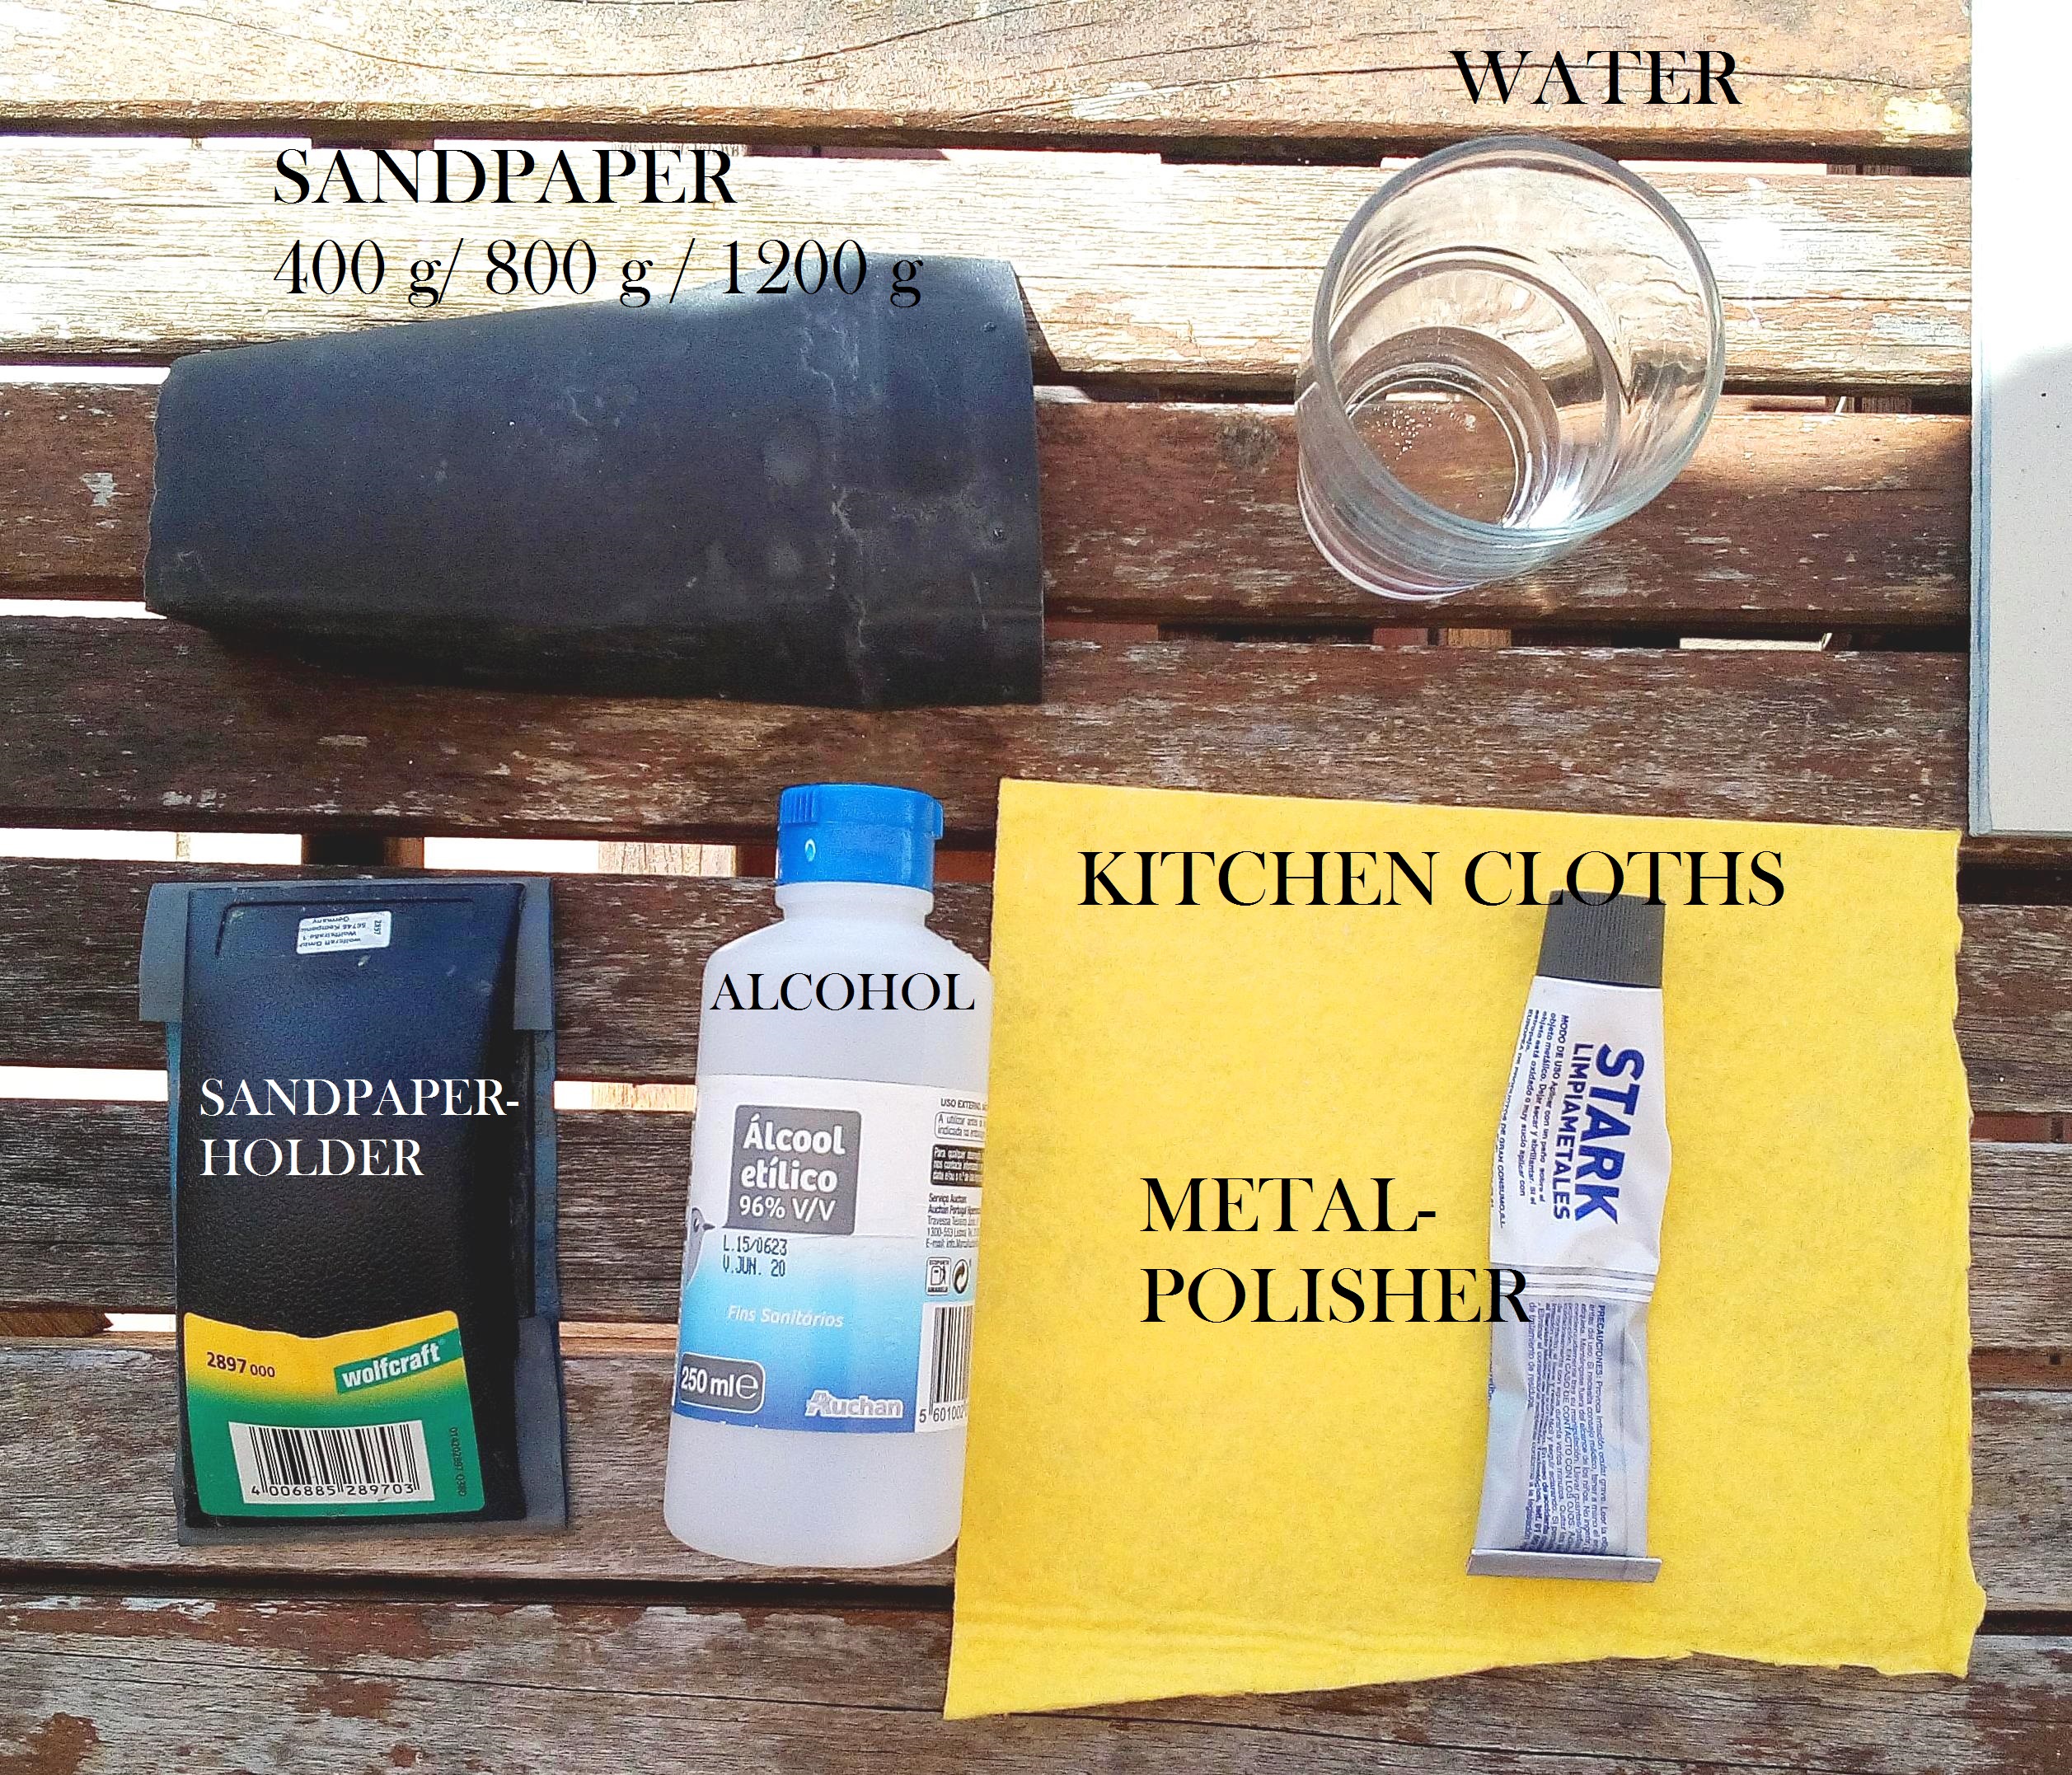
To prepare a plate you will need these materials;
PLUSS +
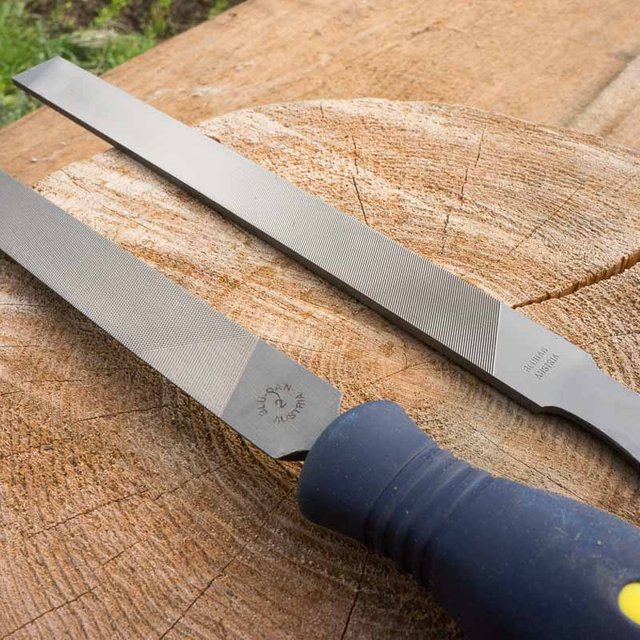
A couple of finer grained files.
1: Soften the Edges!
The first thing you want to do is smooth off the edges of your plate. This will prevent your paper from tearing later when you press your print with a sheat of paper through the press.
This is simple enough, just go aroun all the sides of your plate with a file like in the photo above including the corners. Go in one direction along the sides of your plate with the file in an 45 degree angle. DON'T use the file in an upwards and downwards motion, this will make the edges of your plate un-even.
2: Sand your plates with the roughest grained sandpaper:
I prefer to work with my way up to a nice, shiny mirror like surface on my plates with the sandpaper degrees; 400 g, 800g and finally 1200g. I also prefer to use a sandpaper block or holder to make the job a bit easier, but this is just my prefrence. Pour some water on your plate and start with your roughest sandpaper and go in one direction while you gently swipe the sandpaper ove the plate. You will soon see the plate starting to get brighter and the water getting black. These layers of ''dirt'' is what we want to sand away to get our nice shiny plates ready for printing!
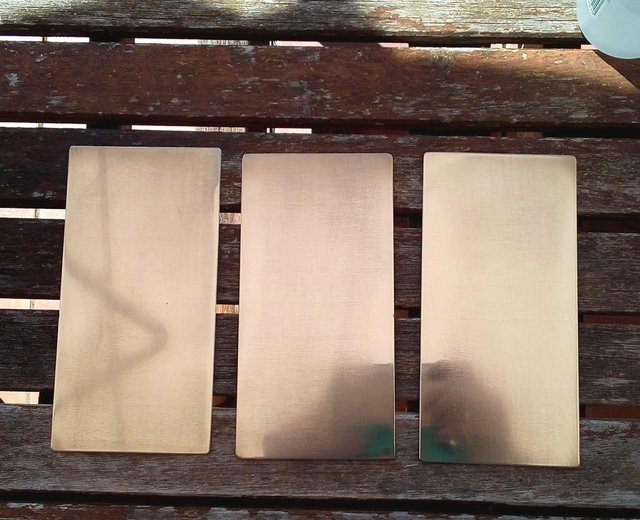
Here you can see the two plates to the right after they been sanded with a 400 g paper compared to the one on the far left.
Step 3 & 4: Repeat step 2 with the finer graded sandpapers:
Step 3 and 4 is just repeating step 2 remembering to continuesly por water over the plate as you are sanding them. First do nr 800 and then finally 1200g.
My three plates after being sanded down with all three papers.
5: Polish them plates!
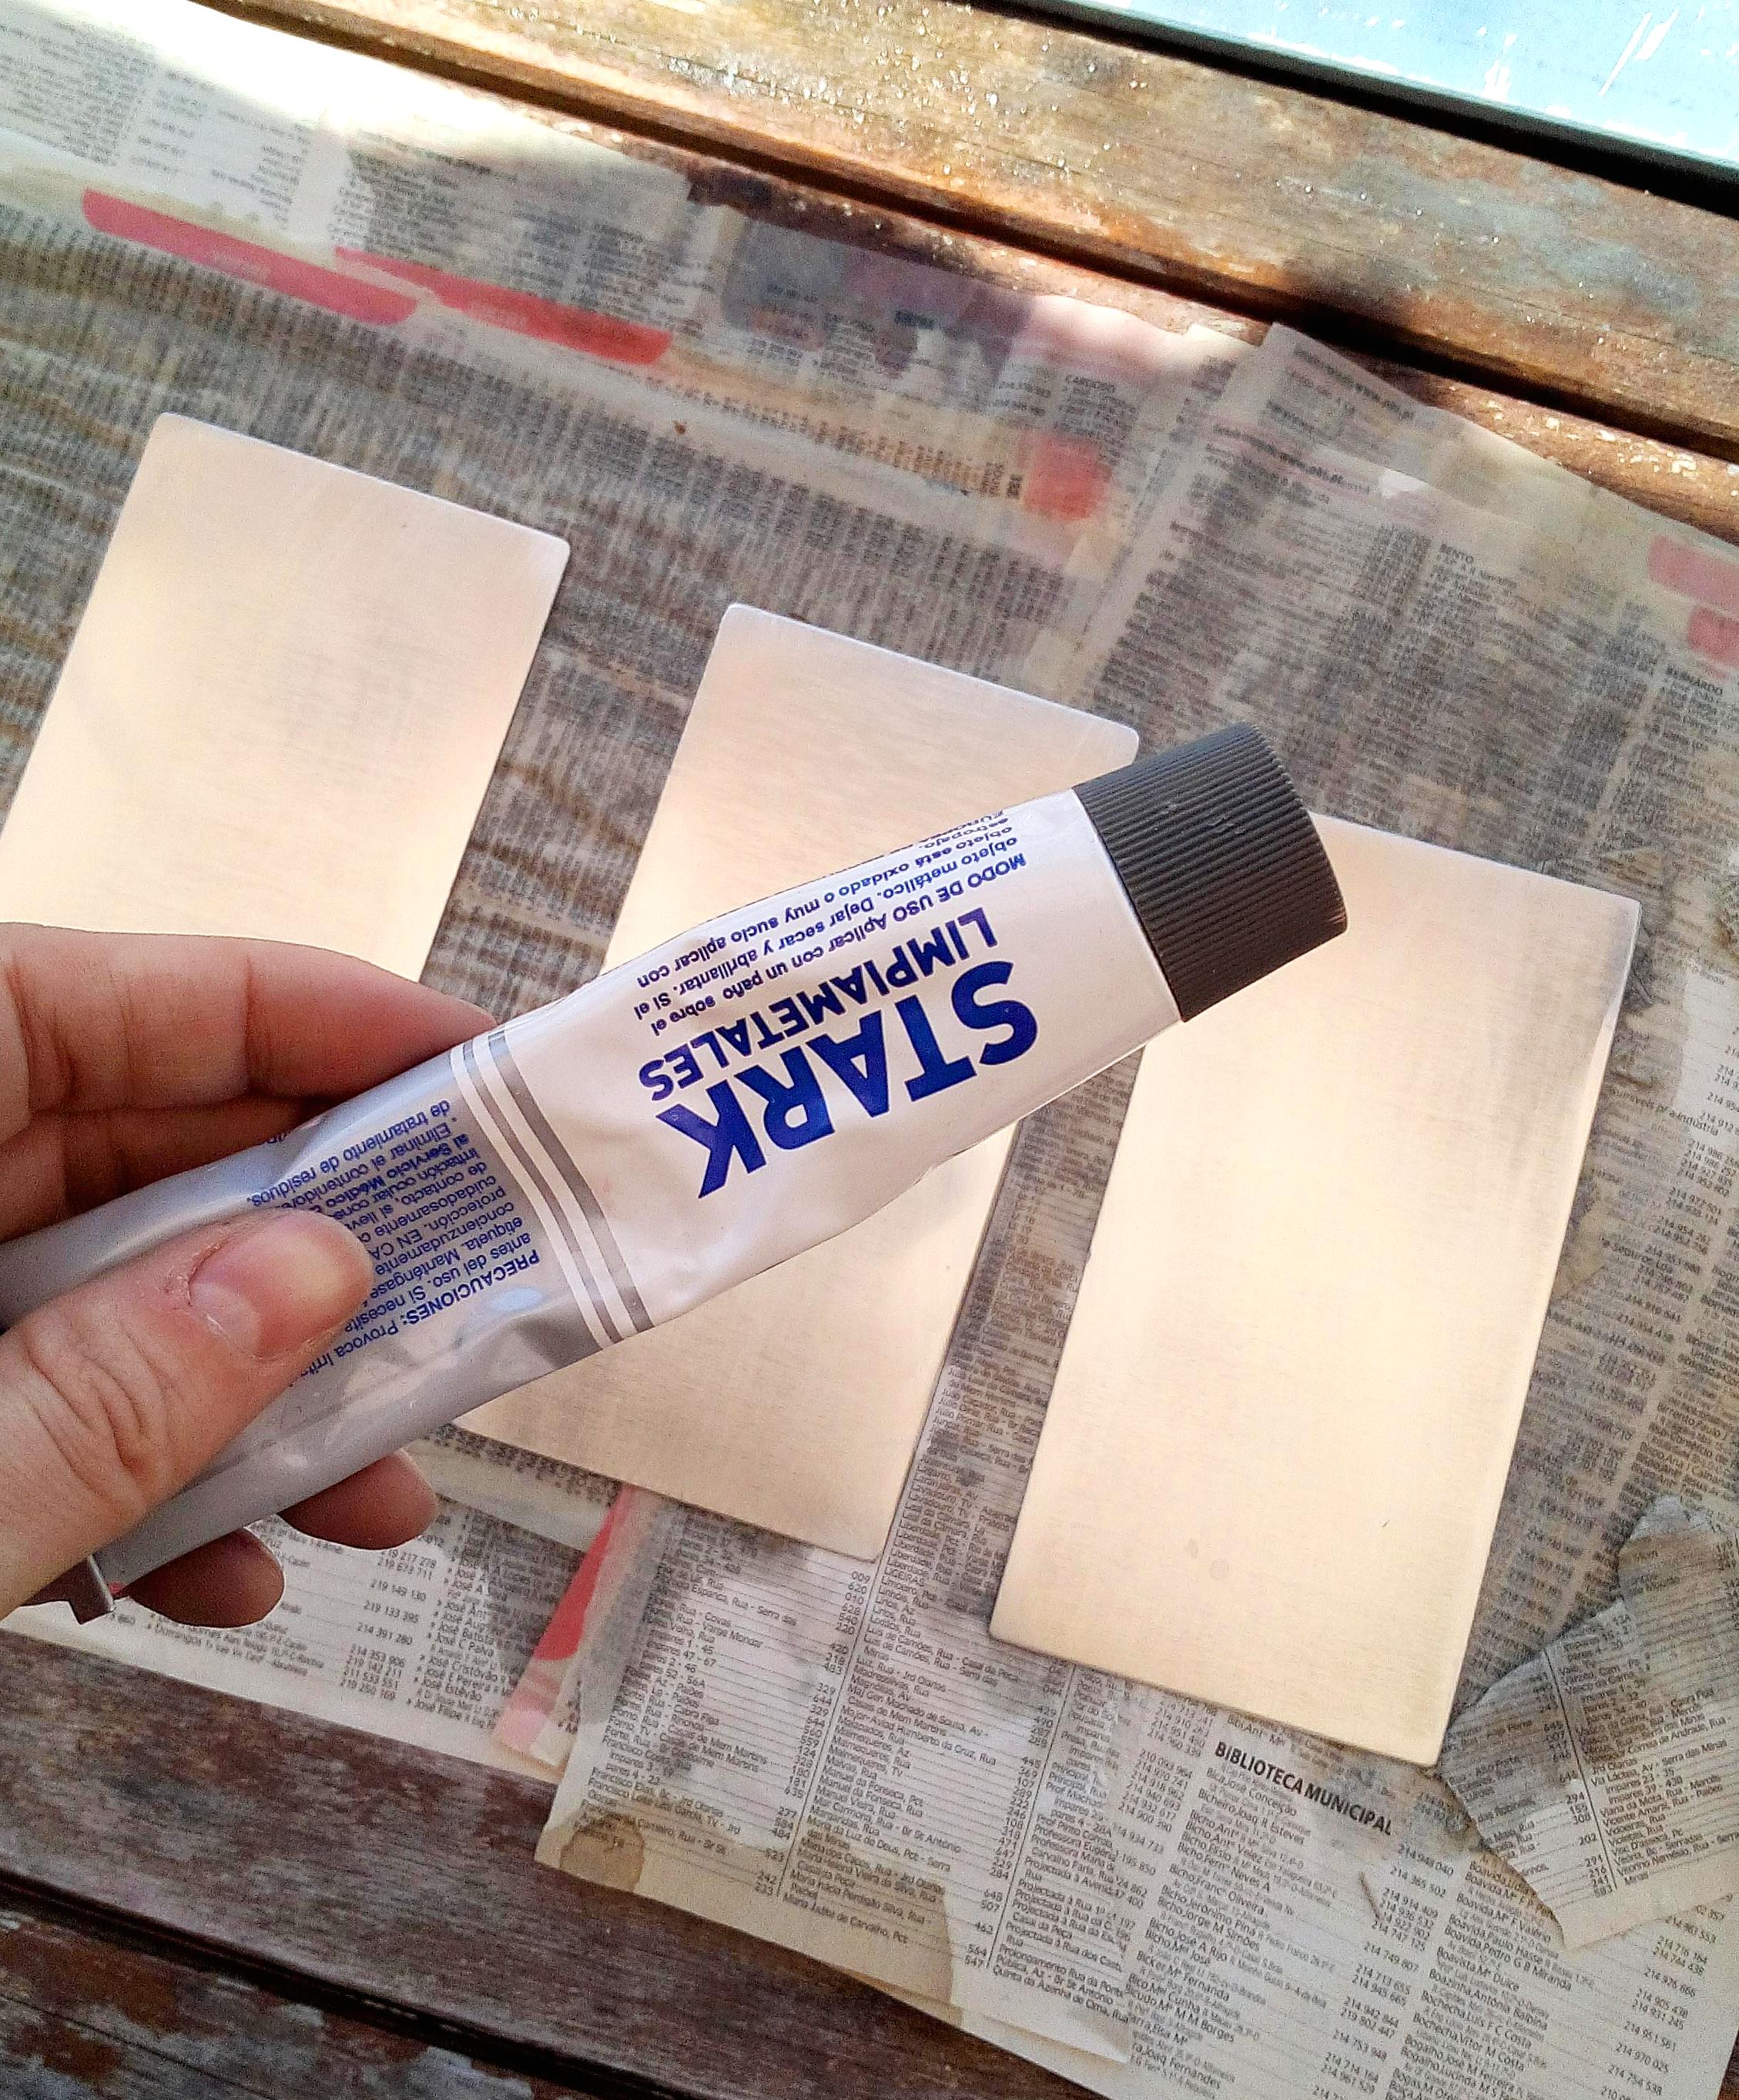
Now's the time for that metal polisher and kitchen coths! You might want to put on some plastic gloves as well because this stuff is a bit toxic. Basically just put a dash on your plate and rub your cloth in circular movements on your plate until you've removed all the polish.

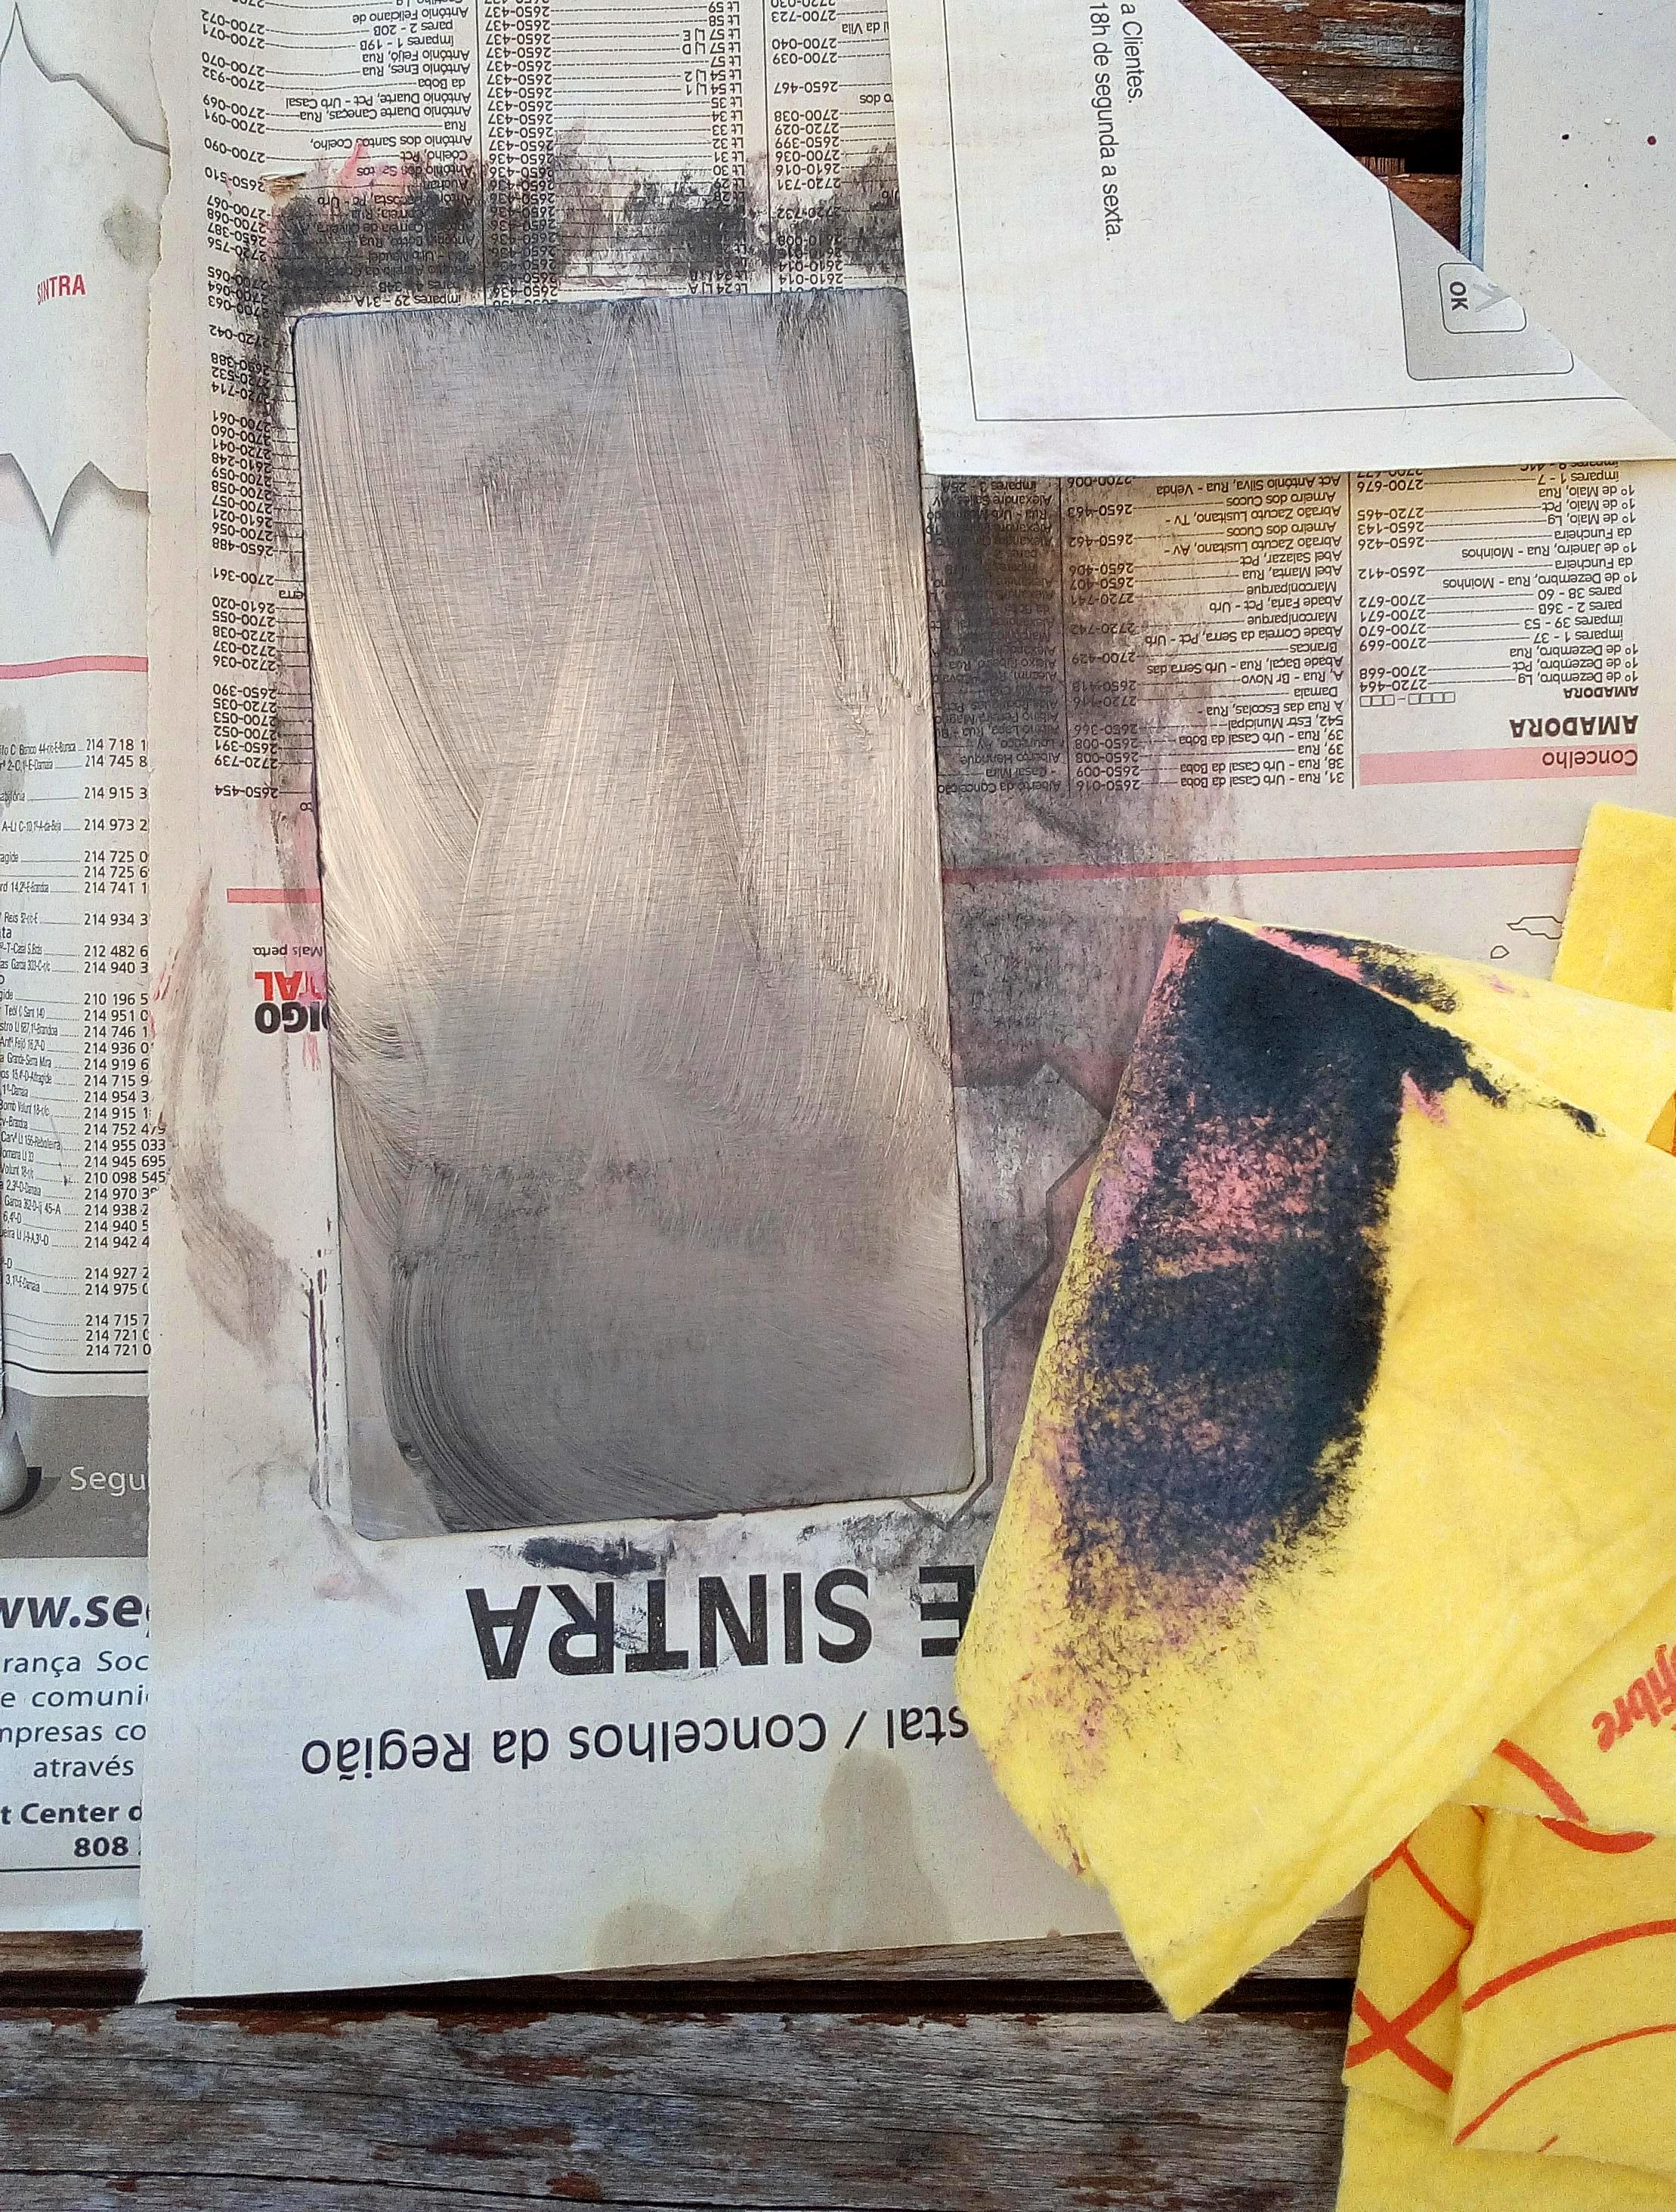
Your cloth will probably look something like this, don't worry, its normal! repeat the process a couple of times until there is less dirt coming off your plate. It will get shinier and shinier! :D
Above you can see the plate without metal polisher ( left) and with (right)!
6: Clean plates with alcohol.
The last step before you are ready to start engraving on your plate is just to clean it up with some alcohol. Just put a few drops on and wipe it off with some paper towels.
Et voilà!
Your plate is ready!
The Engraving;
1: Choose your motif:
So the forst thing you want to do is choose what you want to engrave. In this case I knew I was making a partridge but I didn't know how I wanted the composition. What can be a good idea and is something I always do, is makeing a sketch which brings me to point number 2!
2: Make a sketch;
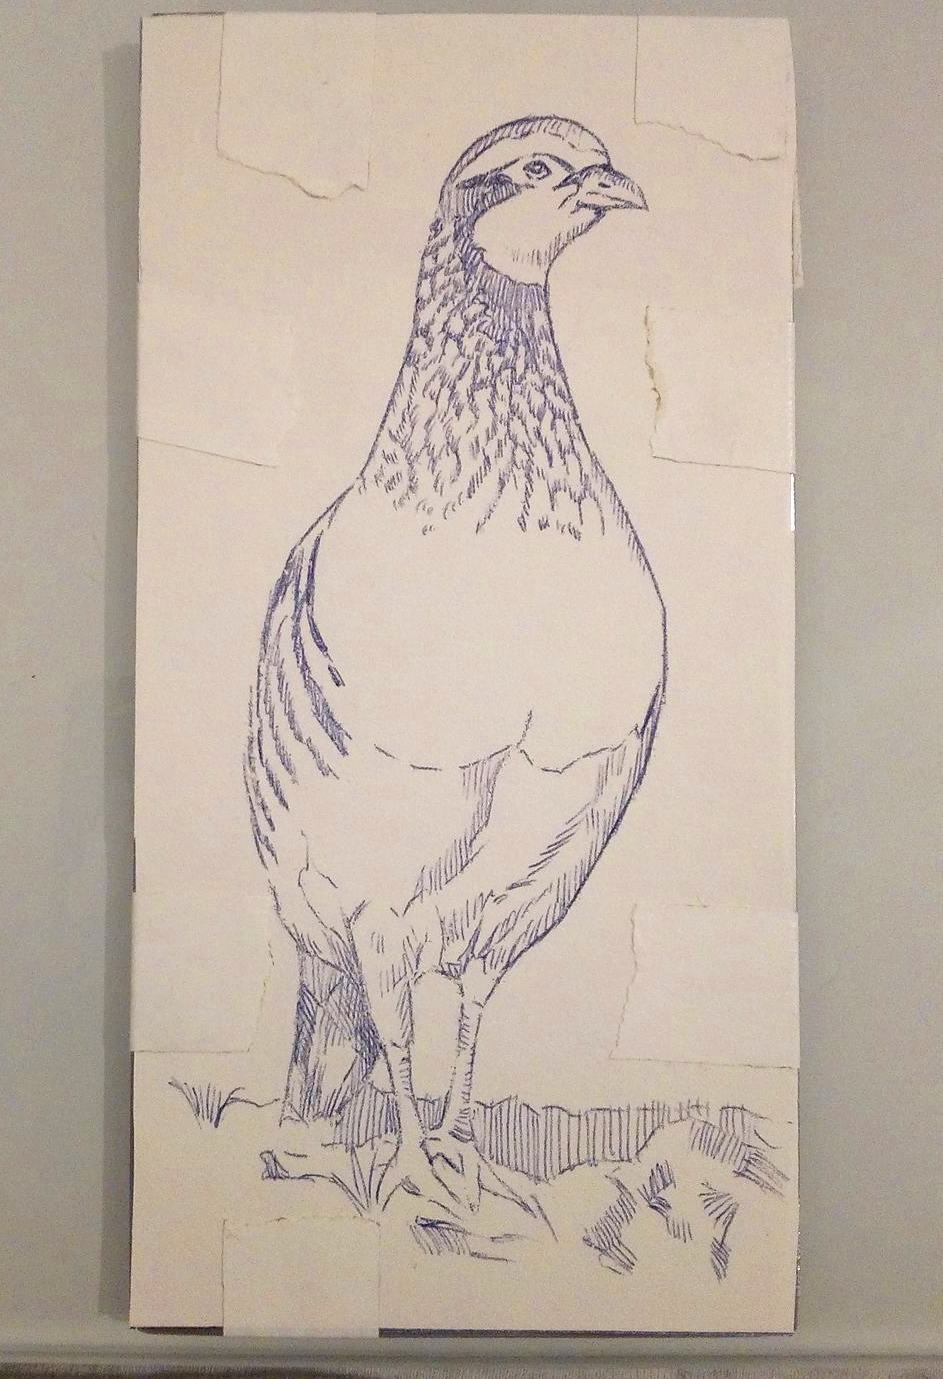
My finished sketch. I've sized my paper to the plate I am using to get the best possible idea of how to utilize the space in the best way.
Before I make a sketch I always measure up my plate size and draw within the lines of those dimentions. You might want to make a couple to get to know your drawing well if you'll be transfering in by free hand. One challenging aspect with drypoint is that if you make a mark on your plate, it will stay there. In other words, there not gonna be an erase option.
3: Engraving time!
If you think drawing directly on your plate is too scary there are a couple of transfering methods. One, which I use from time to time if I have a larger scale piece is the ''pricking method.'' What you do then is tape your sketch on your plate and simply use your drypoint needle to prick through the lines of your drawing to create refrence points. Be care ful not to prick too hard though, as ths could ruin the overall impreesion...
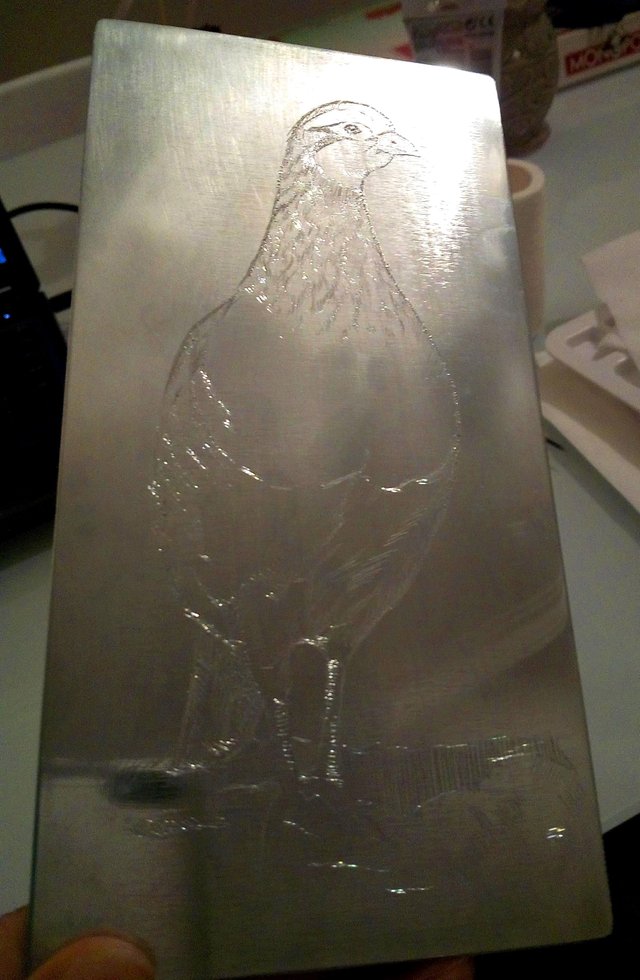
I's a bit hard to see with the reflections in the plate, but here is my engraving done.
If you want to read more about how I transfer my drypoints you can check out this post I wrote a little while back;
https://steemit.com/art/@mayasky/my-new-dry-point-a-tutorial-with-progress-photos
Printing!
To make your plate ready for printing the first thing you have to do is ink it.
There are a lot of different kinds of ink both water based and oil based. I like to mix my own ink with pigment powder and fatty oil. This is done by putting 1/4 fatty oil to pigment and mixing them well together until you have a smooth paste.
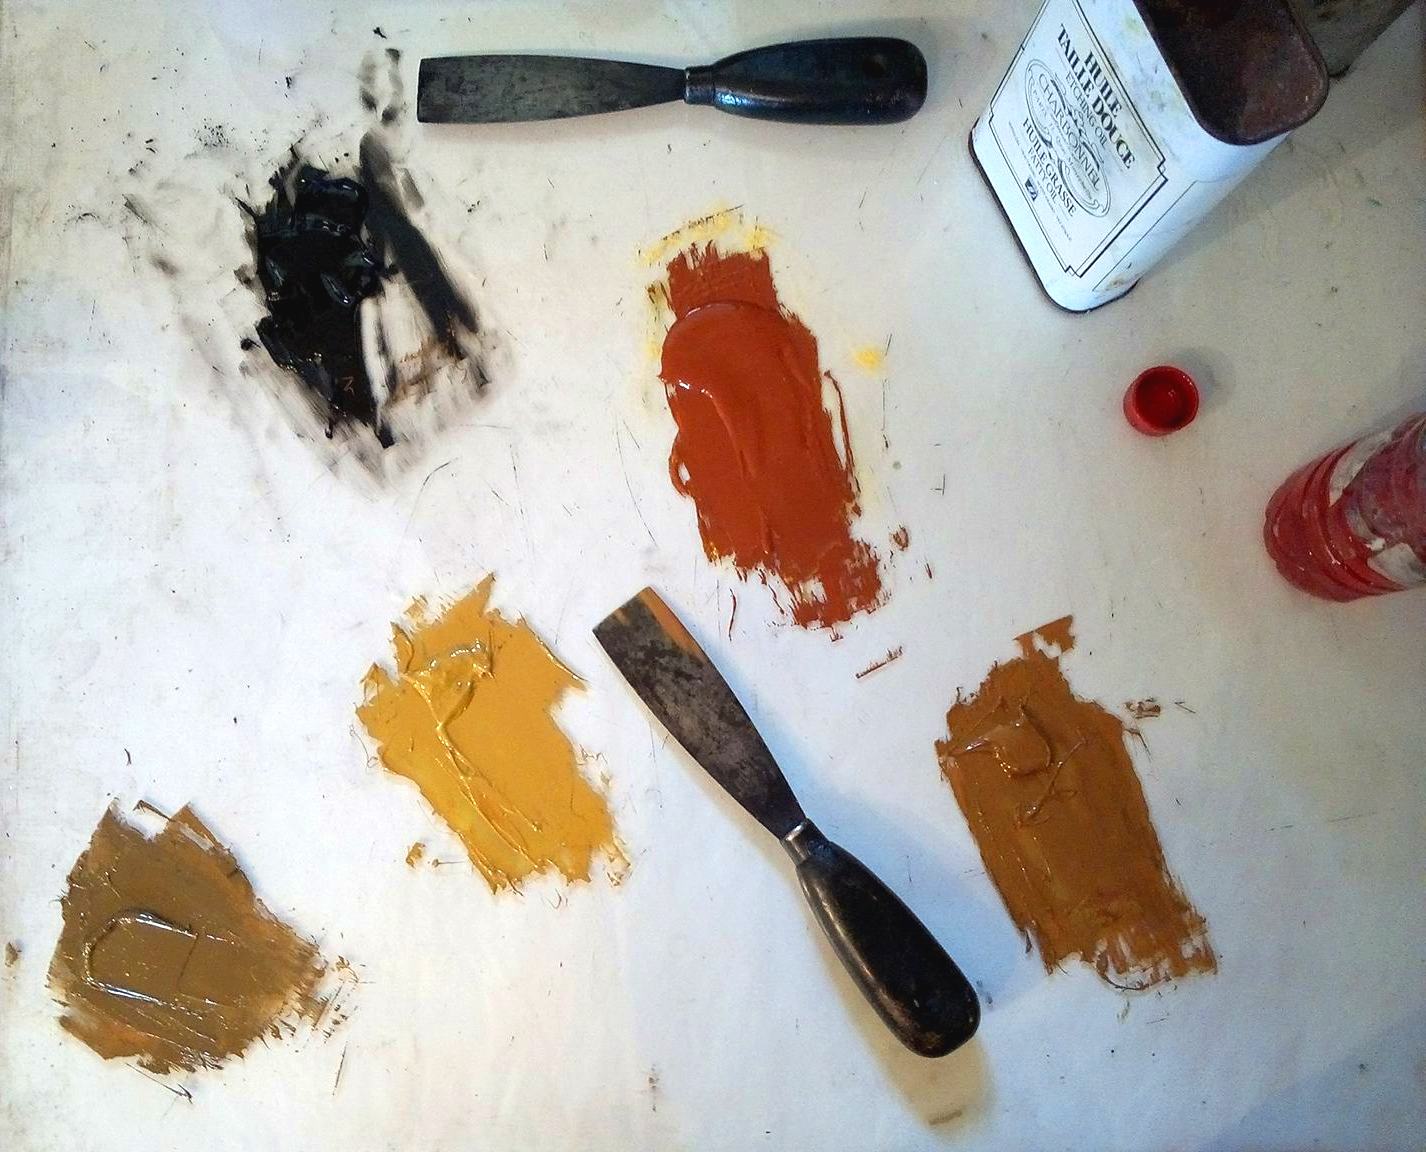
Here you can see some of the inks I've mixed. The best surface to work on is glass or hard plastic ( mainly for cleaning purposes...).
When you have your ink you use a small rubber sparkler to put a thin, even layer of ink on your plate. Then you use a fabric called tarlatain to rub off the excessive ink on your plate until the ink mainly is left in your engravings.
The paper you use should be at least 250 g and I can recommend brands like Velin Johannot and Fabriano papers.
Put your paper in a container filled with water for at least 5 minuites before you are planning on using it and the dab off the excessive water by laying the paper in between a couple of towels or dry sheets of thicker paper. Gently press on the covered wet paper to lift out the water. The paper should be a bit wet still but no where near dripping!
Put your prepared plate with the image side up and place your damp paper ontop. Then all you need to do is roll it through the press and you have your drypoint print!!

Print next to plate after printing.
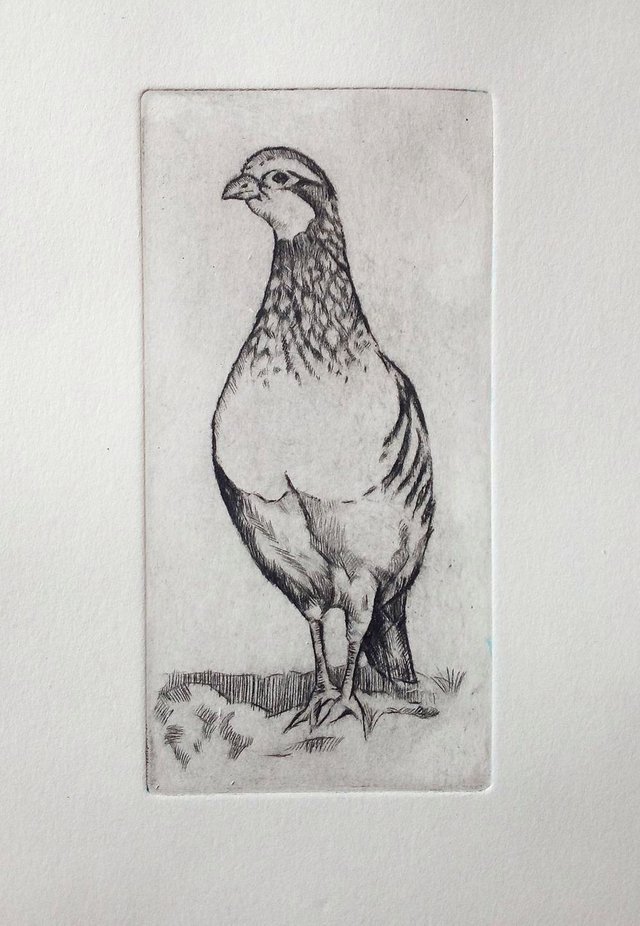
Black version..
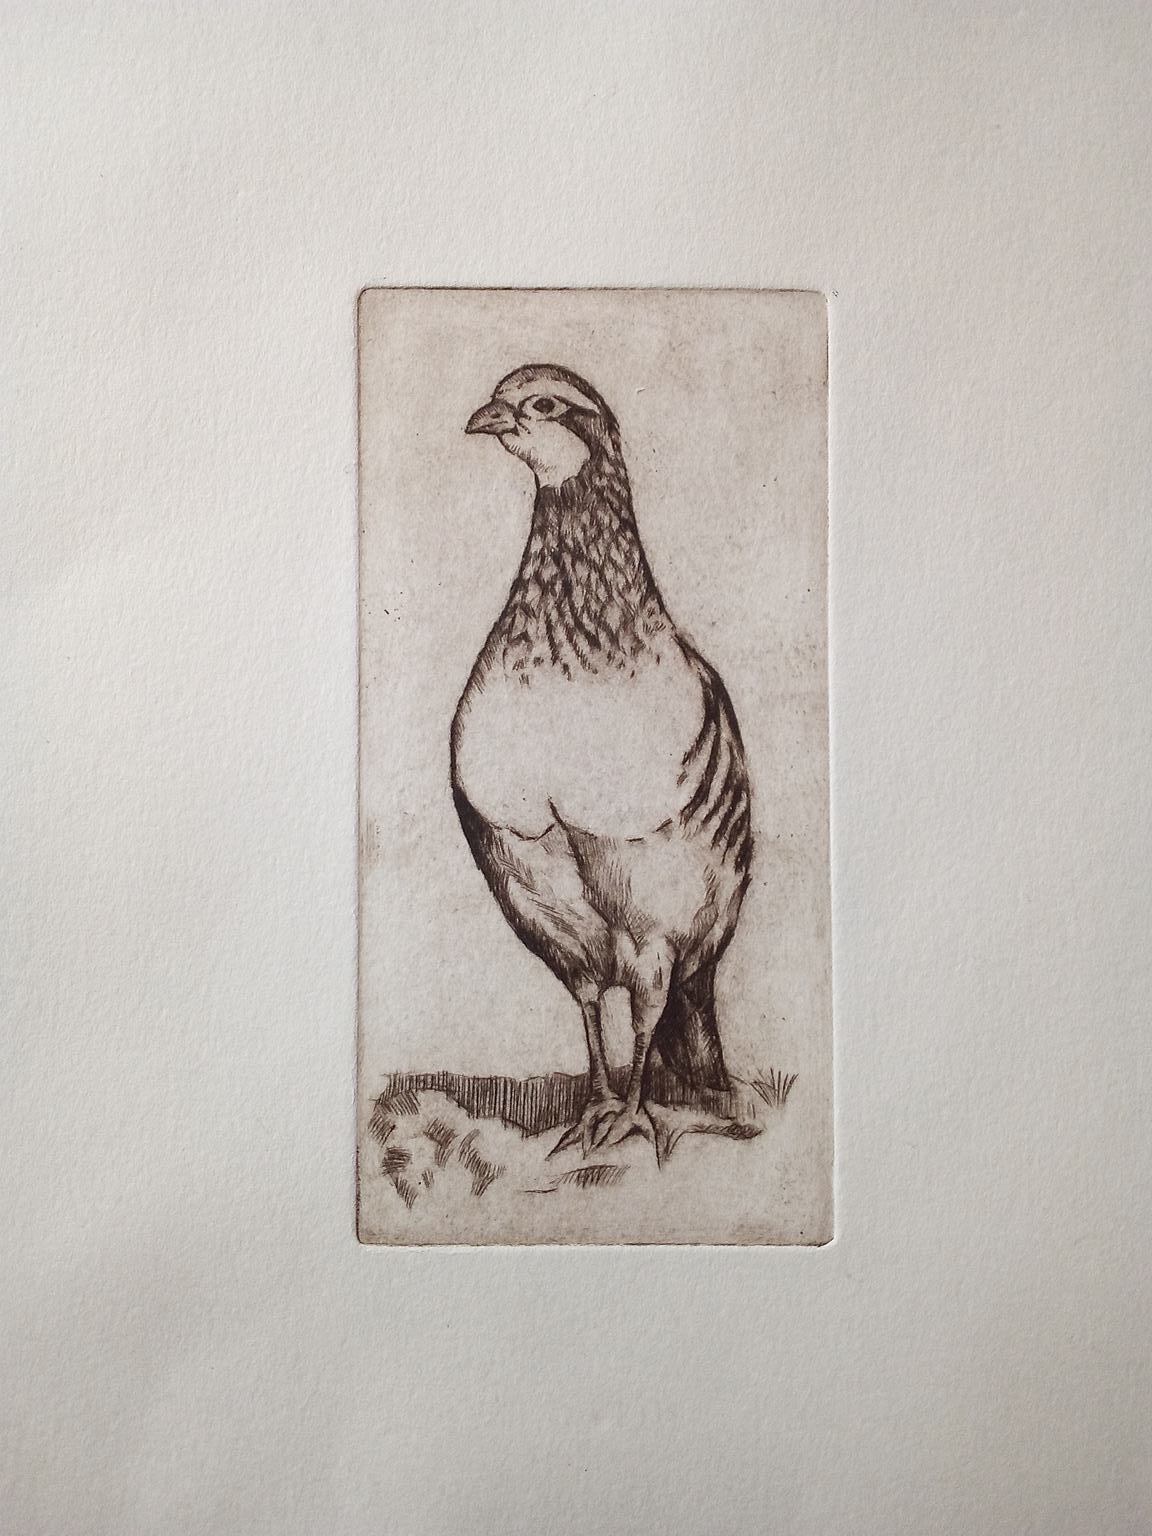
Brown version..
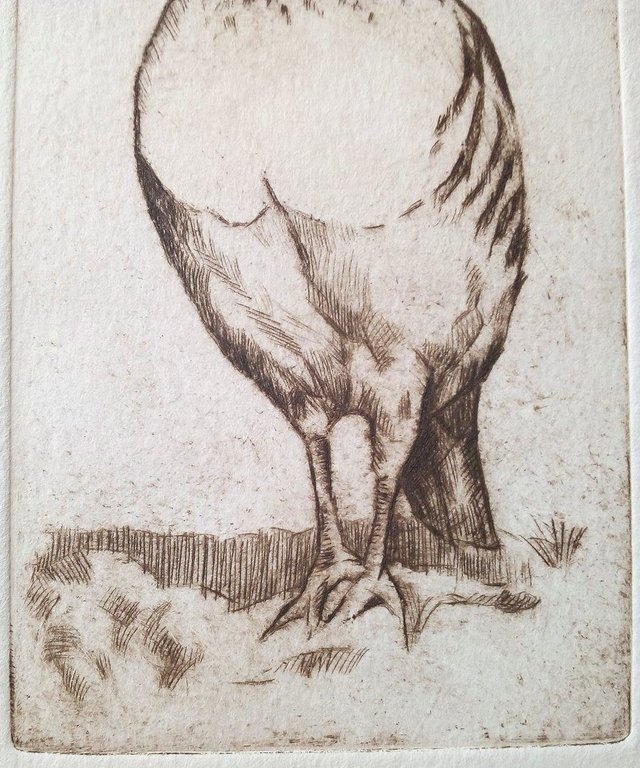
Close up 1.
Close up 2.
And there you have it, my process from start to finish!
Like I said, the only think that can make this a bit more difficult is that you need a printing press to be able to lift up the ink from the engravings. I do know that usually they have printing presses at schools or maybe at a local art club/house where you could bring your plates and they usually let you use their press.
What do you think?
Are you interested in learning drypoint?
Do you have any questions?
I'dlove to hear from you and your thoughts about this great artform!
As always, I hope you're all having a wonderful and creative day!
<3
My instagram;
https://www.instagram.com/marieblomfineart/
My website;
https://www.marieblomartist.com/
Hi Marie! Thanks so much for this post. I enjoy looking at engravings and often wondered about the process. Are engravings the same as etchings? Your step-by-step is very thorough and the product is wonderful.
Thank you so much @nkraft! I am happy that you enjoyed this introduction to drypoint! :)
To answer your question, I wouldn't say engravings are the same as etchings, no.. Some forms of etchings require engravings and others don't. What seperates drypoint from the general etching family is that there is no acid treatment requiered to to process, you just work with the engravings. Engraving is basically when you engrave/ scratch the surface with a sharp tool, with etchings you generally help make the marks with acid.
For example, one etching method is to apply a hardground ( a sealing coat that the acid doesn't bite through) on your plate, and then engrave through that coat to expose the areas where you want the acid to bite. In this case you combine the two :)
I hope I gave you a satisfying answer, hehe!
A very good weekend to you! :)
At first I thought that was just a sketch but now I see that it was an engraving I can only imagine how hard that was. I cant even make a good looking linoleum engraving :P
Thank you so much @hotsauceislethal! :D It's funny how our perspective can change just like that, huh? xD And you know what, in my book linoleum engravings are way harder than drypoint haha.. ;)
A good weekend to you! :)
This is so inspiring! I'm bookmarking this post.
Thank you so much @justinmullet! :D
This is wonderful, thanks for sharing with us. I'll surely try it out soon!
Great! My pleasure @promisearts! :D