My new dry point - A tutorial with progress photos 💜🌸
Good day friends!
Today I want to share my latest drypoint print;
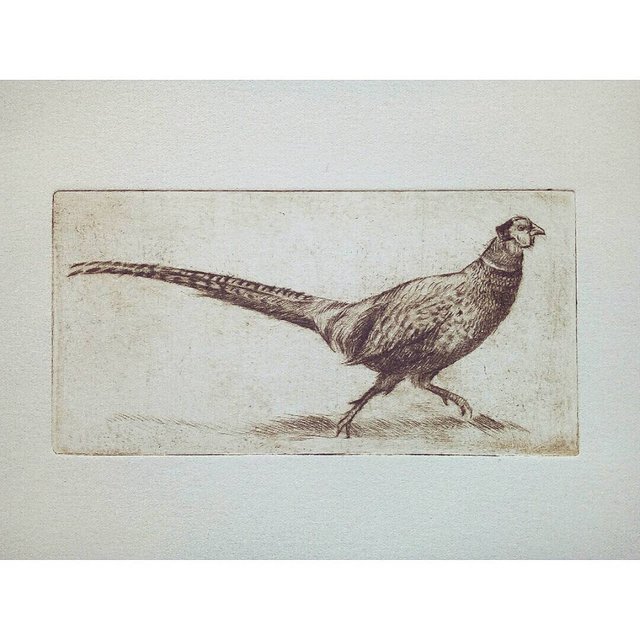
This time it's a little pheasant! 😊
I love these birds! In Norway where I'm from they're all over in the fields and woods.
During the process of making this print I took a lot of photos which I wanted to share with you today to explain the process.
So let's get started! 😊
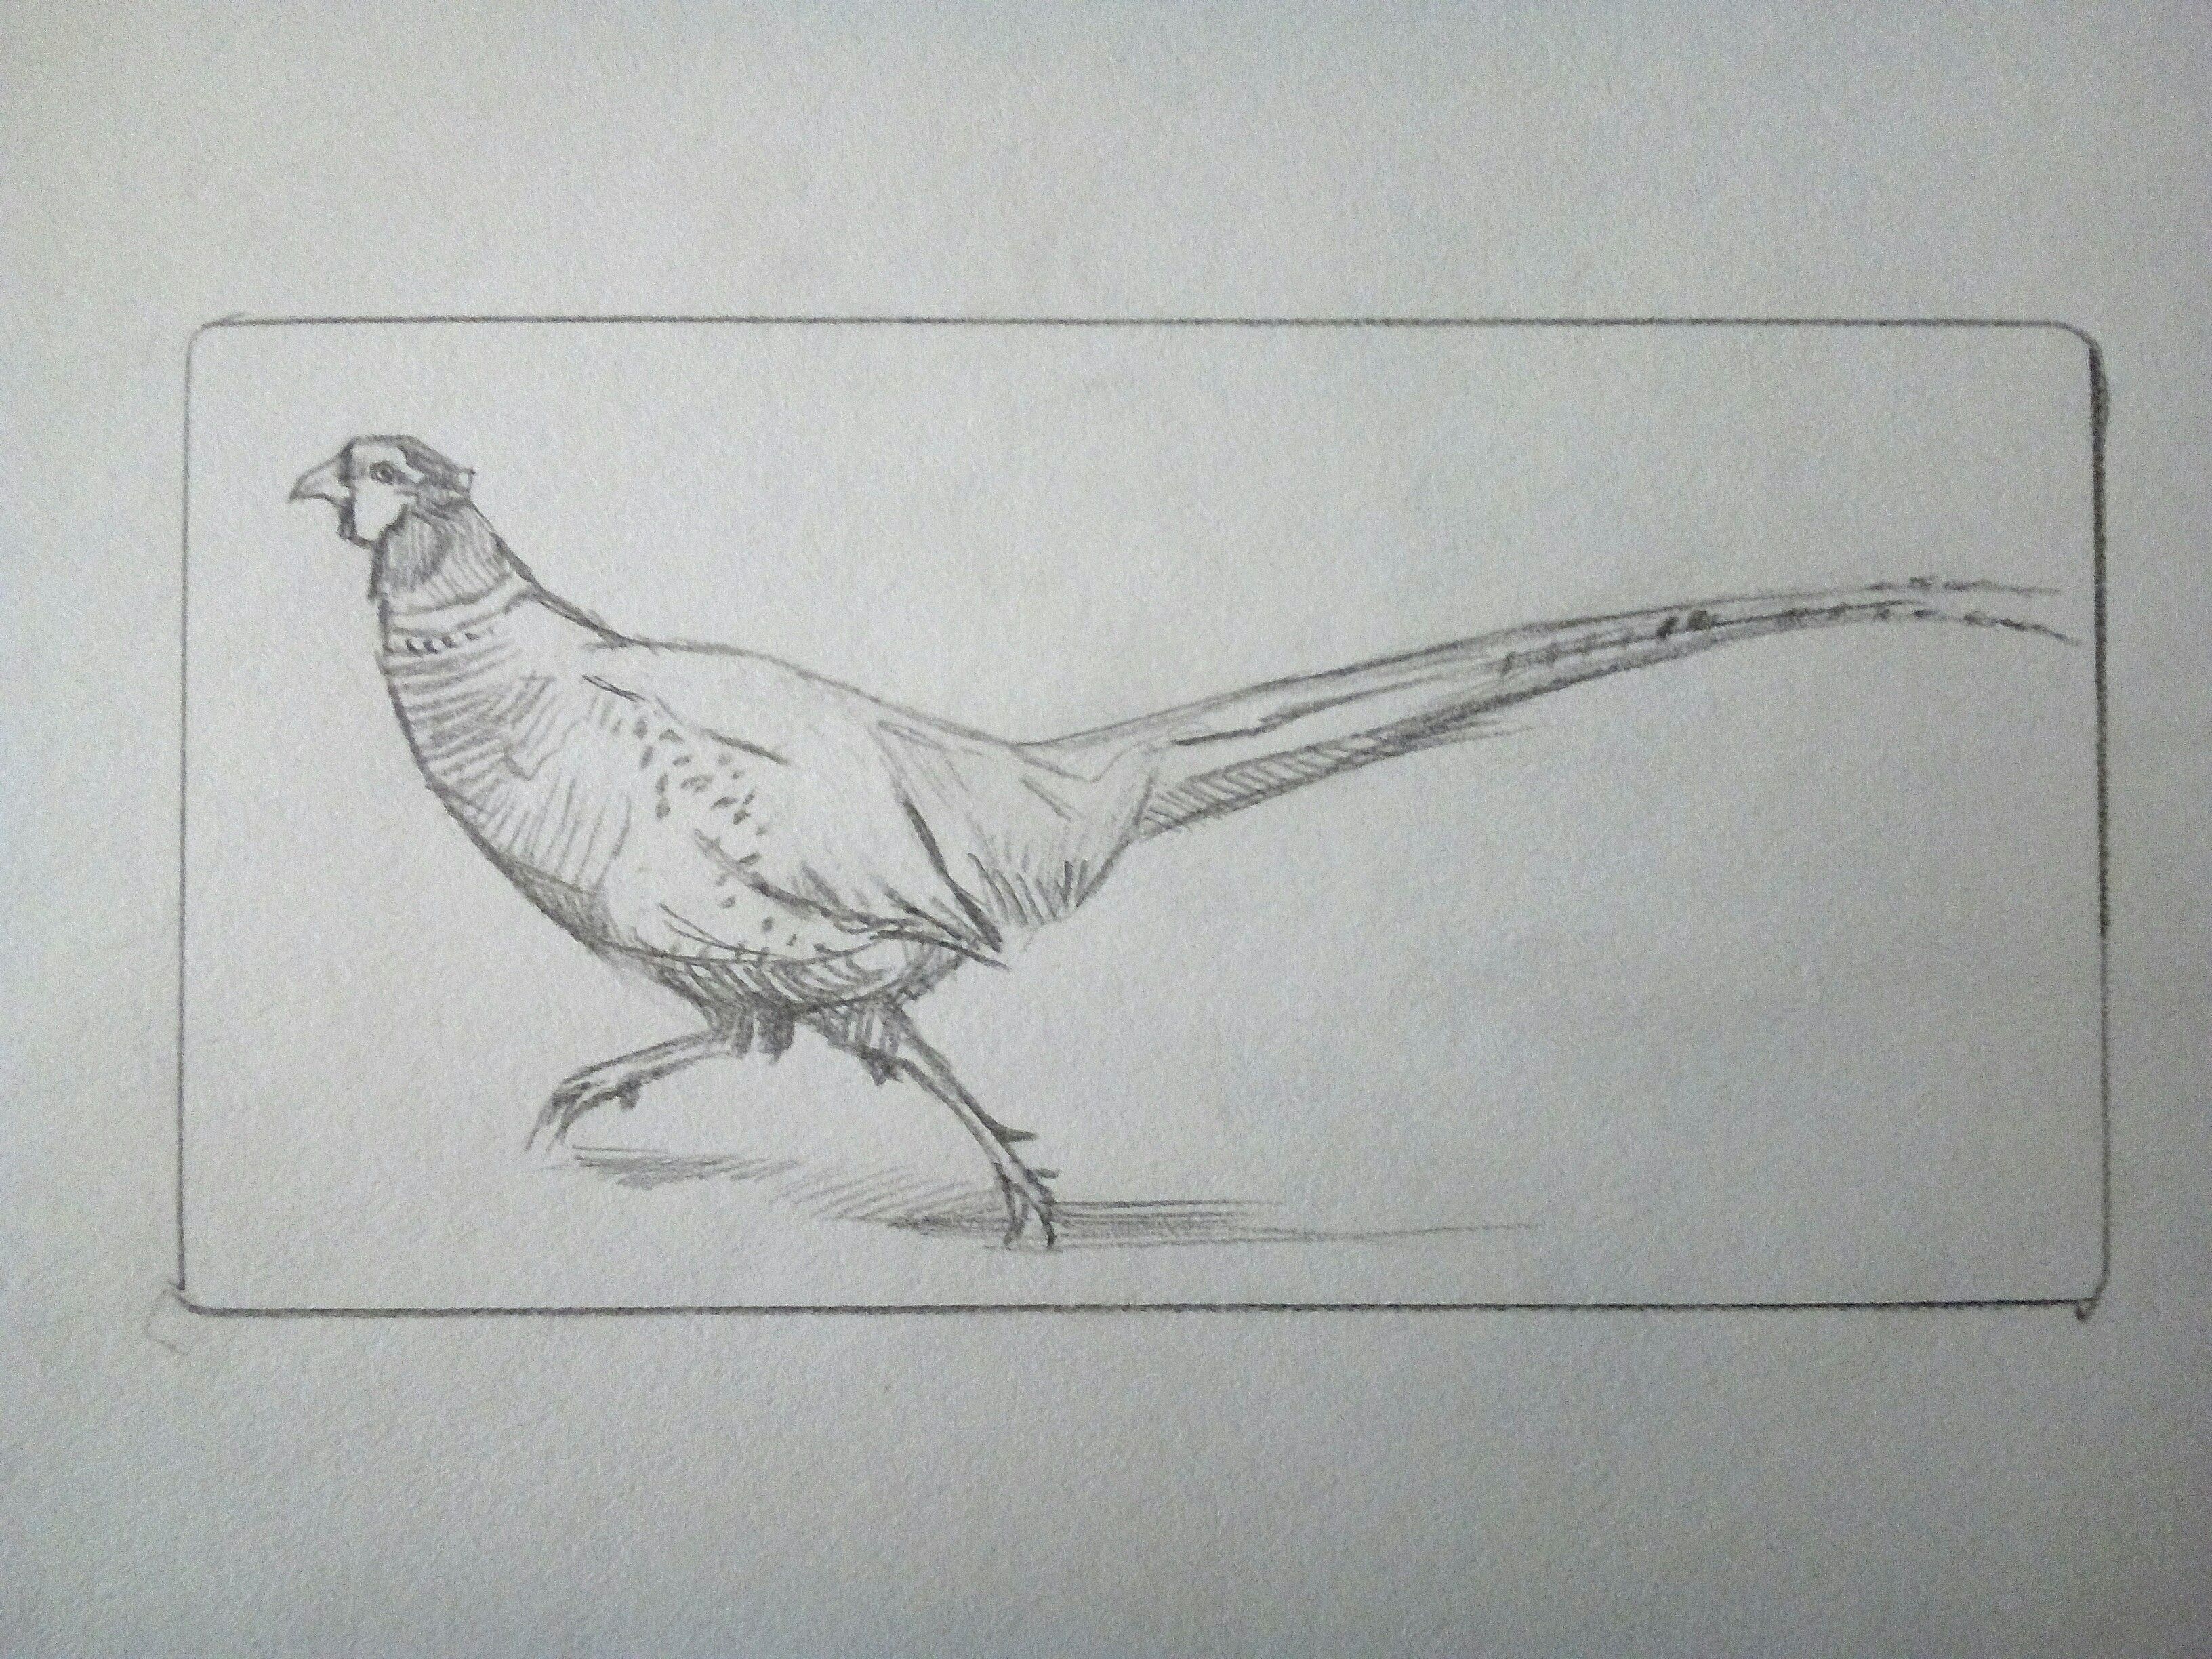
The first thing I do is make a sketch of what I want to draw on my zink plate. I cut the paper to the same size of my plate and draw my motif.
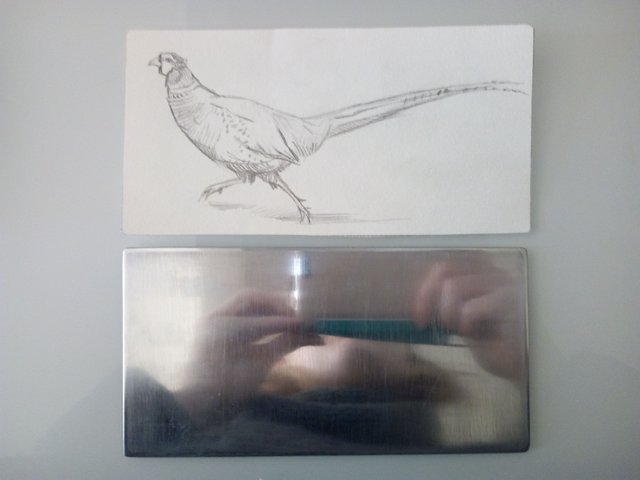
Here you can see my finished sketch next to my zink plate which I will engrave the pheasant on to.
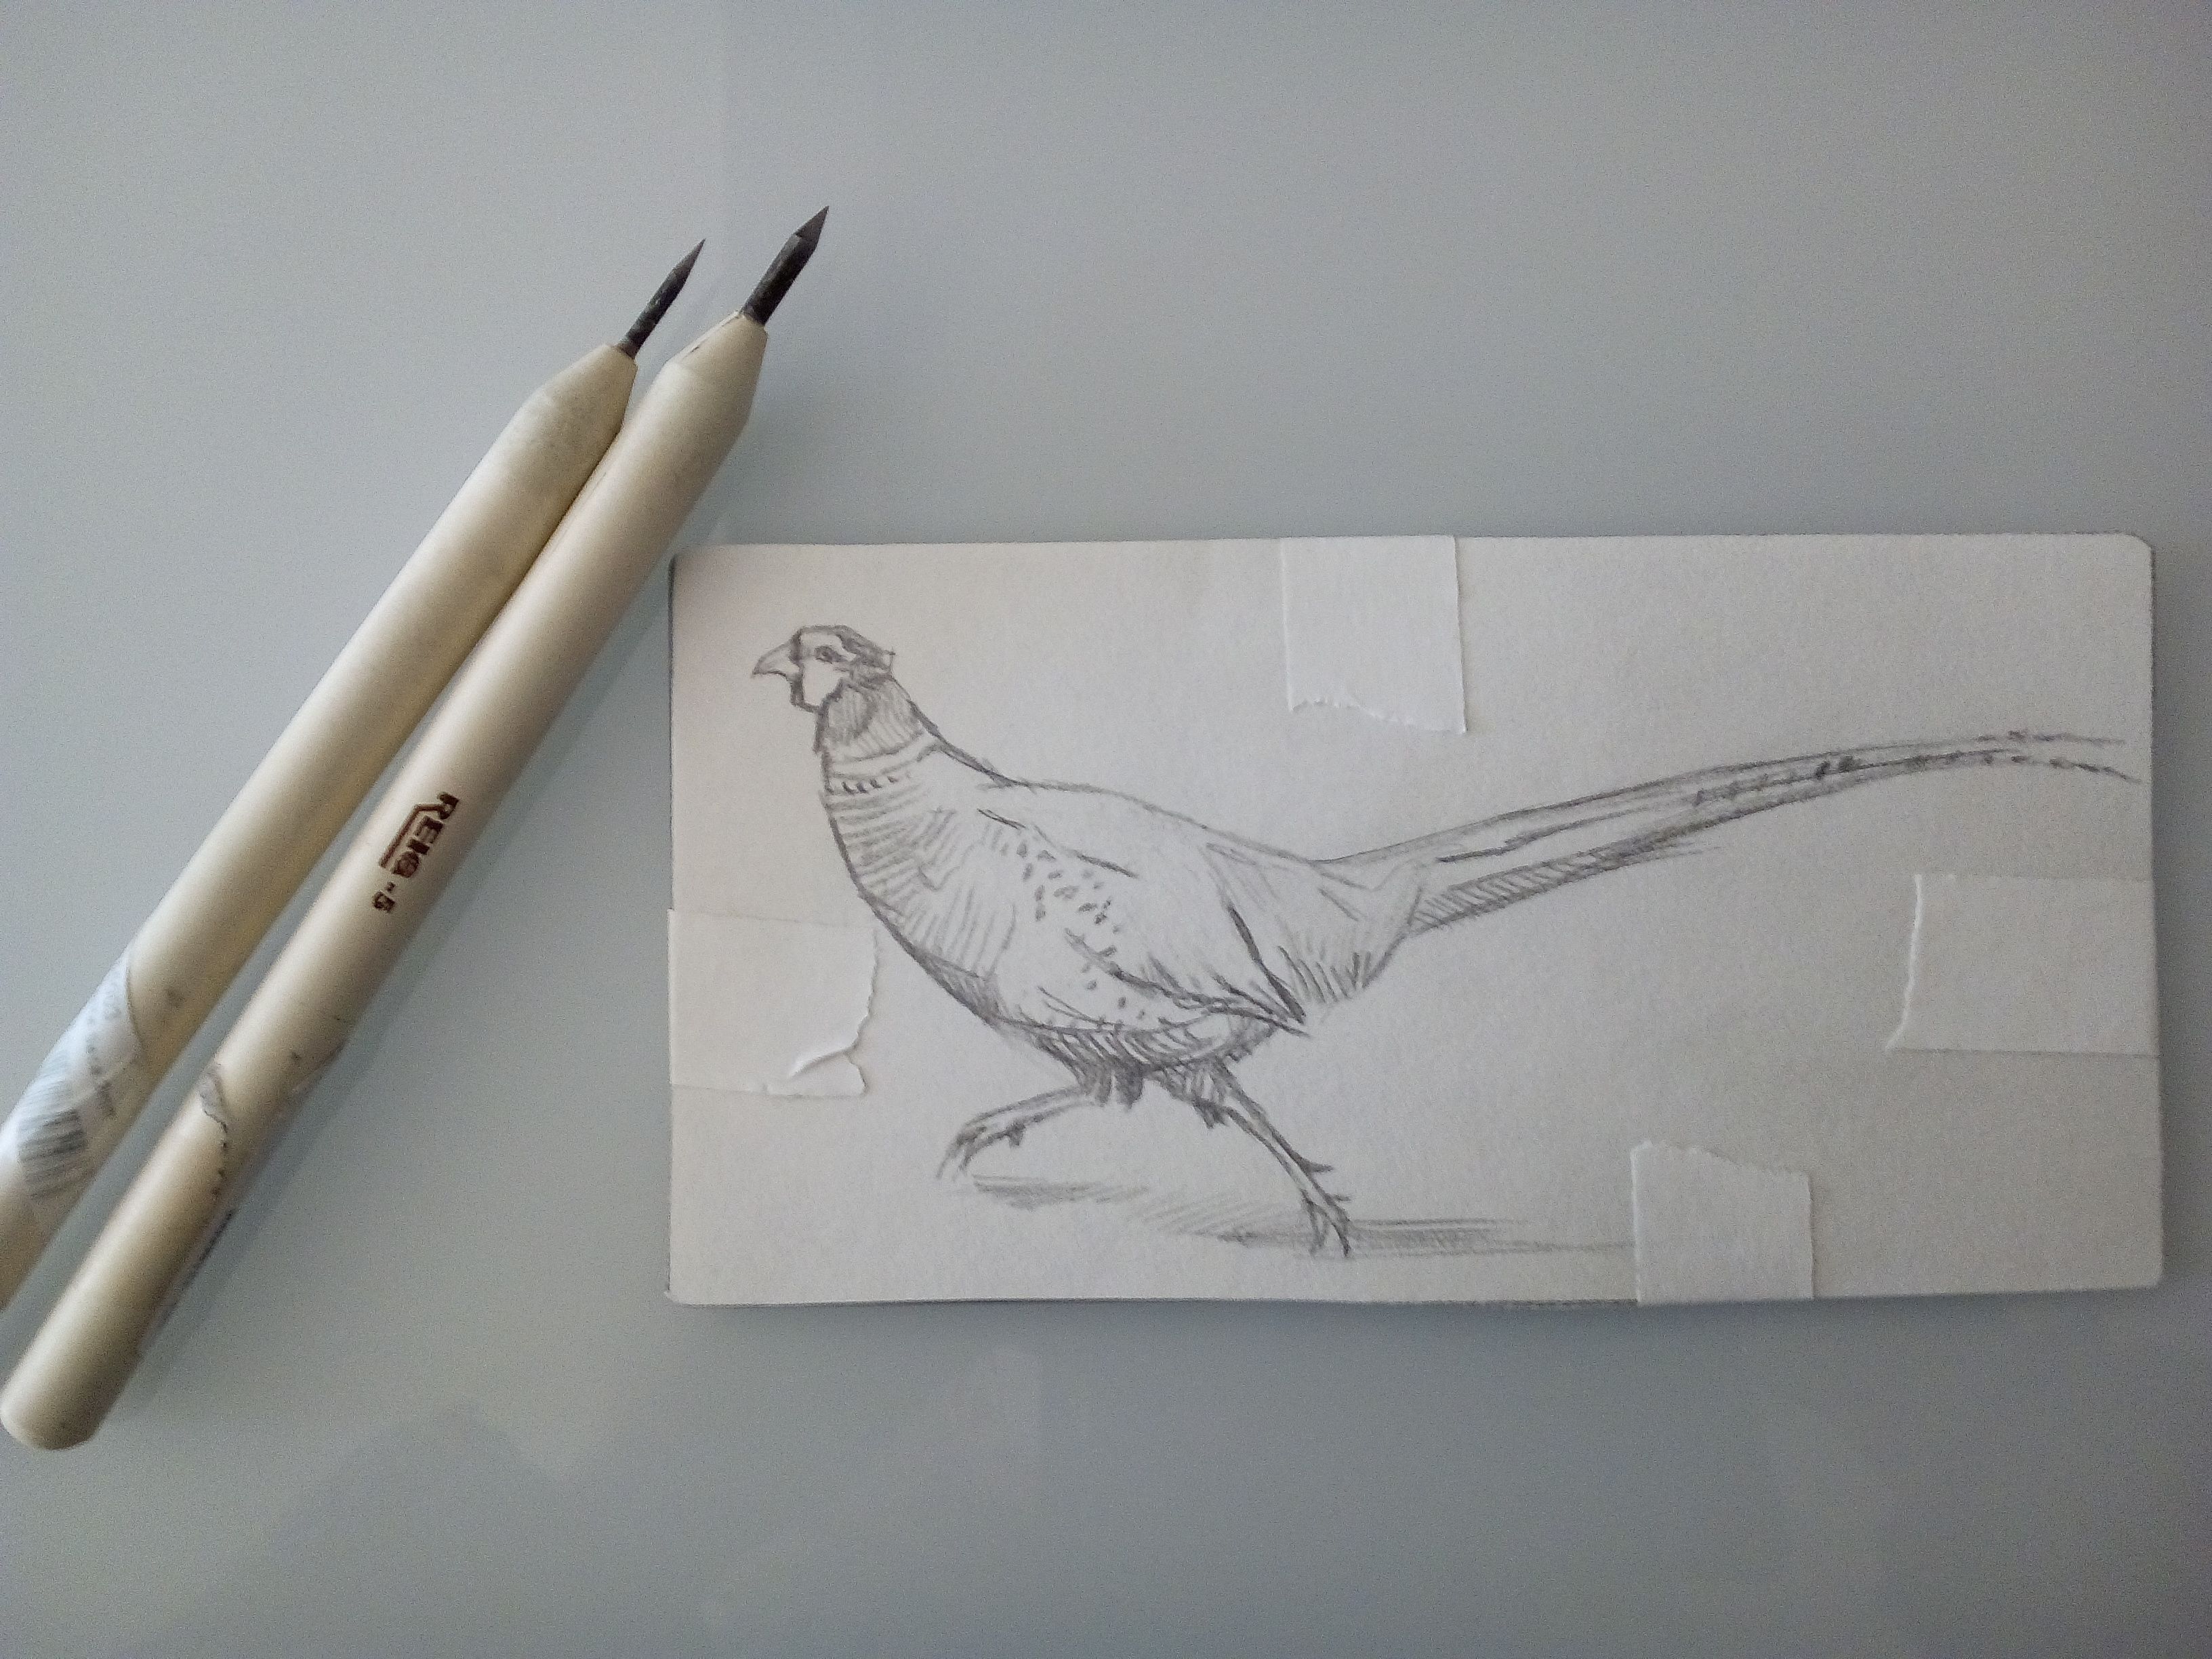
So how do I transfer my drawing you might ask. Well, I have a trick that I use sometimes if I don't feel secure enough to do the drawing free handed. This is a good tip if it's your first times doing drypoint and you haven't really engraved before. The tricky thing with drypoint is that there really is no way of erasing your lines, and this will give you some points to relate your drawing too.
What you do is basically tape on your drawing to your plate like you can see in the photo above. Then you use an engraving tool like the ones in the picture, kind of looks like a thick needle, and you follow your lines with little "pricks".
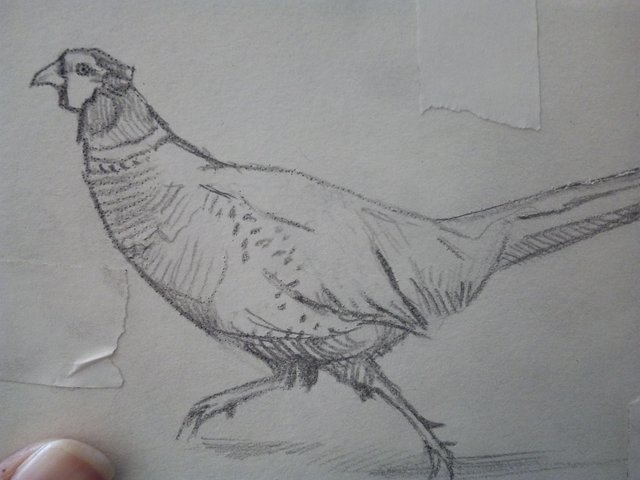
Here you can see a close up of the drawing and if you look closely at the lines you can see the little holes from where I punctuated the paper with the needle.
The closer you punctuate the better the image is going to transfer.
After that just follow the dots with your etching tool and then when you have the big drawing it is easier to add more details.
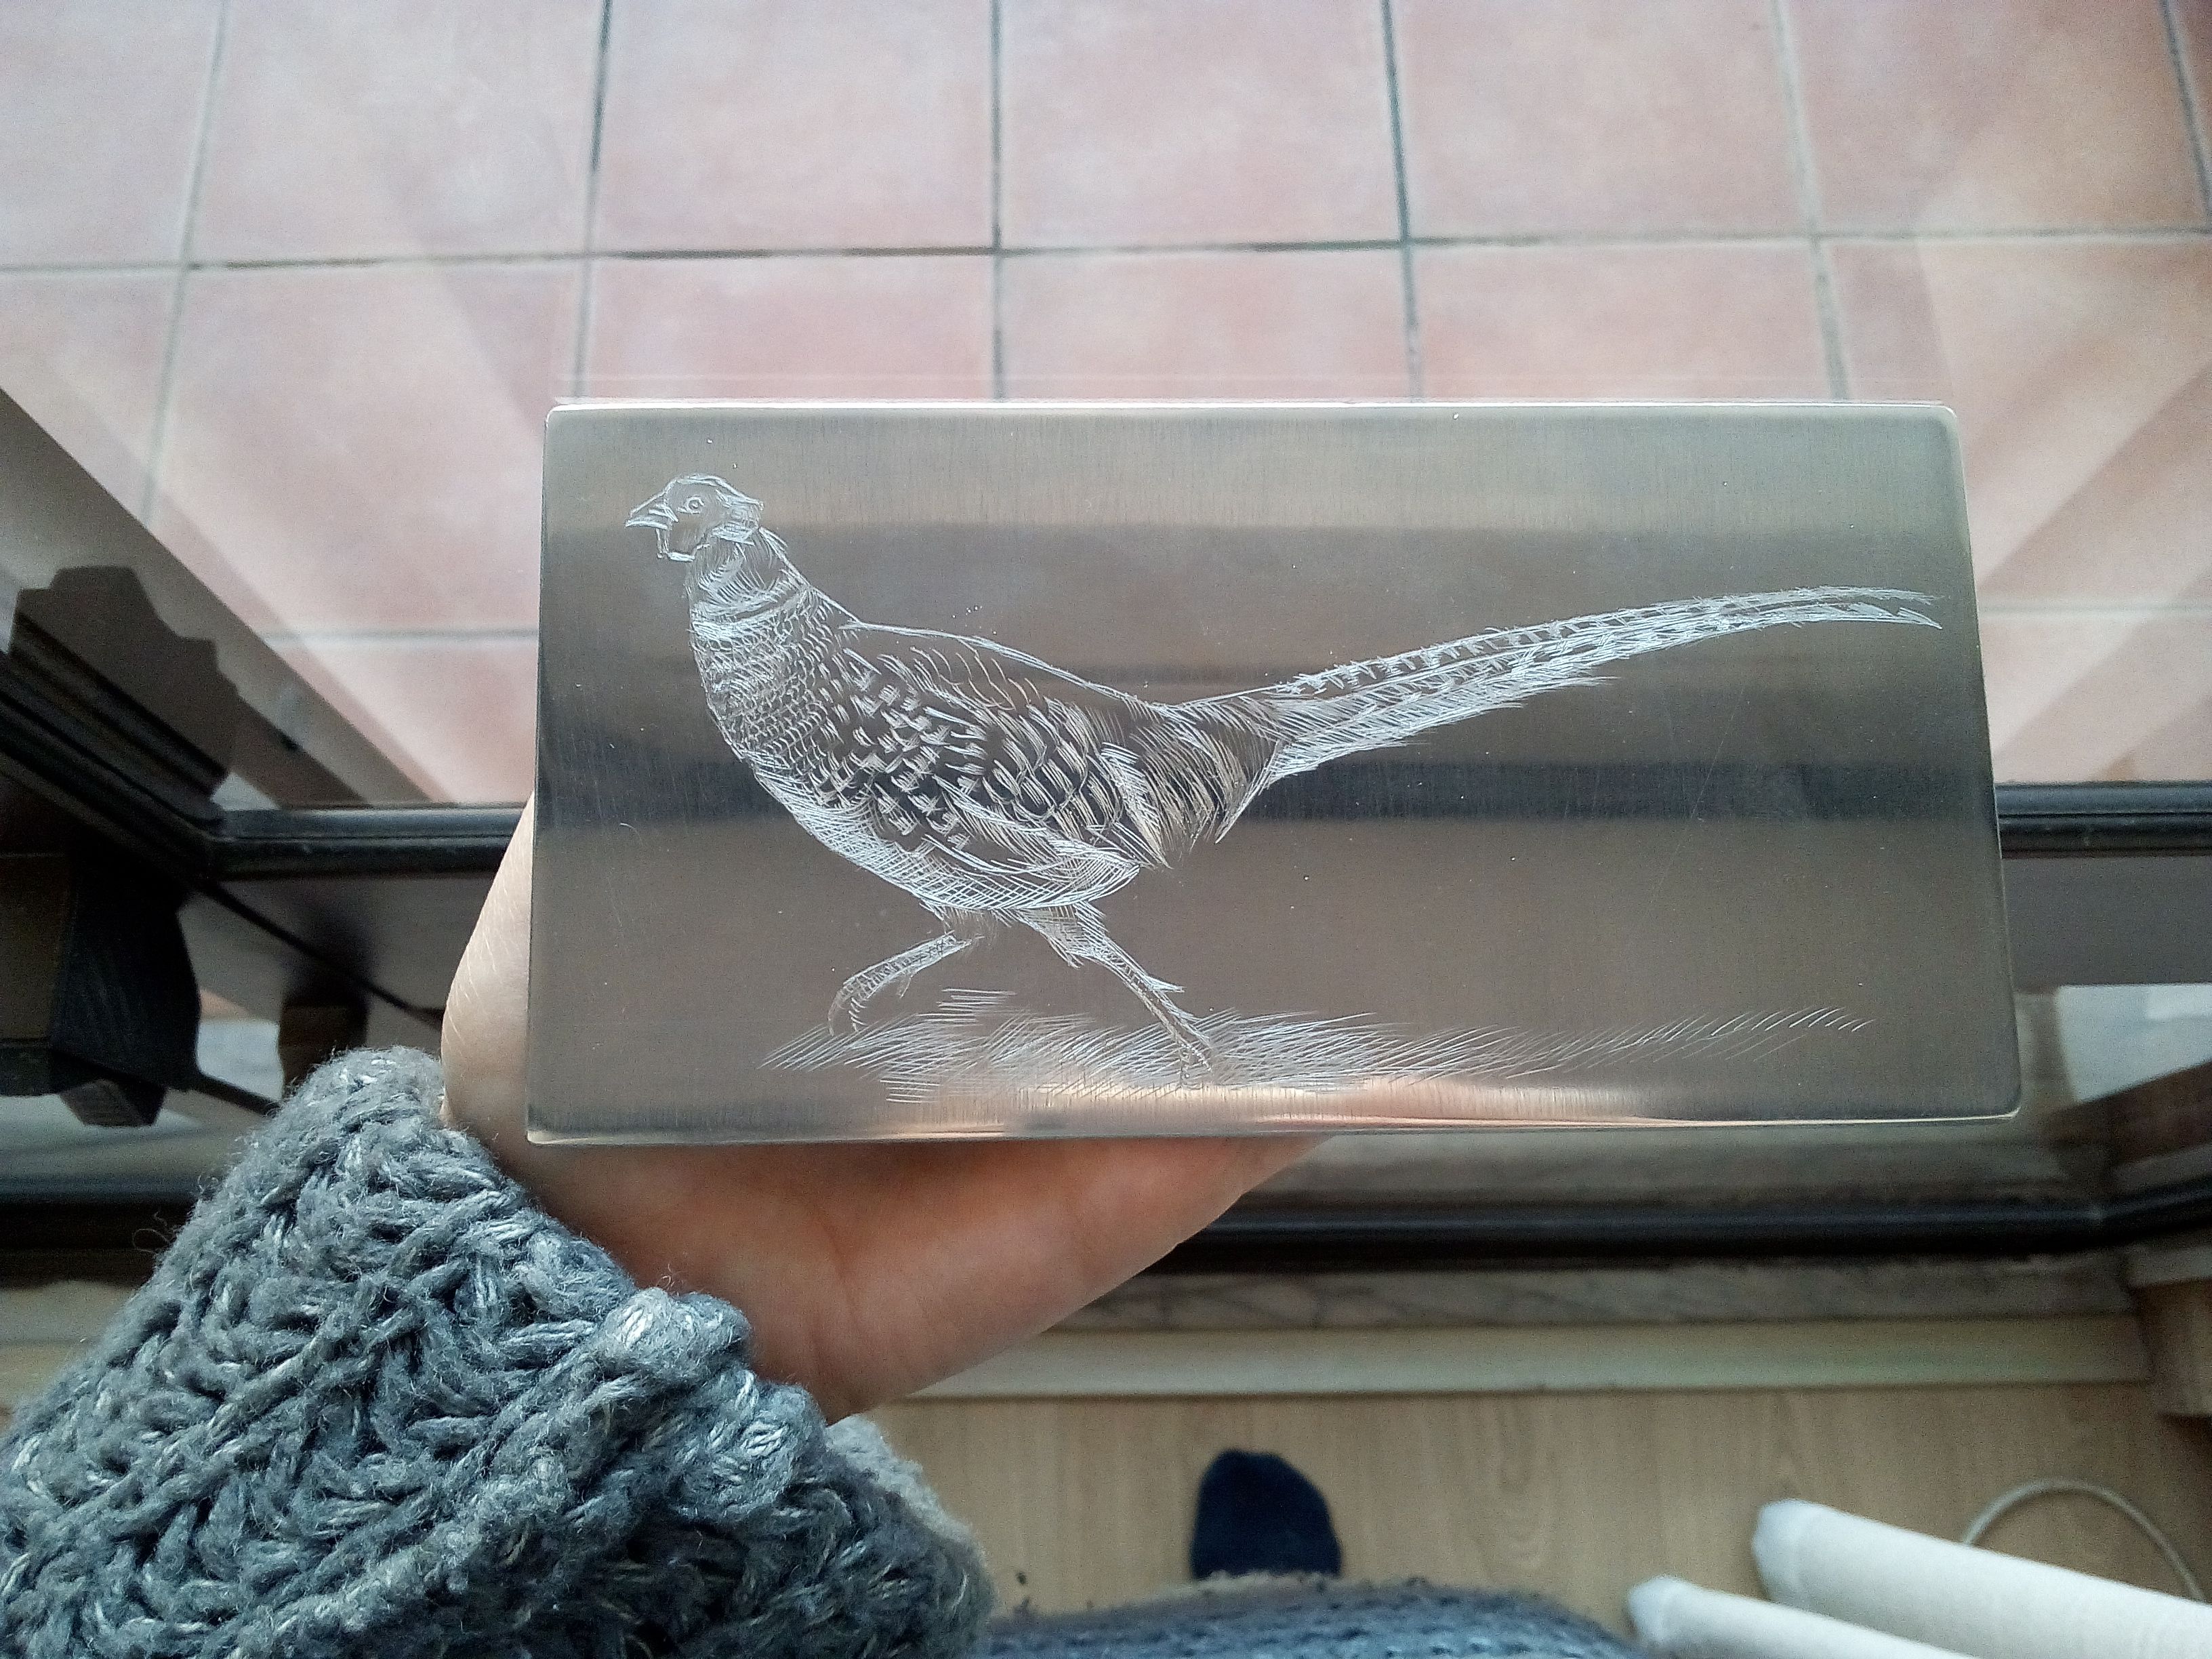
Here is my plate after I was done with the engraving. Where I have car Ed the lines that's where the ink will go.
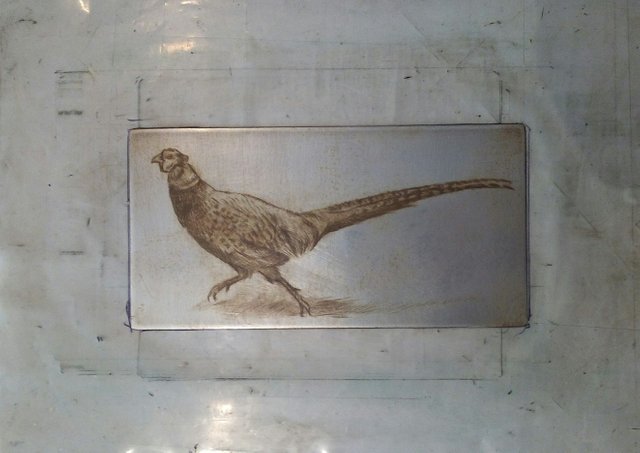
This is the plate with ink in the engravings. To transfer your image from plate to paper you will need a press. This is because you need the deep pressure of the two coming together in order for the paper to collect the ink up from the engraving. This is often what makes drypoint less practiced, because a press can be hard to come by. I'm lucky to know someone who let's me rent theirs, but sometimes art schools will do the same.

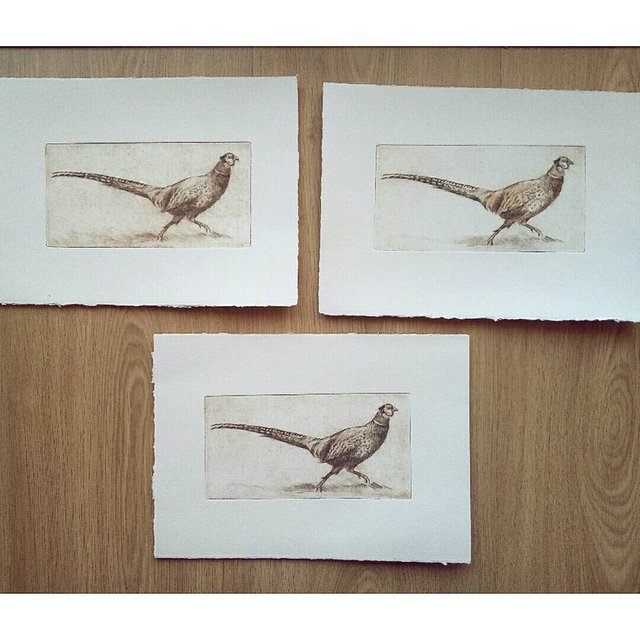
Finally, here is the finished product fresh out of the press! 😊
It's always so satisfying seeing what the end results look like!
What do you think? 🌸
Would you like to try drypoint? 🌸
I hope you are all having a wonderful and creative day!
💛💚💙💜❤
Awesome :). I always wondered how to do it! :) So all you need is a needle and a plate basically? Ink, paper. And how much does it cost such a tile? In Poland, where I come from, Pheasants are released so that hunters have something to hunt for. Grr.Naturally, they do not occur in environment;) Beautiful animals. It's a pity. Love Ur work.
Thank you so much @planet-rium! 🌸 Yes, basically! But you also need paper, ink and a press to get a finished print. You can work on zink or you can work on copper. Copper is more expensive. For this plate which is zink and measures 8 x 16 cm I payed 1,5 euros.
Oh really? I would imagine that pheasants were naturally occurring in the nature in Poland.. That's interesting! :) They are gorgeous creatures! 😍 Thank you again for your comment! 🙆
First off, your artwork is all so beautiful! Second, I came across your profile as your Steemit name is quite similar to the one I chose. I'm intrigued. I've always loved the name Skye and Aleva is my middle name.....but funny enough my actual name is Maya! A very cool coincidence to meet you. :)
Hey @alevaskye!! :) That is a funny coincidence indeed!! 🤗 Haha! I've always loved the name Maya but my name is Marie! I just thought Maya Sky had a beautiful ring to it, hehe... Thank you so much for your compliments Maya! 🌸 I'll check out your profile! 😘
Very nice art :)
Thank you very much @kwondene! :)
Thank you very much for such interesting blog! Love drypoint and all printmaking technique. Well done!
Thank you for taking the time to read and comment @trueart! :) I'm so happy you are a fellow drypoint and print aficionado! :)
Wow dear good work.
What a beautiful art.
Very informative tutorial its very helpful for new learners
Thank you very much @sairakiyani! Happy to share! :D
My pleasure sis.
Never tried it but of looks really awesome! Well done!!
I just knew you will rock this print technique, and even plate looks great @mayasky.