🔵 LEARN ART with MARTY - Blueberry cake study - PART 3 - watercolors
Hey Steemians!
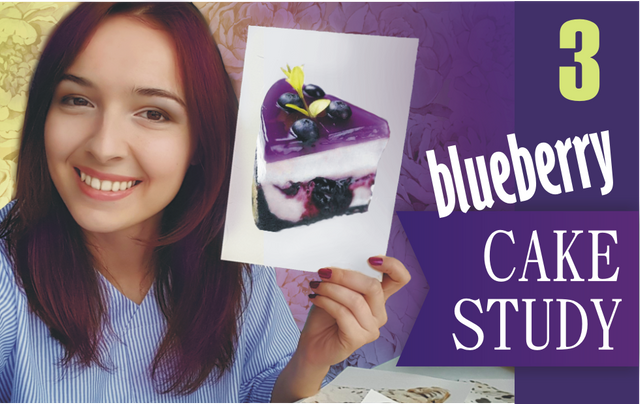
The next part of our Blueberry cake project is here! Today we are going to paint in watercolors. You know it is my favourite technique and the result will be more interesting for me because against pencil drawing it will be colorful.
We will need
- Paper A5- some harder paper for drawing. I use this one.
- watercolors. I use this kind
- round brushes (size 1, 5)
- water, pallete
- pencil/ mechan pencil
- rubber
- skewer or needle
- white acrylic paint
The process
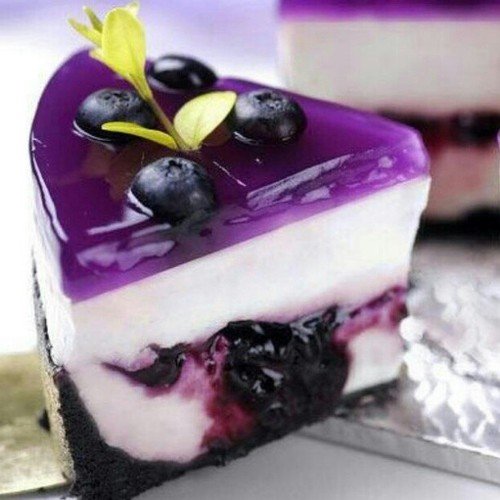
First we need to sketch the cake. We were talking about sketching in the first part of our project. It is simple and effective sketching with skewer.
After sketching we can move to painting. You will need this pigments: violet, ruby, indigo, brown, black and light green.
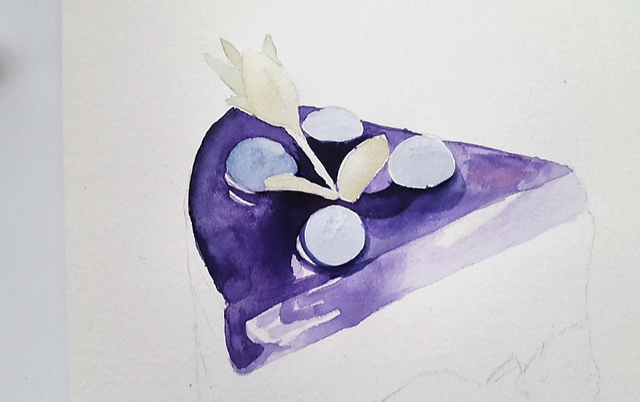
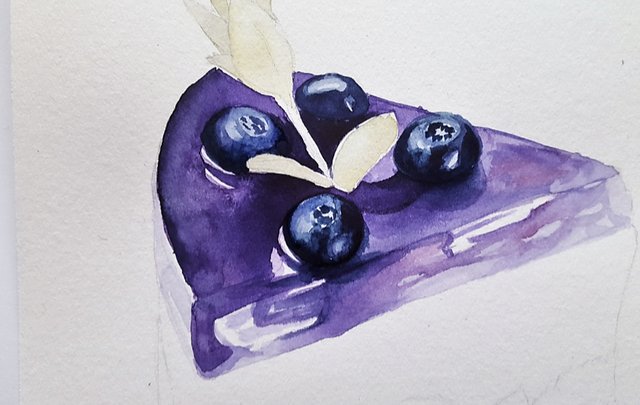
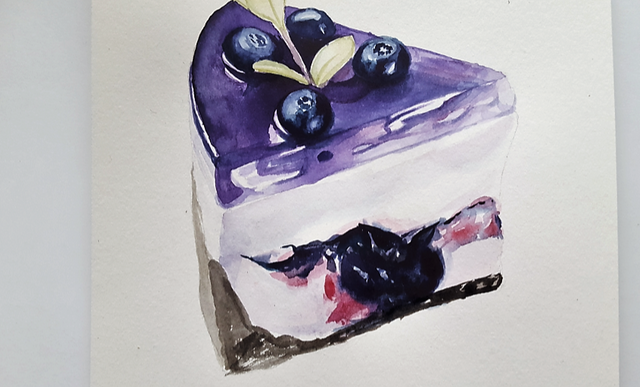
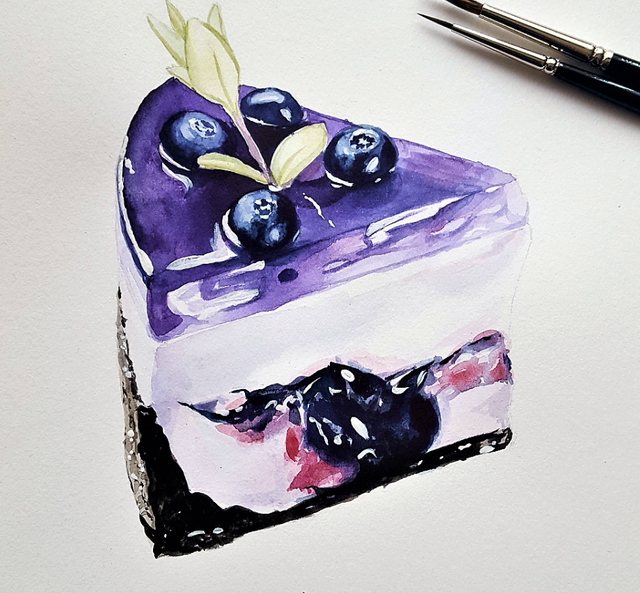
🔵 We can start with the yelly base. It is violet with a little bit of ruby and indigo. I started from the left corner with not too dark color and added more color when it is needed. You can left white places where refflections will be, but we will paint them later with acrylic paint.
You can aslo prepare the basic color for blueberries and leafs.
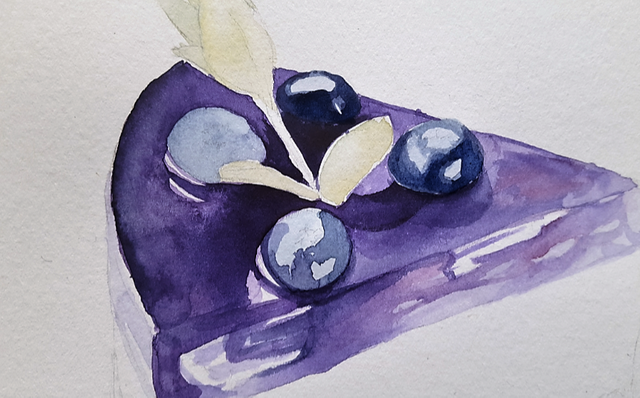
🔵 Now blueberries. There are really dark areas. You can mix black and indigo, or just put more indigo into your brush, it will be almost black. You can use also the second brush to spread the color so the edges will not be too sharp.
🔵 You are adding color layers one by one to achieve the right image.
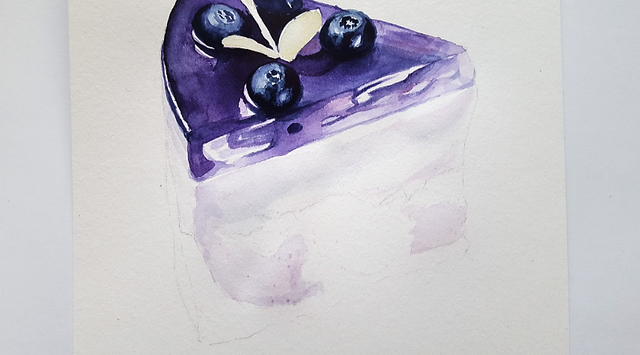
🔵 After blueberries we can finish the reflections on jelly. The edges of highlights should be darker and sharper. We will achieve nice contrast and the surface will look bright.
Then use really light purple to paint the middle part. Left some space white too.
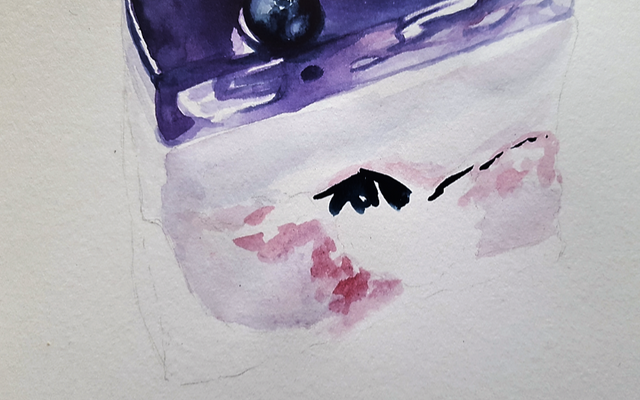
🔵 Now add more ruby around the part where the blueberry jam will be. That part is almost black. So you can mix indigo with ruby and black to achieve this shade. Some parts are quite sharp, some are lighter, some really dark. Again, use layers to get the right tone.
🔵 There will be also some white highlights. The lower part is connected with the bottom.
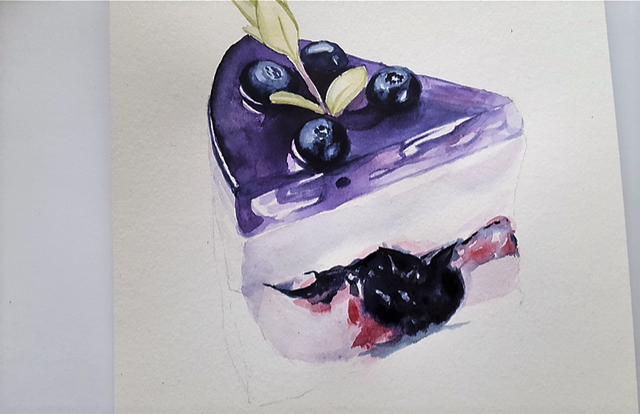
🔵 The bottom is also really dark. It is something between black, indigo and brown, so we can mix this colors together. I used short strokes to left some feeling of that porous strucutre.
🔵 The left part is very light, so you can paint some light grains into it.
Now use really thin brush and make all the highlight. After avery stroke take more color on a brush. You can paint all places which are white on a photo except for the middle part.
At the end just control the painting and add if you miss omething.
So this was the third part of the Bluebery study. If you are interested you can check the previous part here: PART 1, PART 2
Or if you want another watercolor tutorial, try to learn how to paint peony buds.
Thanks for watching!
Follow me on Steemit
#thealliance
Or if you want another watercolor tutorial, try to learn how to paint peony buds.
Thanks for watching!

Nice post, you have get 100 % upvote from @steemupvotebot, follow us for upvotes, updates and technology related news.
To, @marty-arts
It is great work in progress. Thanks for sharing. It is really great !! ♥
mlem mlem.