Drawing Tutorial: Lips.
I decided to start doing some tutorials and my first one is lips.
You may have to bear with me as I am a bit rusty myself but I did a step by step on my lip drawing process. Hopefully, we can all grow together as I keep doing tutorials which will help me practice my skills daily.
Here is the reference photo we will be using: Reference Lips
Please keep in mind when using references I am usually not worried about making my drawing look exactly like the image. I just want a reference. But you can spend more time perfecting your lips and trying to replicate the image perfectly. It is really good practice!
They honestly could have been worked on more but I am hoping I can still give you some basic ideas on how to draw lips, add shadows, highlights, details etc.
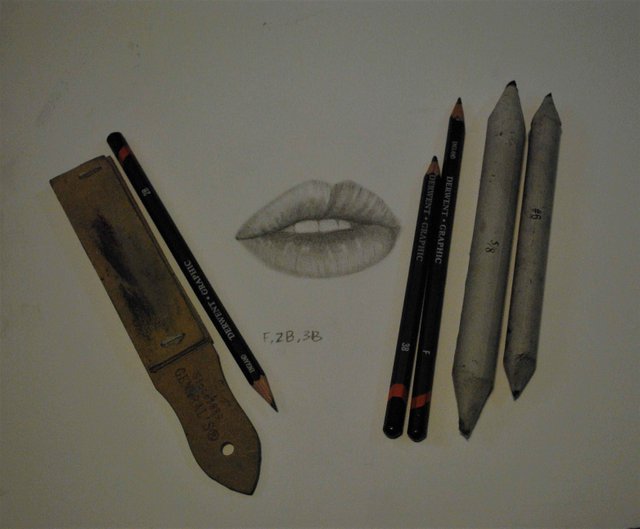
First off, here are the tools you will need:
Sandpaper thingy for sharpening pencils (optional), Blending stumps, pencils: F, 2B, 3B, and an eraser which I forgot to put in the photo. I used a 3 pointed prismacolor triangle eraser but would have preferred my sharpenable (I can use it as a word) pencil eraser which I could not find.
Start out with a light sketch:
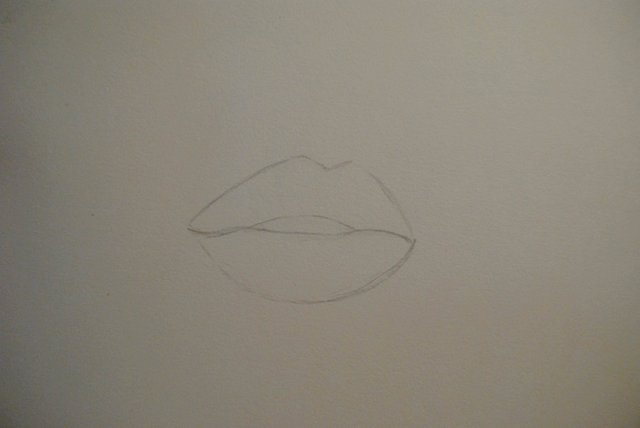
Don't worry about it being perfect. This is just the first step.
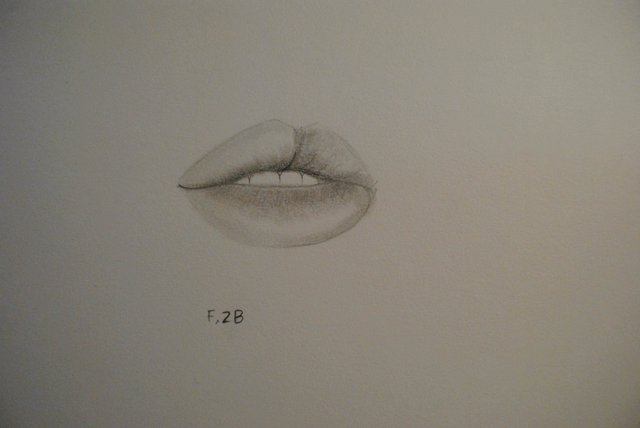
Fill in some dark spots for shading:
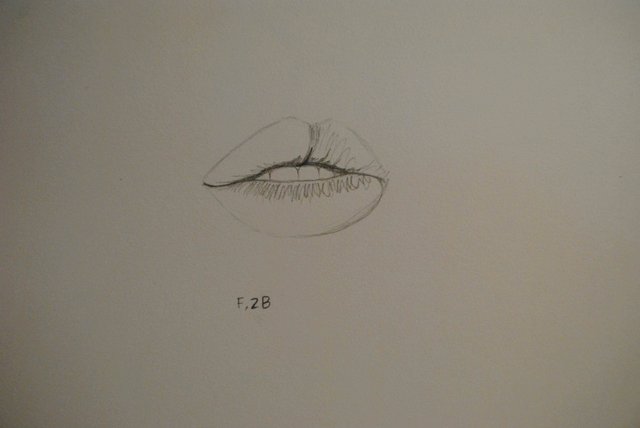
Fill in some of that darkest spots with your 2B or 3B pencil, I used 2B at first and 3B at the end and make some of the lines. Don't worry about the lines too much as we are going to use the blending stump and do it again, blend, and do it again. :)
Blend the lines using one of your stumps.
I use the big one in the beginning and use the smaller one for more of the small lines later on.
Fill in the dark spots again and add more lines.
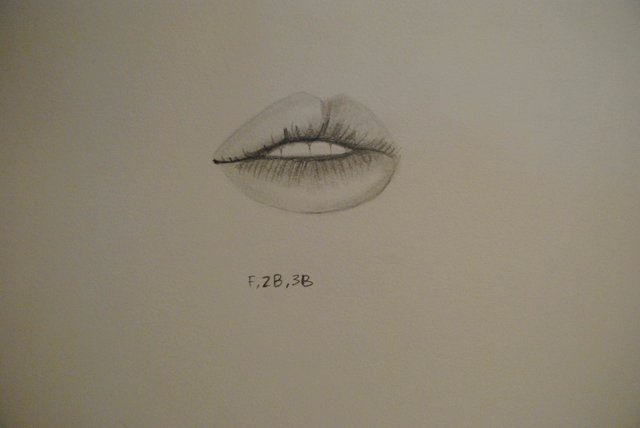
Blend it again.
This time try also adding some detail using the smaller stump. Keep some of the lines visible. Look at the reference photo and try to replicate it somewhat.
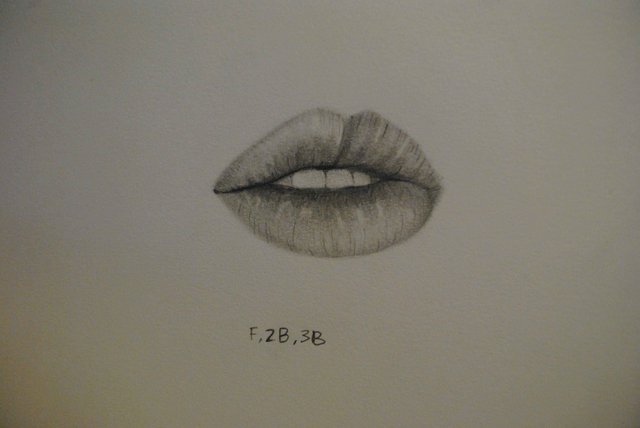
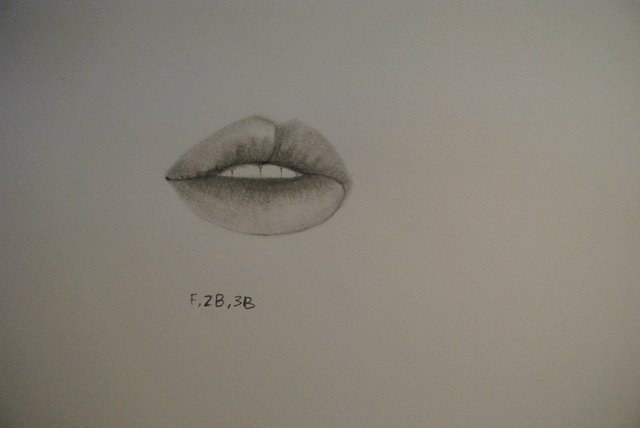
At this point start putting some final touches and shadows and highlights.
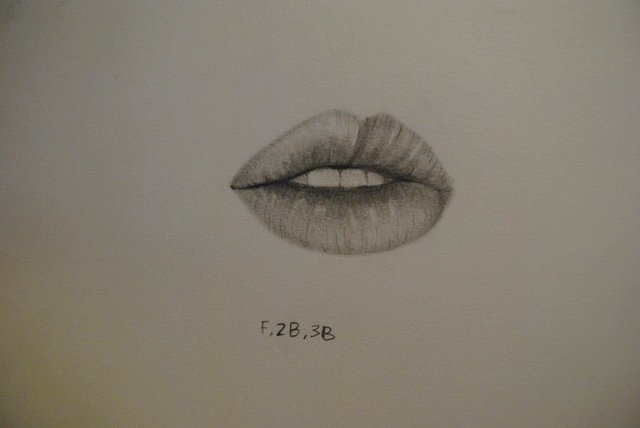
Now we are done blending. You want to put shadows, use the small stump for some lines, make small lines with pencils, and use the eraser for highlights.
I will be back later with more (hopefully better) art tutorials!
Very nice lips, the teeth look good too!
Thank you! :D
amazing work! Thanks for sharing!
Thanks :)
very realistic one,fantastic!
Thank you! :D
I love your tutorial! Great pictures to go with it. I'm going to check out your other posts and follow. Steemit is really a great place for artists!!
Really loved your art. That was a great portrait. The thing that makes art beautiful is the shadow lines and final touches. You had both in your art.
Looking forward for such amazing art :D
Very nice - enjoy seeing other's tutorials and can always learn something on this journey of drawing! Nice work!