HOW TO MAKE YOUR OWN DEMON MASK FROM FIBER CAST
Hi everyone!!
Today I'm gonna show you how to make your own face mask using fiber cast.
In this tutorial, I made a mask for a competition in our university which is the college icon. The mask is going to be made to look like a dragon. So here it is.
the making
For this project, I used two types of molding materials. The first being the fiber cast and second being paper mache.
- fiber cast :
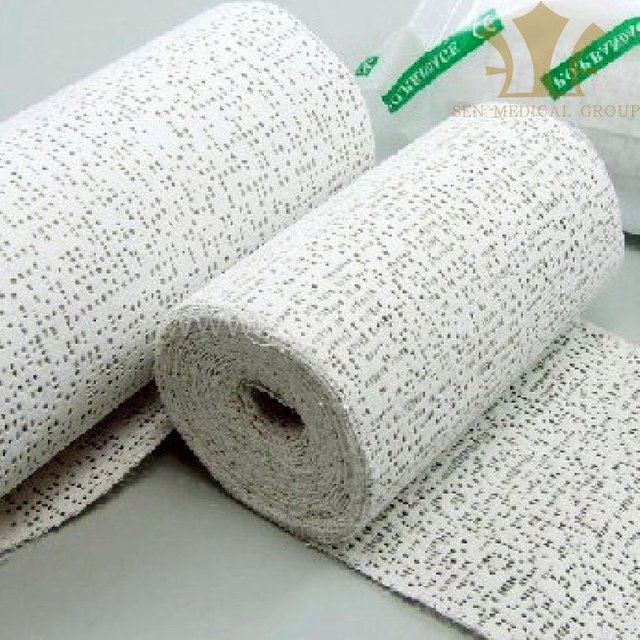
A fiber cast or the Plaster bandages are one of the most useful tools when it comes to the art of mold making and casting. The are especially useful in creating shell or mother molds. These are the rigid shells which are laid over mold making rubbers that provide the needed support for casting once the mold is removed from the model.
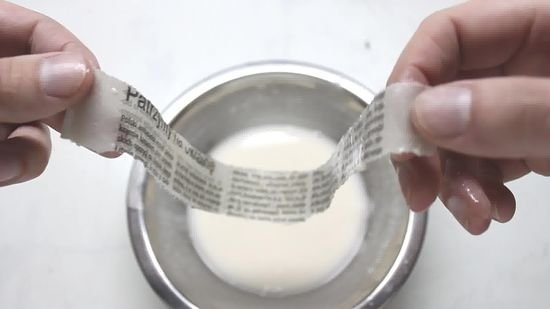
A face needs one bandage roll, whereas a front torso needs about eight or nine. Have two bowls of warm water at the ready. Holding a bandage end in each hand, dip the bandage in the water until saturated. As the water in one bowl becomes milky use the second bowl, as continuing to use the milky water will cause the bandages to delaminate later on when you least expect it.
- Paper Mache
Paper Mache is a composite material consisting of paper pieces or pulp, sometimes reinforced with textiles, bound with an adhesive, such as glue, starch, or wallpaper paste. Two main methods are used to prepare papier-mâché. The first method makes use of paper strips glued together with adhesive, and the other uses paper pulp obtained by soaking or boiling paper to which glue is then added.
The traditional method of making papier-mâché adhesive is to use a mixture of water and flour or other starch, mixed to the consistency of heavy cream. Other adhesives can be used if thinned to a similar texture, such as polyvinyl acetate-based glues (wood glue or, in the United States, white Elmer's glue). Adding oil of cloves or other additives such as salt to the mixture reduces the chances of the product developing mold.
For the paper strips method, the paper is cut or torn into strips, and soaked in the paste until saturated. The saturated pieces are then placed onto the surface and allowed to dry slowly. The strips may be placed on an armature, or skeleton, often of wire mesh over a structural frame, or they can be placed on an object to create a cast. Oil or grease can be used as a release agent if needed. Once dried, the resulting material can be cut, sanded and/or painted, and waterproofed by painting with a suitable water-repelling paint. Before painting any product of papier-mâché, the glue must be fully dried, otherwise mold will form and the product will rot from the inside out.
For the pulp method, the paper is left in water at least overnight to soak, or boiled in abundant water until the paper dissolves in a pulp. The excess water is drained, an adhesive is added and the papier-mâché applied to a form or, especially for smaller or simpler objects, sculpted to shape.
Fiber Cast (first molding material)
This comes in rolls which is much easier to handle by cutting it into smaller pieces. To work with this you need a bowl of water to wet the fiber cast in.
You also need to vaseline to apply to the skin which will make contact with the gauze.
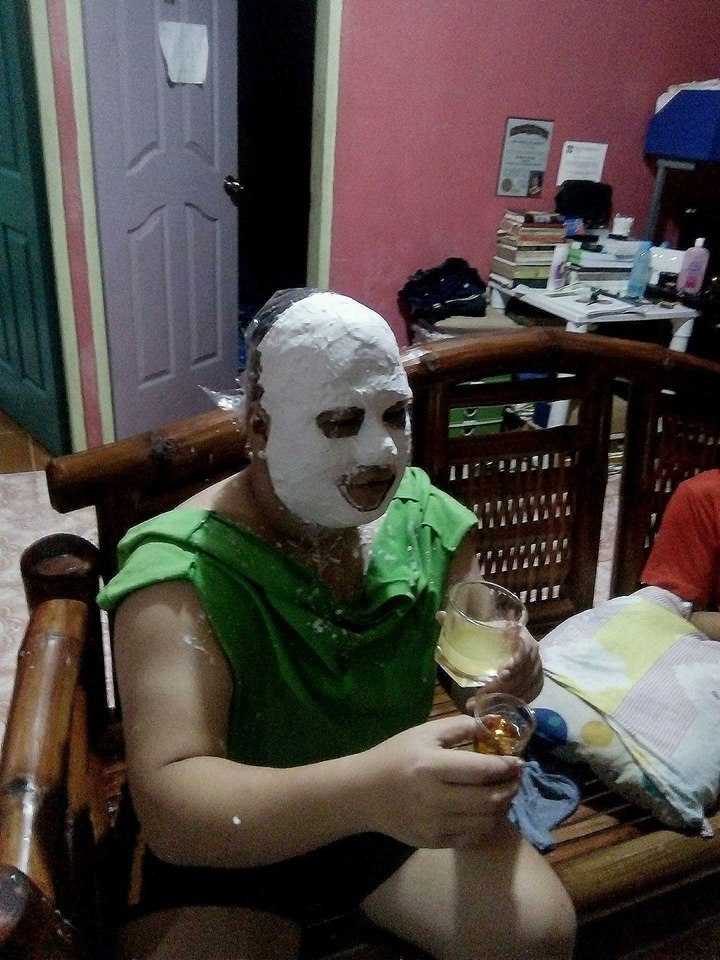
You use the fiber cast by dipping it into the water and letting the excess drip off and then laying it on your skin.
Dip your fingers on the water and smooth out the surface until it follows the shape of the skin it is being put on.
The mask dries in about 30 minutes, but it will completely dry within an hour or two. Once dry, it will retain the shape of the surface that it was being put on.
I used this method to put a full mask on my model's face and it is important to do it with someone in case you need help especially in taking off the mask after drying.
pardon the liquor. We got bored
Second Coating
Once the mask is dry, try to inspect it and reinforce the mask by covering the holes with another layer of fiber cast. This will not only make your mask smoother, but it also makes it sturdier and harder.
Paper Mache
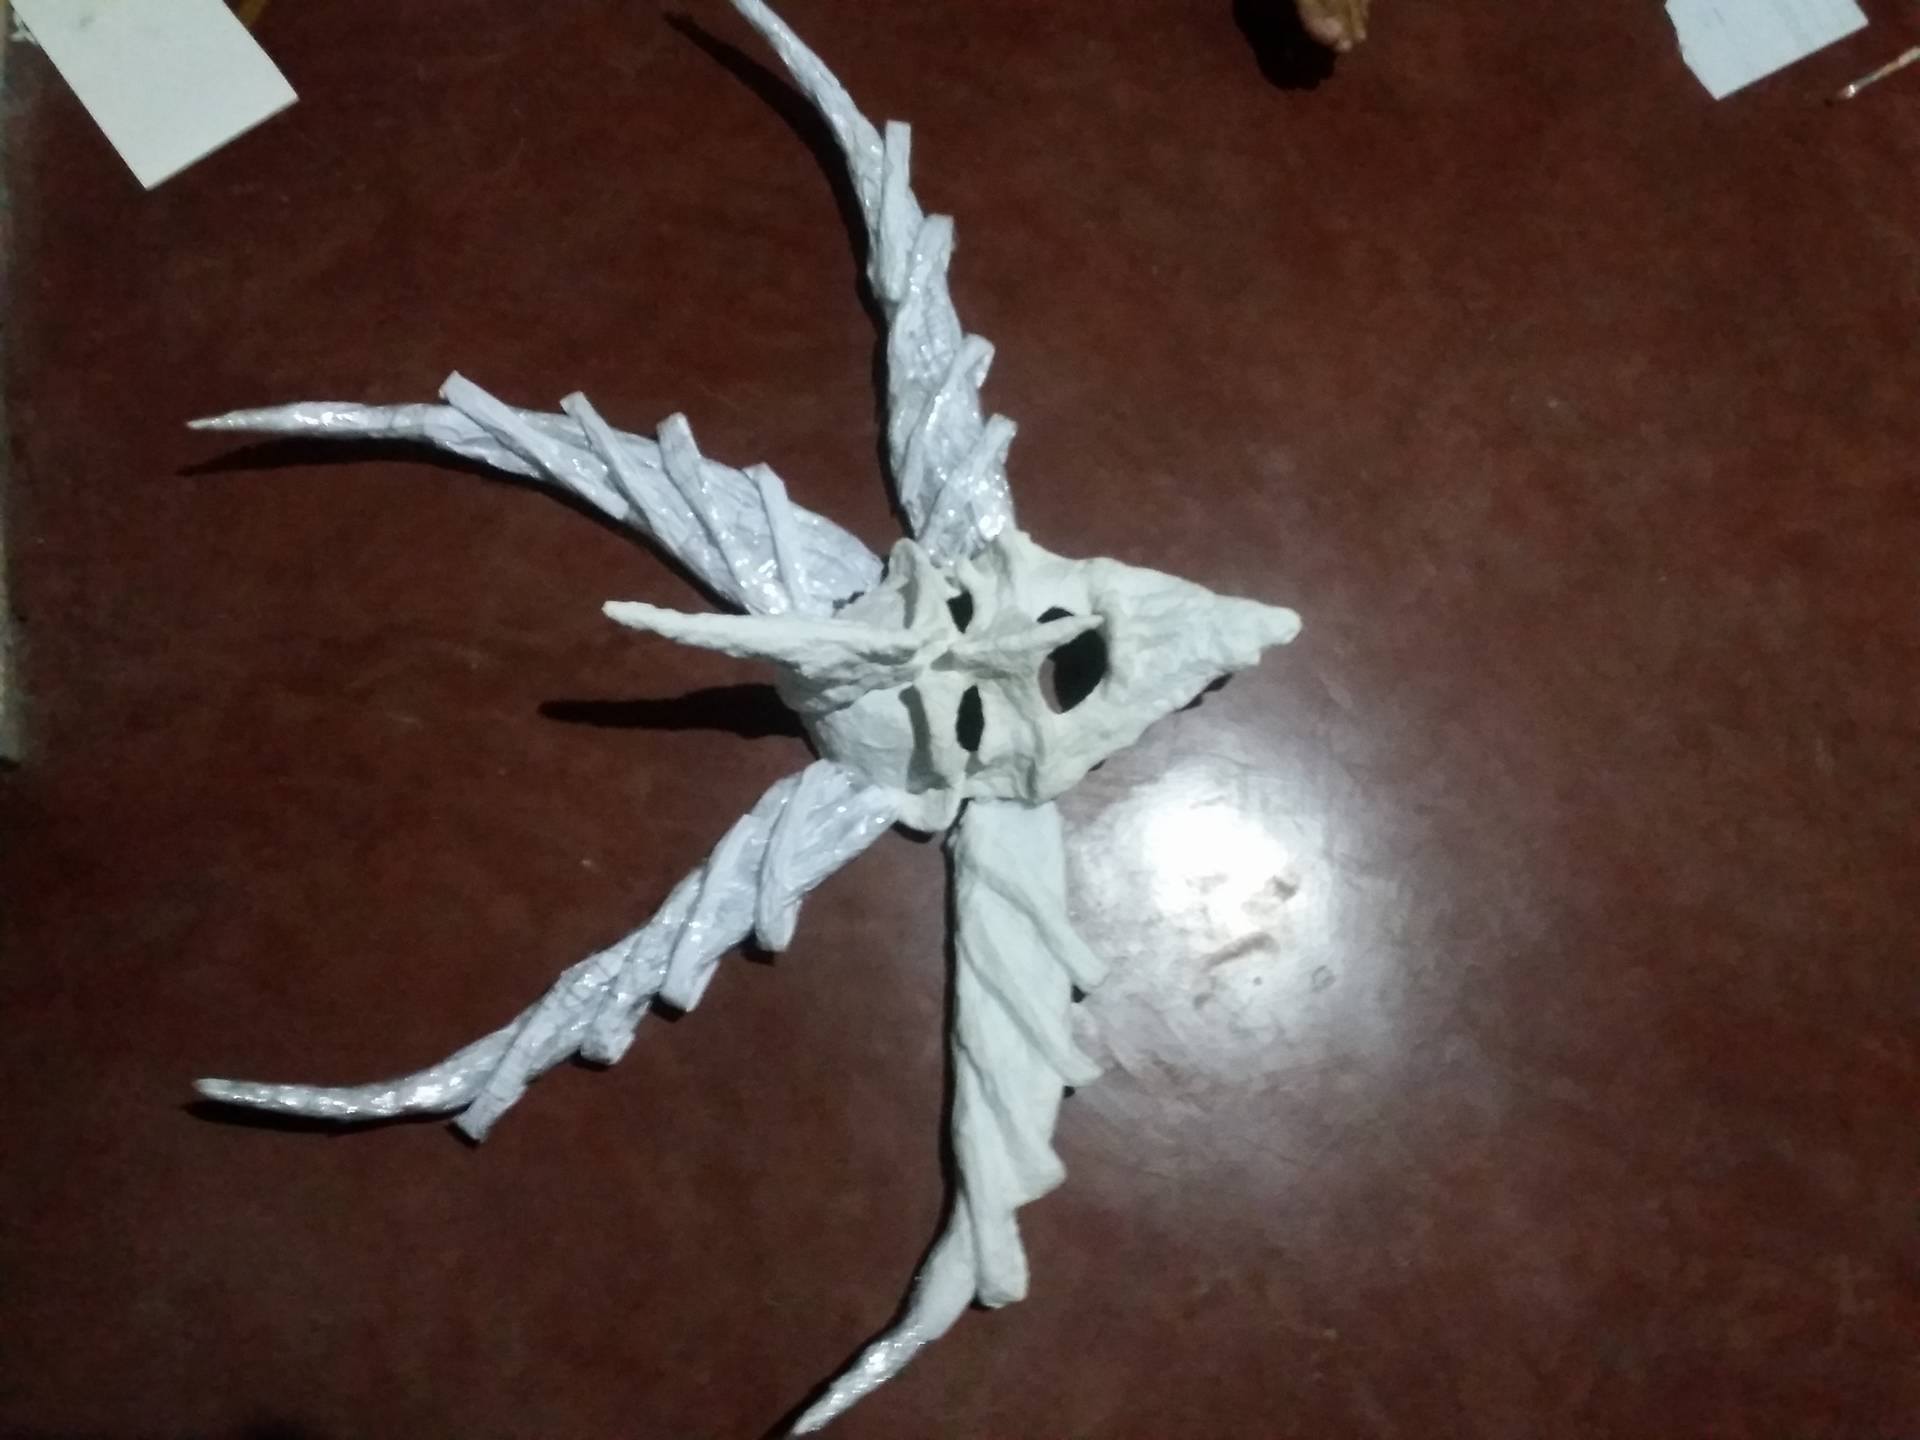
To create a greater amount of details, i used the technique most commonly known as paper mache. First, I crumpled paper to create volume and covered everything with packaging tape. *I do it to prevent the glue solution into seeping in the paper that might destroy it's shape)
After you added all the details, I coated the crumpled paper with tissue paper that was soaked in glue solution. If you want the surface to be very hard, use news paper or bond paper. But if you want the details to really show, use hard tissue papers. Never use the soft once. Cheap tissue papers are advisable.
to prepare a glue solution, I mixed 1 part water and 1 part glue. This technique is very versatile, more flexible and less expensive.
the things that you should look out for in doing this technique is when you wet the paper with the glue solution. Most of the times, the paper tears from being overly saturated. I suggest you apply a thick layer of tissue paper and an ample amount of glue solution. I also used paint brush to press the paper into following the shape. I never use my hands.
THE MASK
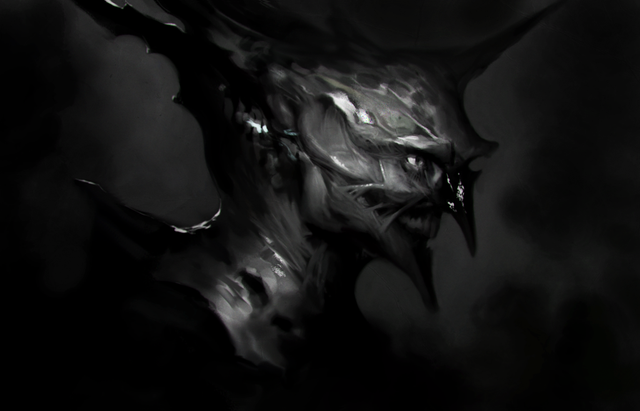
This is the photo that I based my mask on. I wanted to create an effect of it being dark, murderous and reptilian. SO I got this photo from google while searching for a dark dragon type of photos. I really like making these costumes since I think my niche in art is something that has athe dark, dominant and strong vibes to them. Sometimes even, when I paint, I make a depressing artwork and then I realize that was my emotion that time.
This is the mask after I did a paint job on it. The paint that I used on it where of two kinds, for the main mask, I used spray paints to create an effect that would make it seem smooth and blended. I chose to do spray paint because it is very easy to use and control. And, it will bring out the rough textures that we made from the fiber cast. After applying paint on it, the textures and the lines on the face were very clear and it was then very impressive to see. As for the other details, like the horns etc. I used latex paint. This is a kind of wet paint that is water-based and commonly used in paint jobs for walls and ceilings, or even canvas painting. I decided to use this because it is much cheaper than spray paints. After painting everything, I then applied emulsion to create a thin layer of protecting membrane to the mask. Not only that, the emulsion also bring out the colors from the paint and make it look two times better.
I created the outfit as well but I only wanted to do a tutorial on the mask. :)
This is a dragon God costume. It was presented last October of 2017 as one of the contingents for the College Icon Competition. It was awarded champion.
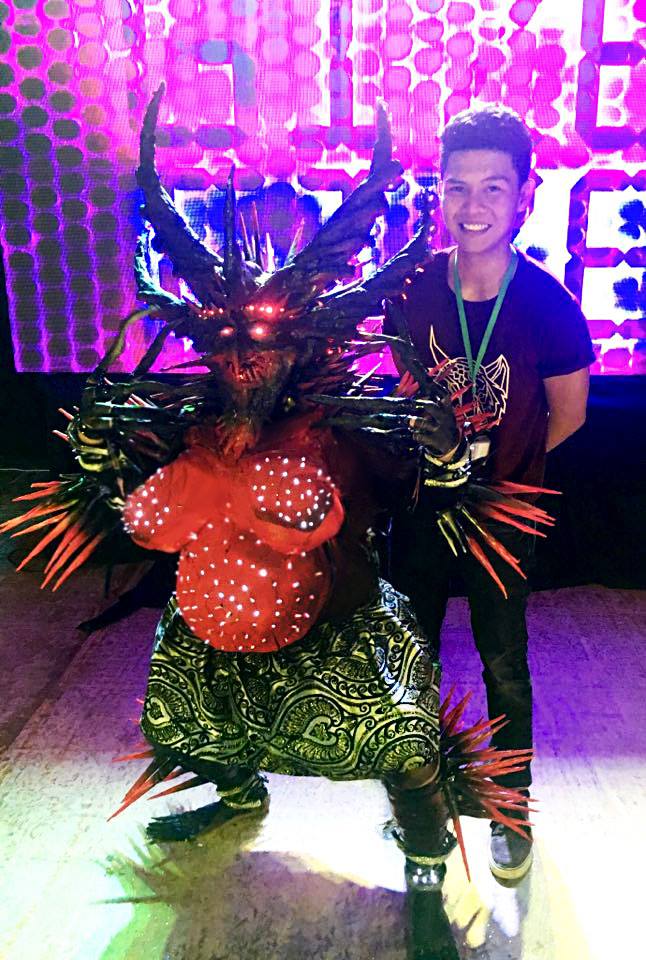
This is me wearing the mask. Well, as the head of the team that made the realization of the costume, I guess I had the prerogative to be able to wear the mask as well. I am very proud of this mask not only because it was crowned champion, but this mask also gives me a sense of personal accomplishment as an artist. Doing stuff from scratch has always been my thing but this is going to be one of my best babies. IT is also true that doing fiber cast is not really my forte since this is the first time I used it. so yes, i have to say I am very proud of this one.
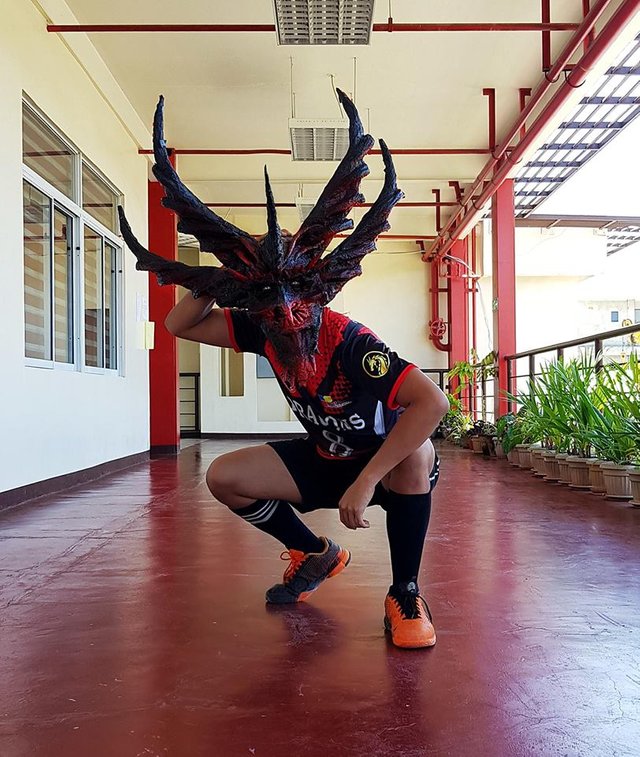
I hope you guys learned and enjoyed the tutorial.
Thanks for dropping by!
Keep steeming!

I am impressed! Keep up the good work, kabayan!
Upvoted 😊
@purepinay, thank you very much :) Im just starting out at steemit I remembered you were the one who posted the Cebu Glamping trip. You are beautiful :))) Thanks. More powers!
This post has received a 0.34% upvote from thanks to: @ivanusaur.
For more information, click here!!!!
Try the new Minnowhelper Bots for more information here
Help support @minnowhelper and the bot tracker by voting for @yabapmatt for Steem witness! To vote, click the button below or go to https://steemit.com/~witnesses and find @yabapmatt in the list and click the upvote icon. Thank you.
Voting for @yabapmatt
Very nice