How to Make a Wooden Little Doggy
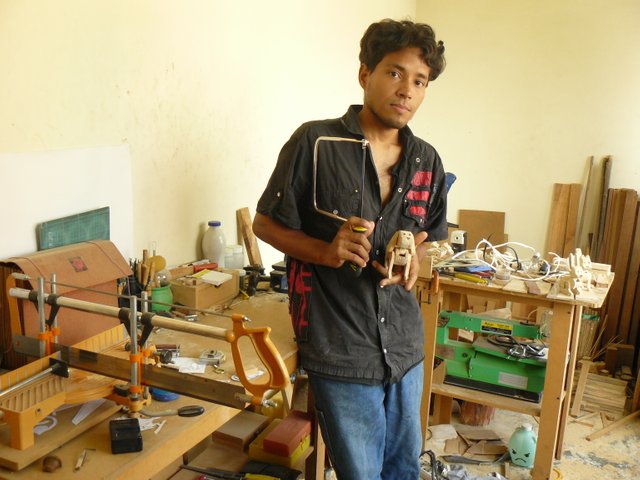
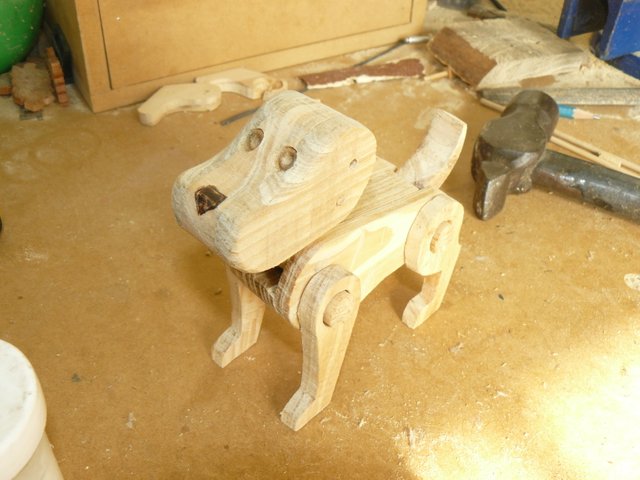
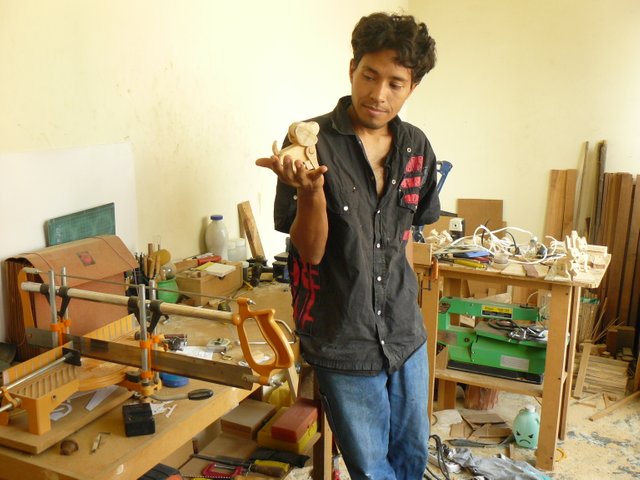
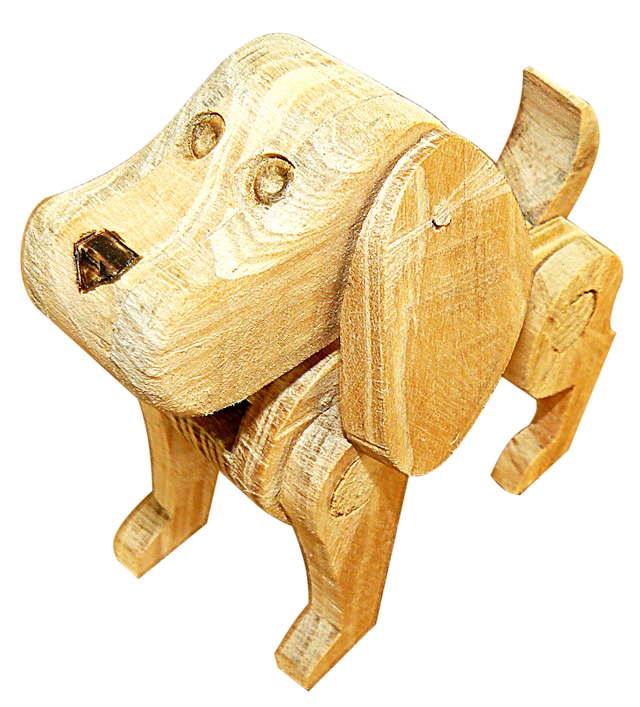
Today I want to share with my fellow Steemit readers how I built this nice articulated toy, which has the shape of a puppy dog. This toy belongs to a line of small animals, made entirely with recycled wood. I present to you "Puchi", the first toy of this line.

One of the main reasons why I joined this community is my fascination to learn and be able to share with other people what I know how to do and how to do it, according to my conviction to make the most of resources. On this occasion I will share how to build objects with wood, how this craft is carried out, the tools and implements that are required to execute the action, as well as mention the skills required. I usually say that knowledge is everywhere, it's just a matter of looking for it and having the determination to learn. I'm still learning.
A source of income with which I have been able to cover part of my expenses in these times has been through the construction of handmade toys, totally made with recycled wood.

How was "Puchi" built?
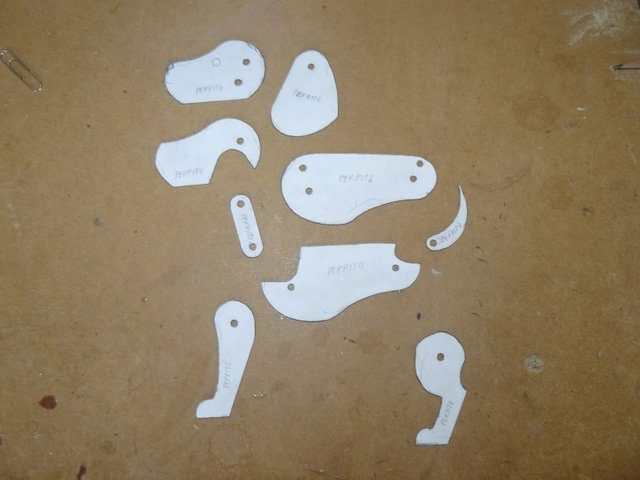
The first action is to create a template on cardboard in order to facilitate the preparation of the other units and to provide guidance on where the cuts will be directed.

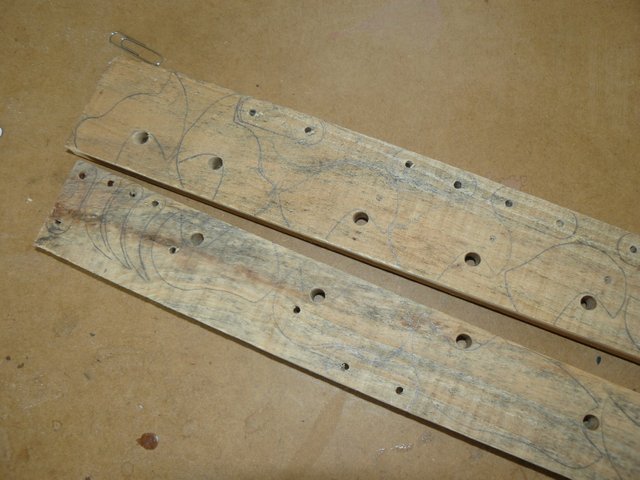
Once the templates are ready, the next thing is to select the wood. I proceed to draw the outline of the template of all the pieces that are part of "Puchi". The ideal is to use a wood that has a thickness of 2 centimeters; However, in this case the wood is recycled, which is why the thickness tends to vary to suit the materials with which we actually have, in this case, the thickness of the wood is approximately 15 mm.
List all templates, proceed to cut all the pieces. The tool that I used for it was a small blade type marquetry saw. The ideal is to use a bench jigger or in its absence a simple manual saw; however, I used the tool available at the time taking advantage of my skill in the use of it.These tools are in my inventory only at this time damaged. Soon they will be repaired, we must not give up.
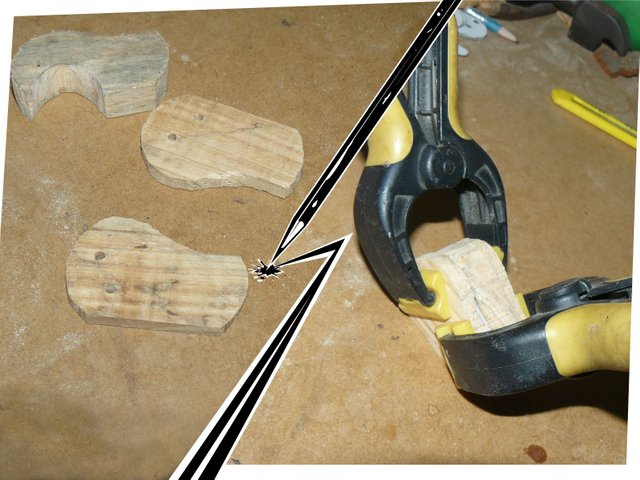
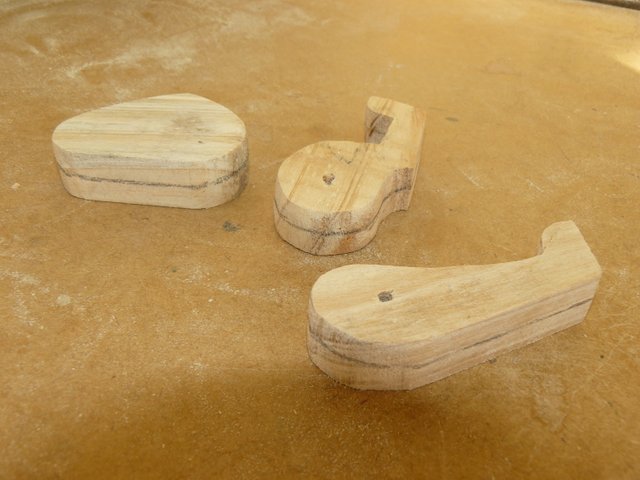
Cut the pieces, there are some that should be divided, these are: the outside, the head; the outside of the body, the ears and the legs. In these pieces will be marked with a pencil, where the cut will be made to divide them into two equal parts. The first parts to be divided are those of the body and the head.


Once the pieces are divided, we proceed to unite them around the nucleus pieces corresponding to the body and the head, as if it were a sandwich. When gluing them, tweezers should be used to ensure adhesion of the glue.
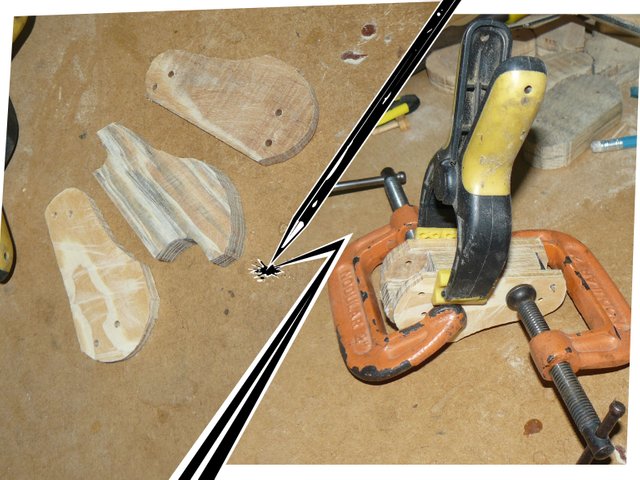
At this time we proceed to divide the parts of the legs and ears; before doing so, they must be sanded to eliminate all imperfections.
Once the polished pieces are marked with the pencil where they will be divided and the cuts are made.
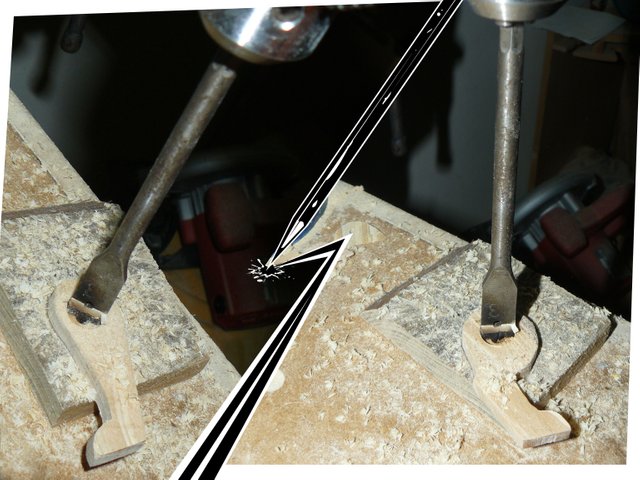
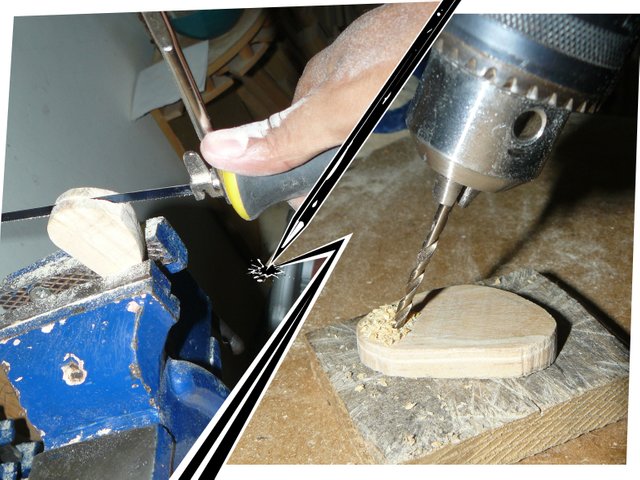
Once the legs are divided, we will proceed to take a 13 mm drill bit for drilling, this is used in the hole marked for the articulation, but only drilling up to half the volume of this piece, approximately at a depth of 3 to 4 mm, Never going through the piece completely! Otherwise, the piece is completely lost. Once this procedure is finished, the legs will be finished.
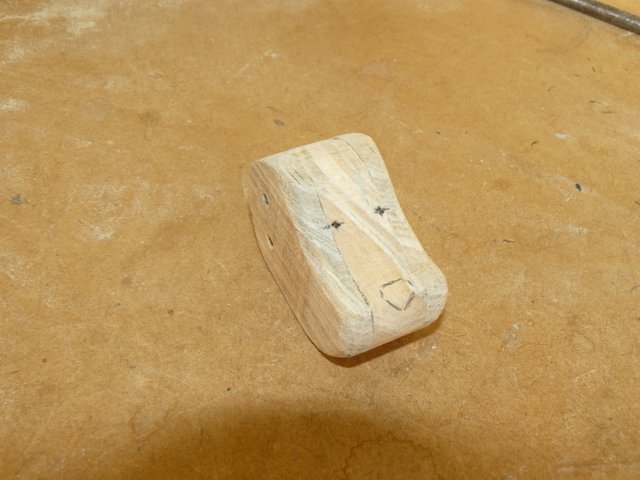
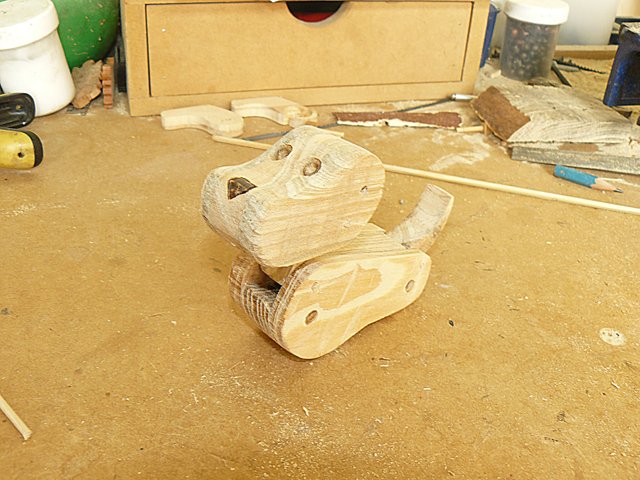
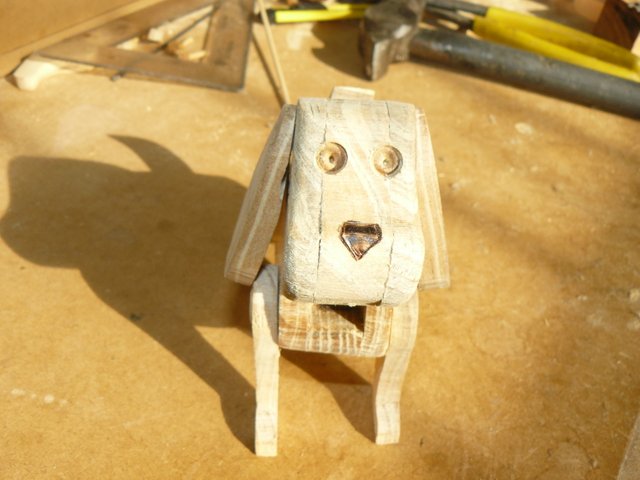
At this time, the part of the head is retaken, the glue must be dry. You proceed to sand all the imperfections until you get to leave it as polished as possible; in the process all the edges are rounded to give a more organic, natural and friendly shape, with a pencil the place where the eyes and nose are located is marked.
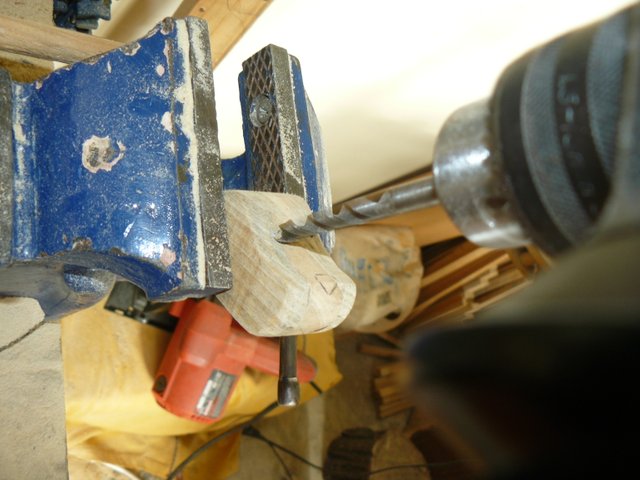

Now proceed with the ears, which already sanded are divided into two and where the hinge hole was marked, with a 3 mm wick, is drilled, at an angle of approximately 110 °.
After making the perforations, we proceed to mark a cut, in a small section of the ear, in the area where it joins with the head. This process is done in mirror mode with the other ear.
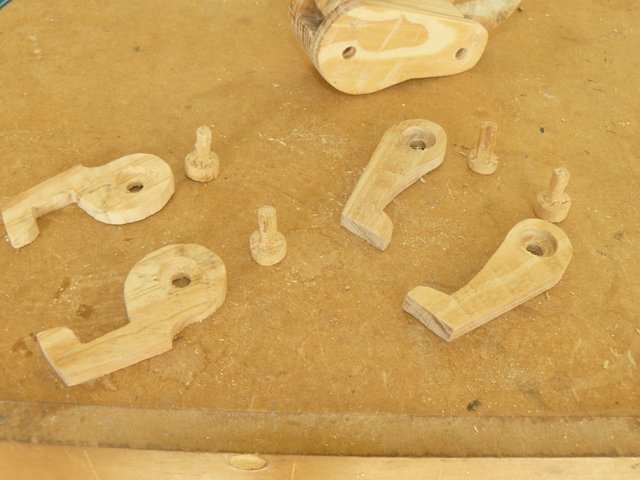
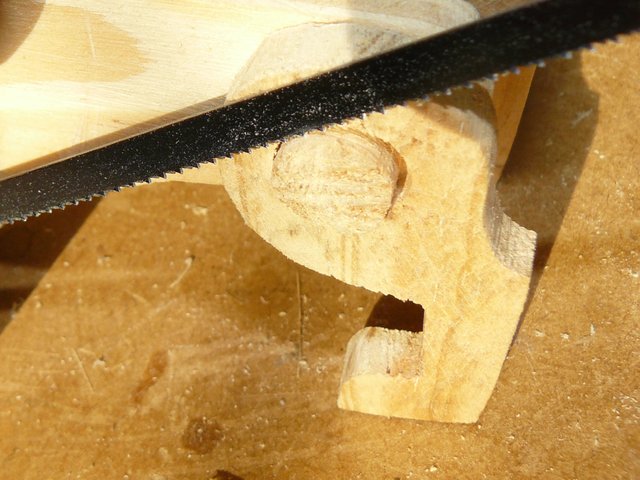
Now we proceed to build four pieces of utmost importance, which are the bolts for the joints of the legs. For its elaboration it is marked on a rod with a diameter of 13 mm where the cuts of these pieces will be made.

Already marked, the rod is positioned on a good support to make the cuts with the help of the marquetry saw. The guide of these cuts is marking a small circle of 6 mm in the center of the diameter of the rod. The piece is cut until it looks like a rivet and is sanded smoothly. The correct way to build this piece is with a lathe for wood; However, using my ingenuity and skill, I applied this method, which, although it is more complicated, allows me to achieve the objective, to make the piece.
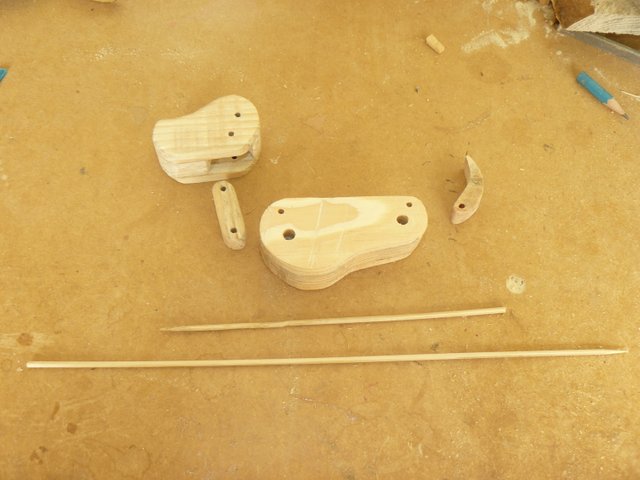
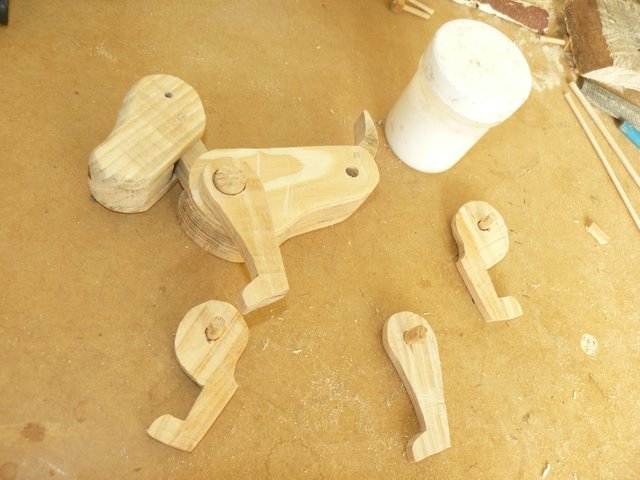
Having all the pieces ready. Finally, the first parts to be joined are assembled: the head with the neck, with the body and with the tail. To do this, use a skewer stick .
No matter
Whatever happens… do not stop creating
When you stop doing it … you refuse to grow
Thank you very much for reading my publication
All images, banners, dividers and gifs used in this publication are my property.
See you in a next post
Inu-Jim

Whatever happens… do not stop creating
When you stop doing it … you refuse to grow
All images, banners, dividers and gifs used in this publication are my property.
See you in a next post
Inu-Jim
ǝɹǝɥ sɐʍ ɹoʇɐɹnƆ pɐW ǝɥ┴
Este post ha sido votado por @celfmagazine. Un proyecto de curación y revista digital de arte y cultura.
This post has been upvoted by @celfmagazine. A curation project and digital art and culture magazine.
Very cool and interesting! Amazing work, @inu-jim!
This post was shared in the Curation Collective Discord community for curators, and upvoted and resteemed by the @c-squared community account after manual review.
@c-squared runs a community witness. Please consider using one of your witness votes on us here