Pregnancy and Puppets: Yas Queen (Finger Puppet Process)
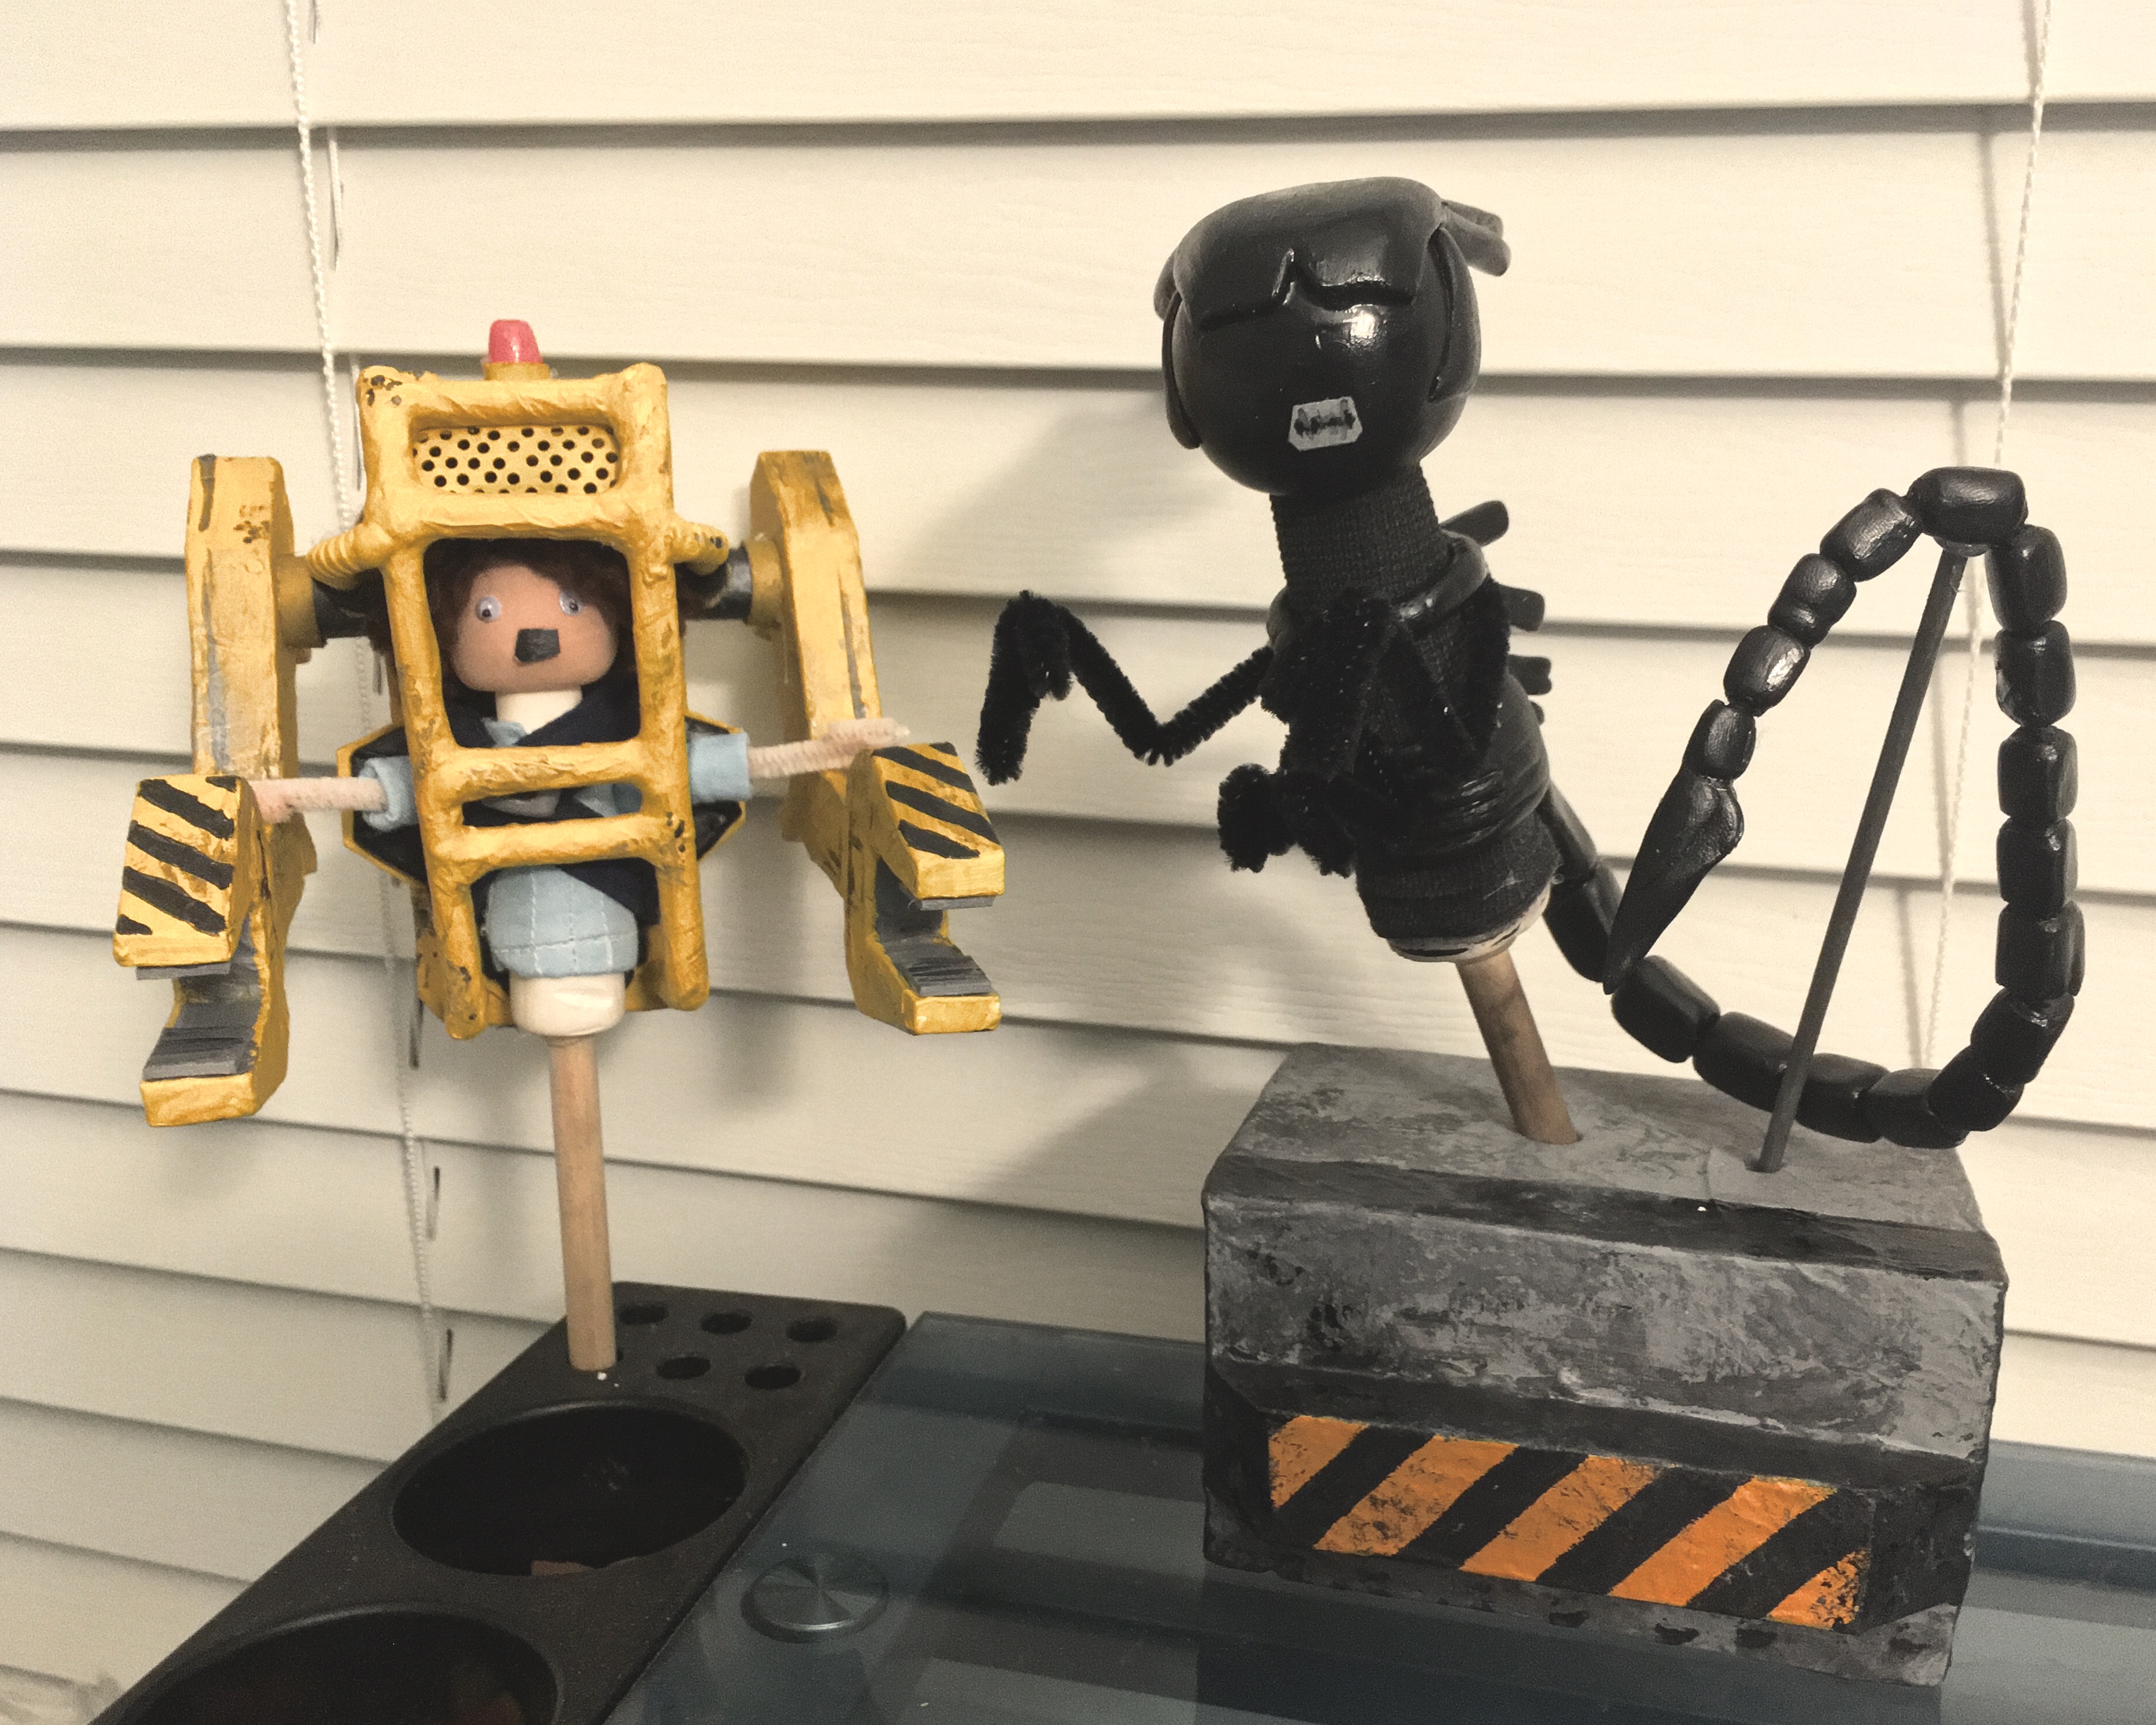
Weekend # 2 of finger puppet creation and I tackled what I thought was going to be a much more difficult project: the Alien Queen. I mean, with the last puppet being Ripley and the Loader, what else could I possibly make next? ;)
Note: I’d like to apologize in advance for the quality of some of these images. I was so excited to work on this and haven’t taken progress pictures in so long that I didn’t really take enough higher quality photos.
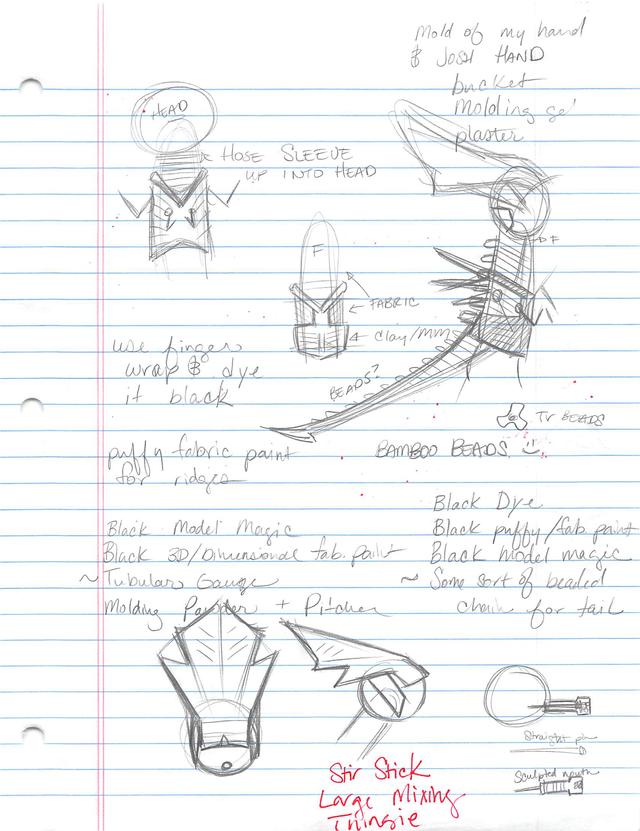
This puppet proved to be a lot easier than the loader, but I believe more organic shapes can be a bit more forgiving. I had planned out the design a few days in advance because I like to follow the advice of good ‘ol Honest Abe: “Give me six hours to chop down a tree and I will spend the first four sharpening the axe.” It was great advice for learning Java and it applies to so many facets of creativity. I don’t like to waste time or resources on restarts and redos, so I always make sure I have a solid game plan going into any kind of complex project.
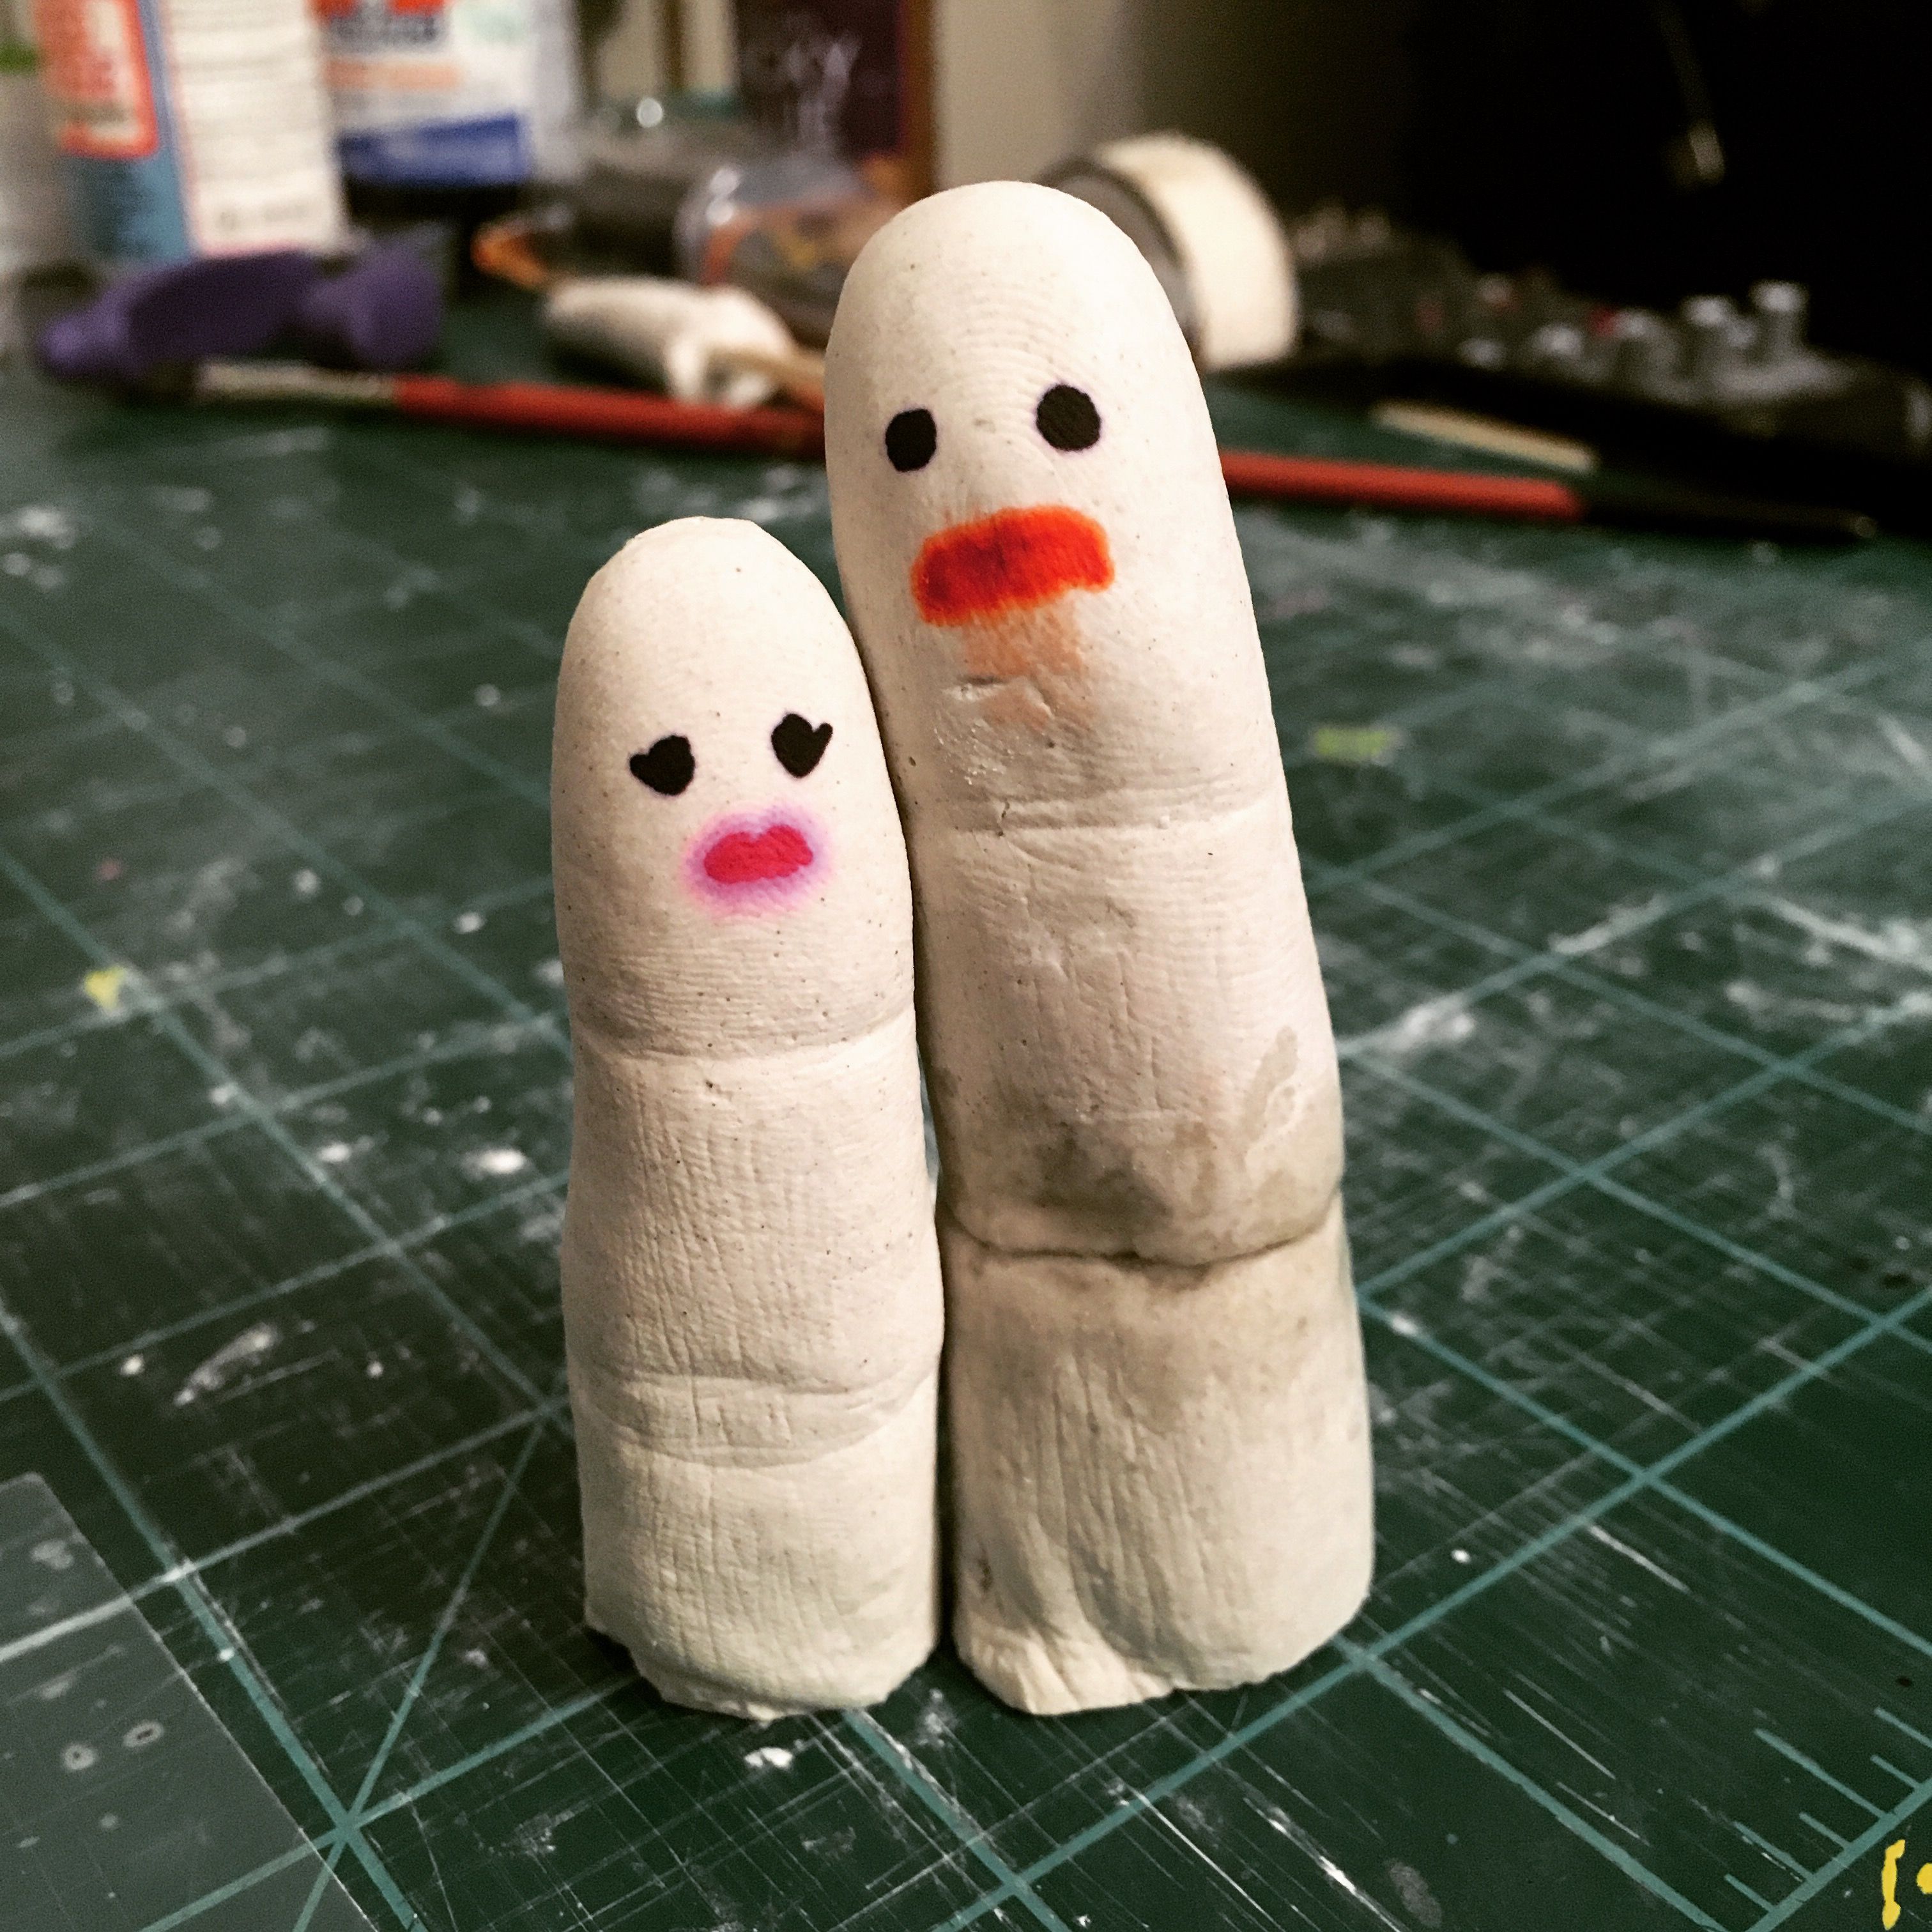
Because this was also going to be created to fit my partner’s finger, I also needed to create a proportionate model to work off of so I didn’t have to keep bugging him for his index finger every 5 minutes. When I started creating these finger puppets, I made a poor cast of my index finger to keep both my hands free. So this time, I got supplies to make much better casts of both my finger and my partner’s big sausage links. As you can see, there’s quite a size difference.
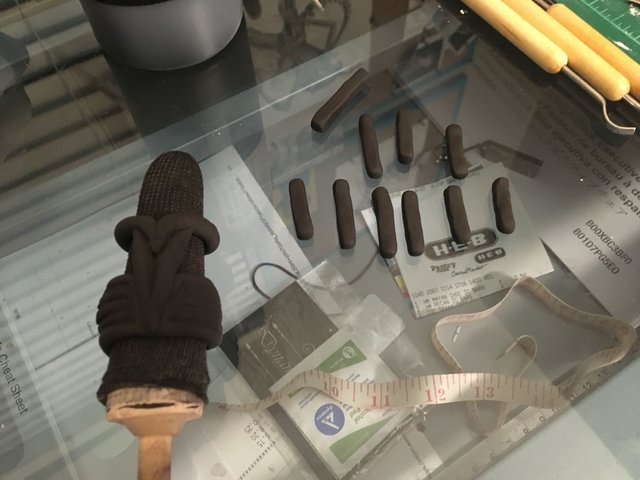
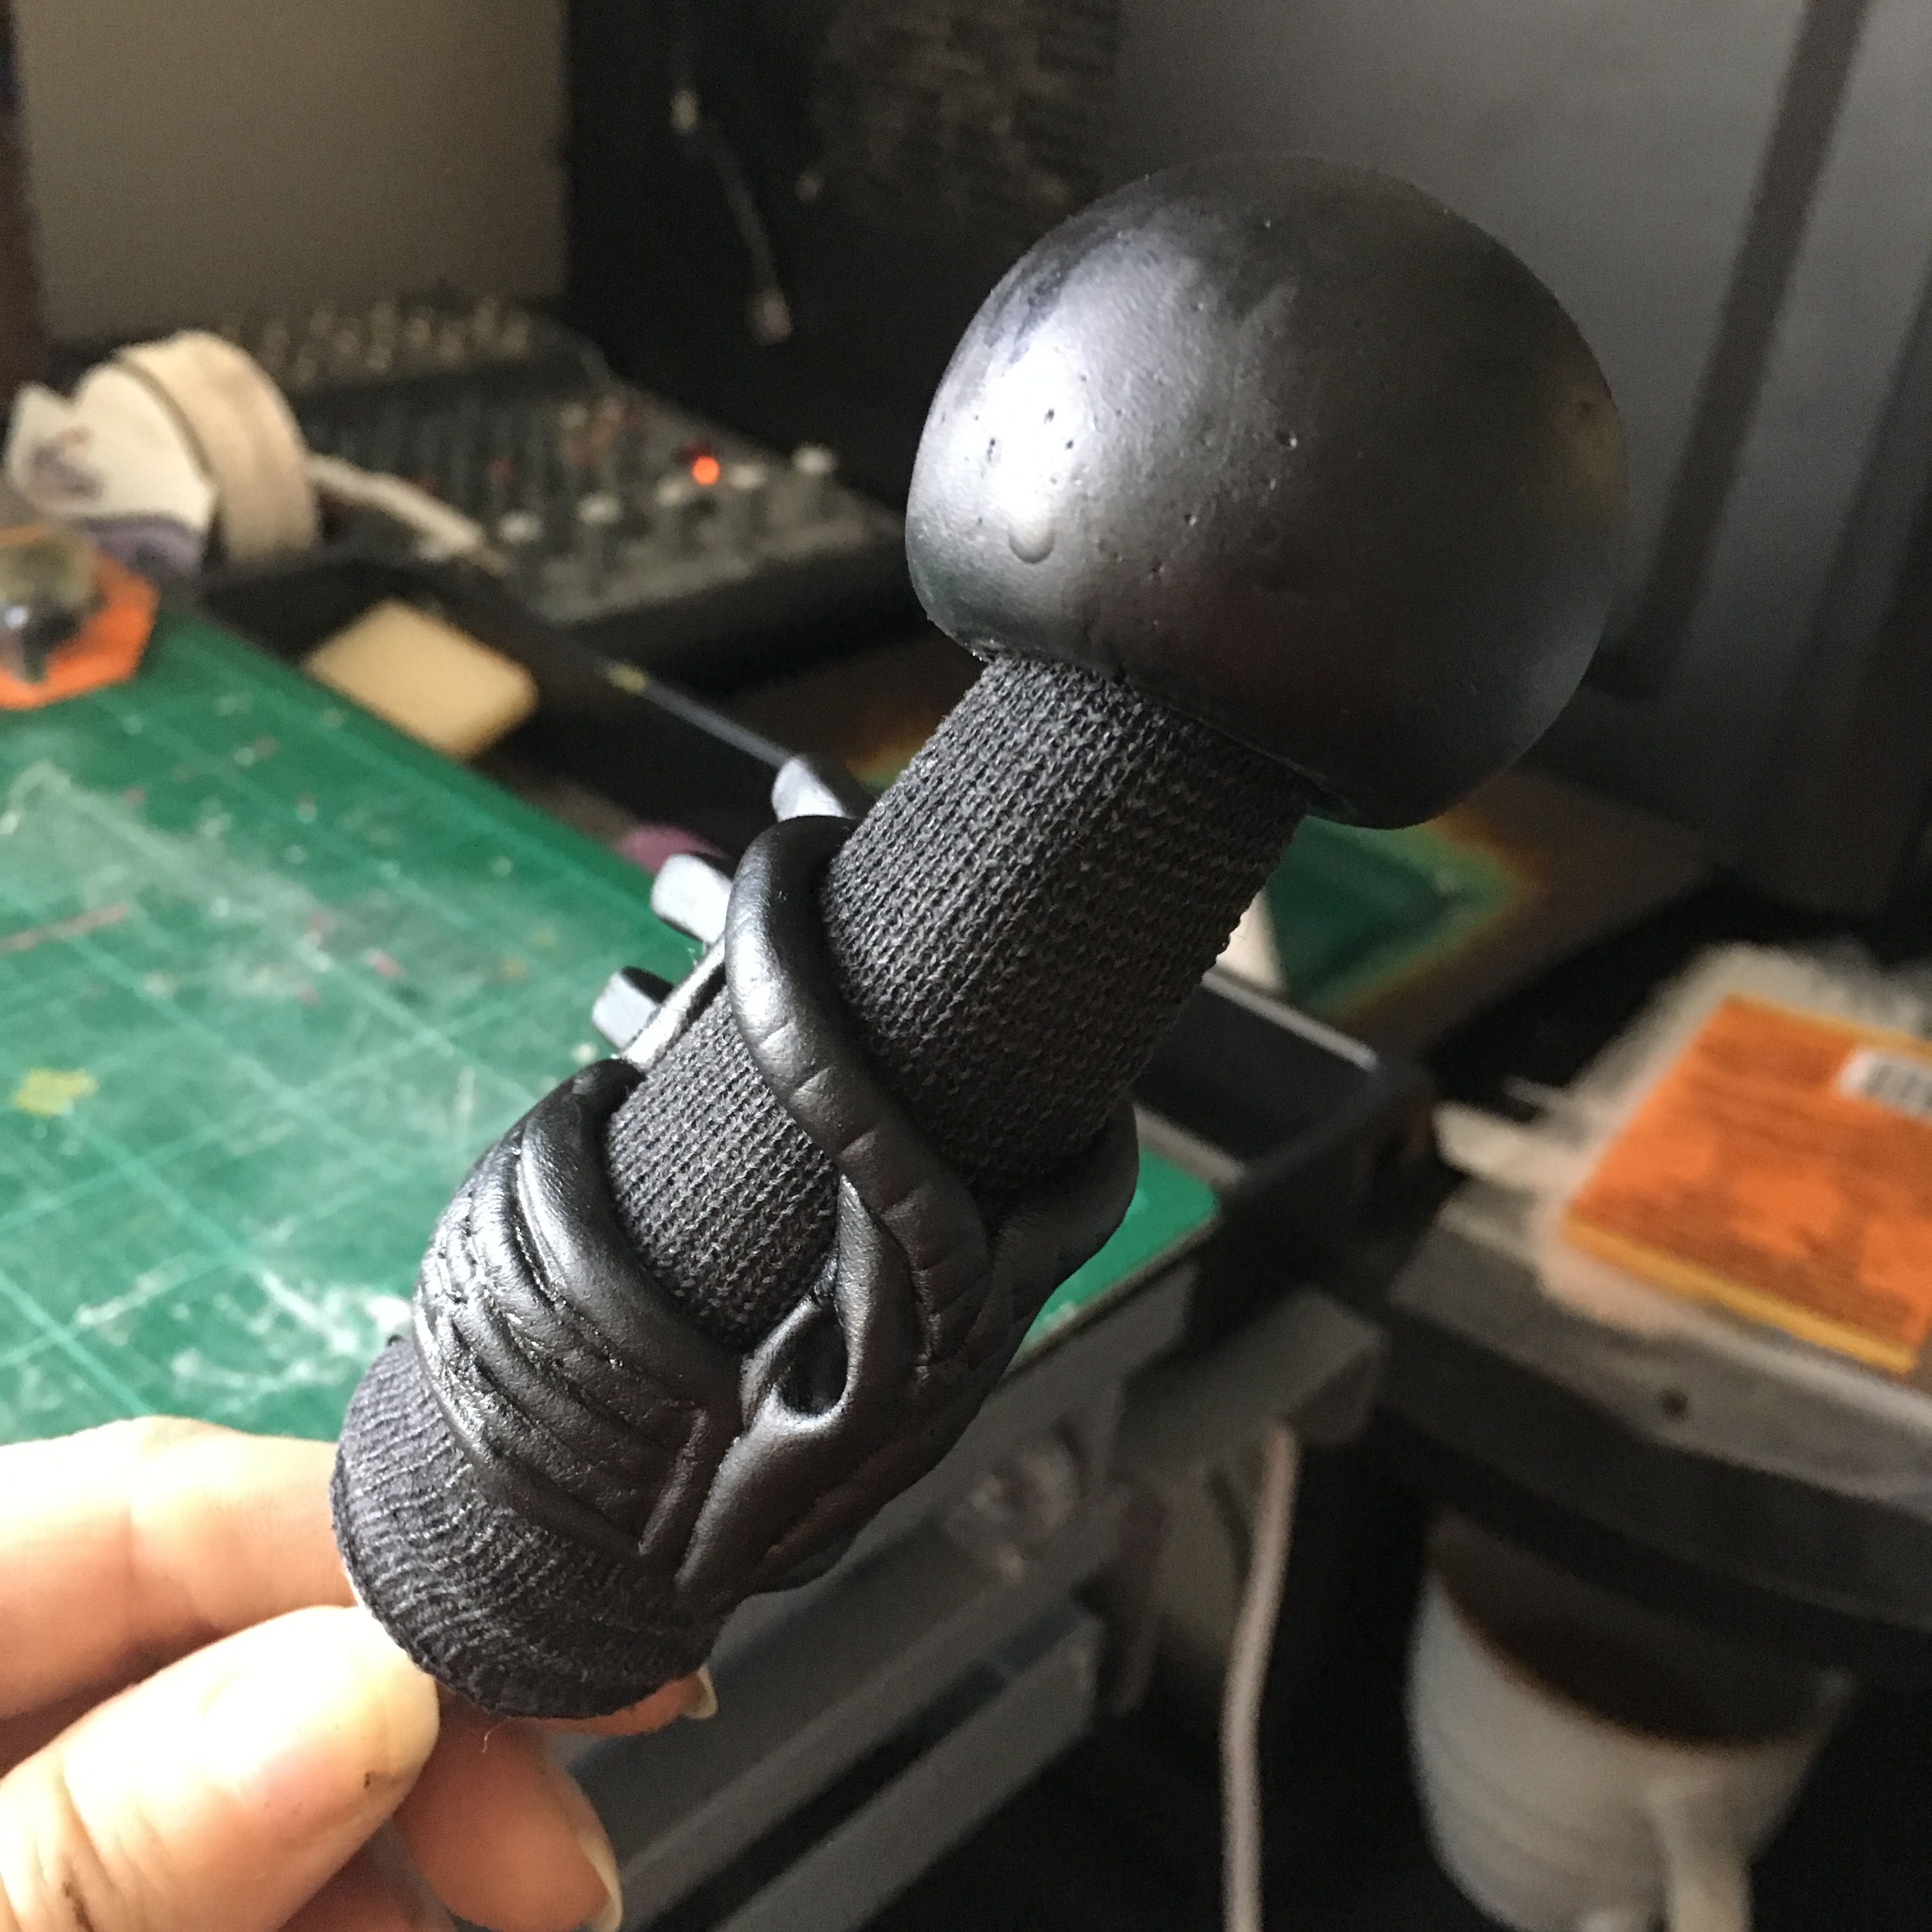
Since I also didn’t want to have to paint his finger black, I decided to make a little finger glove using some tubular gauze we had and dying it black. From there, I had to decide what type of modelling material to use for the rib-cage and head. I usually use model magic for my finger puppets’ heads because I like to allow for a bit of malleability. I figured the lightweight nature of the material would also help keep the head from falling off due to the off balance nature of the Queen’s headdress.
My only reservation about Model Magic is that it takes a while to dry. You can speed up the process by using a hairdryer or the oven, but it doesn't dry quite the same (can cause bubbling and crumbling). The alternative was to use Sculpey polymer clay, which doesn’t take long to bake, but is more rigid and heavier. In the end, I went with Model Magic because I worried that Sculpey would reduce the puppet’s range of motion. I would just have to be patient and wait for the pieces to dry.
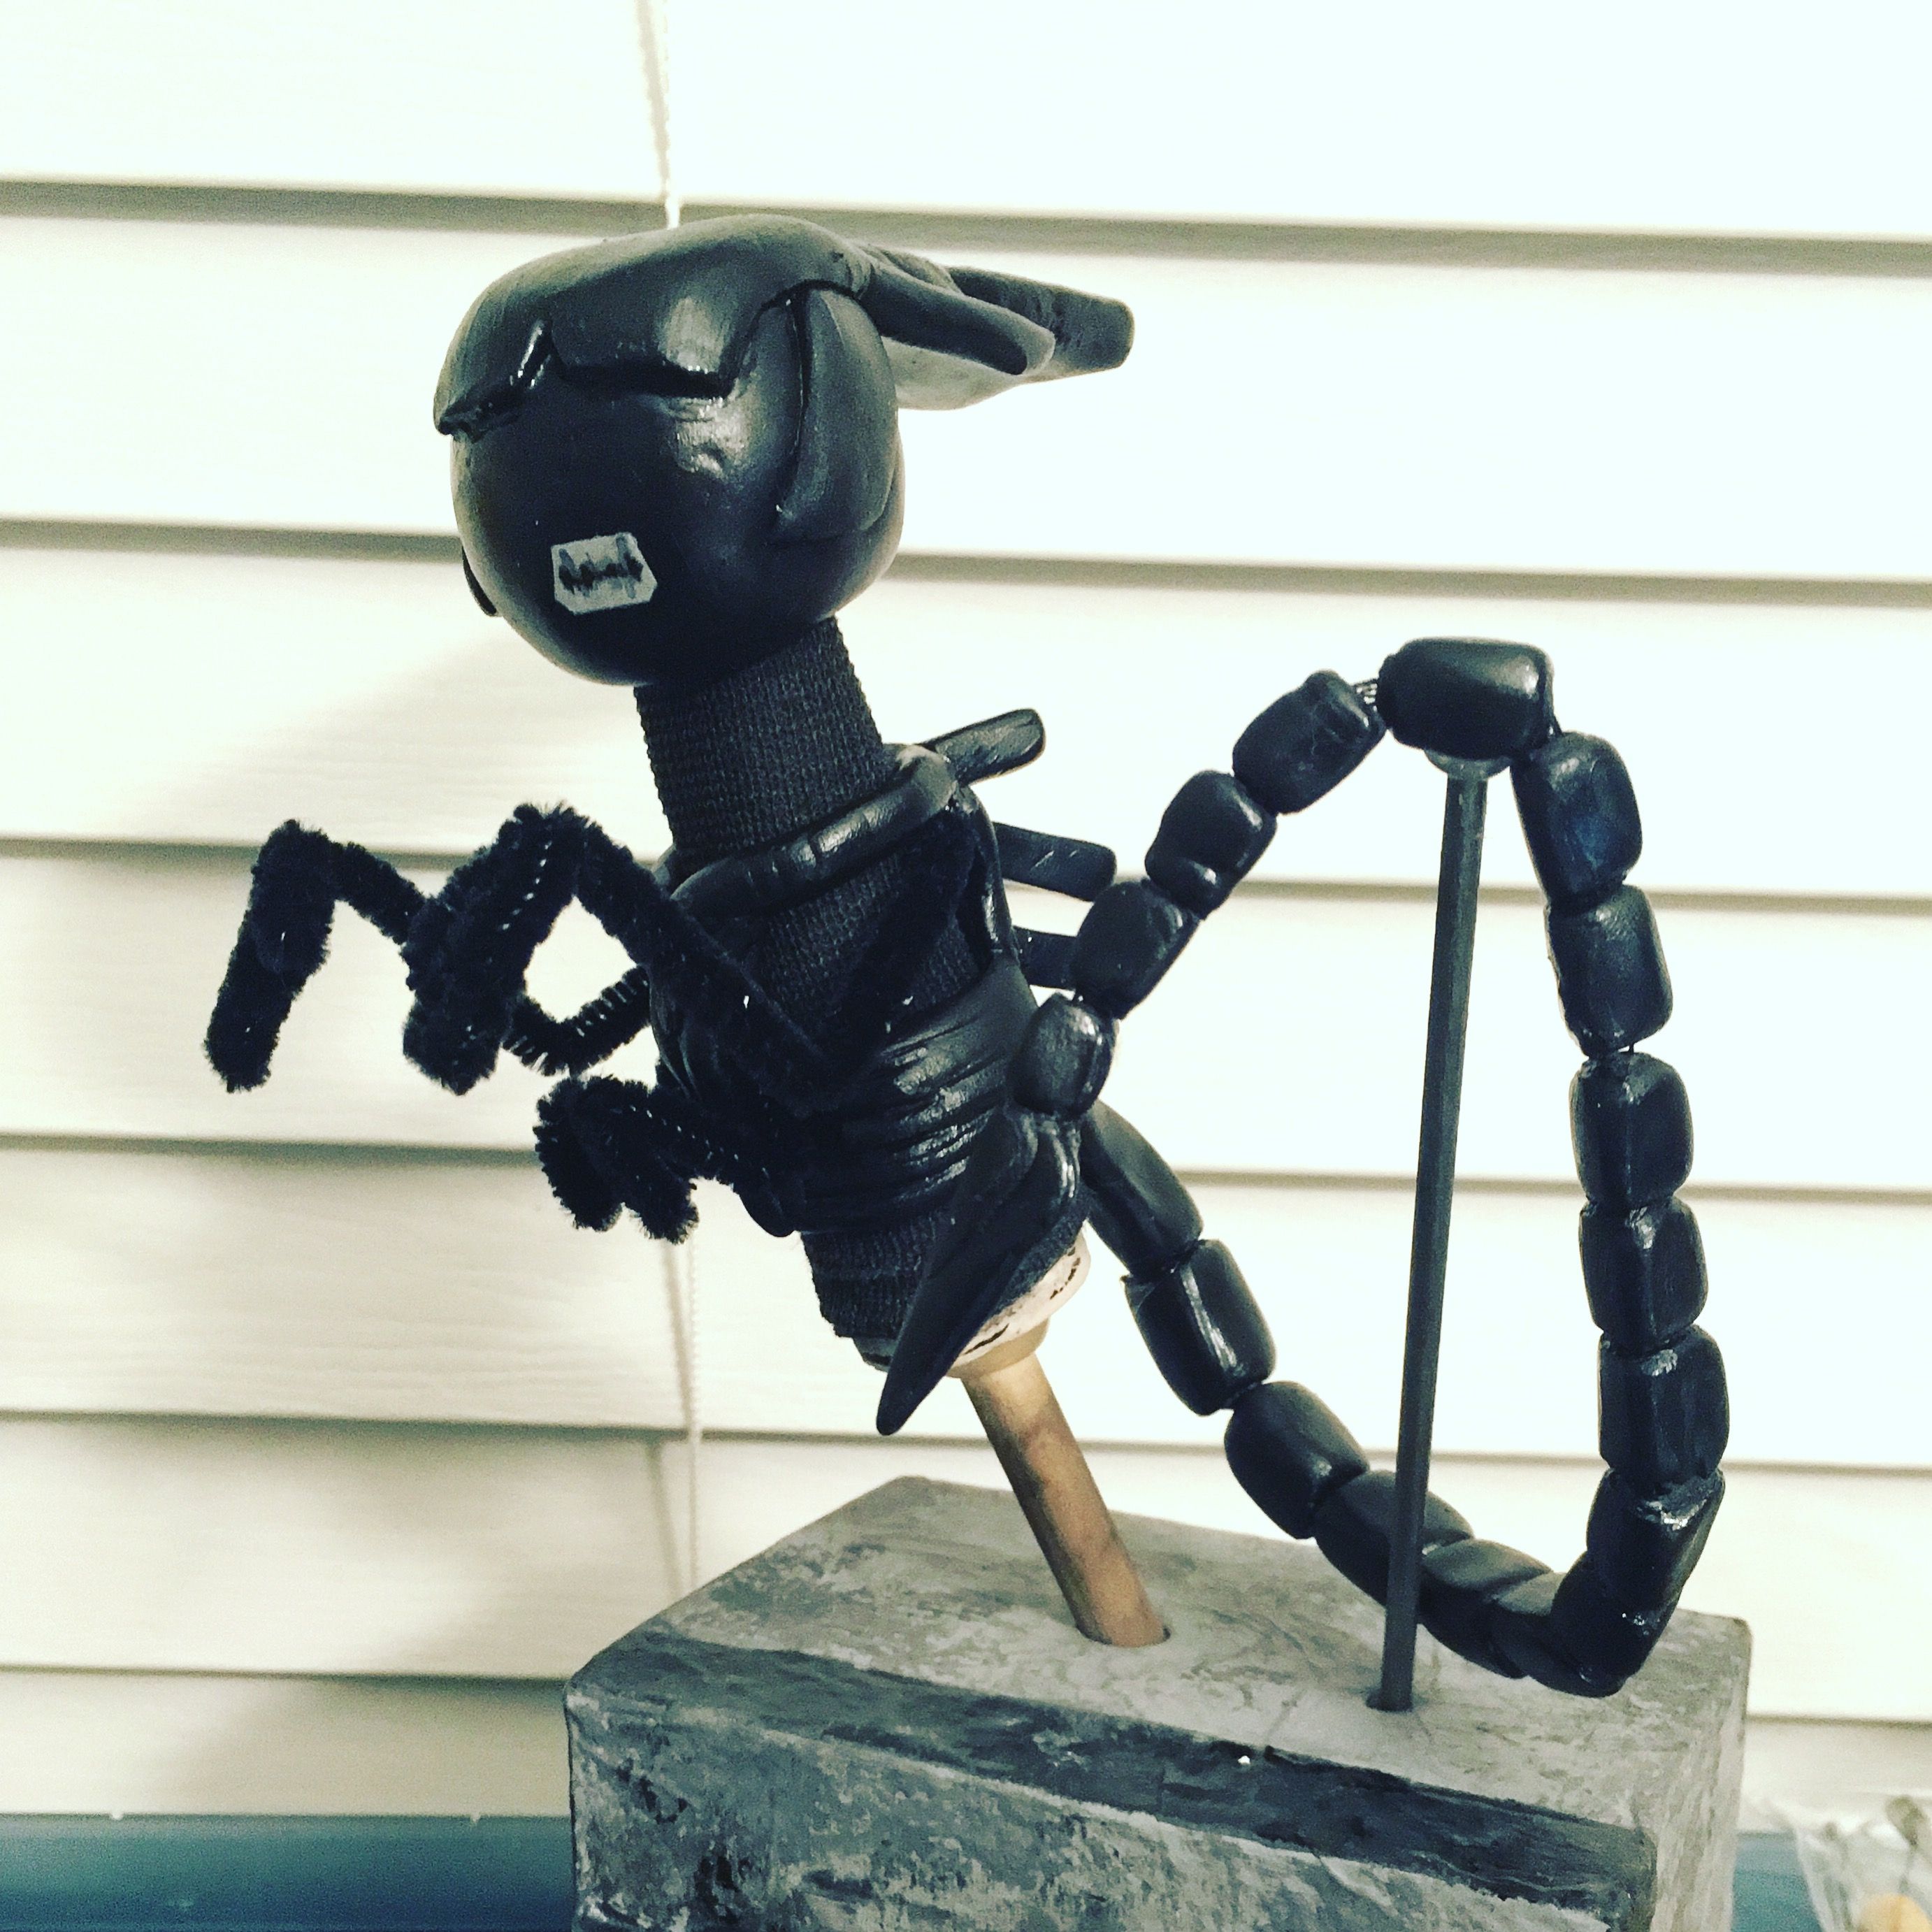
The head took the longest to dry as it is the thickest piece, but the rib-cage and tail set pretty nicely in a few hours and I was able to move on to adding the arms and applying paint. I used a mixture of glossy black acrylic paint and dimensional fabric paint that had a high shine to it. Applying this all over the Model Magic portions of the puppet gave it that nice glossy appearance that the Xenomorphs have in the movies. All and all, it was coming together quite nicely.
From here, I started working on the tail. Initially, I wanted to find some beads that I could string up. The weight of the beads had me worried, though, and I decided it might be best to create some beads of my own using the materials that were already in play. I created the tail using a single piece of model magic and scored where the pieces would be cut.
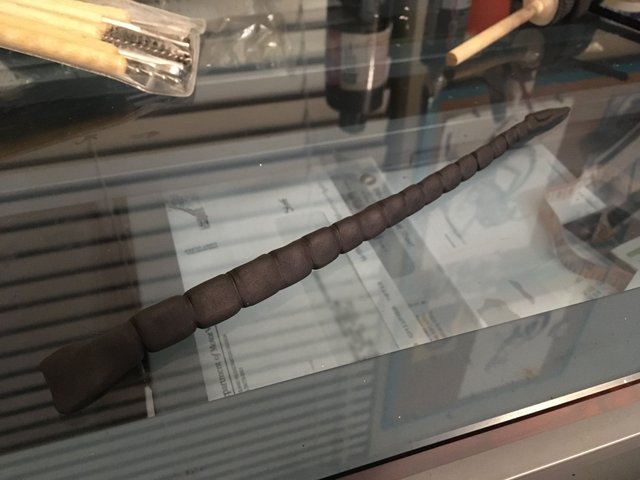
After they had dried for a few hours, I cut them up and began stringing them together using thread and needle. I use three strands in a triangular formation to keep the individual pieces from rotating too much. I also made sure to leave some slack so that the tail would be able to bend properly. Once I had tied the thread and painted the tail, it was ready to be attached using Gorilla Glue glue sticks (my go to adhesive for finger puppet construction).
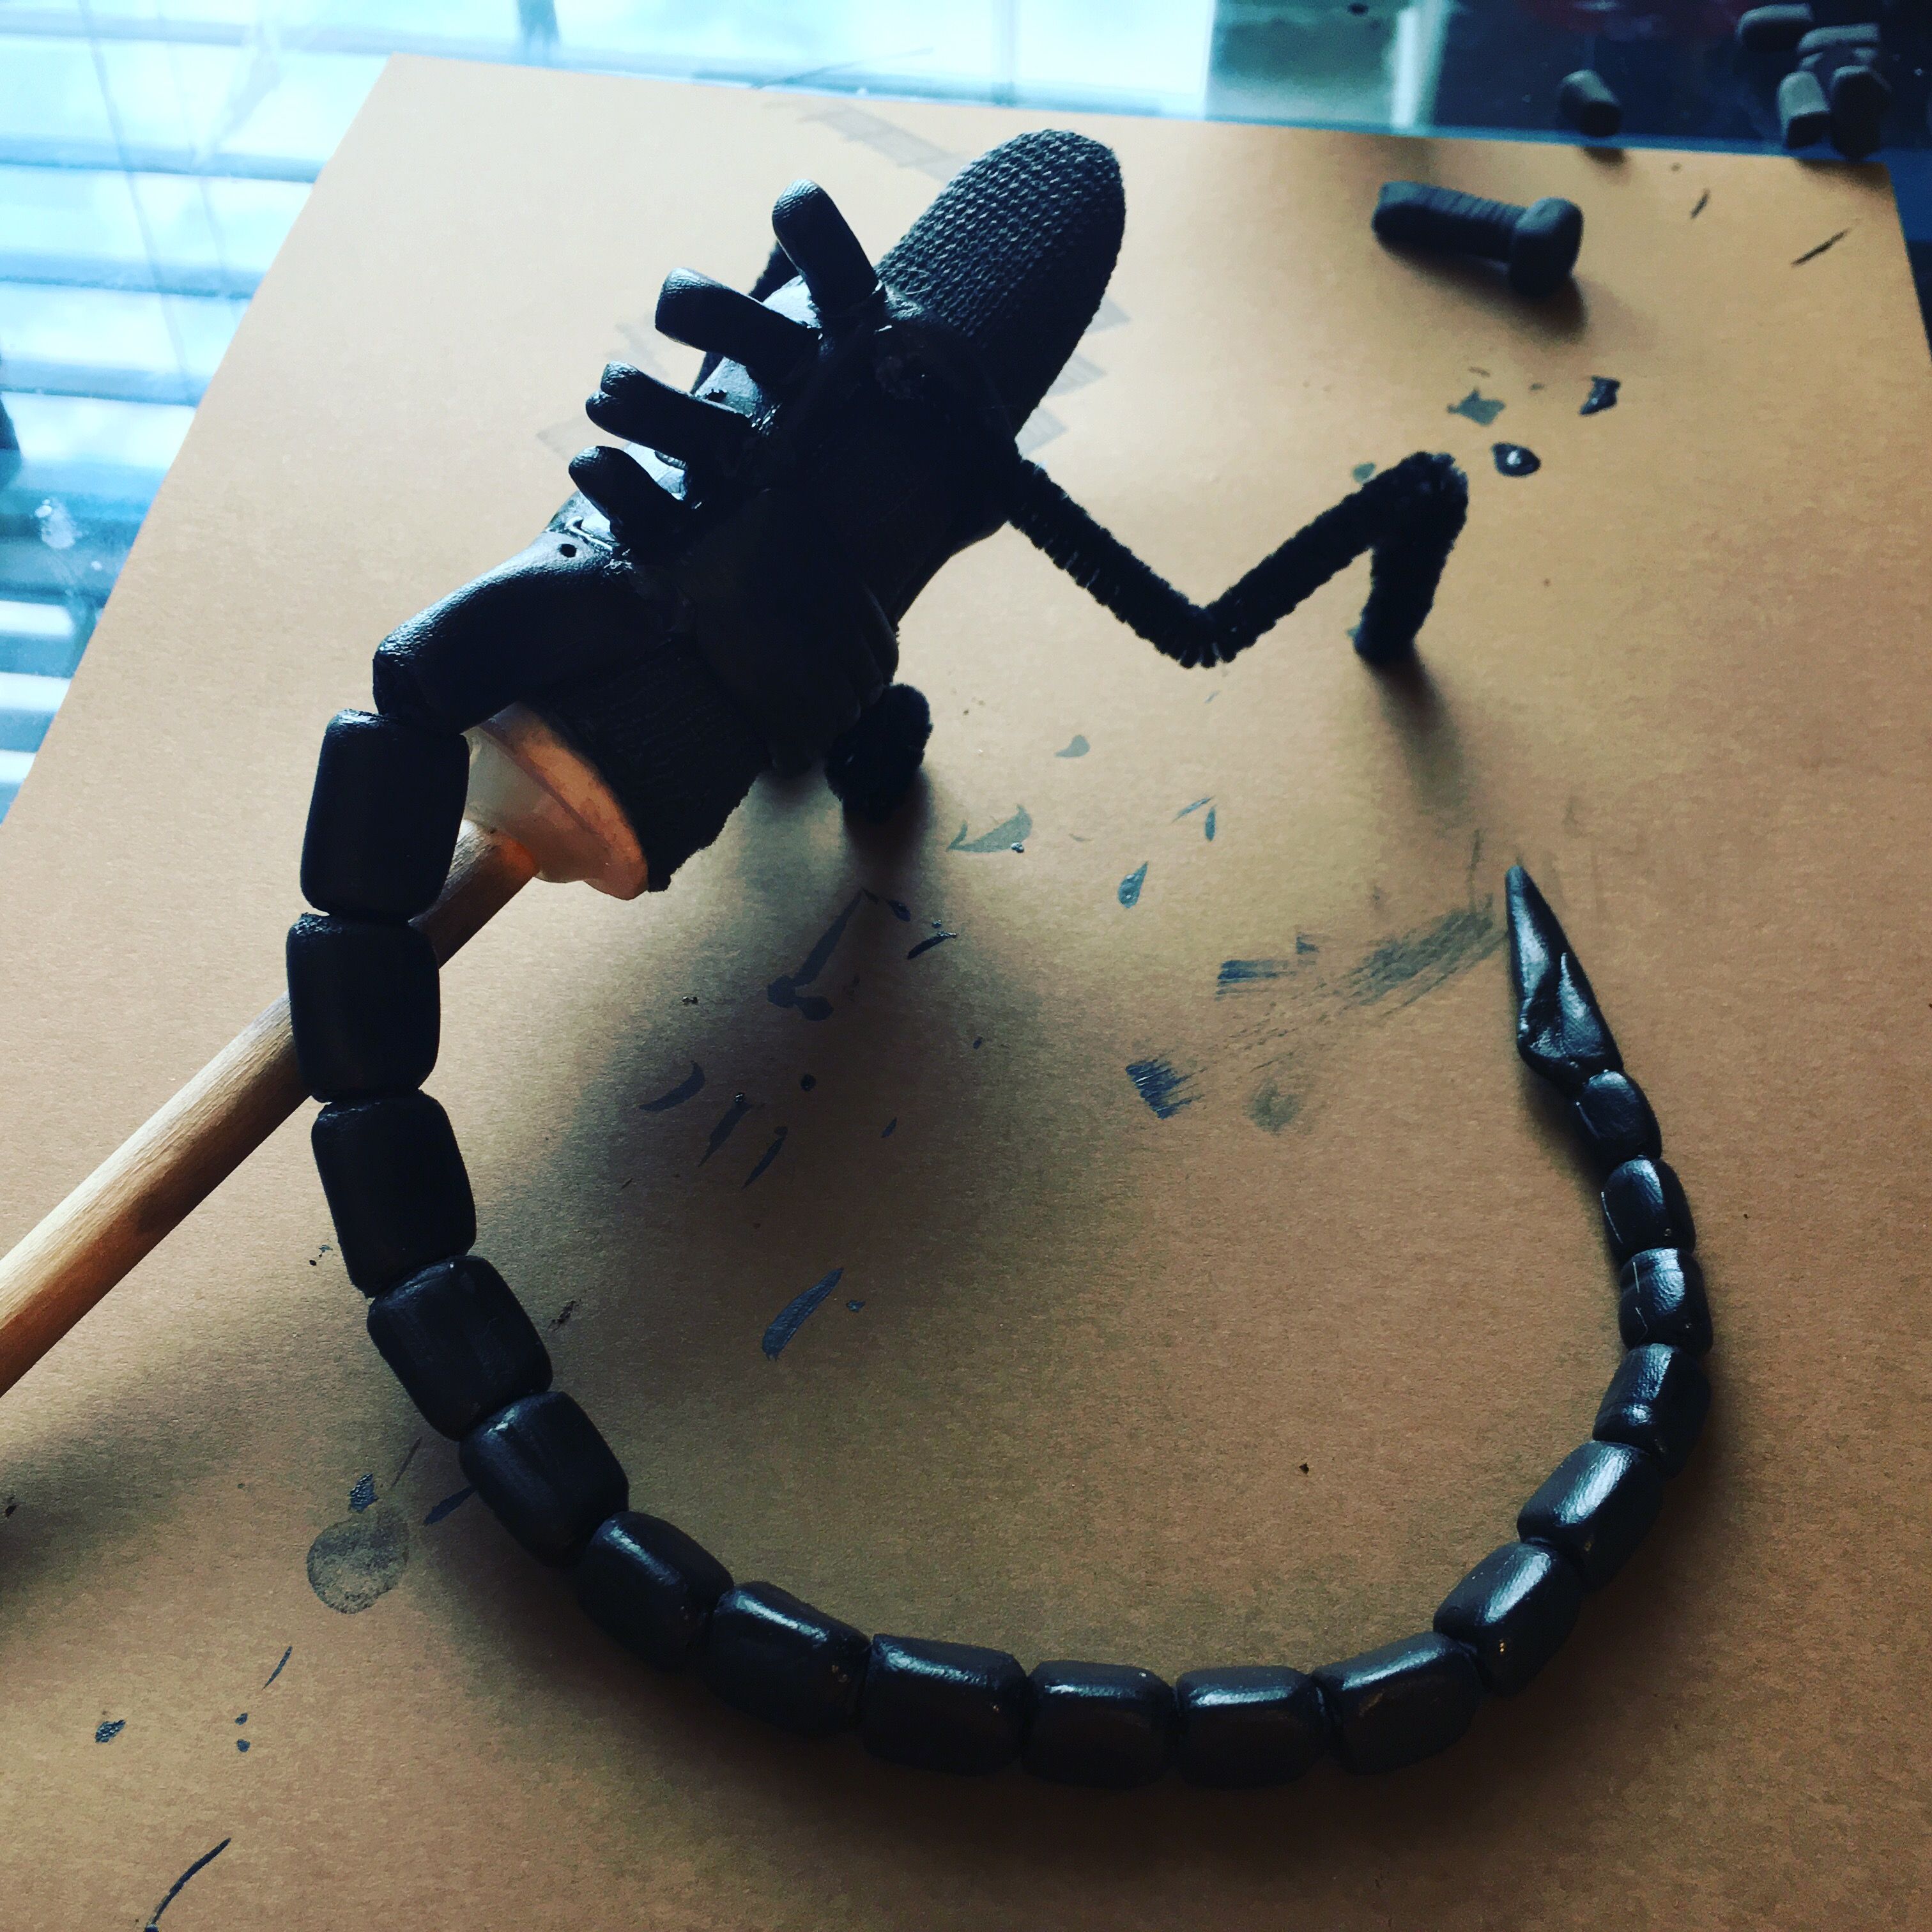
The last steps were to attach a thin dowel rod to the tail so it could be moved during filming and to bore out the cavity in the head to add a bit more stability (it kept falling off the model). One last fit test showed the model allowed for a good range of motion and wasn’t uncomfortable for my partner to wear on his index finger.
The mouths were constructed of laminated paper glued to straight pins to allow them to be changed for different shots. The queen got a standard “growly” mouth as well as the extended secondary mouth constructed of Model Magic.
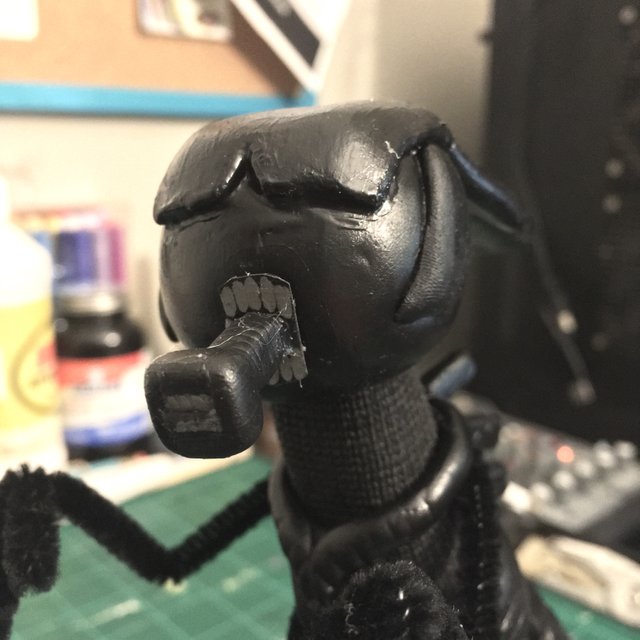
Overall, I am pretty happy with how she turned out. I am debating on whether to construct a new head or not as the headdress rides pretty low. I’d like to do a few test shots with the camera before taking this task on, but it wouldn’t be too complicated.
Now that I have a couple of desk buddies, it’s time to work out the details of how to make backgrounds. I know for certain I will be using green screen as the scale of the sets would be too much for the length of video needed. What I’m really trying to work out now is whether I would like to do digitally painted backgrounds, or build miniature, 3D backgrounds and use high res images for the green screen. Once I get it figured out, I’ll be sure to share the news with you guys and include a process post showing how I did it.
Thank you for taking the time to read my post! If you have any questions or requests for future posts, please don’t hesitate to leave me a comment. Until next time!
I love feedback, so if you have any questions, ideas, or requests, make sure to leave a comment below. And, if you need more fun stuff to shove into your eyeballs, hop over and check out my YouTube channel, Chimp Skipper, or my online portfolio.
#art #crafts #puppets #process #tutorial #aliens #xenomorph #queen #ripley #scifi
Technological progress is like an axe in the hands of a pathological criminal.
- Albert Einstein
@OriginalWorks
The @OriginalWorks bot has determined this post by @hglucky13 to be original material and upvoted(1.5%) it!
To call @OriginalWorks, simply reply to any post with @originalworks or !originalworks in your message!
@hglucky13 payed 0.1 SBD to @minnowbooster to buy a stealth upvote.
transaction-id c9ede09c9a24c94ba809909c7def04a88cca3ce9
@stealthgoat
This gem of a post was discovered by the OCD Team!
Reply to this comment if you accept, and are willing to let us promote your gem of a post! By accepting this, you have a chance to receive extra rewards and one of your photos in this article will be used on our compilation post!
You can follow @ocd – learn more about the project and see other Gems! We strive for transparency.
If you would like your posts to be resteemed by @ocd to reach a bigger audience, use the tag #ocd-resteem. You can read about it here.
Thanks! Always happy to have help promoting my work.
Wow, this is amazing! For how long have you been doing this? And when will we get to see the screenplays? #hype
Thank you so much! I've been working on it over the weekends for about a month now. I'm building Kevin the production assistant at the moment, so I'm hoping to start filming tomorrow. I'll be sure to post here once videos start going up.
This is very interesting !! :-) i love working with clay ,
Years ago i made a hand and a face , it reminded me that ,,
That's awesome! Looks like something I would enjoy doing.
Thanks! That’s what got me working on it, I have a lot of fun building these dudes. Still working out the scripts and filming kinks, but should hopefully have some videos ready soon.