Self Custom Made GOTH TWEED LACE DRESS -part 3

Yesterday I was redesigning the sleeve again. There was something odd about the sleeve pattern that I made two days ago. You can check the sleeve pattern in my previous post if you are curious. I always make a to-do list for myself, especially when I am going to work on a big project. I made a really tight schedule somehow and as usual time was flying and I couldn't complete all my tasks I wanted to do today. My goal for today was actually finishing the basic body before I continue with the lower part, sleeves and collar/ruffle turtle neck.
When I was still a fashion student, my teacher told me that nothing we sew will look perfect immediately. There will be things that are needed to be changed and it will take time and patience to do the changes. If we rush it will look ugly and we wouldn't feel satisfied with our work. So I am listening to his words and will take my time to make it perfect.
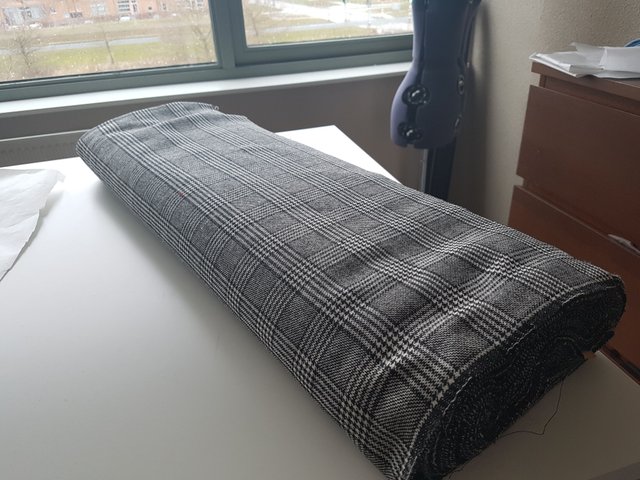
So I still have meters of checked tweed that I will use for this project. The checked tweed has a mix of wool, so it is going to be an itchy dress because I will not use any lining for this dress. That is mainly because it is a show dress and I will not wear it on the streets :-D. If there is someone who wants to buy my dress, then I will of course use lining for the dress.
Because the fabric has a wool blend, I need to iron/steam the fabric before I can cut it. We don't know if it is already steamed in the factory and you know that wool will shrink with a high temperature. So if it shrinks, it better shrink now than when the dress is stitched together.
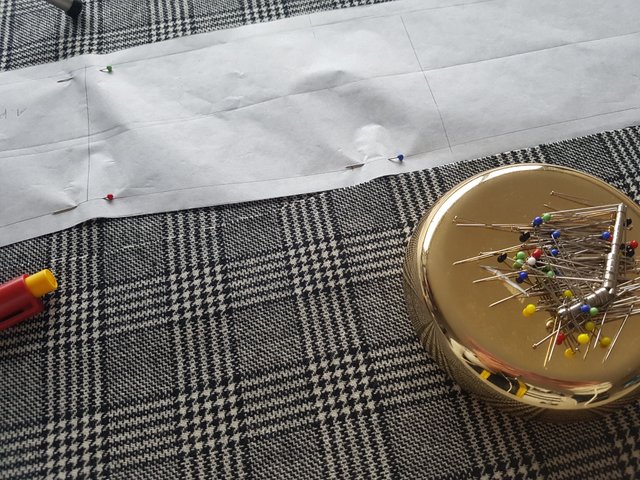
The paper patterns that I made last time I placed on the fabric. The fabric is checked, so it can be challenging to make sure all the squares of the patterns will connect with each other. Then I pinned the patterns making sure they are as straight as the thread of the fabric. I drew a vertical line on all patterns so I can use that line to place the patterns straight on the fabric.
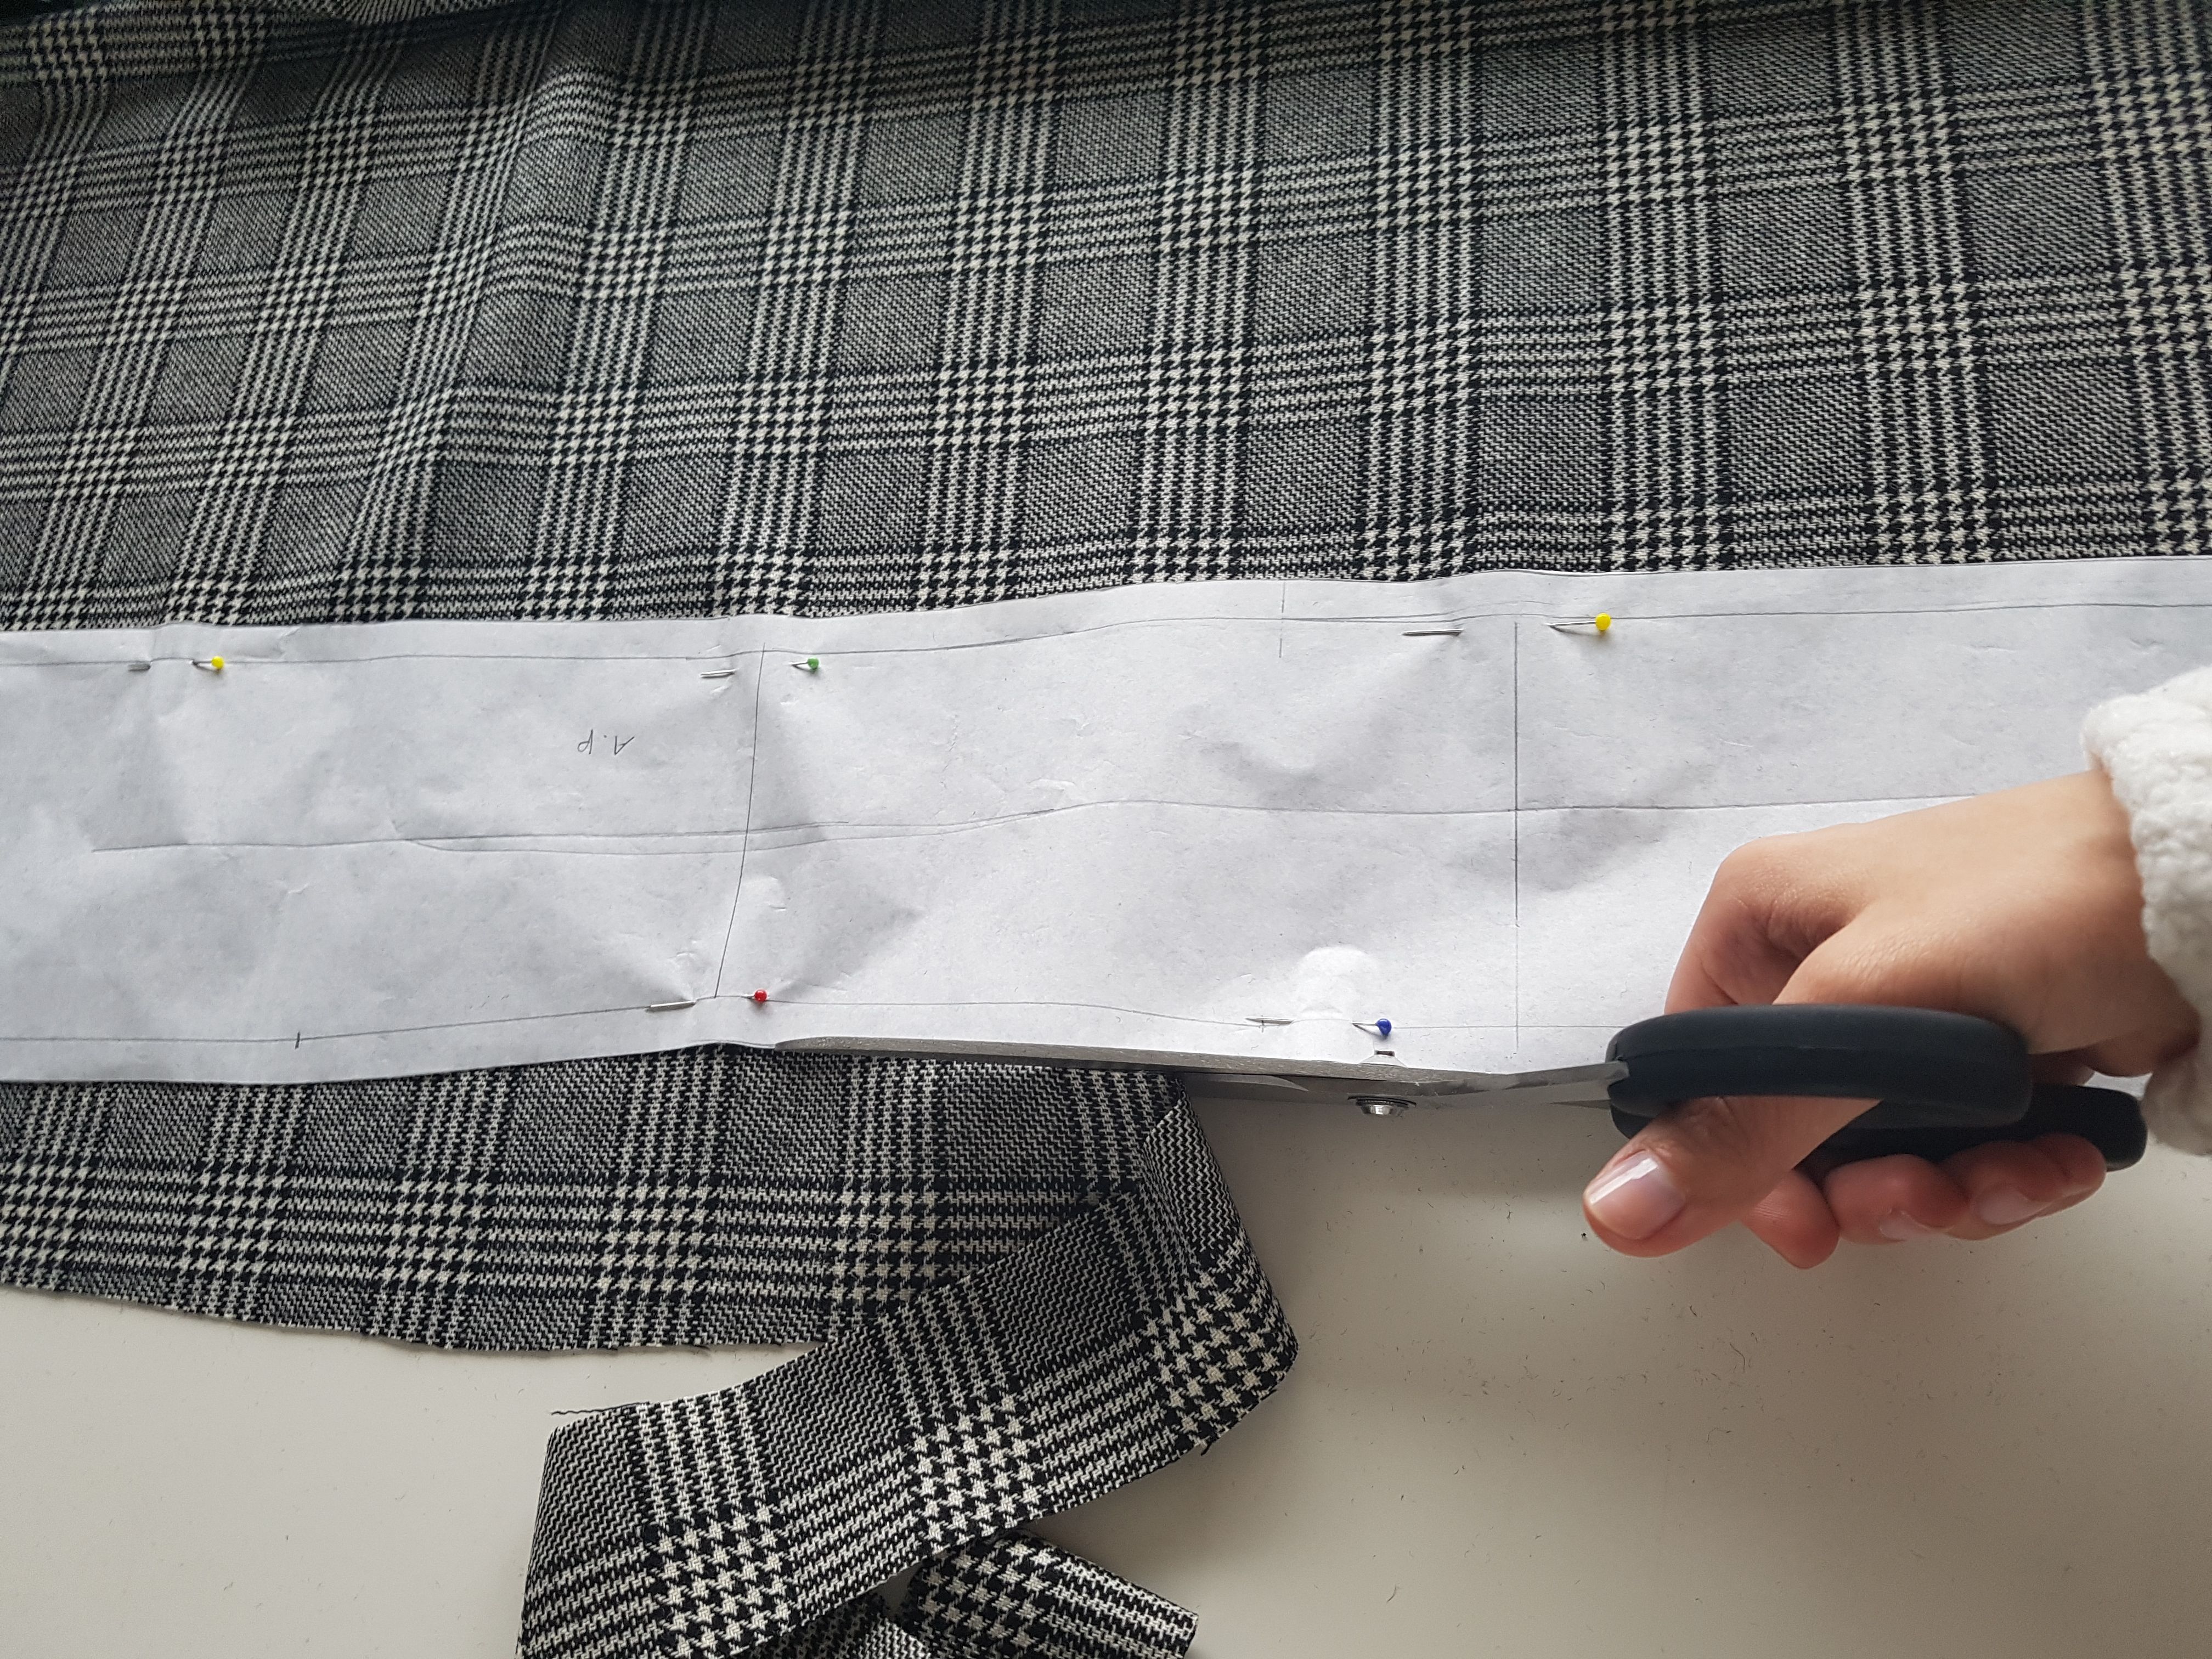
I bought a new pair of scissors at a budget shop. It seems that for certain things you don't need to spend much money. In a craft shop this pair of scissors could cost me more than 10 euros. In this budget shop called Action, I paid around 2,75 euros! I was sceptic and thought it would cut terribly, but it cut very smooth like butter.
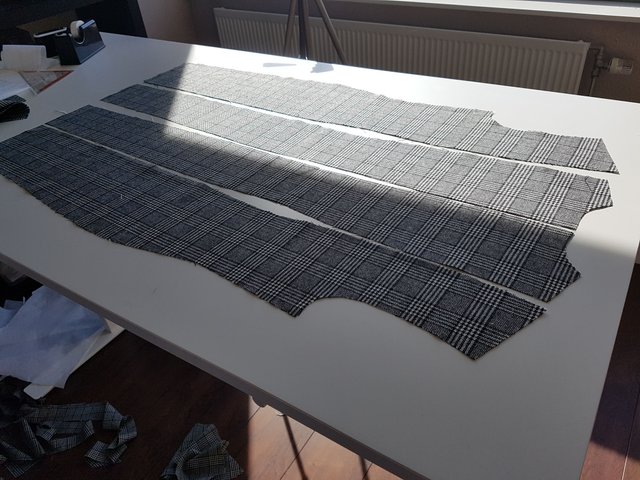
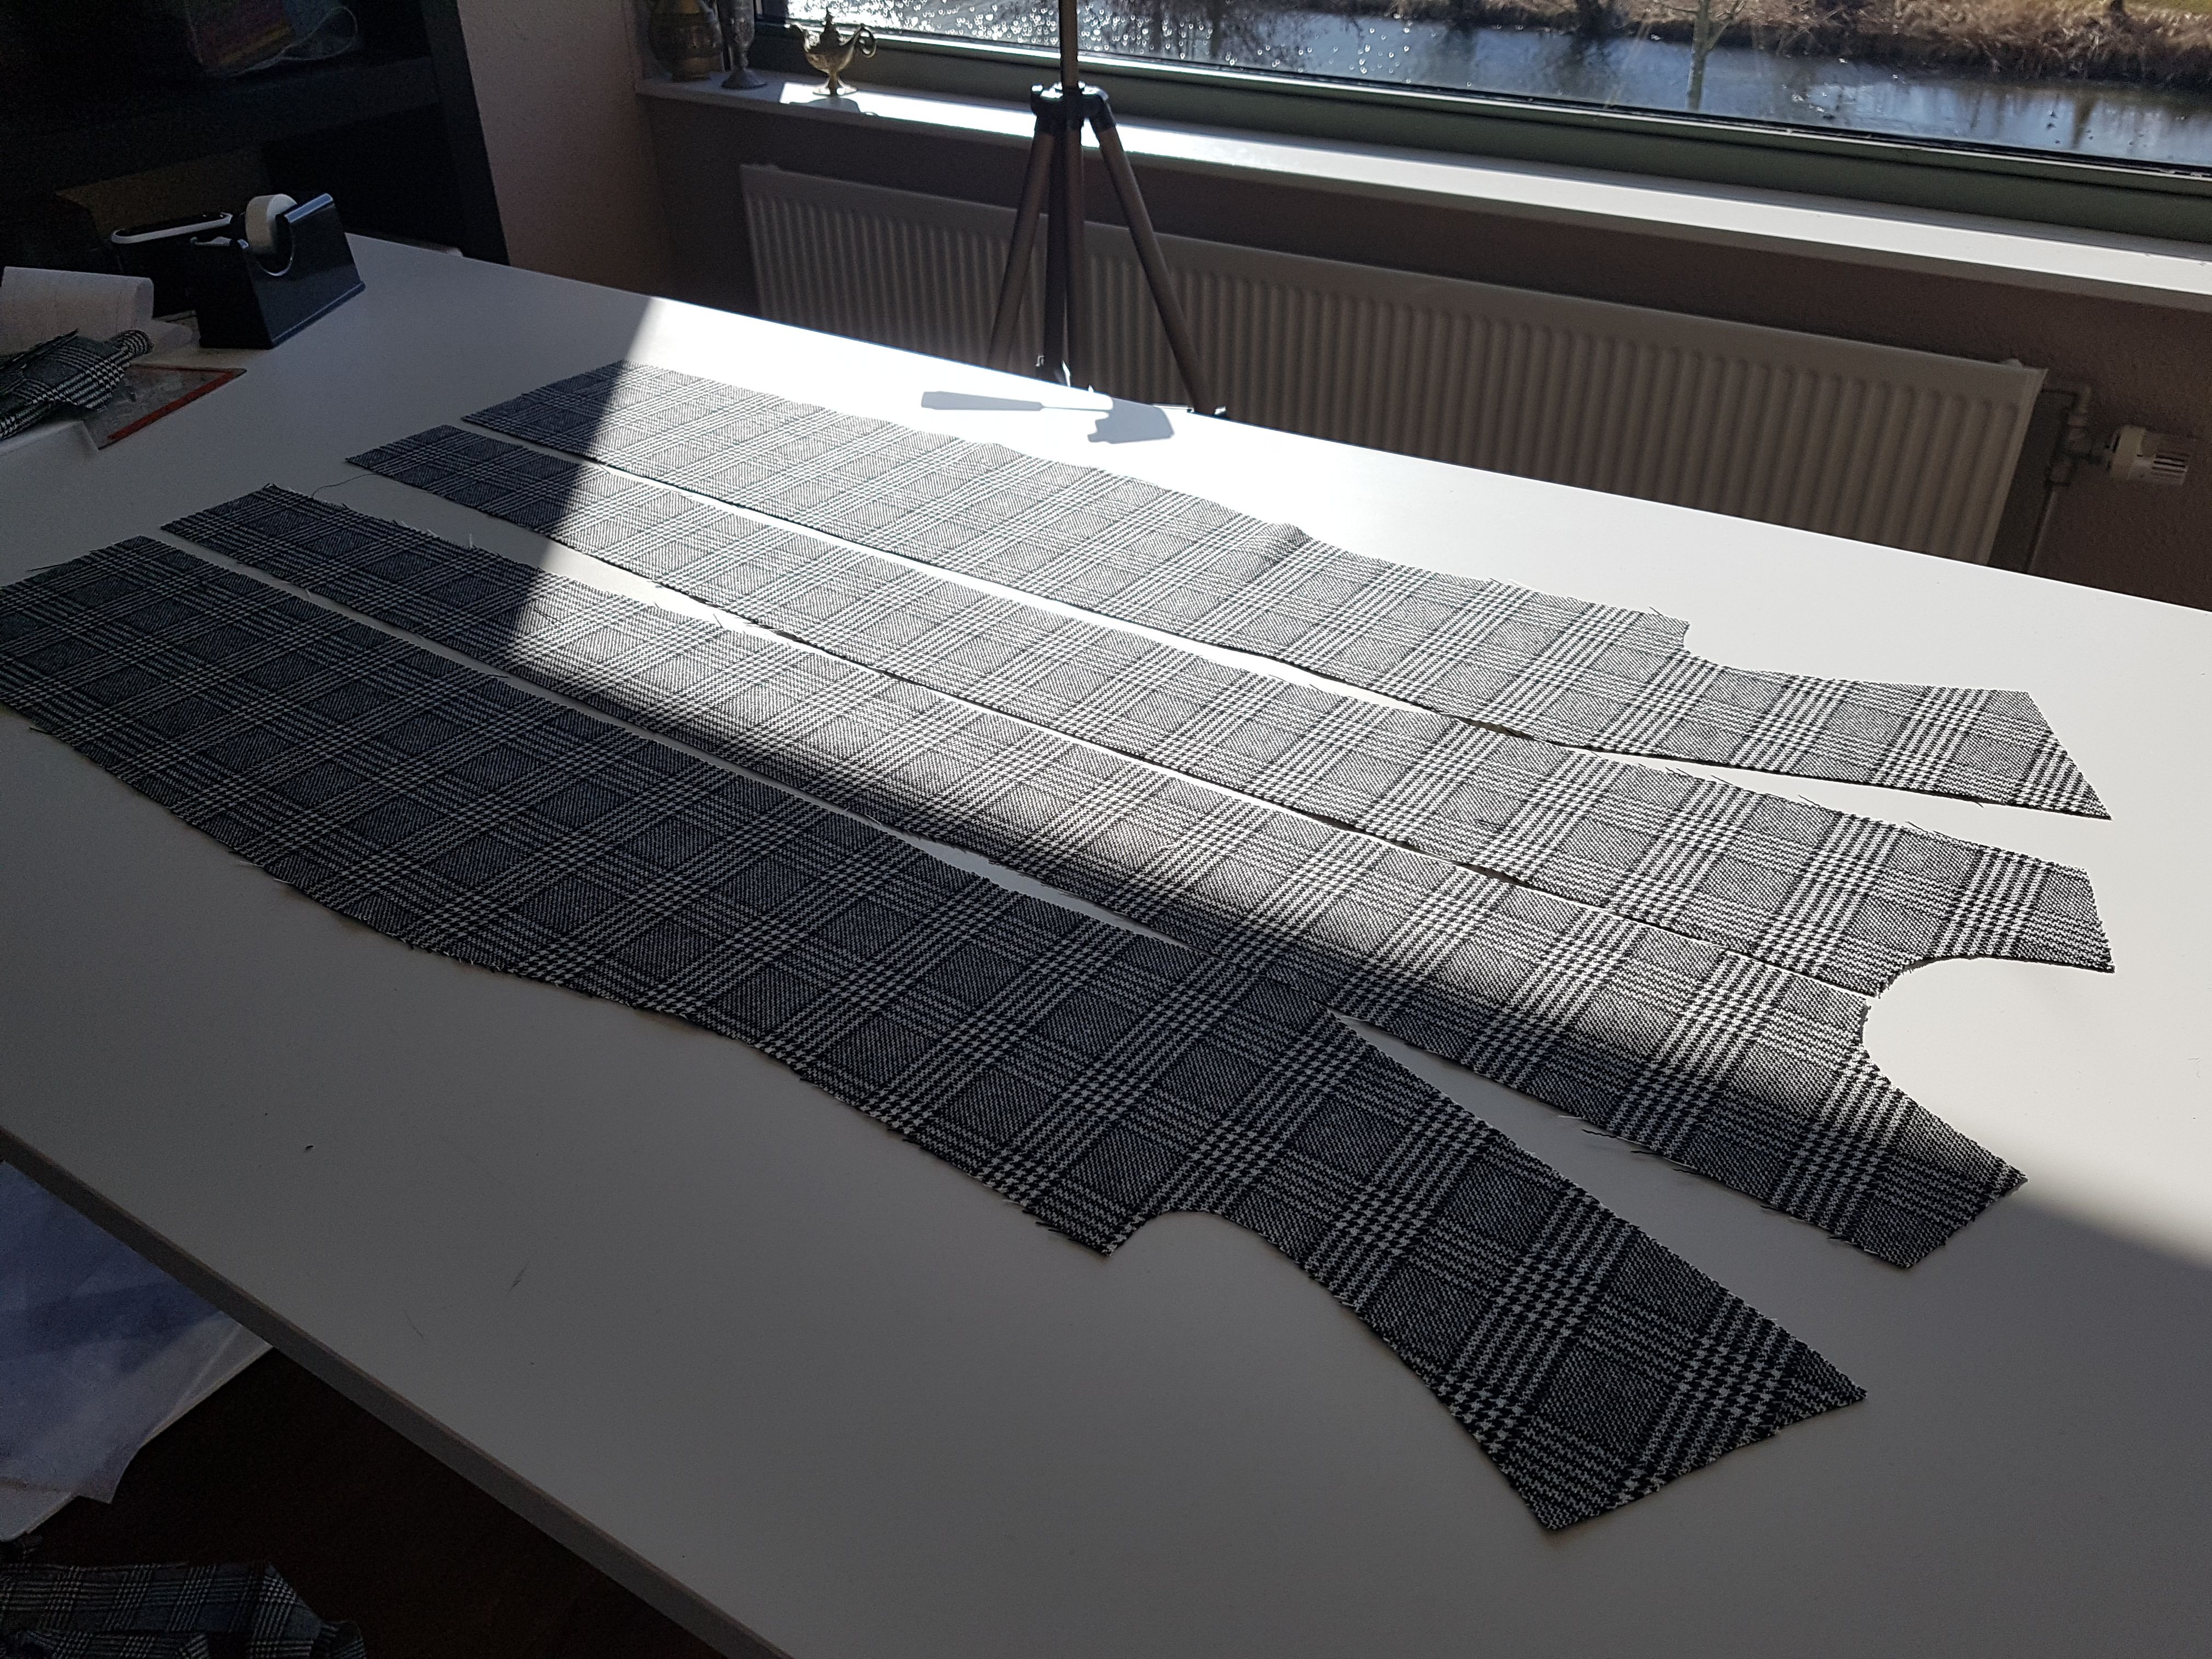
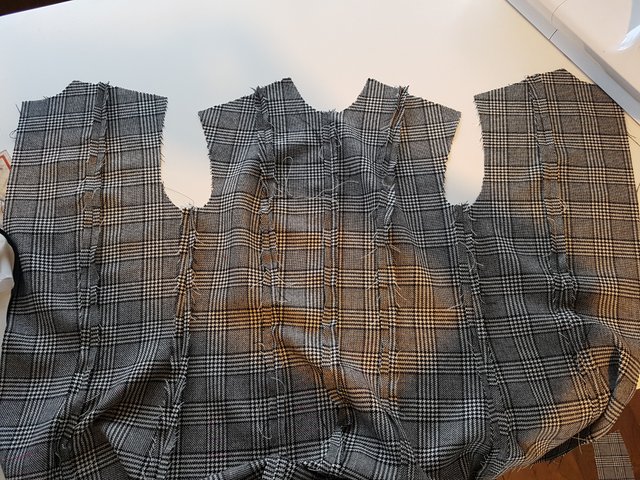
Here you see the patterns cut out of the fabric. The sleeves, 2 circles(for below), turtle neck and belt are still missing. They will come later.
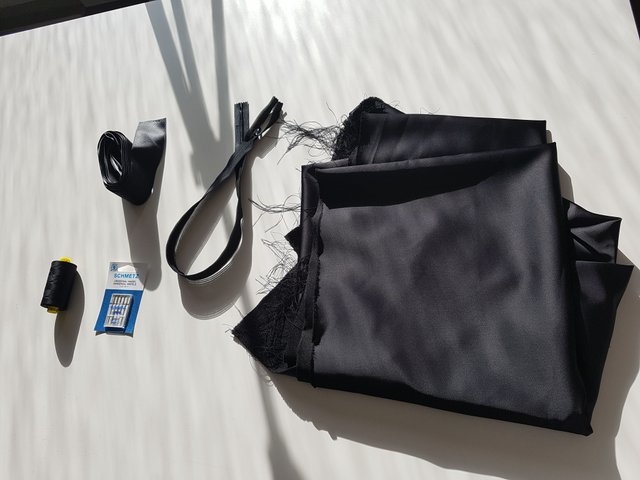
Yesterday I went to the market and bought some stuff for my project. I bought 1 meter of shiny thick fabric, an invisible zipper, thin sewing machine needles size 60, 6 meters of black ribbon and a large spool of thread because I know I need a LOT. Probably you think: how invisible is that zipper? I see it, so it's not invisible. Well, it's invisible because the teeth of the zipper will not be visible once you connect it to the fabric.

First I had to spin the thread on to the spool (reminds me of Sleeping Beauty).
I pinned the fabric together hoping that the squares will connect well with each other once they are sewed together.

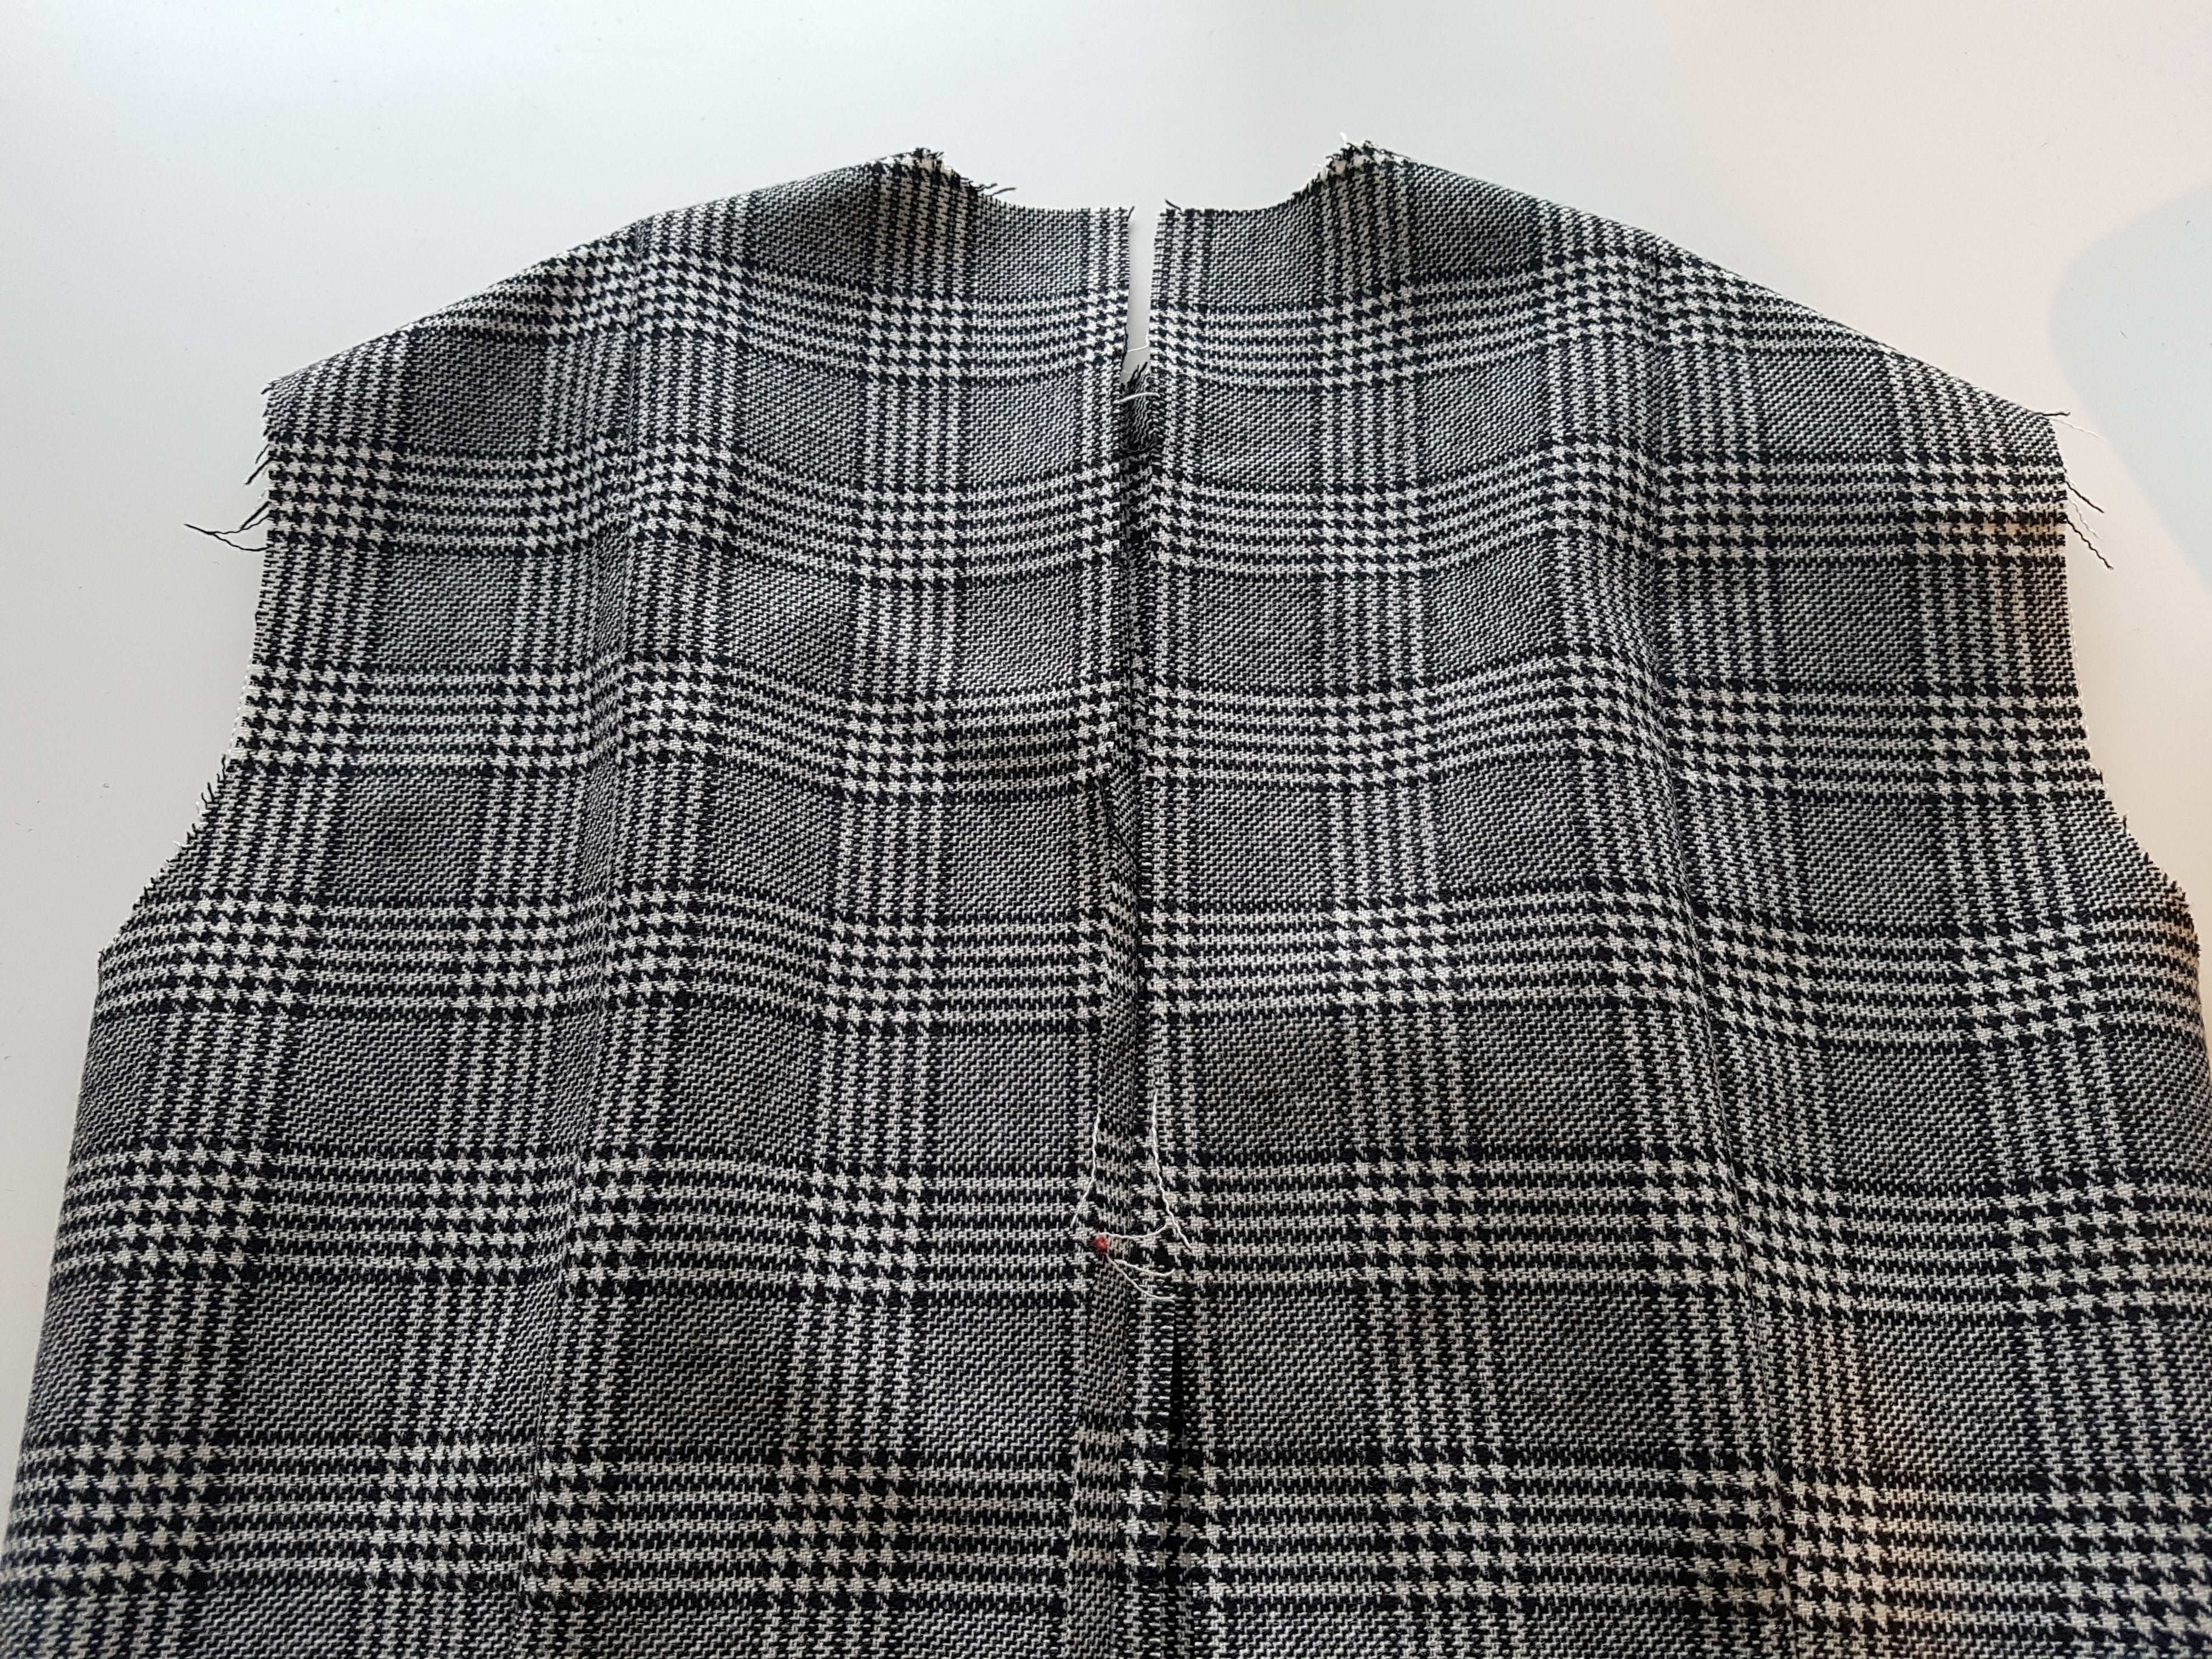
Once I pinned the two pieces of fabric together, I sewed them together with my sewing machine. It gives me a good feeling when I can finally start sewing.
The front and back are sewed together but I still needed to sew the shoulders.
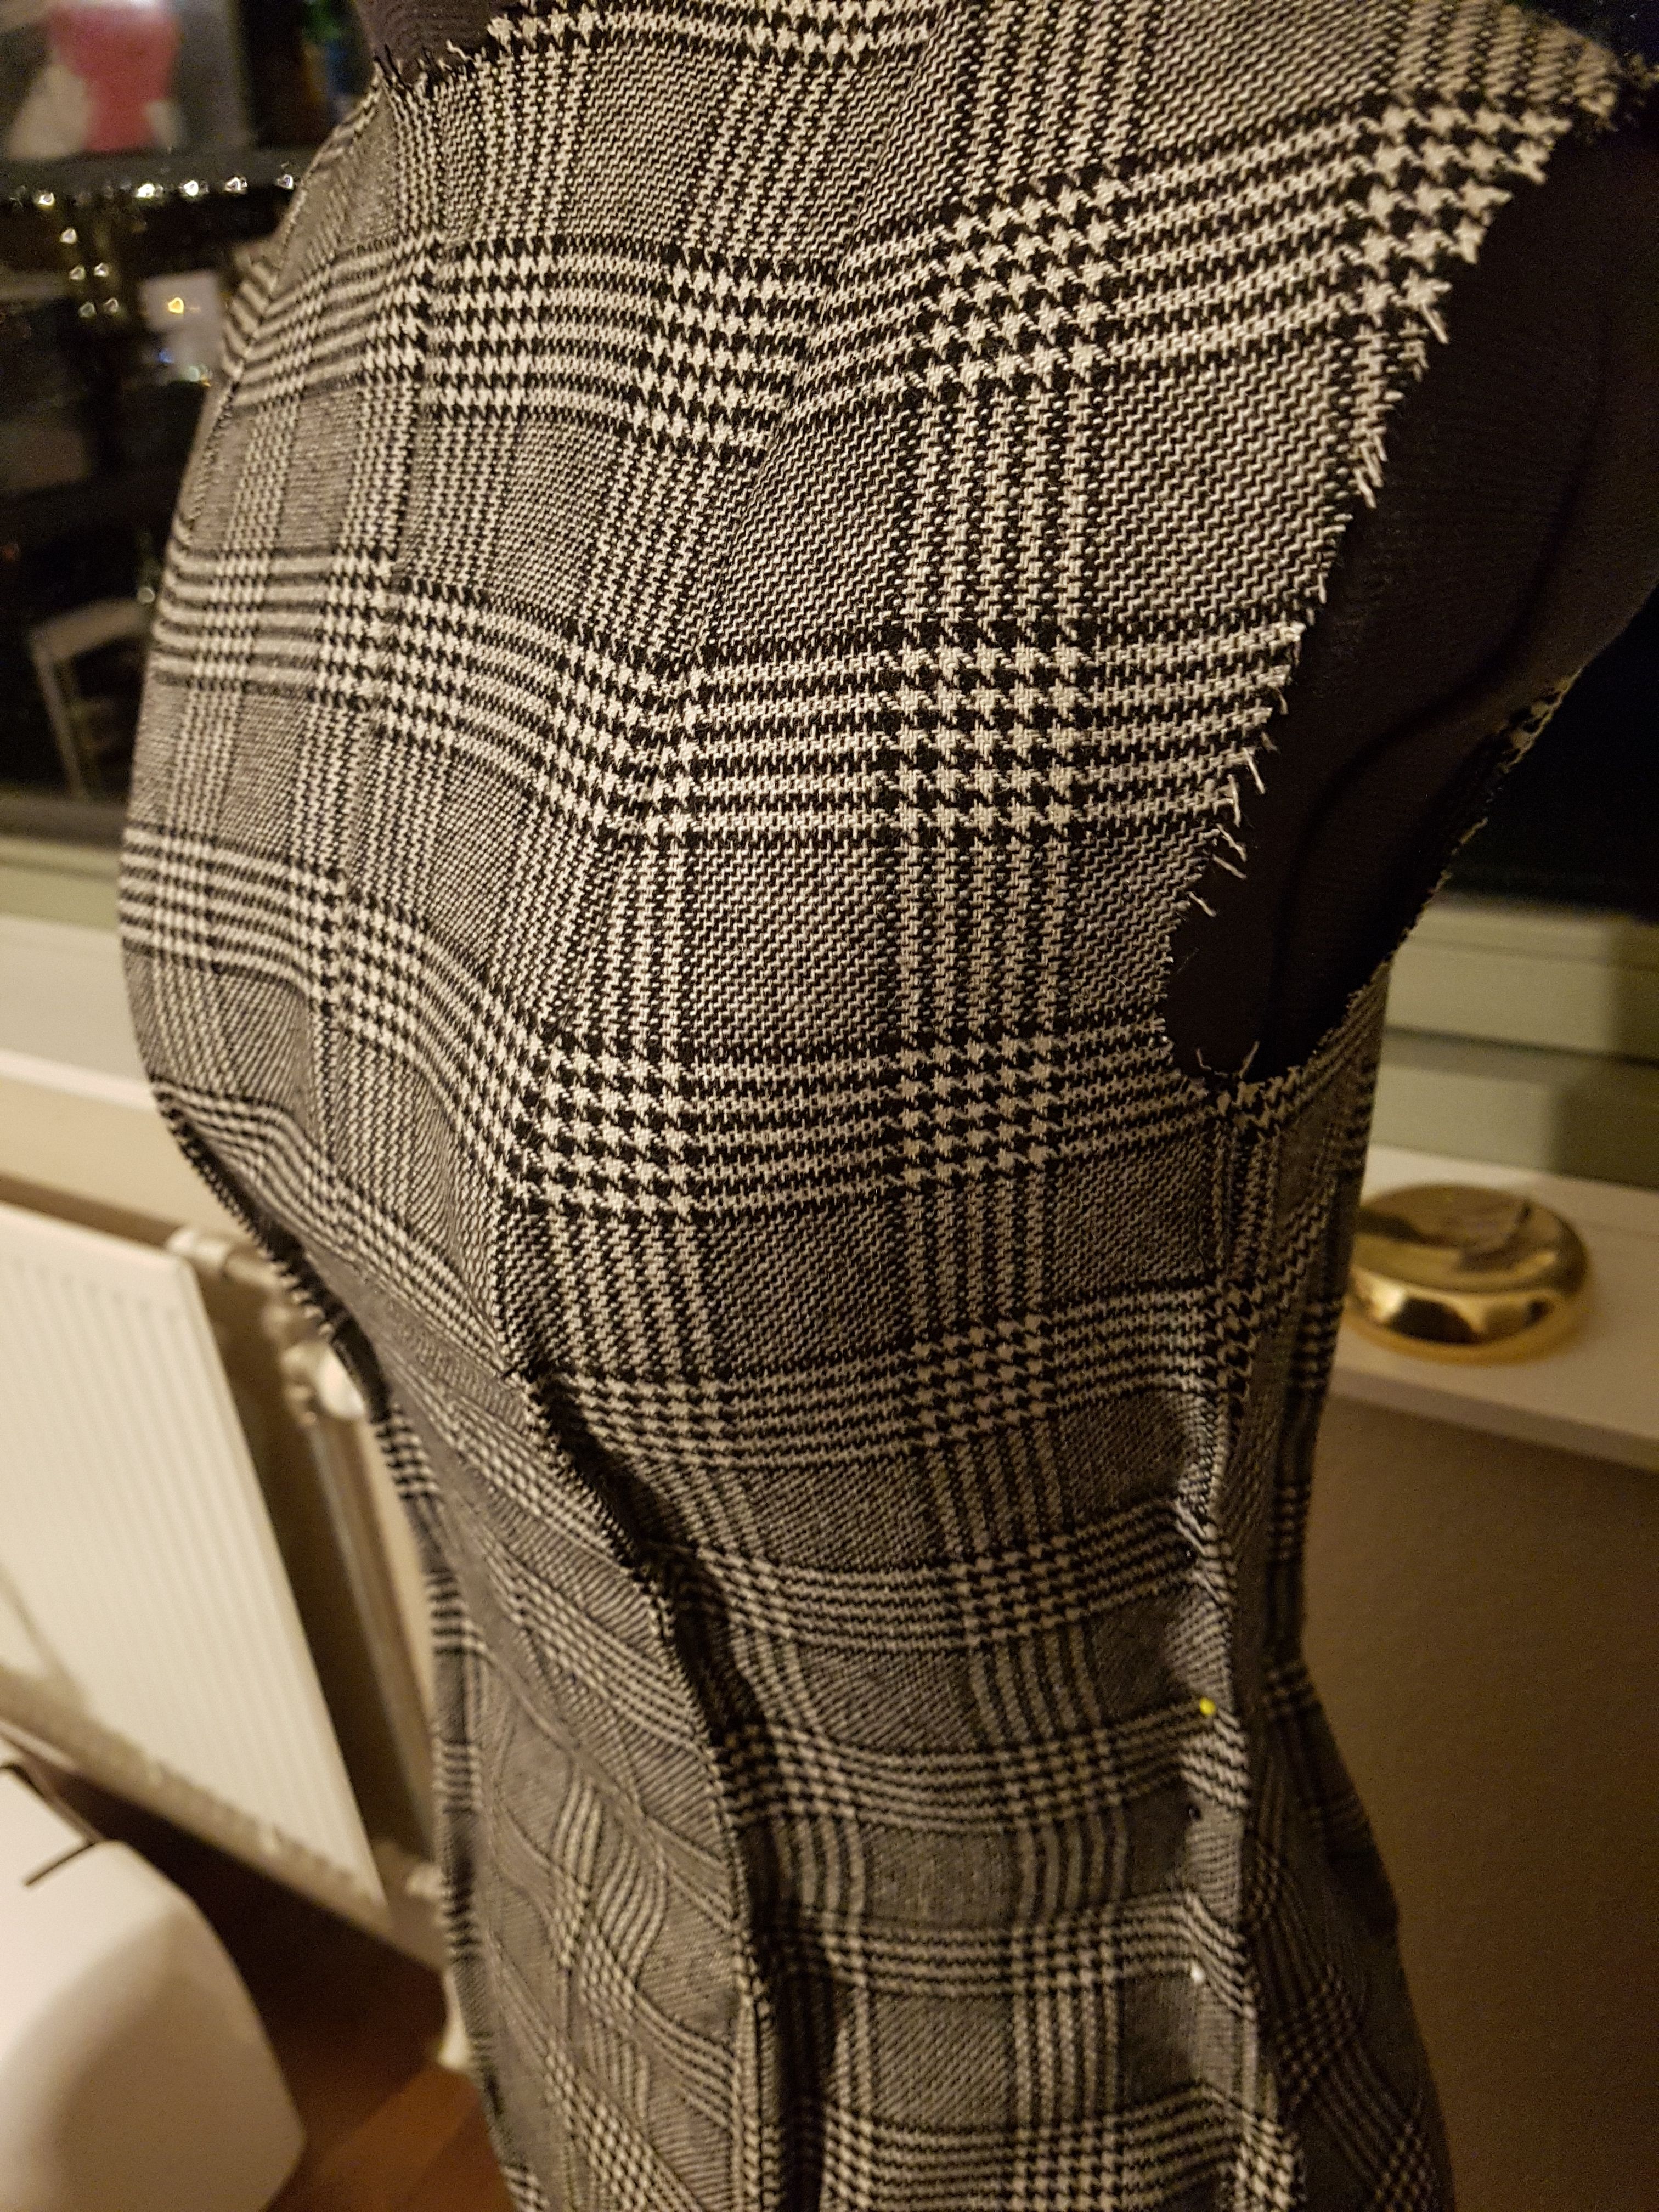
After I sewed the shoulders together, I saw that the dress looked like a potato bag :-(.
Fortunately, I have Adjustable Diana who has the same measurements like me. If I gain weight, she will gain weight too
:-).
So I remembered my teacher's words and started to pin away the excess fabric.
For the back I did the same. It seems like there is more excess fabric at my waist and at my back than on my hips. Strange....
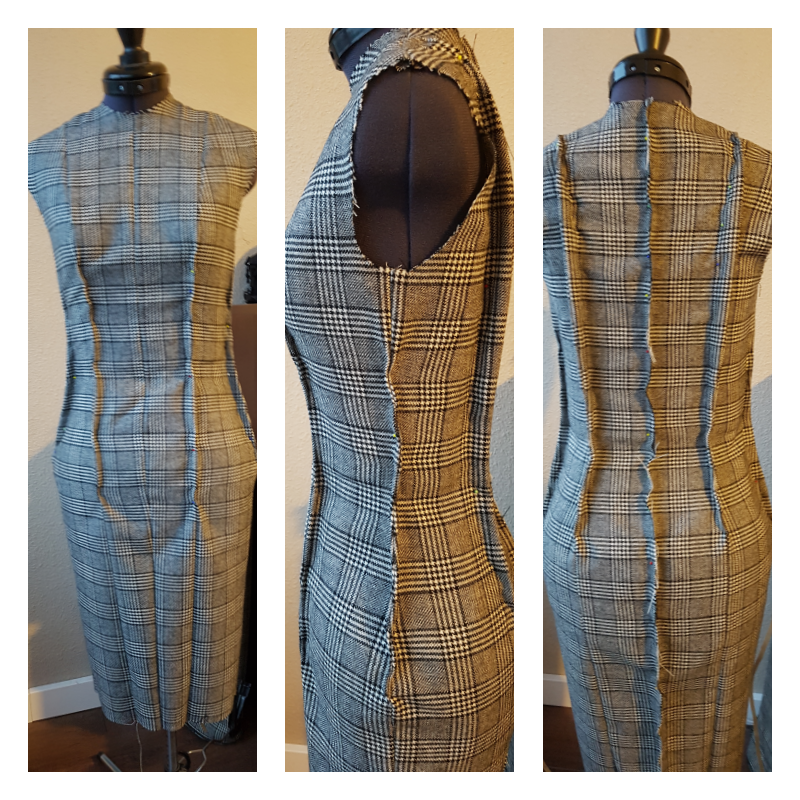
Bye bye potato bag! I see you in part 4 of this project.

Nicely done this looks great perfectly designed :)
Very Creative <3 @fathin-shihab
Thank you :-)
Best part of self custom made lesson @fathin-shihab. You improve better steemit. Thanks for the effort.
hehehe thanks!
You fashion designing style awesome @fathin-shihab. perfect tutorials to who want start this.
wow the pattern i love it!
thank you!
when this started I was thinking on an all black evil dress, haha and now I see that pattern wow, very stylish my friend!
i think someone from you followers will want to buy it!
Hahaha! No, its not going to be an evil dress. :-)
the details you have given to it looks really great you are doing awesome work dear
Wow this Looks So damn beautiful great work dear its so fascinating to see it making :D
:-)
fhatin good post
The pattern is so in right now! :)
Looking awesome! looking forward to part 4 :)