Mt. Fuji with Cherryblossoms watercolor: How to: Weekly contest by @dyinkfinity ✨
Hey guys! First of all, I wanted to congratulate @howtoweekly for last week's contest, it was definitely a success. Also thank you for acknowledging my work for being the 3rd place. With that, here I am again joining or rather supporting the contest once again. And of course it will be all about watercolor again (forgive me I haven't think of any tutorials to share with so please bare with me on this 😂) For you guys who haven't heard of such contest you can check it out here How to: Weekly contest.
Okay okay! So let's begin shall we?
So today's lesson will be about Watercolor Painting of Mt. Fuji with Cherryblossoms 🌸
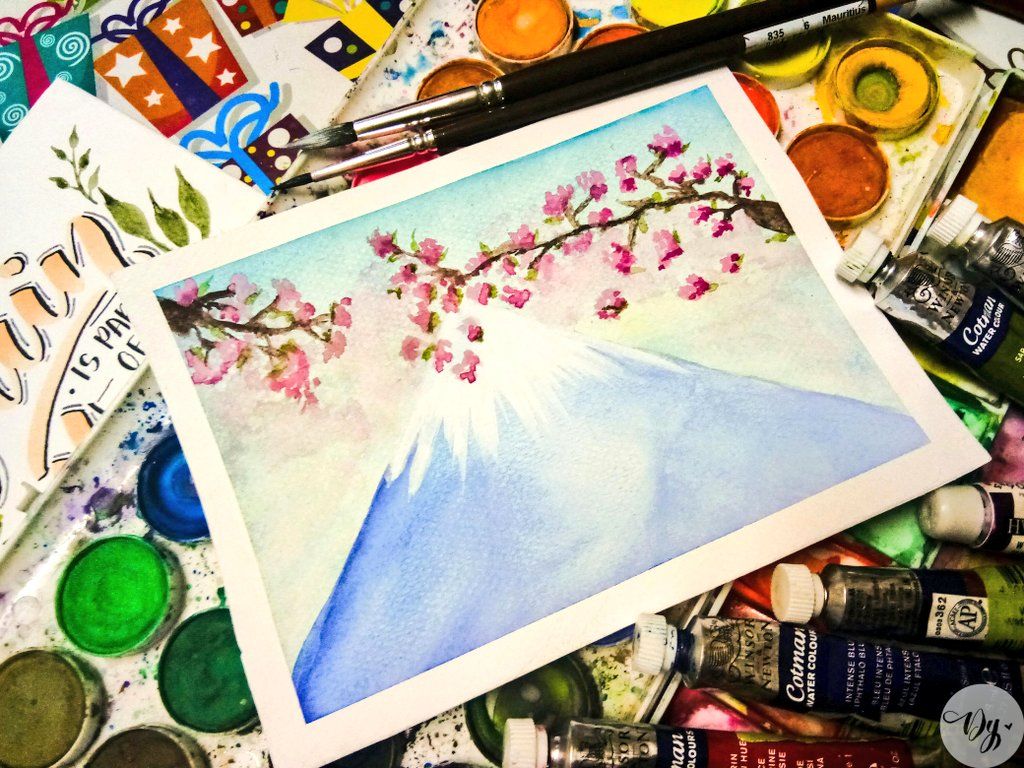
To begin with, my main Inspiration of this is none other than my ultimate goal country, Japan. How I wish to be able to visit this such beautiful place. Mt. Fuji is one of the famour mountain in the country and also Cherryblossoms are visible here. (Not to mention that this was the perfect season to witness tons of Cherryblossoms)
Okay so here's the step by step process.
STEP 1
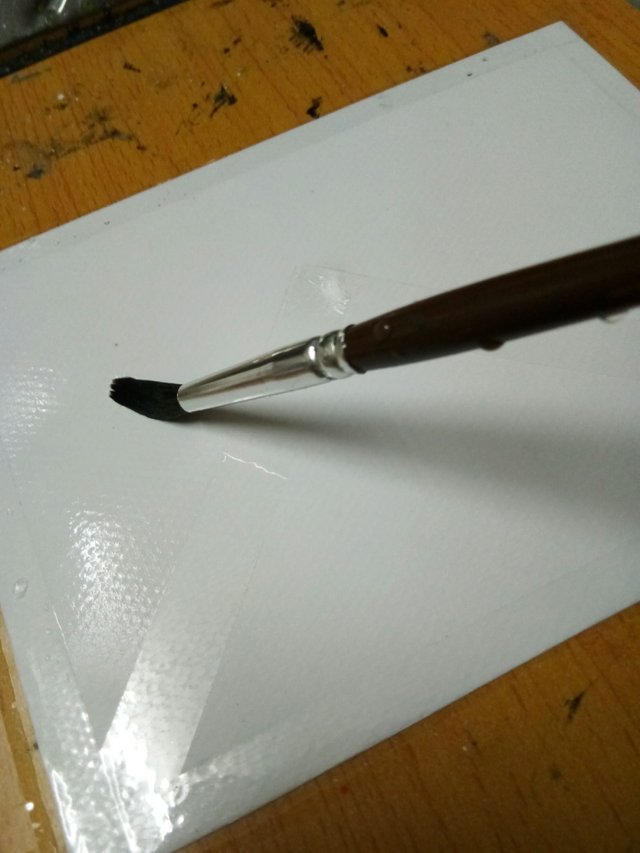
Prepare all the materials, these are the materials I used.
•Paper - Canson watercolor paper (200gsm)
•Watercolor - Winsor & Newton Cotman & Simbalion
•Brush -Raphael Petit Gris No. 8
•Ink - Dr. Ph Martin Bleed proof
•Clip Board
•Scotch Tape
•Palette
Note: You don't need to have the same materials I've been using, explore other materials that suits you and your personality. 😉
STEP 2
As a routine for all my works, I used 1/4 of Canson watercolor pad and taped it in the clipboard. But this time because were gonna paint a mountain, I put a tape in the pad in a triangular shape. (Pro used Masking fluid in this such matter but as for me, A broke artist i used scotch tape as an alternative)

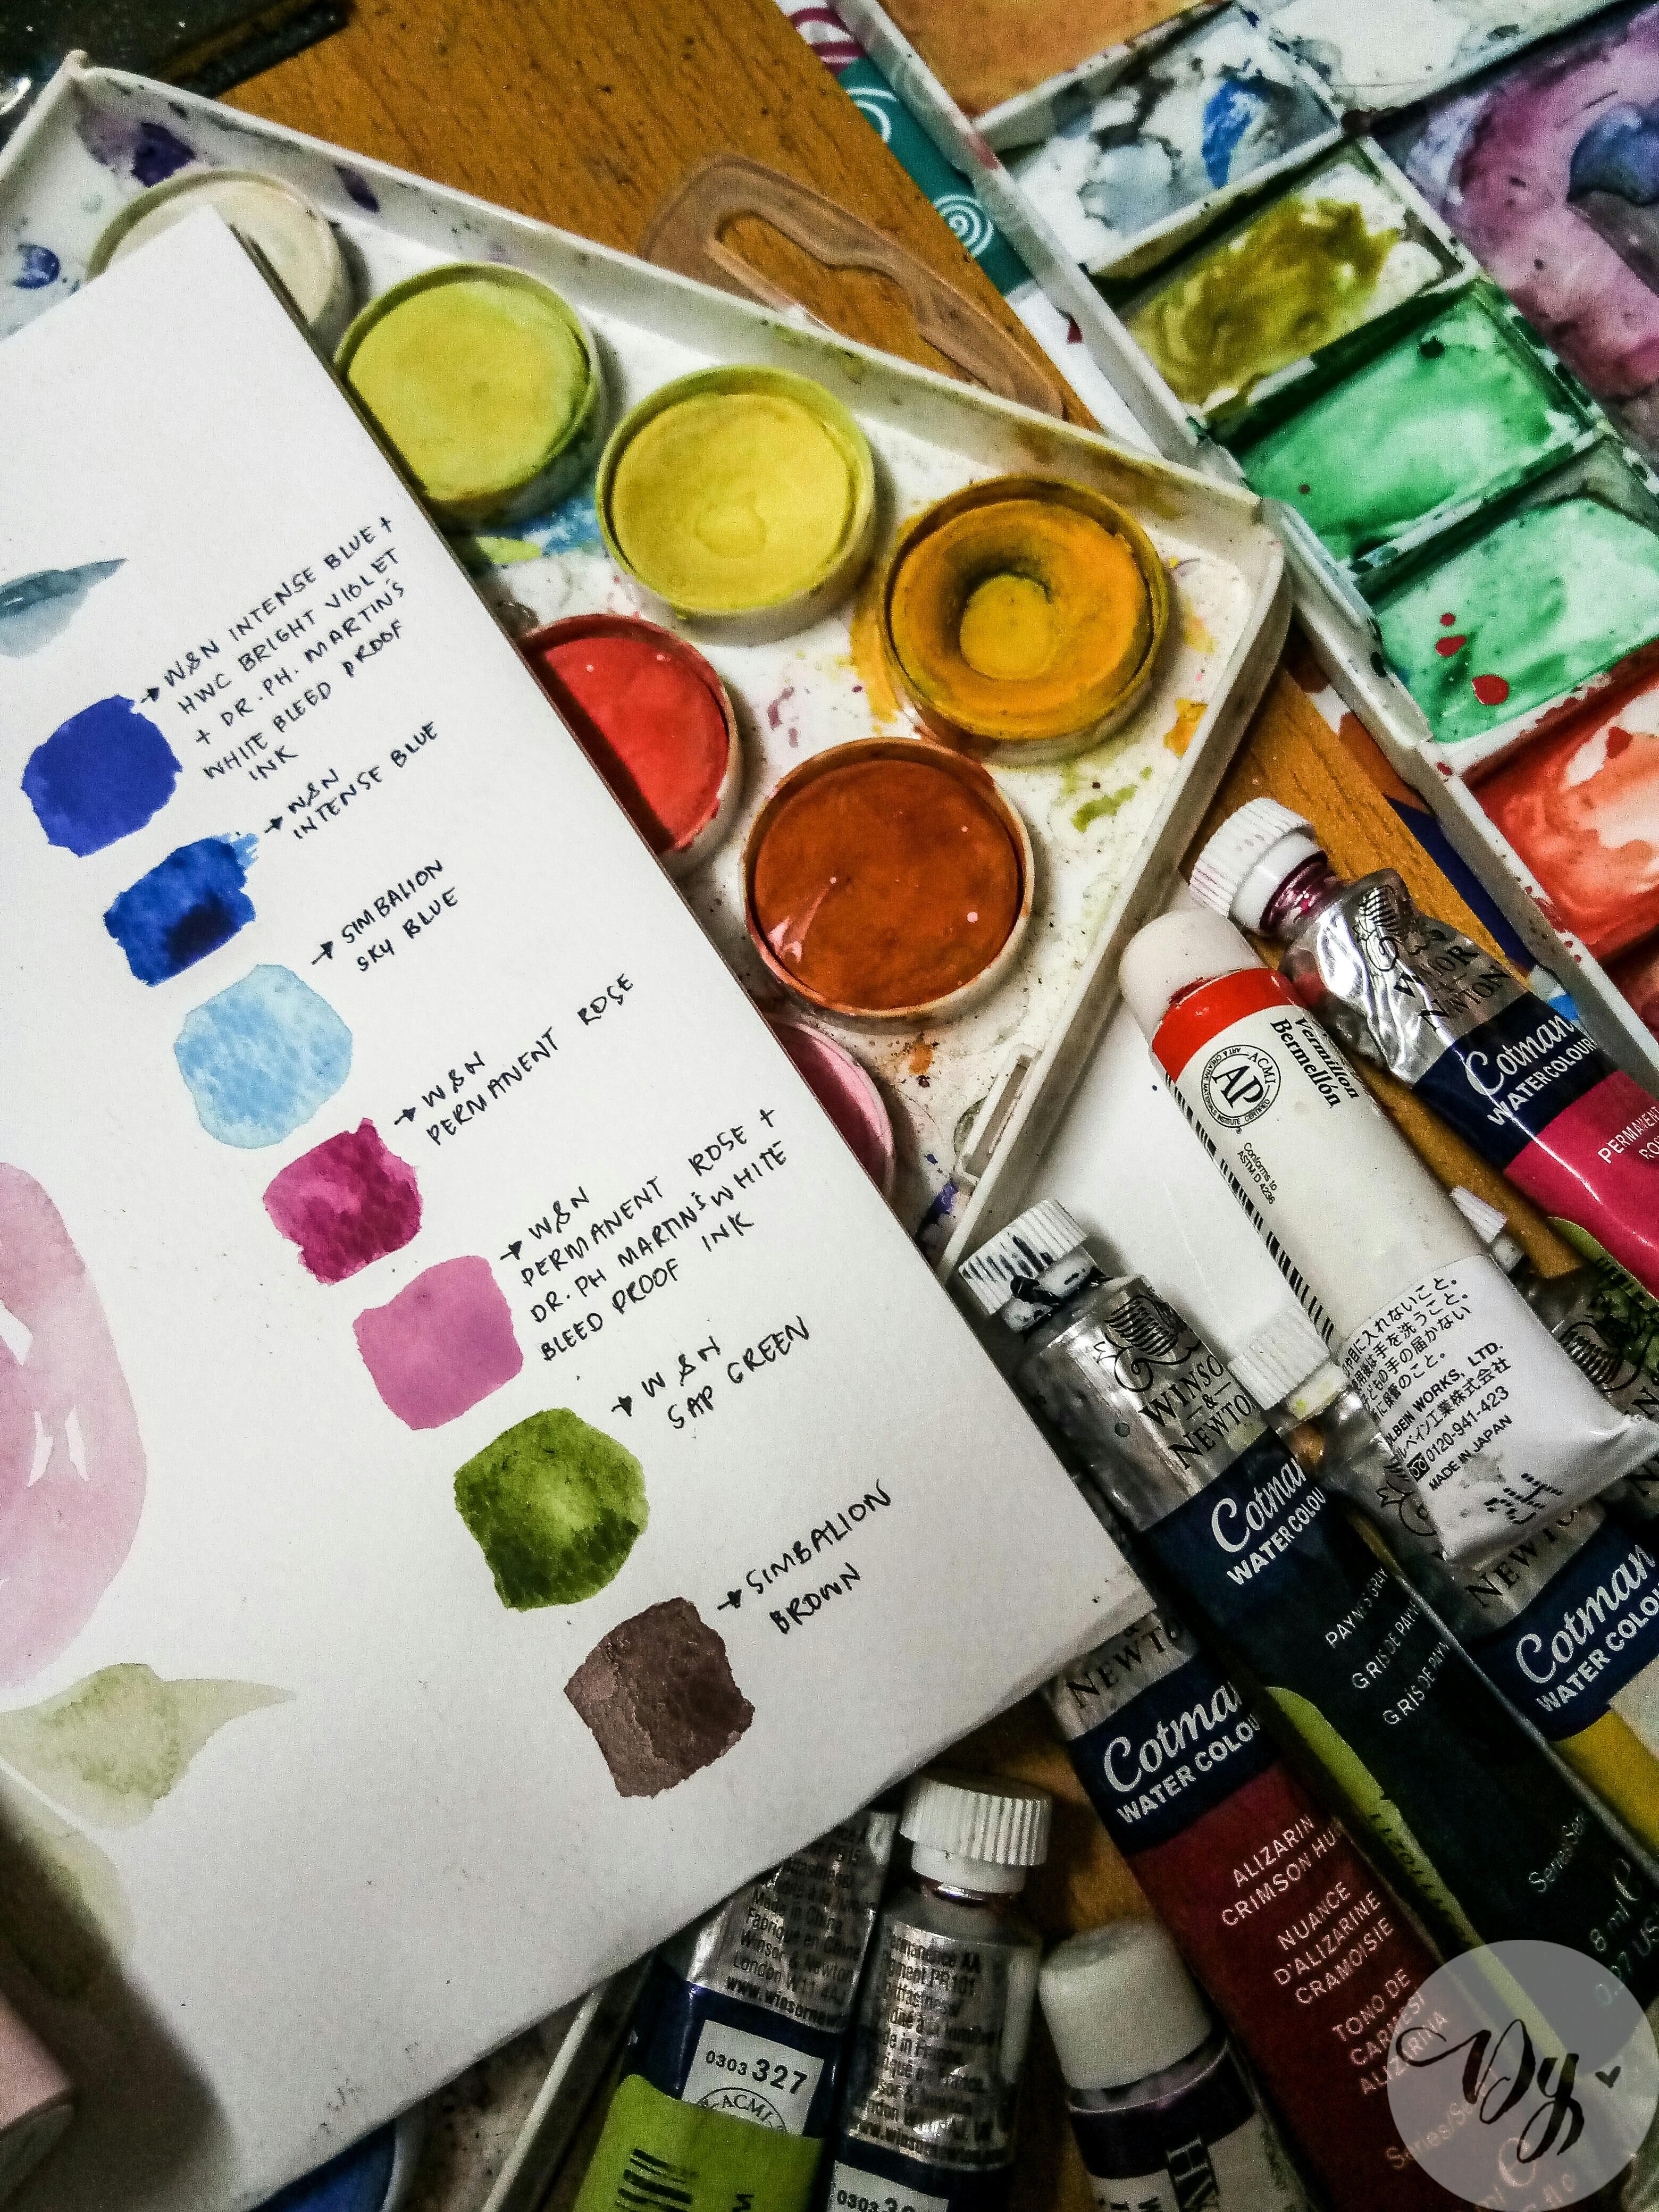
Before proceeding to painting, I got this thing where I analyzed and study the hue of every paint that I'll be using. Mixing it up to have the right shade I wanted and writing it so that I wouldn't miss it. Don't me wrong, I intentionally don't do this to act like a pro but to be honest this helped me so much to decide which color I will use. So here are the color combinations I used in this work.
STEP 3
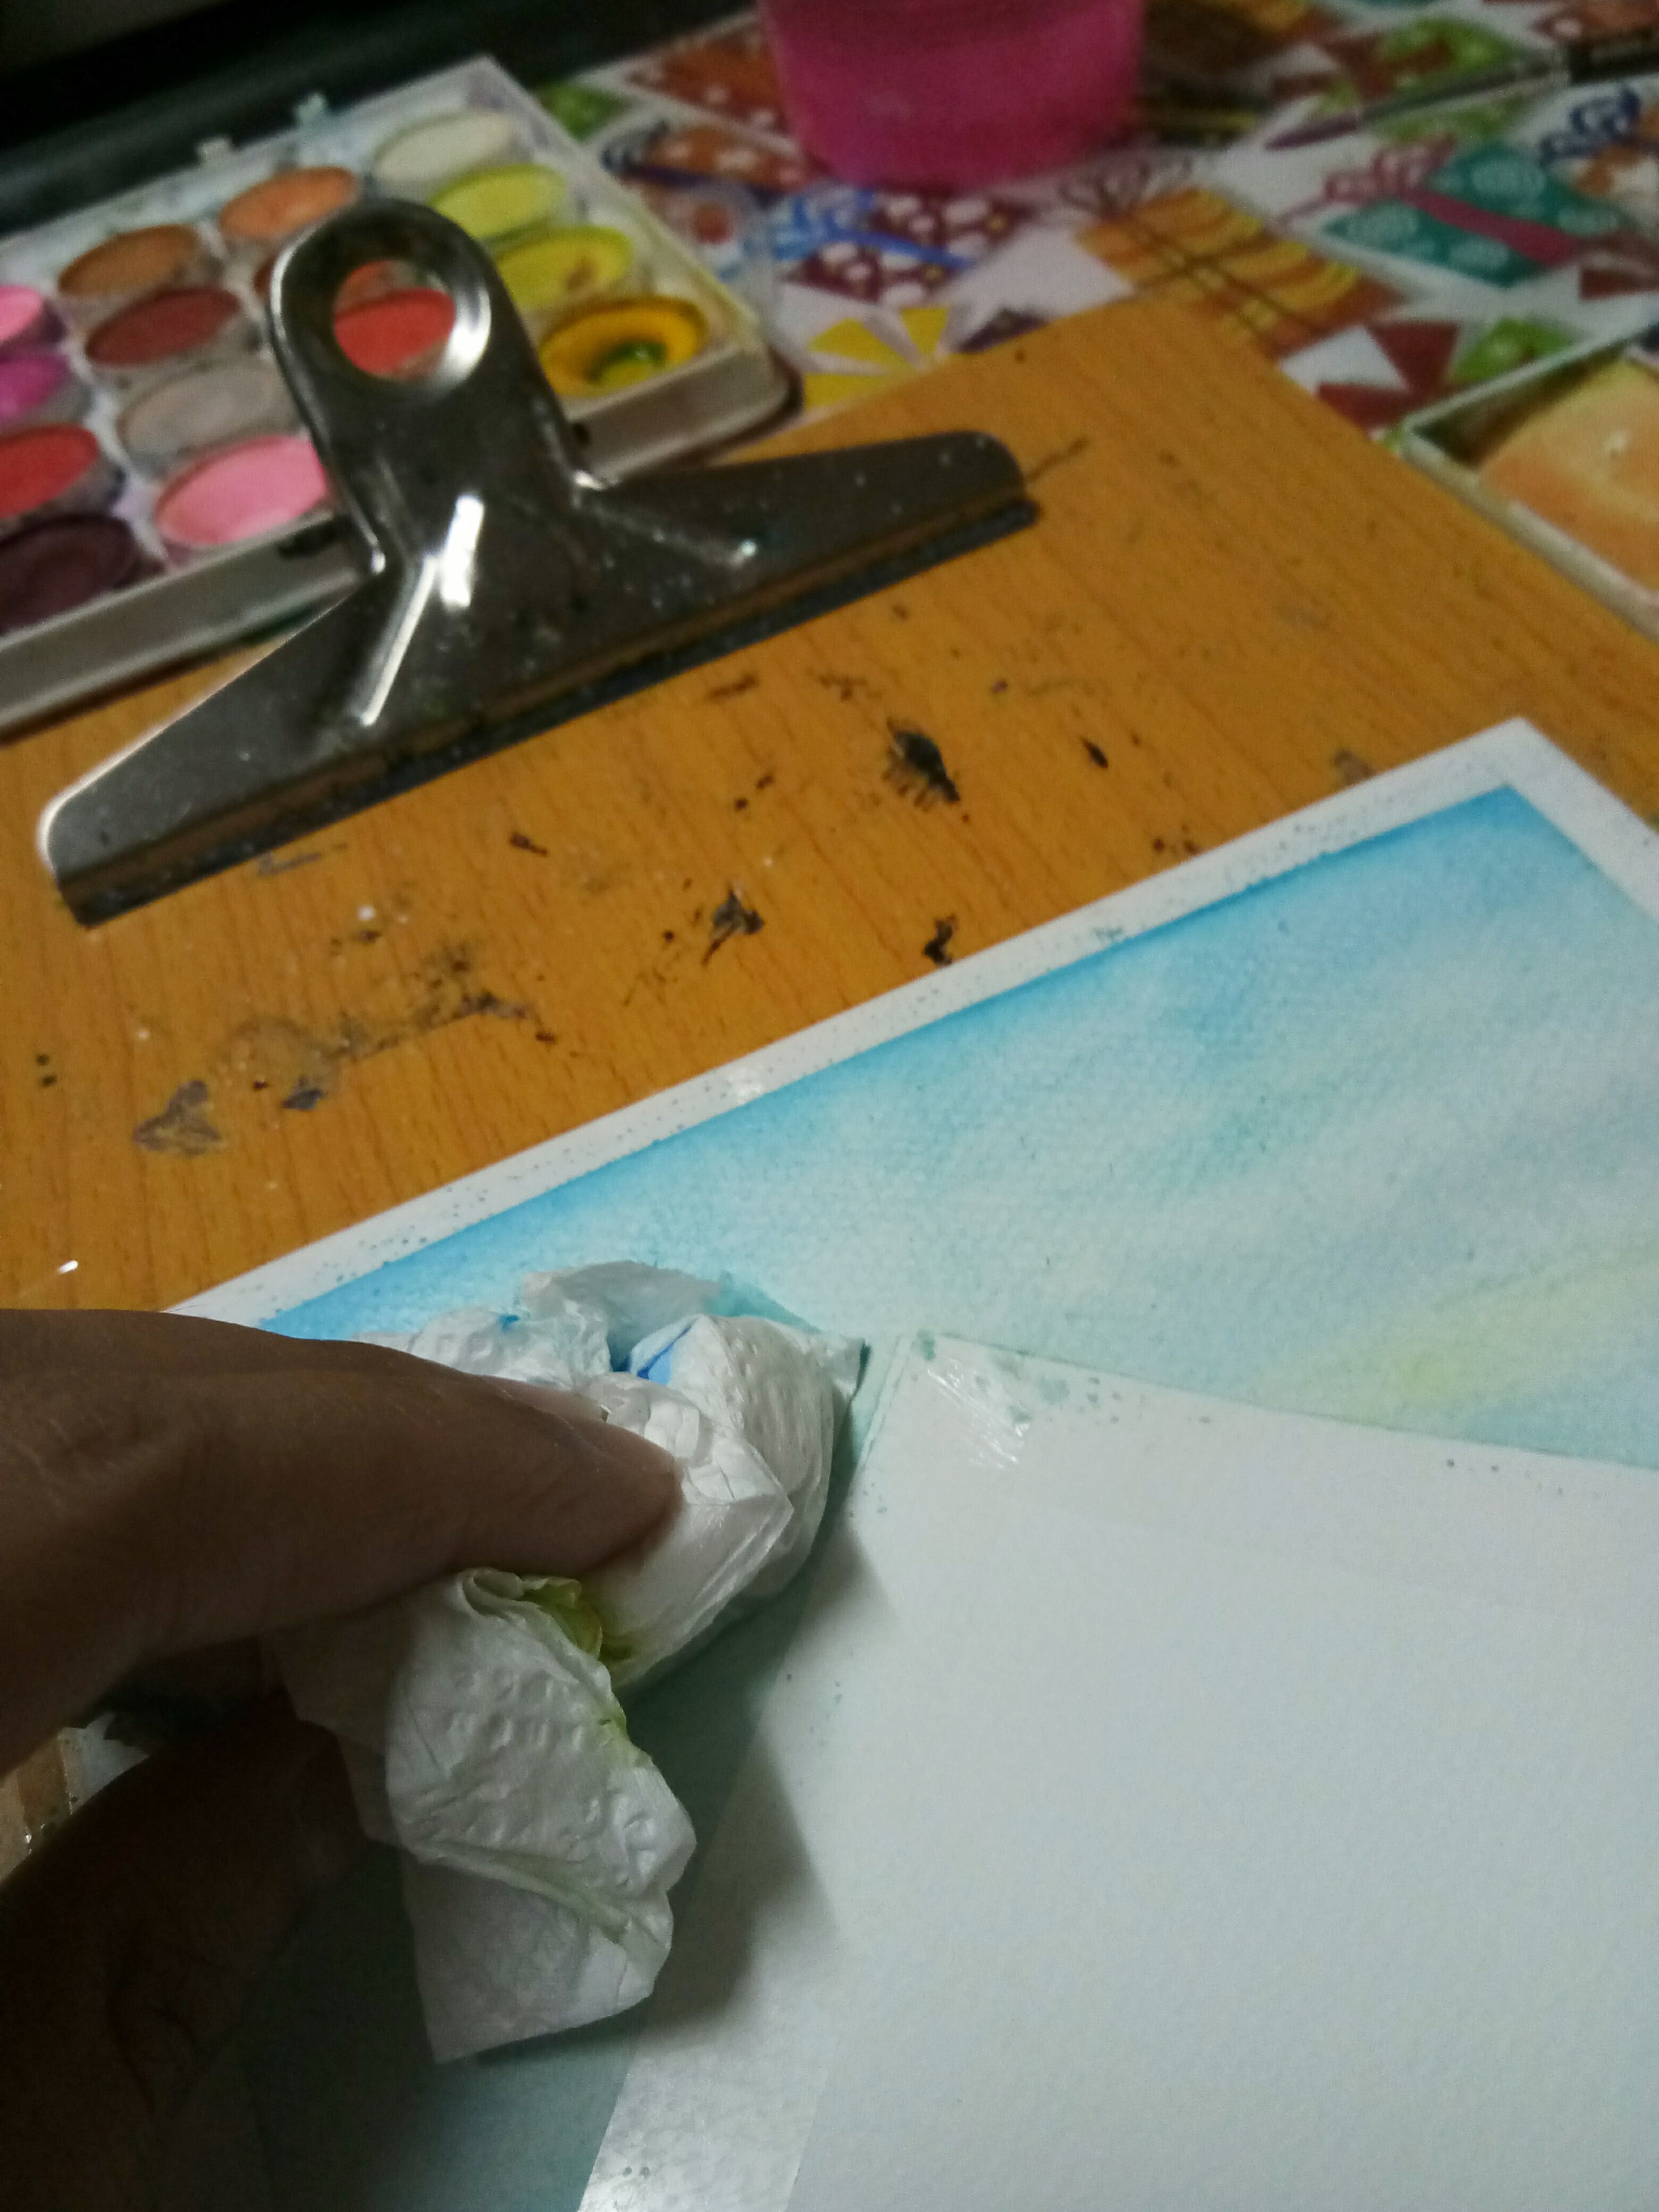
Let the wet and wet technique begin! I tried painting the outside part of the paper for the sky. Just apply some water to let the paint flows.
I apply sky blue simbalion watercolor for the sky. I tried not to use Intense blue because I am afraid that it would not compliment with the color of the mountain so it has to be light.
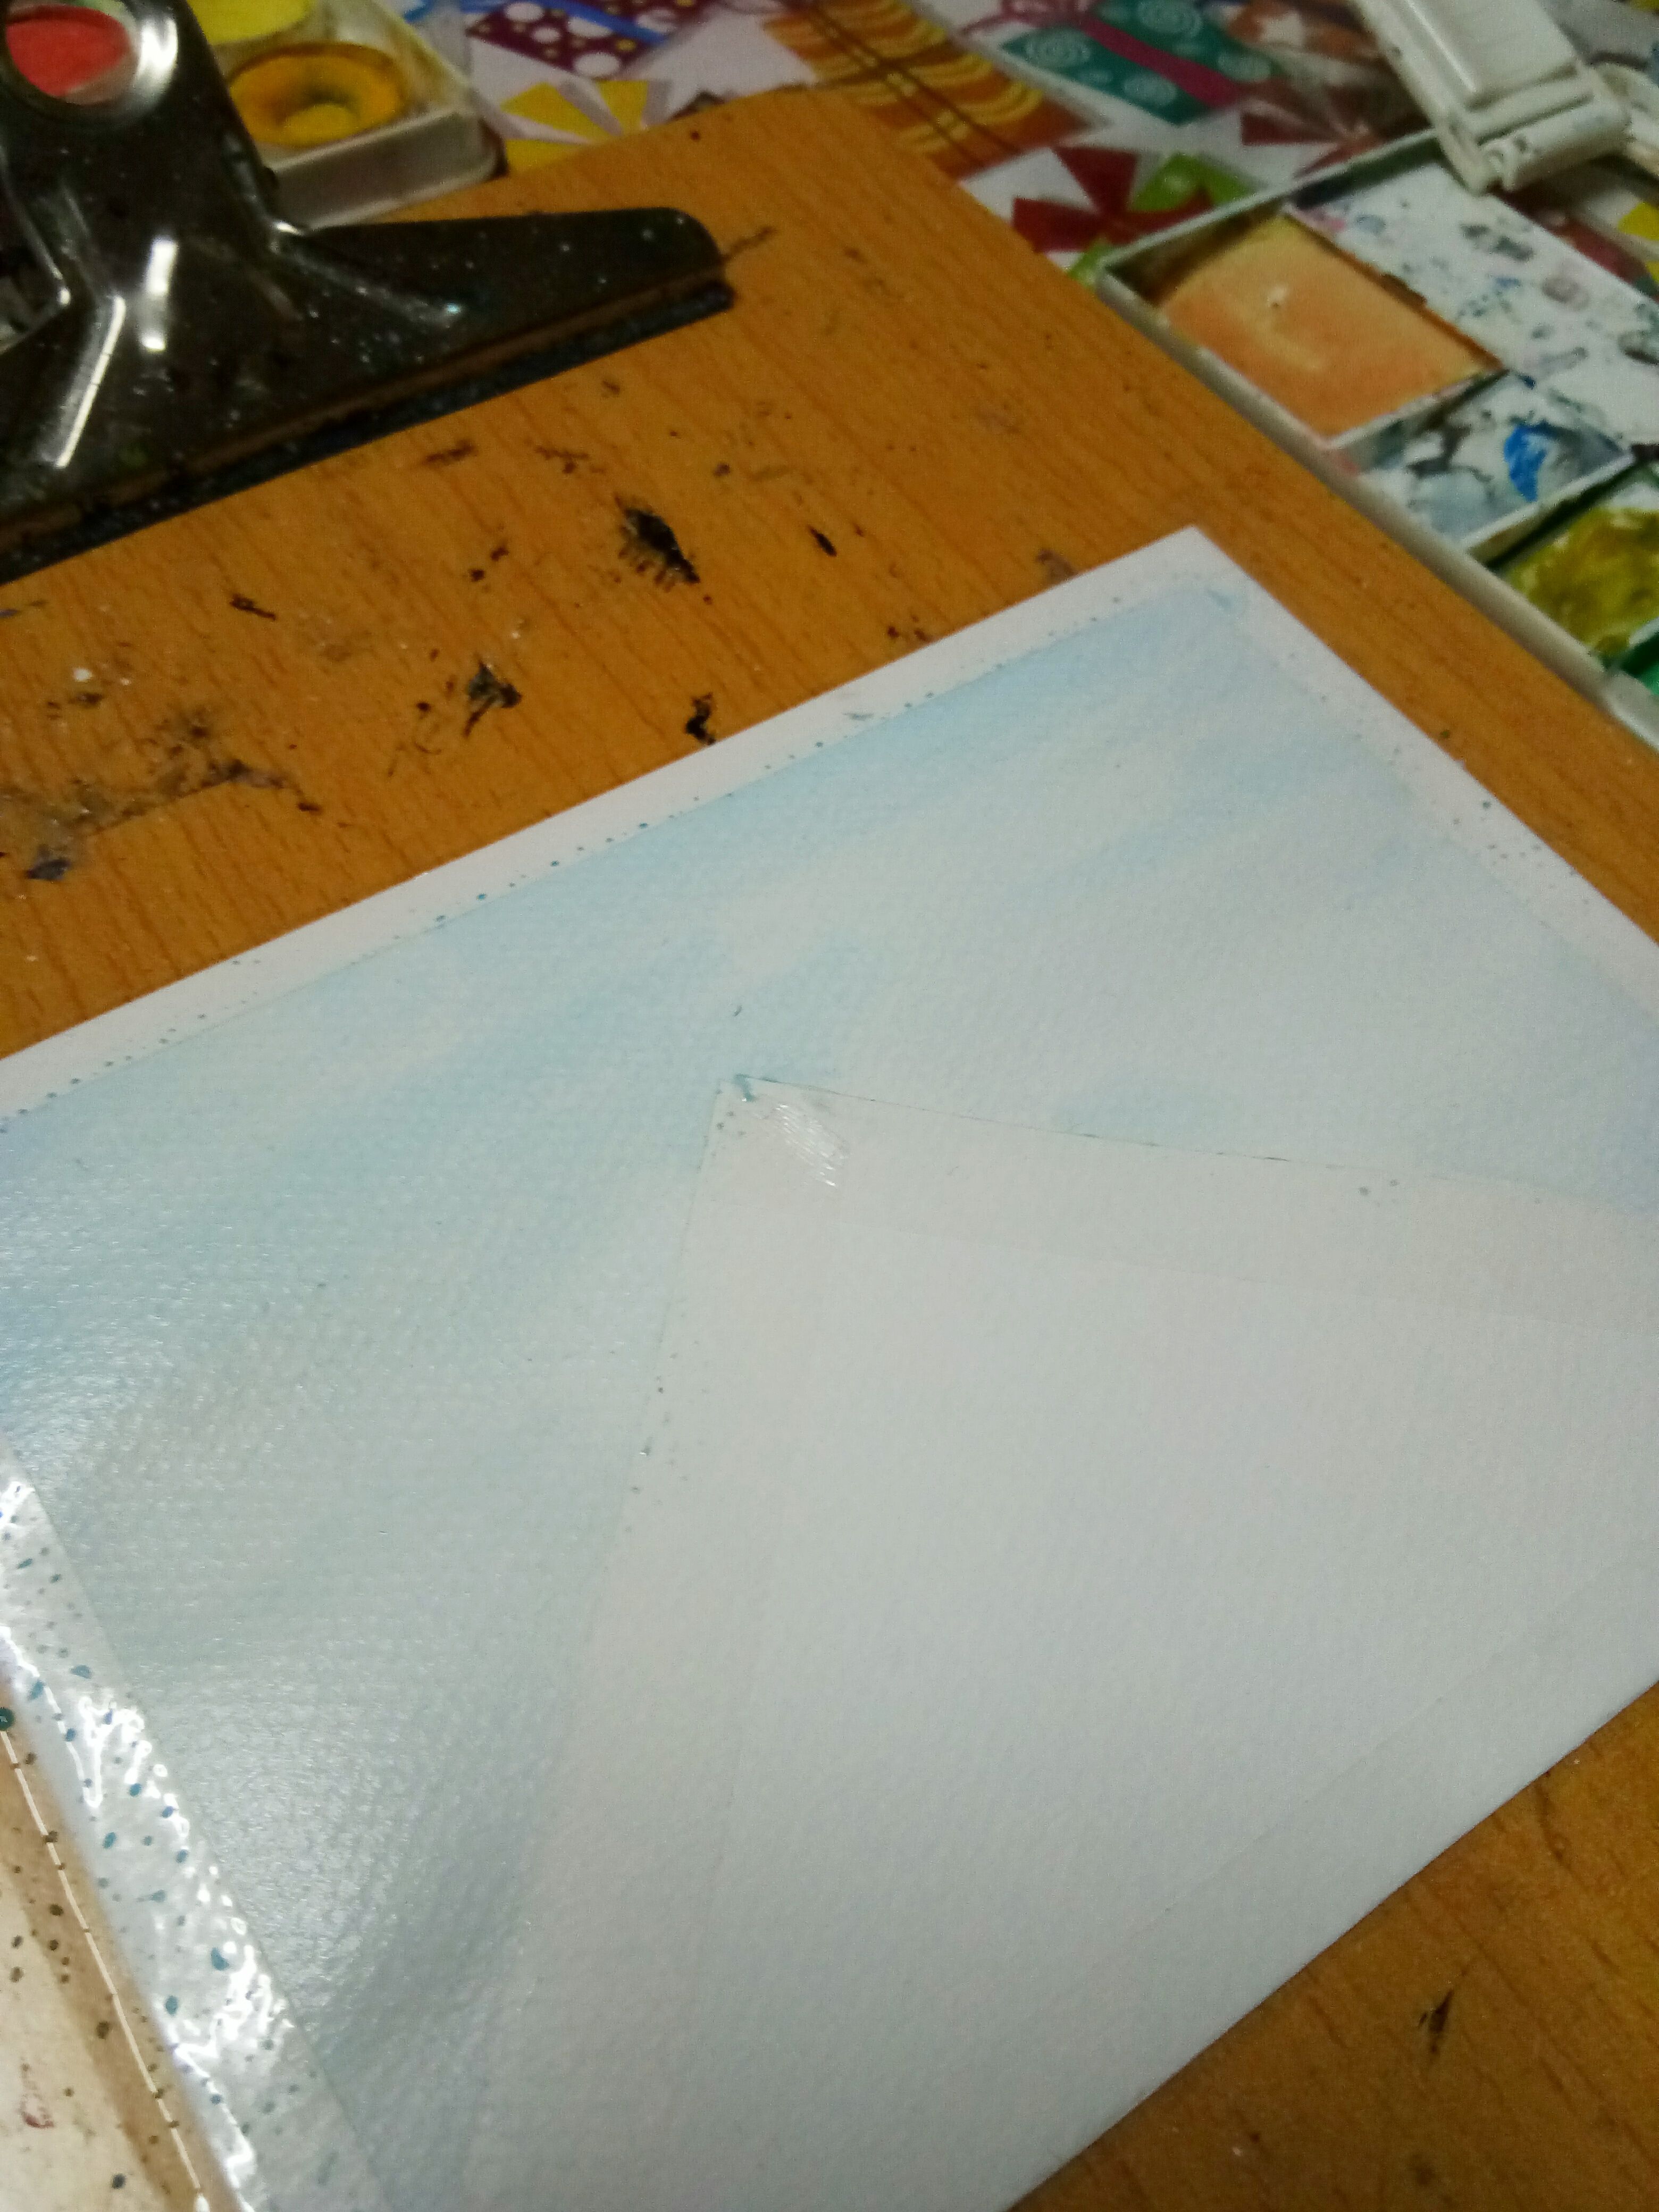
Then after applying the sky blue watercolor, I added some yellow to have some sunny effect in the sky. Then to have a gradient effect, I used winsor & newton Intense blue in the upper part of the sky. But be careful not to let the paint
disperse or the sky would be totally ruined.

Then dried it using tissues, I used to tap tissues carefully while the paint is still wet.
STEP 4
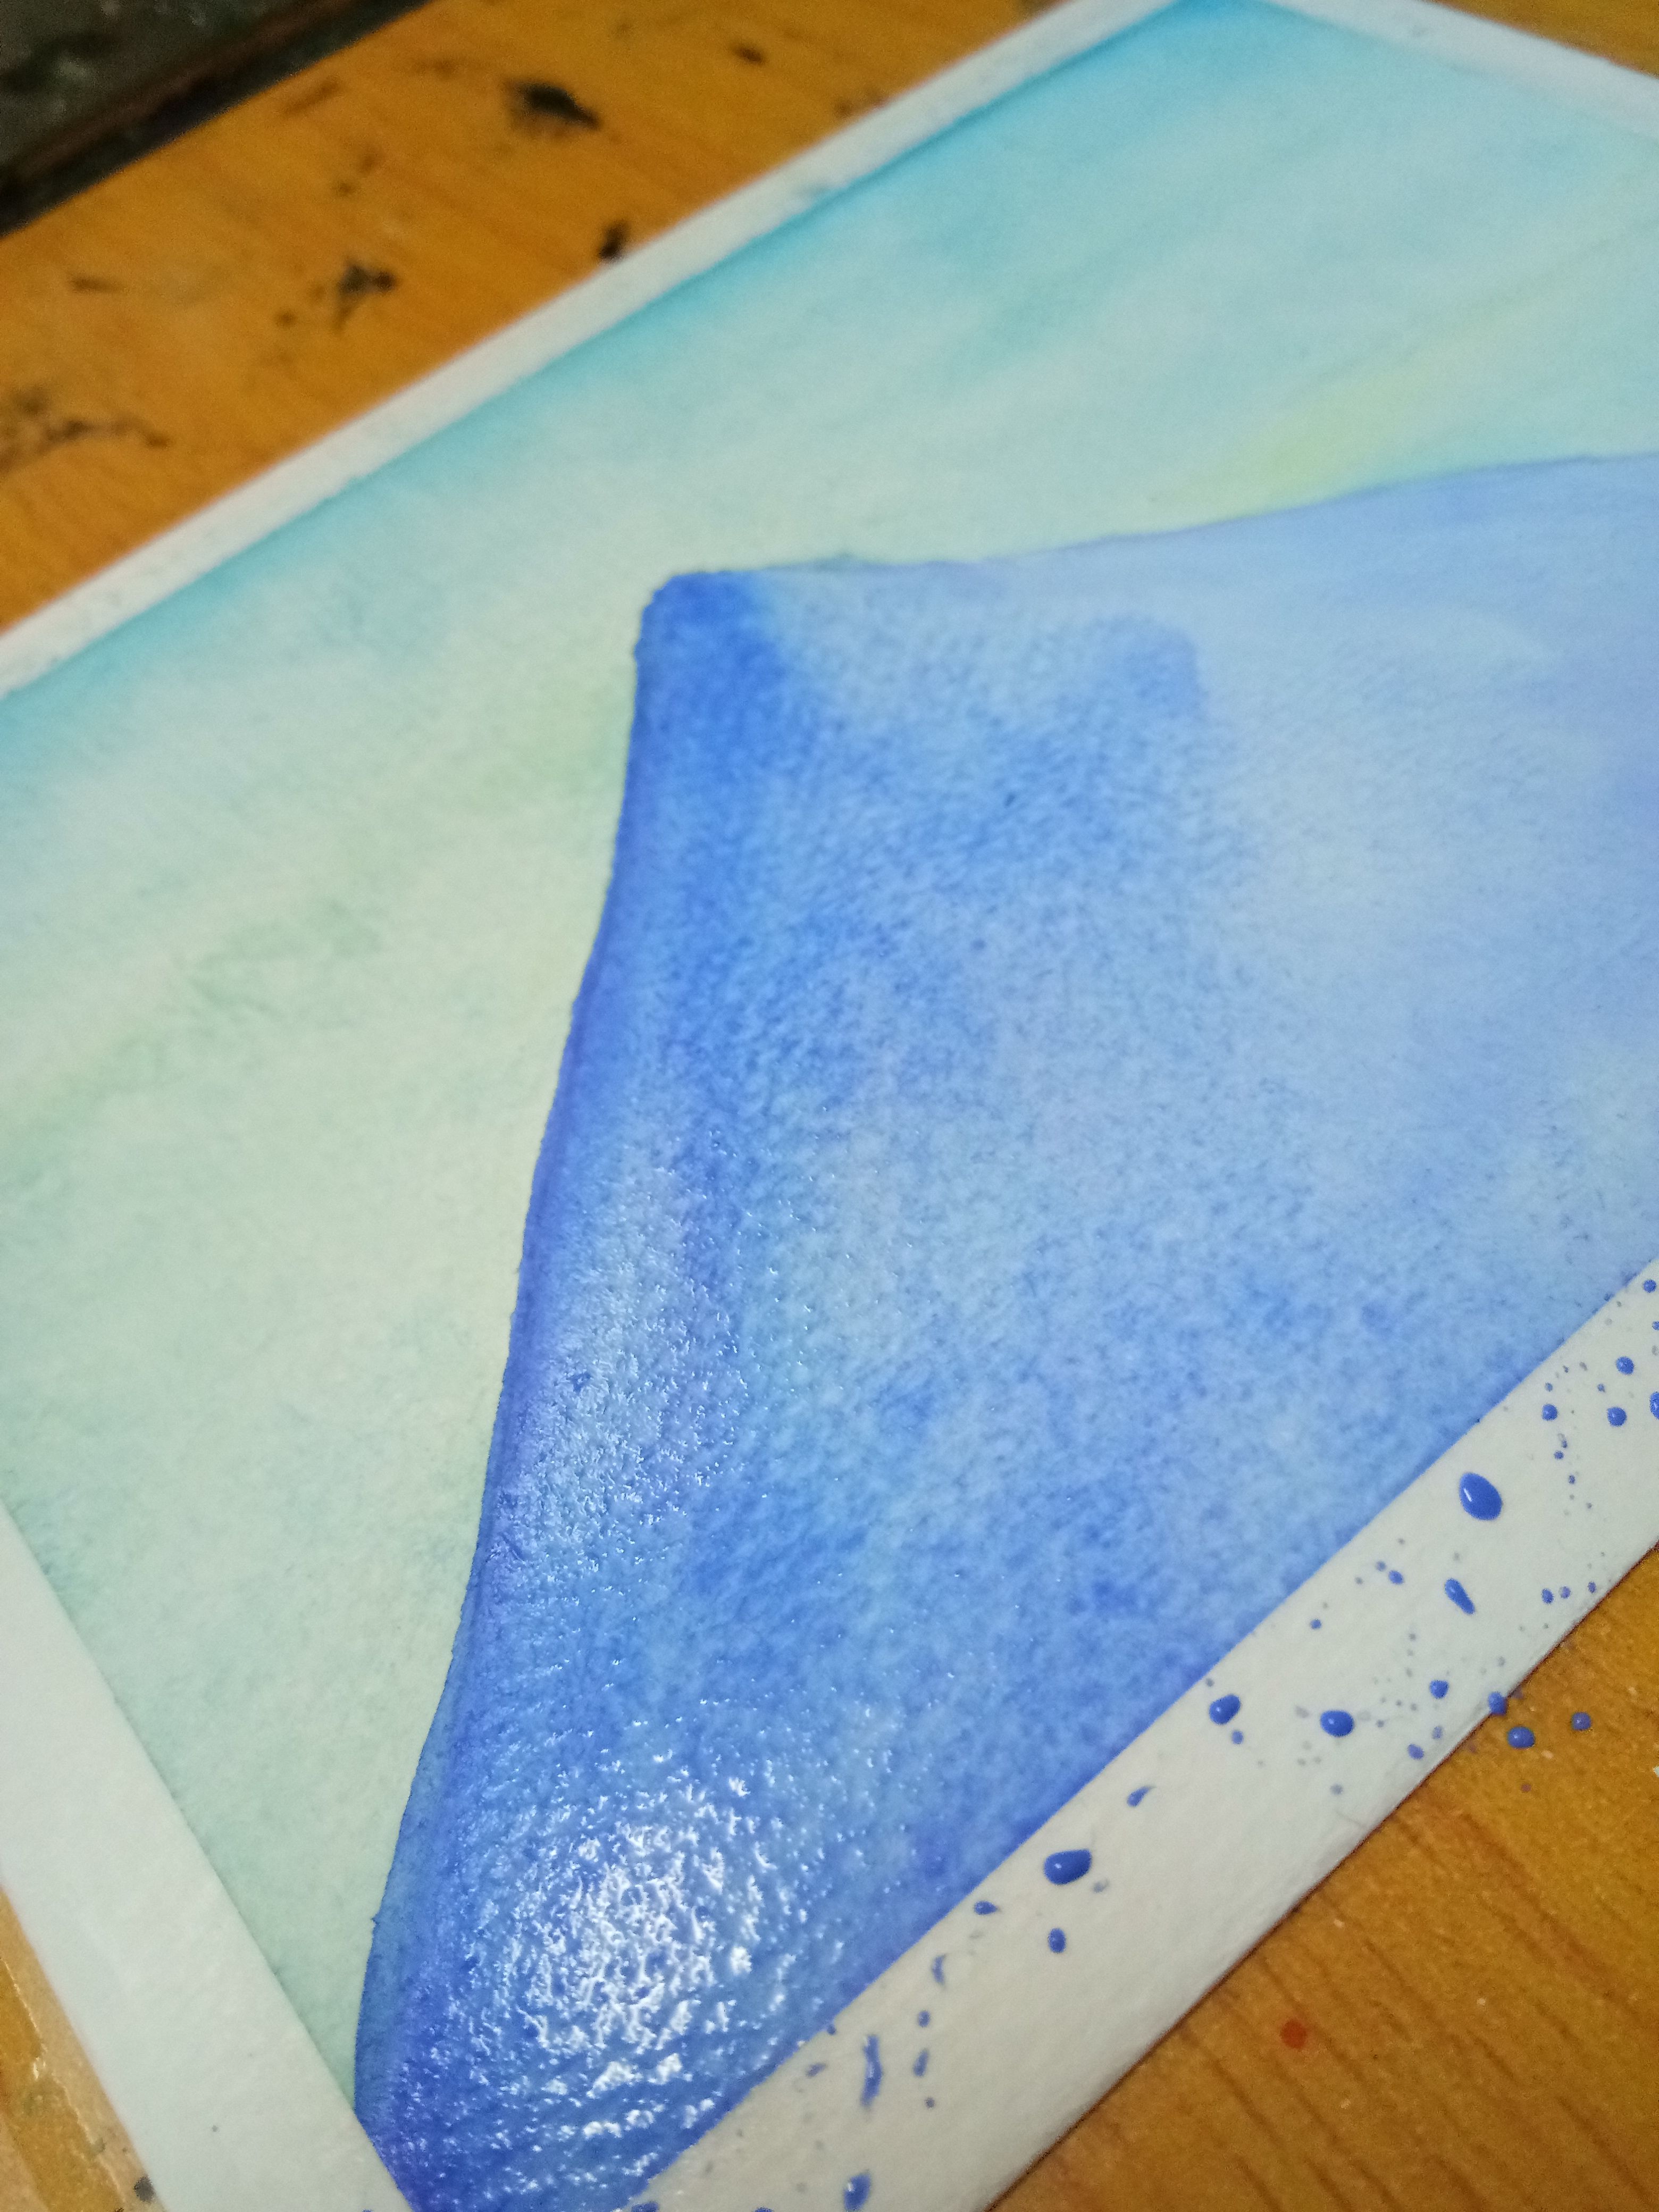
Finally paint the triangular part that represents Mt. Fuji. But before that, remove the scotch tape first. In this, I used the combination of Winsor and newton Intense Blue, Holbein's Bright Violet and mixed it with Dr. Ph. Martin's white bleed proof ink. And I am so happy witb he result! Just what I've imagined!
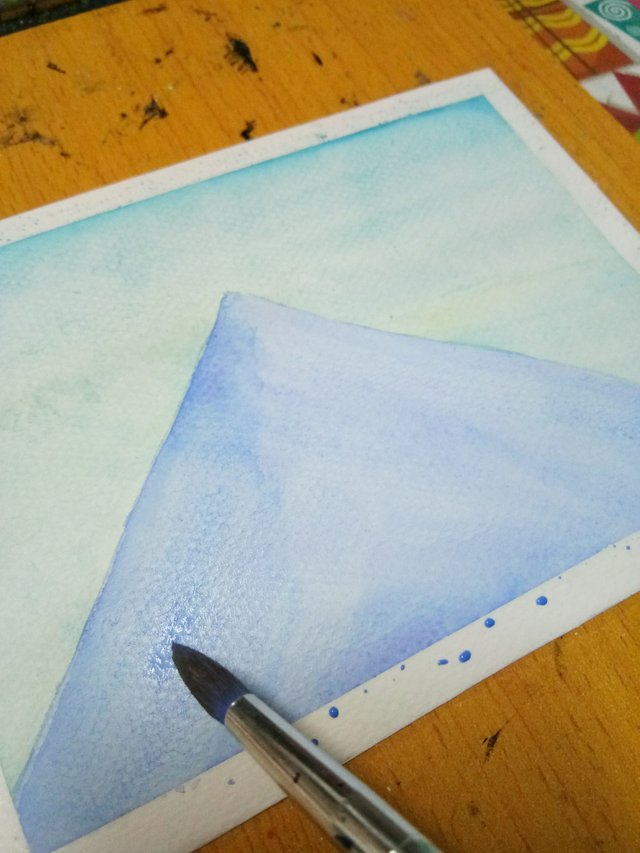
Then I added another layer of paint on the left side of the mountain to have a shadow effect.
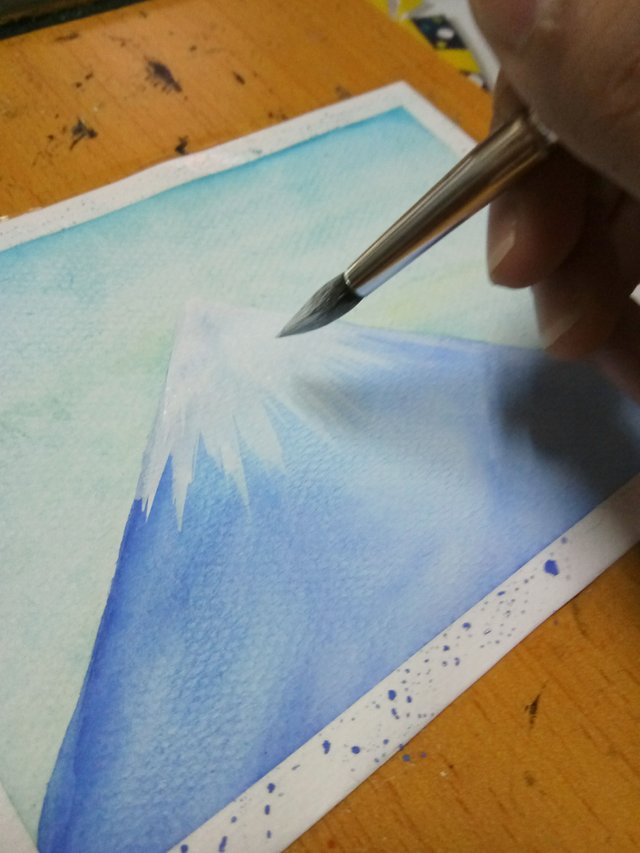
STEP 5
After the mountain get dried, it's time to add the snowy effect in the mountain using Dr. Ph. Martin's bleed proof ink.
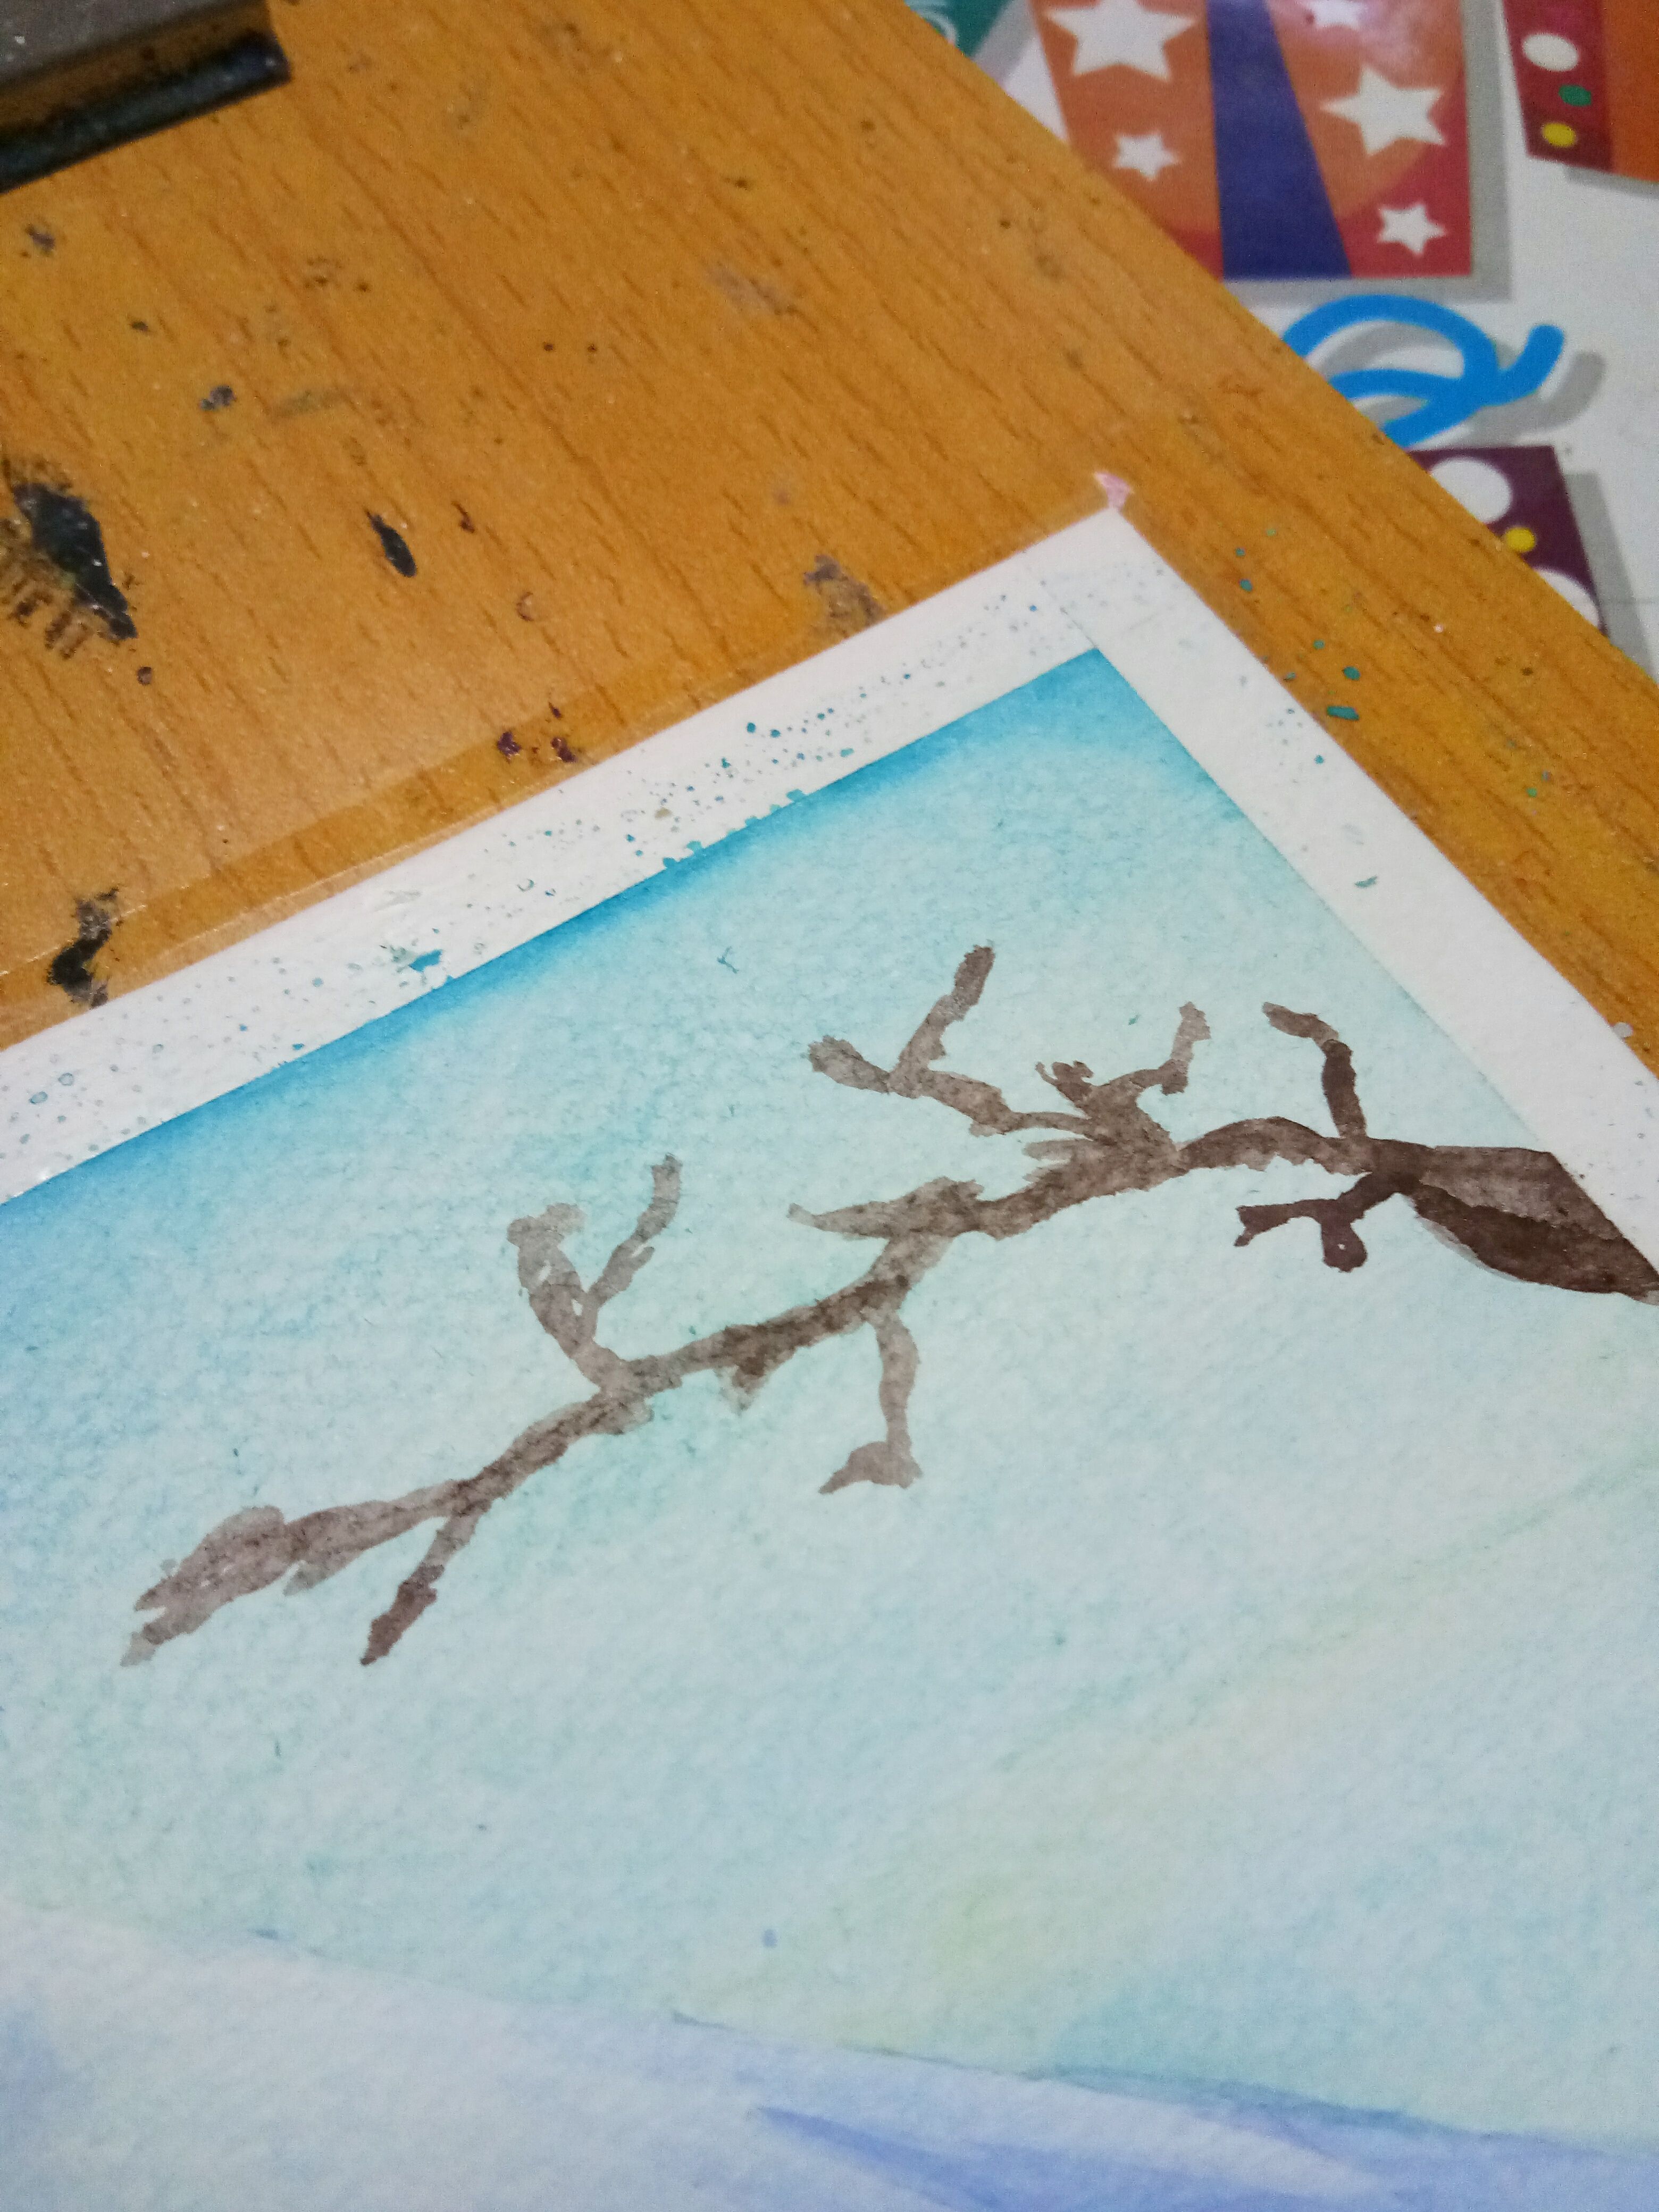
Have it dried and now you can add the cherry blossoms in the side. I used Brown simbalion watercolor for the branches. And add black at the bottom of the branches (I remember in one zigph event when Ms. Tin taught us about painting cherryblossoms) you just have to add darker color below the branches and sakura itself. But you can choose whether you will also do this or nah and just keep the light colors.
STEP 6
Finally, add the cherryblossoms on the branches, I used light pink simbalion watercolor and added winsor & newton Rose pink at the bottom of light pink sakura. Then I added some leaves too (Again, it is not necessary for you to add leaves, I just wanted to add some to brighten up more the flowers.
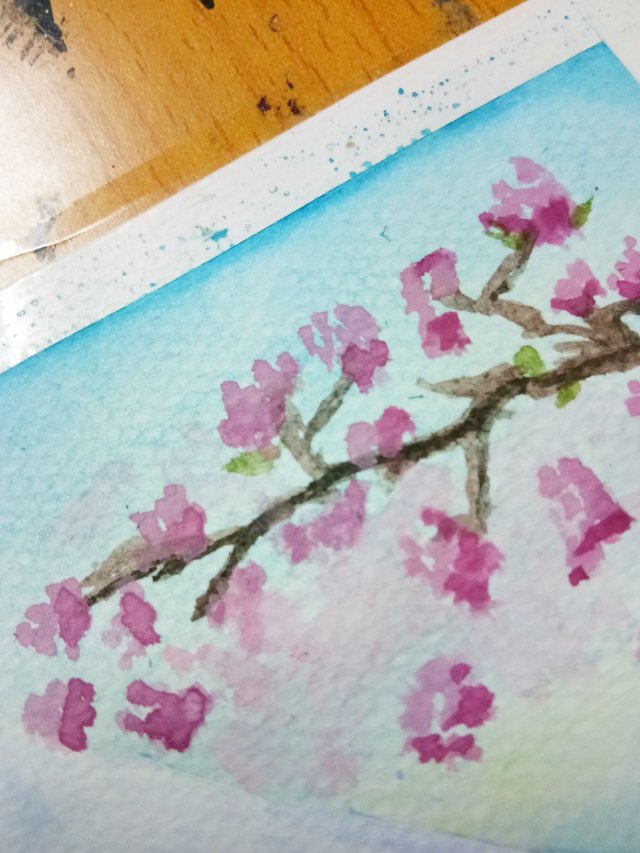
Let it dried and you're all done! And oh don't forget to remove the scotch tape on the side that also made your border.
Thank you for reading and I hope you learned something from this post.
Thank you for reading! ✨
ong gondo nomon. San m n nga nabili papel?
Solomot hahaha. Sa nbs po, fullybooked or artbar hehe
Ay artbar, juskolord... Huhu. Dpat d n ko nagtanong gusto ko bumili. 😂
Hala same price lang din naman hahaha tbh ito ung pinakamura. Gusto ko nga bumili ng stratmore na wcp kaso nakakaiyak ng wallet hahaha
Wcp??? Anu un?
Watercolor pad ateng hahaha
Ba yun. 😂 Best Buy nga lang sketchpads ko naubos n ung Canson b un... 😂
Hindi ako nagssketch eh kaya puro watercolor pad ang gamit ko
lodi! galing galing!
Huluhhh thank you po. Hindi ako lodi hahaha
You got a 16.98% upvote from @pushbot courtesy of @howtoweekly!
Thank you!
Stunning!!you almost make it looks so simple:) good luck for the challenge
Resteemed your article. This article was resteemed because you are part of the New Steemians project. You can learn more about it here: https://steemit.com/introduceyourself/@gaman/new-steemians-project-launch