🎨👣 My first Mandala-Stone 🌷 [EN] [includes Step-by-Step & LESSONS LEARNED]
Hello all,
I TRIED SOMETHING NEW : STONE ART (or MANDALA STONE)
Some time back @inber had posted an article in which she used a picture showing Mandala Stones. This immediately inspired me to try it out one day myself. And yes this day has come 😃
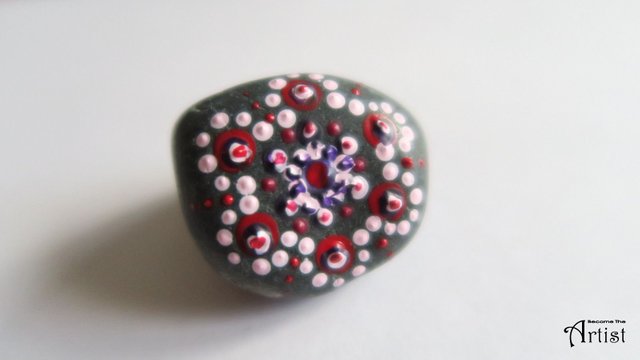
Here the result of my first Mandala Stone :
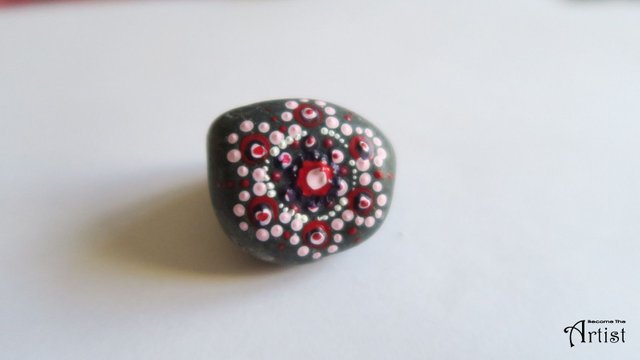
I am convinced that with some practice, it can become more beautiful, more regular, but I think, for a first try it's not that bad.
See here the step by step, and also some lessons learned at the end :
The tools on the right are "Dotting tools" used usually for nail art, but which I bought for a few euros on the internet. You can also use other tools like bobby pin, needle, pencil, anything round ended.
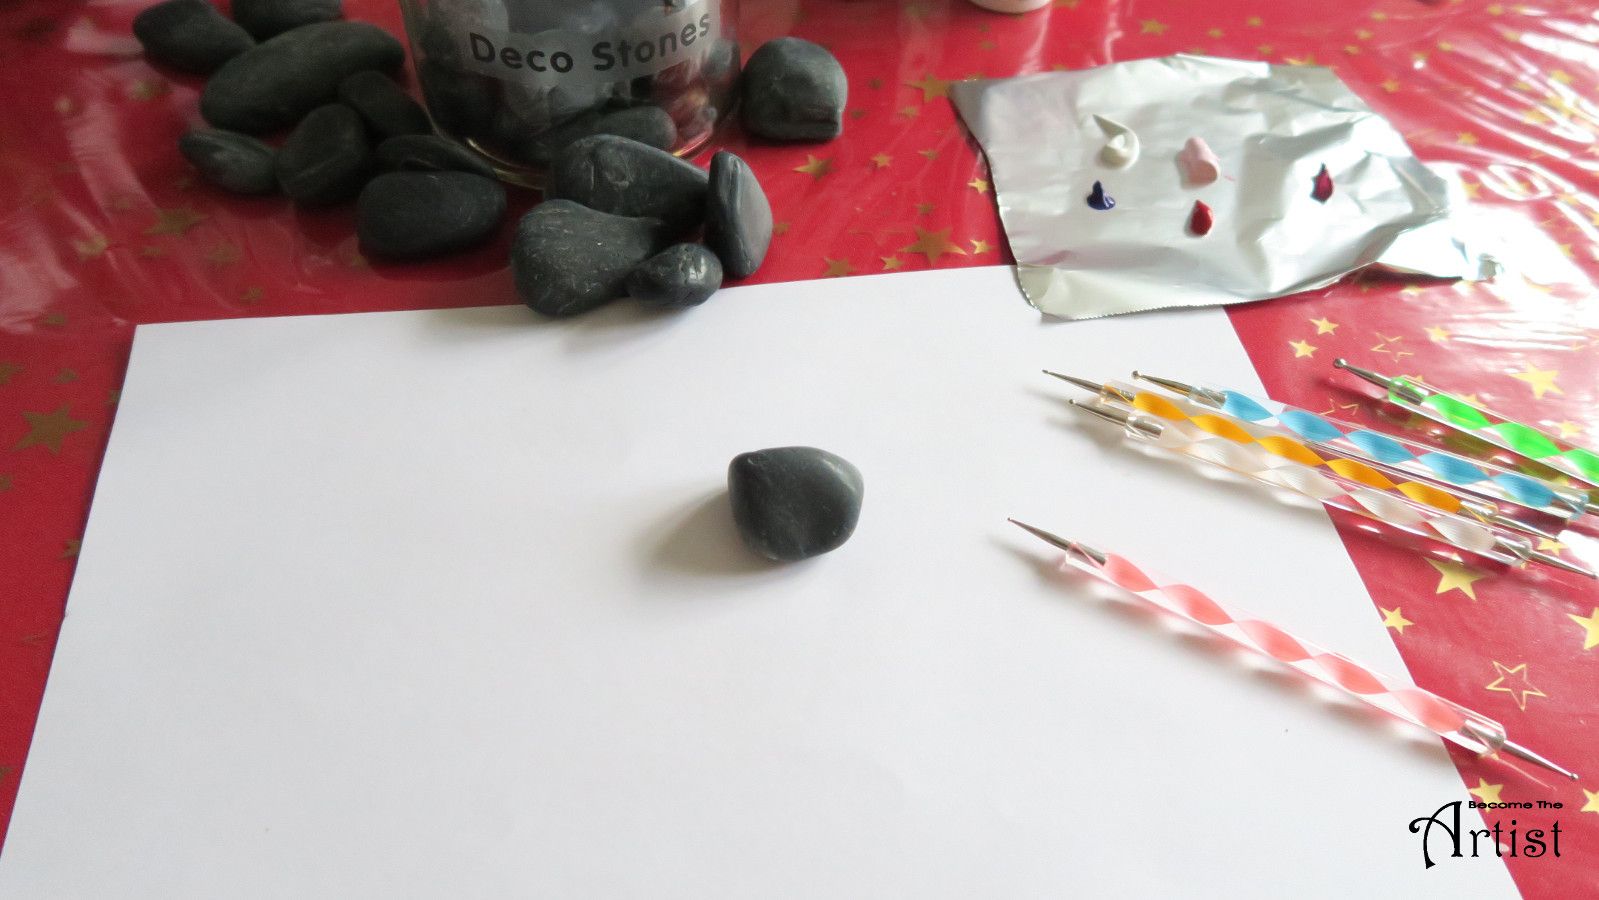
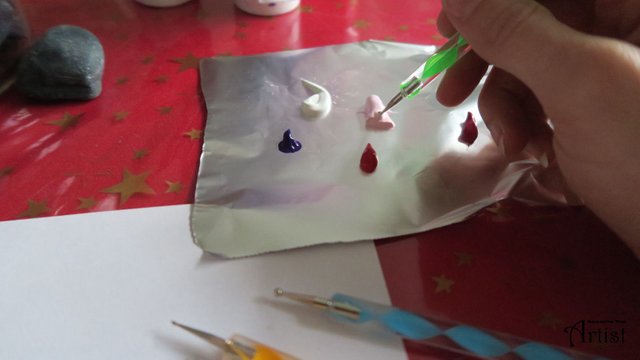
The paint is standard acrylic paint.
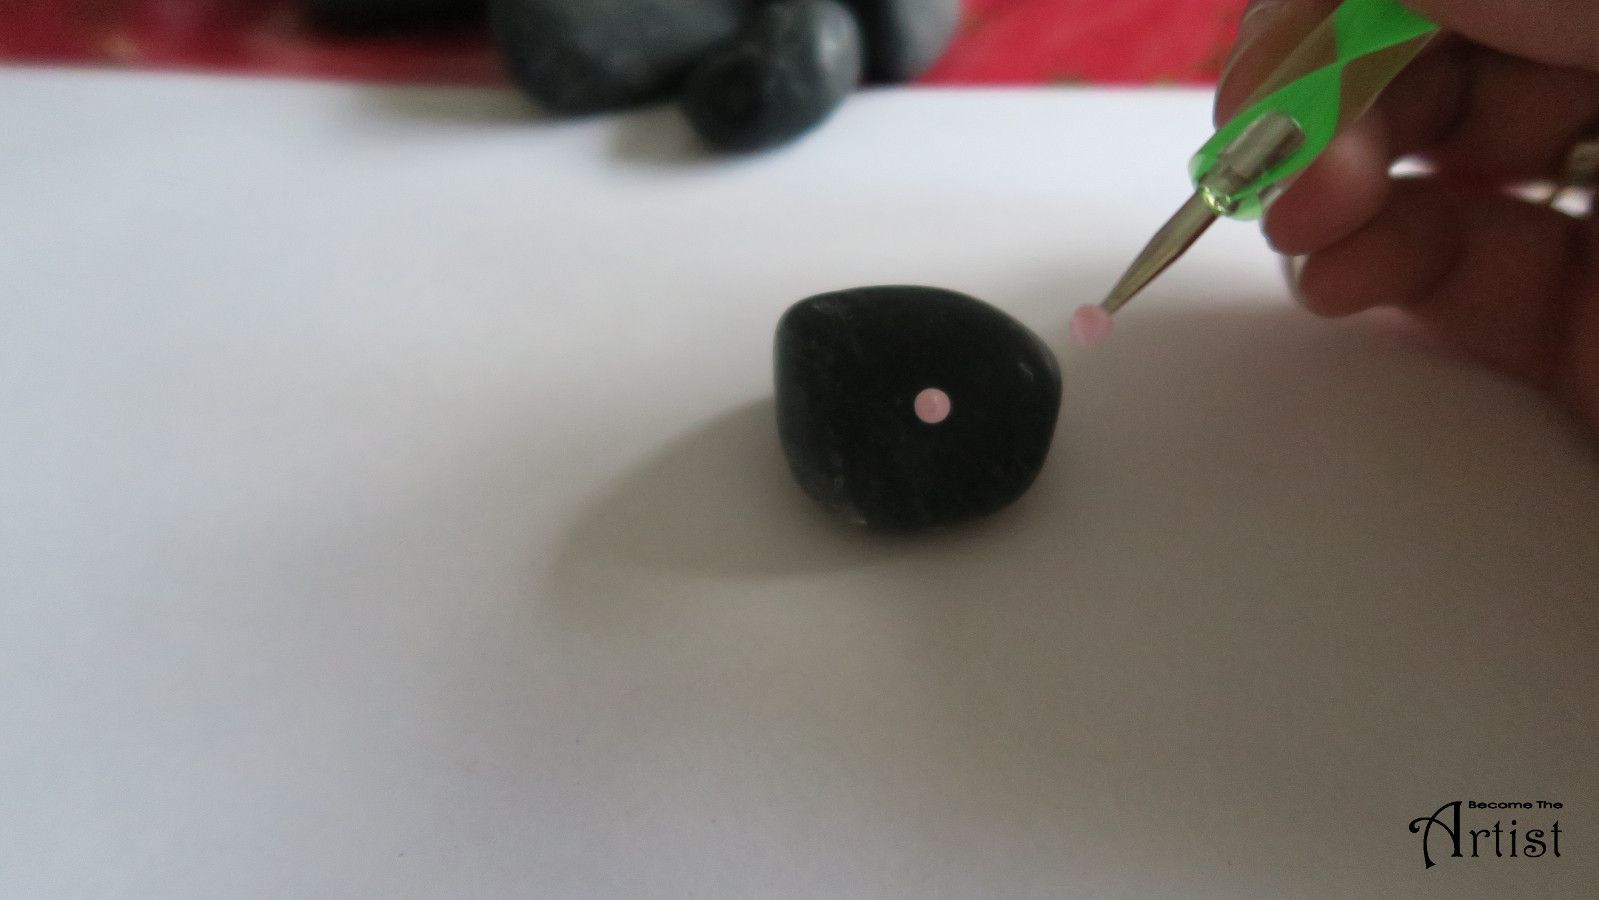
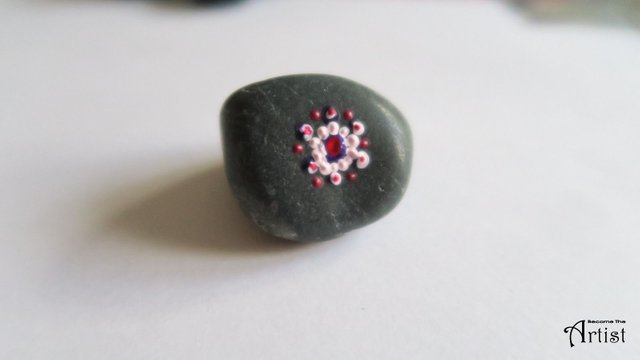
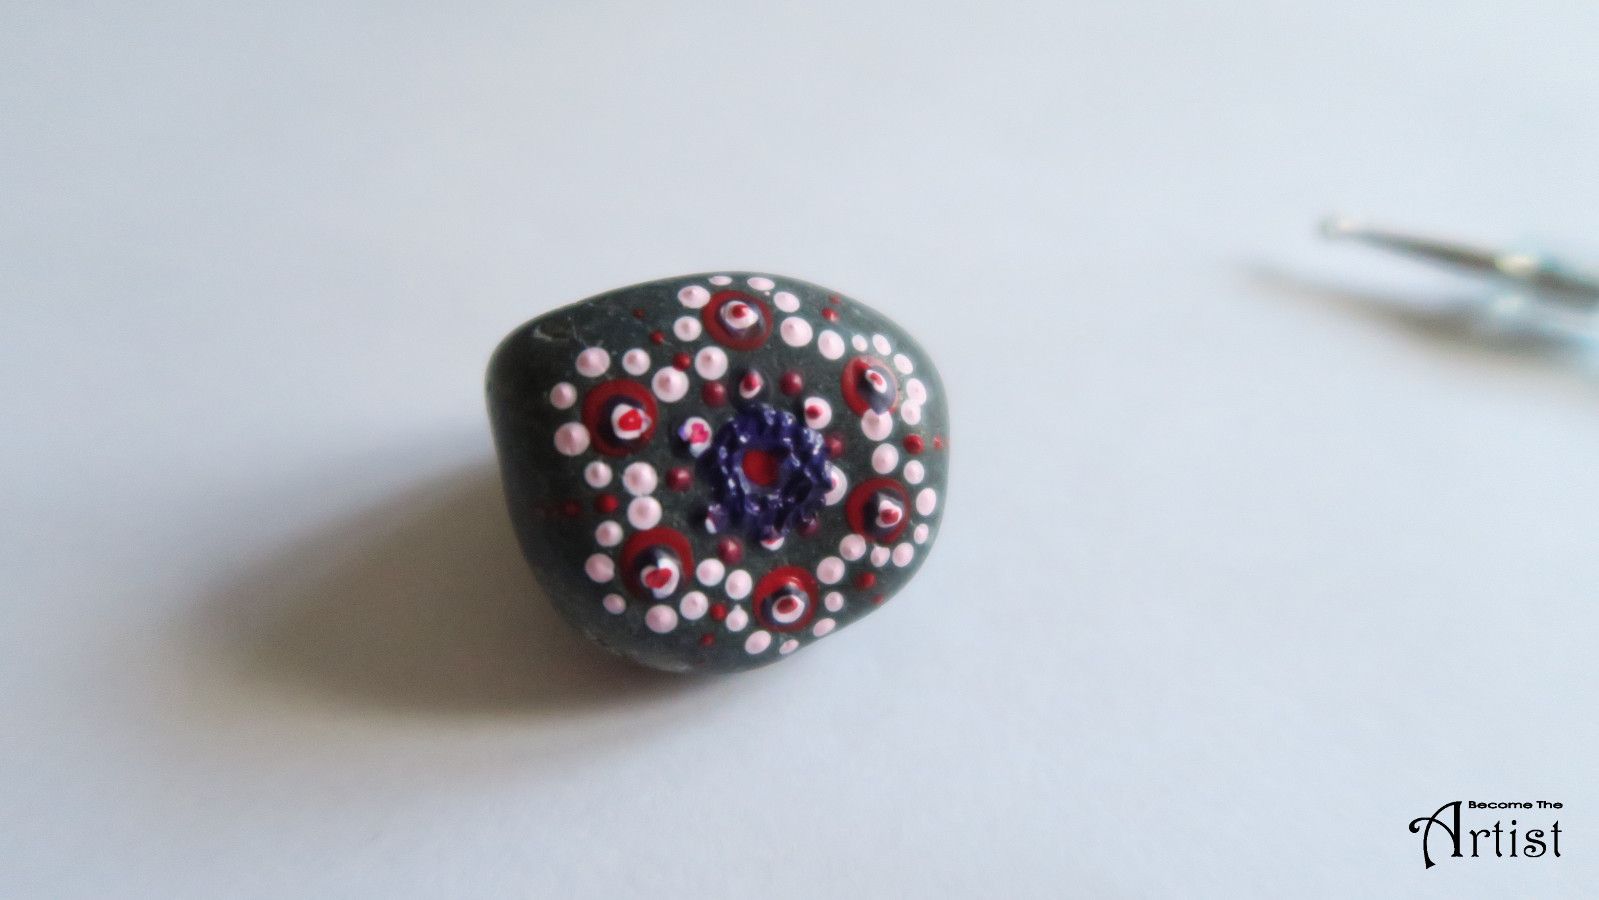
Now you start making dots in different sizes and colours on the stone
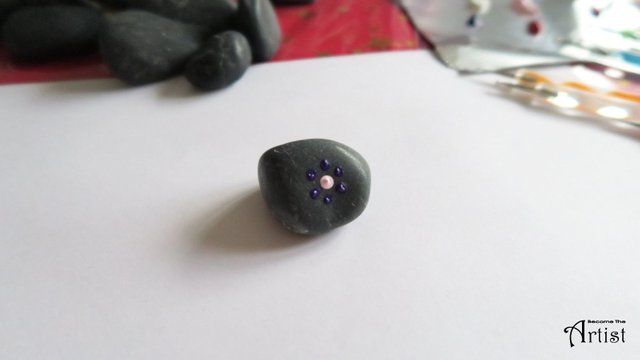
Here I superposed a colour onto another (careful with that >> see later in the process)
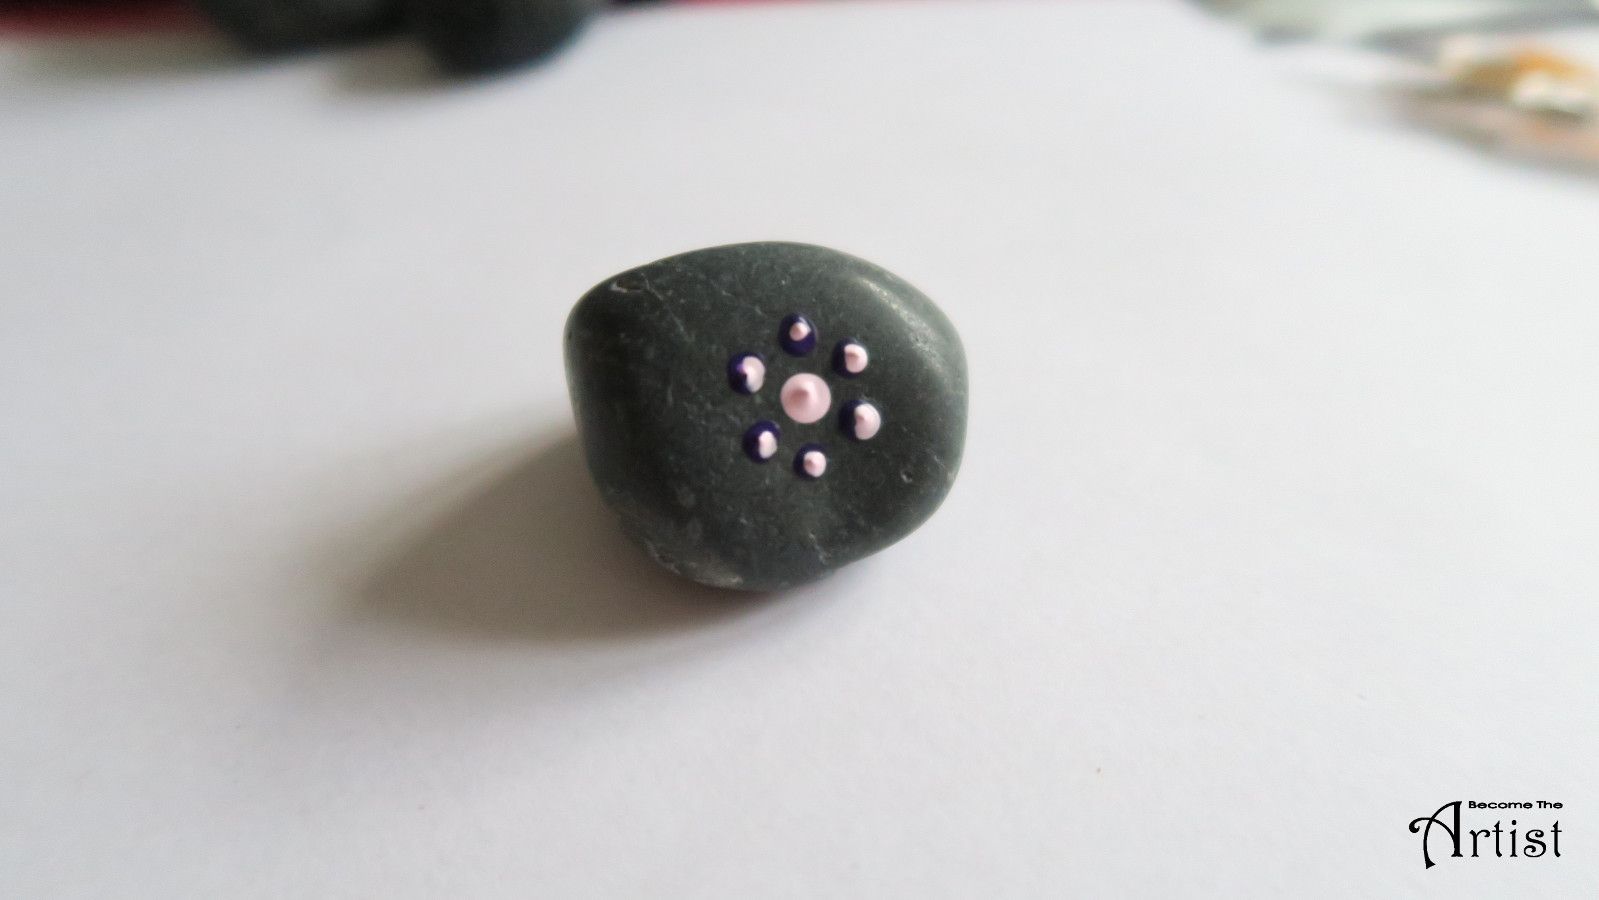
no comment 🤨
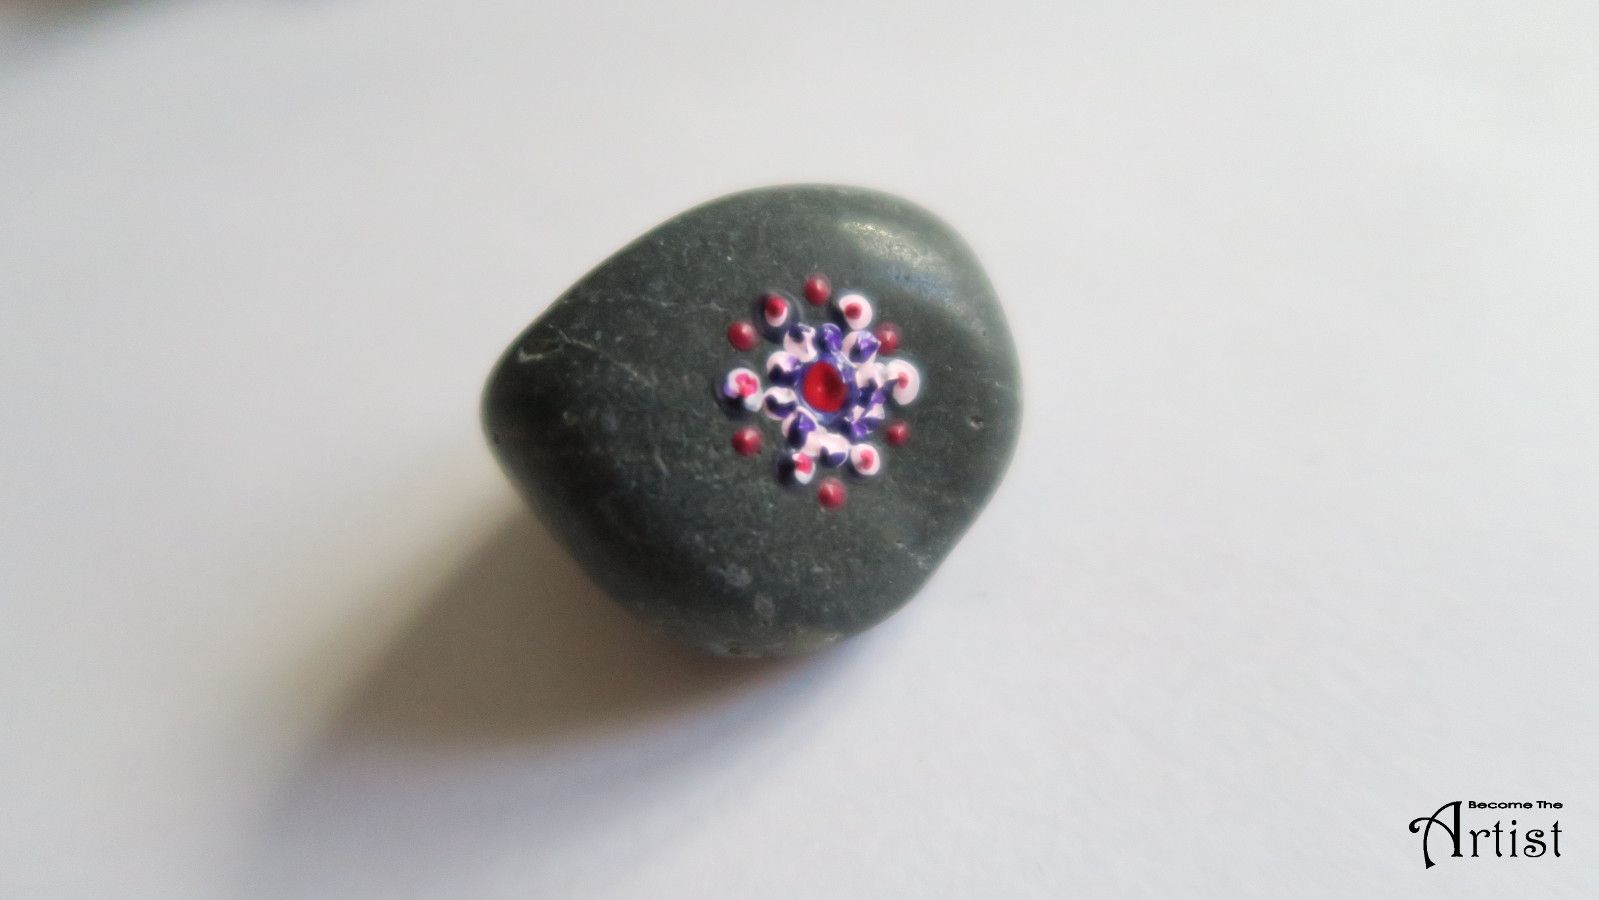
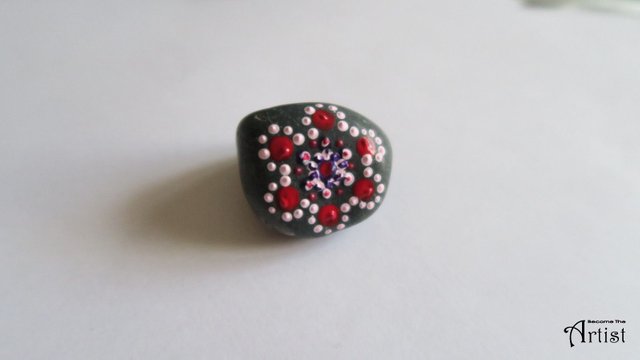
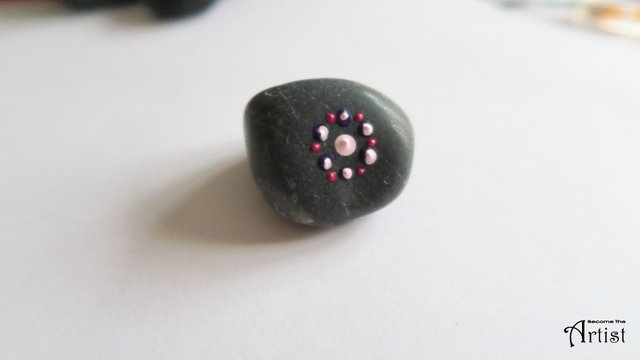
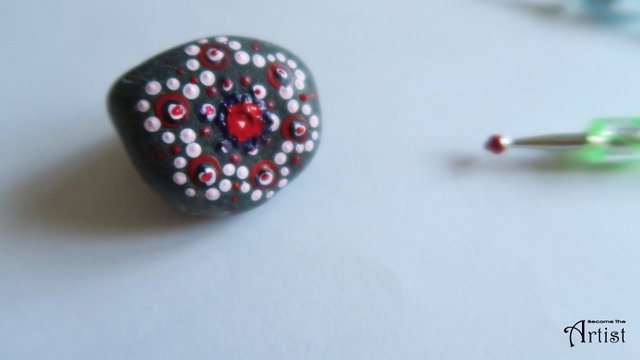
Now I'll try to correct the middle on which I clearly failed earlier
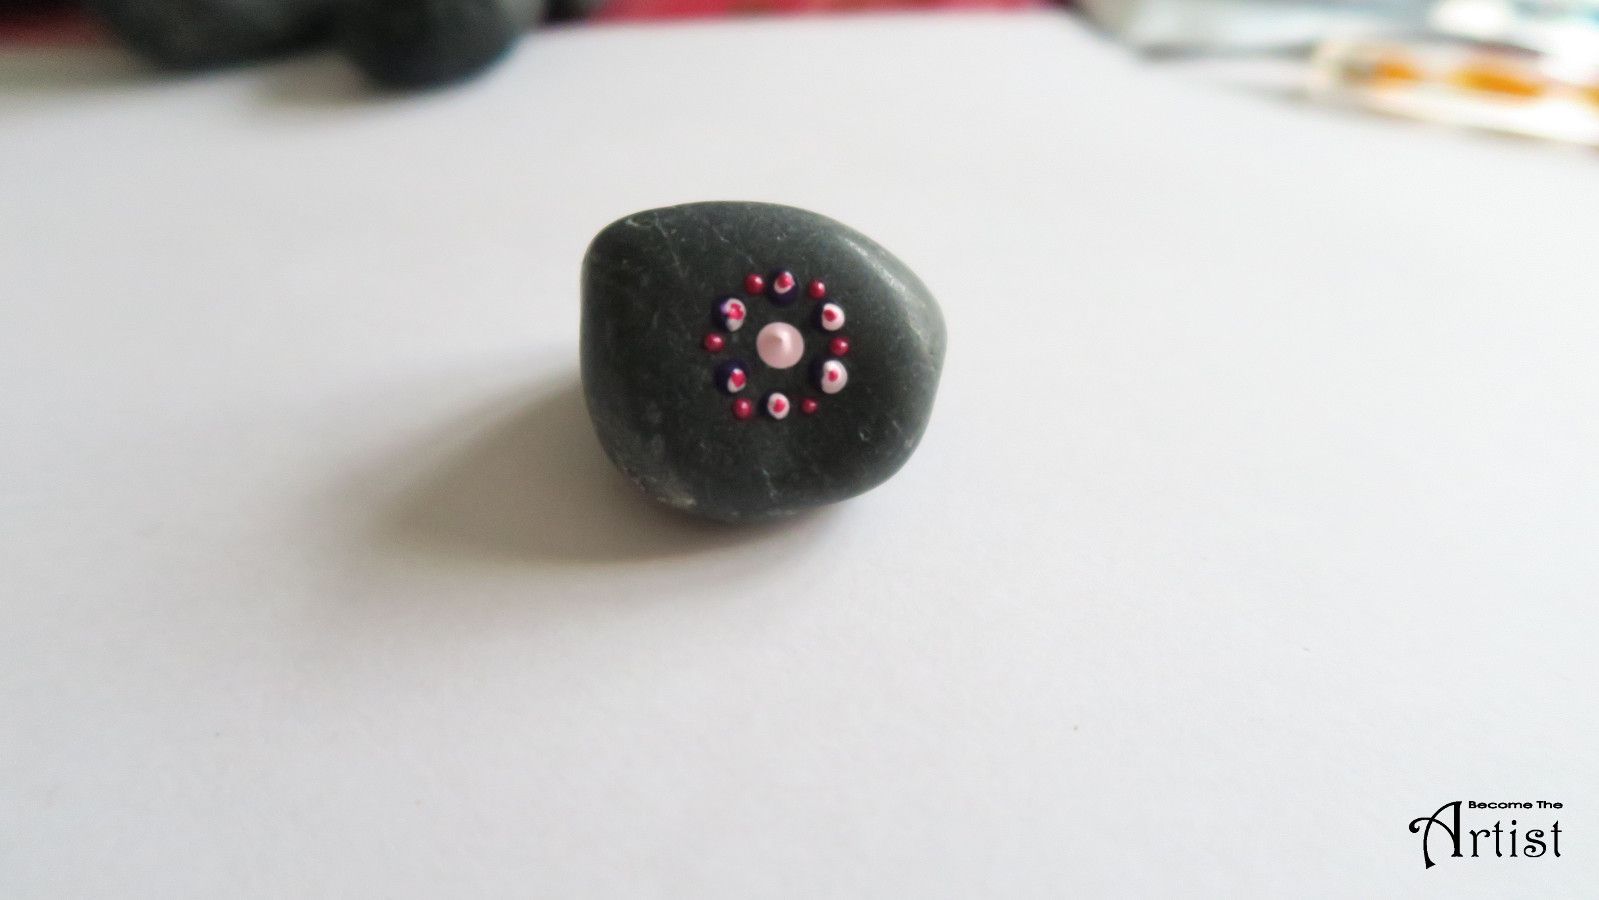
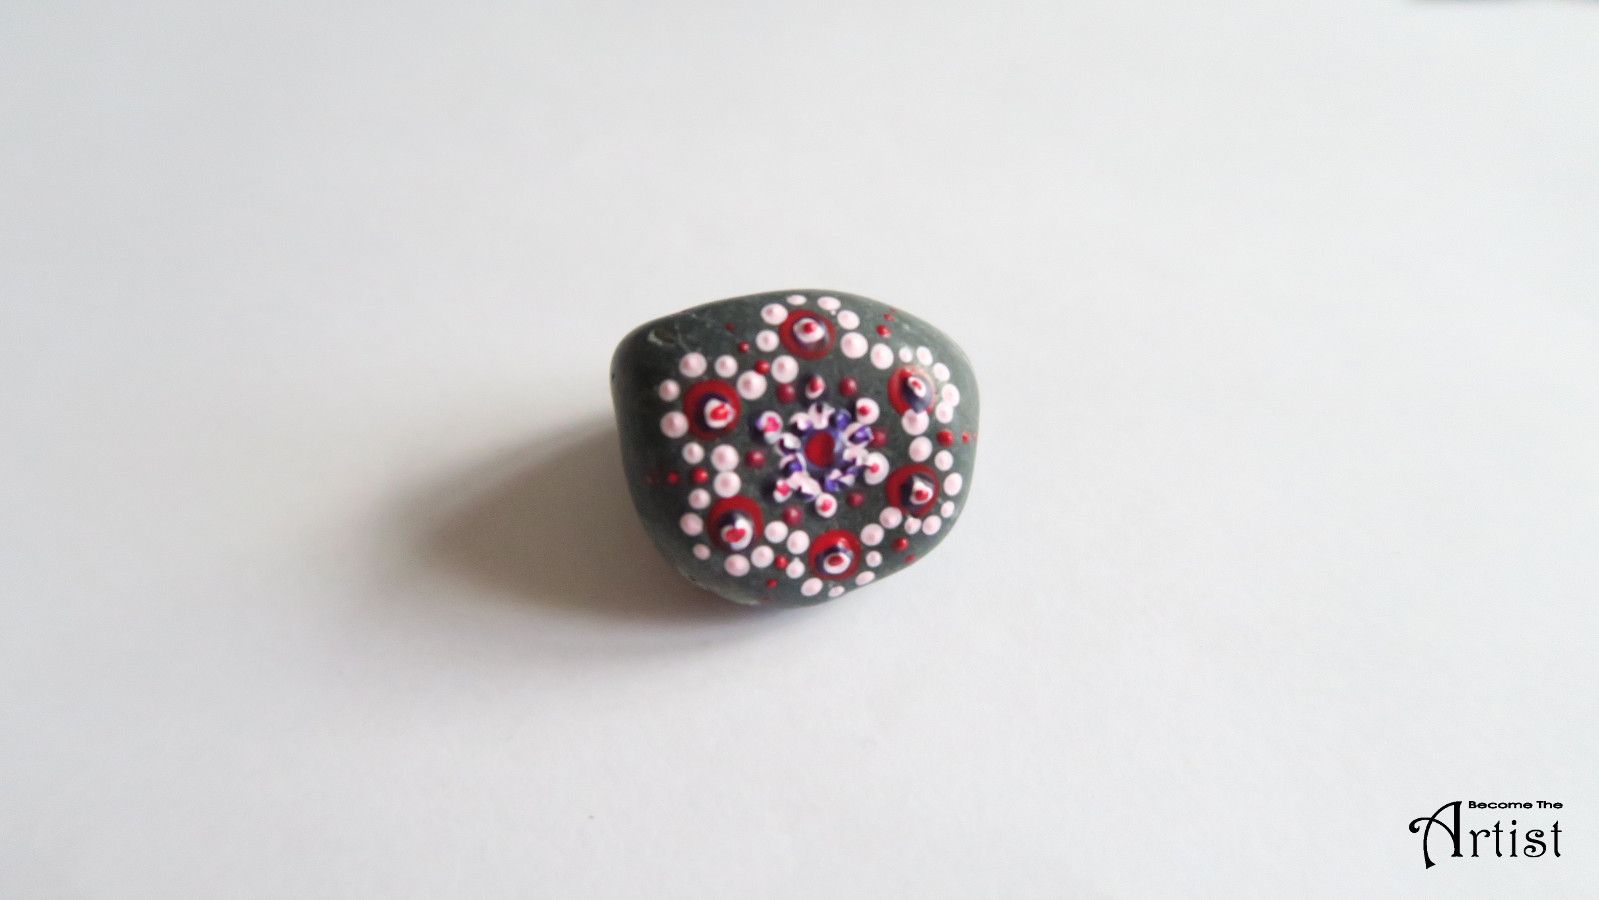
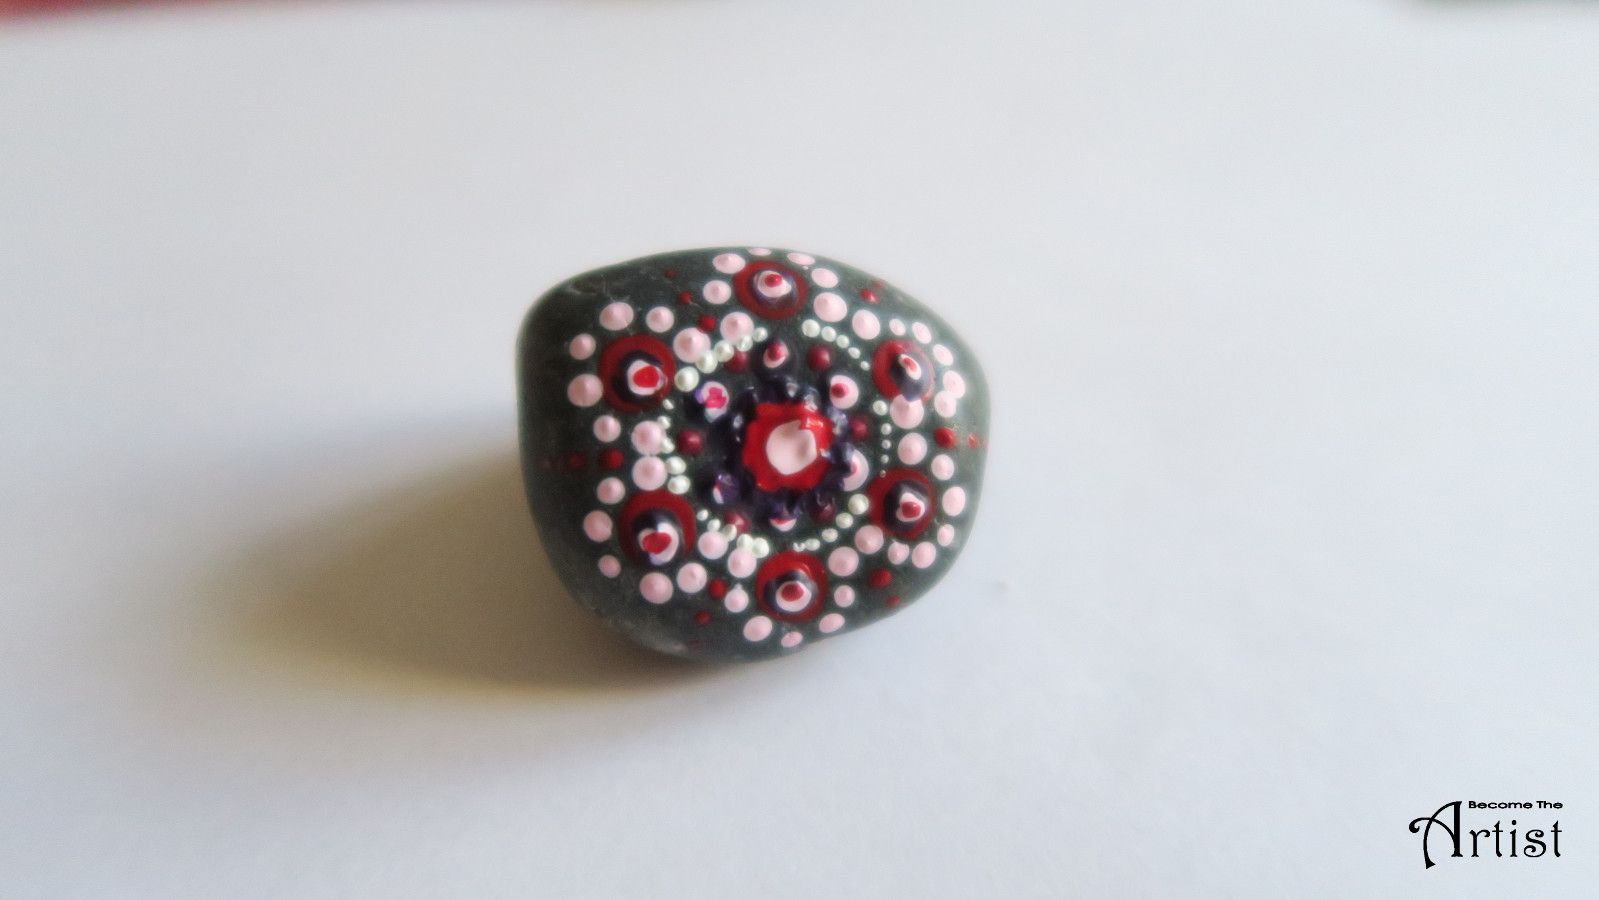
THIS IS IT : MY 1st MANDALA-STONE
Soooo, this was it about my first Mandalastone-experiment.
What I especially learned is :
- let the paint first dry before applying a second layer of colour (or help a little bit with the blow dryer)
- if you want equal sized dots, reload paint after each dot
- you can make multiple dots with one 'paint charge' in that case start with the biggest, they will become smaller at each dot
- I should search for flatter and bigger stones
- for bigger dots, I should look for using either a pencil or bigger round objects
- it's quite relaxing 😀
Feel free to try it out and share your pictures !
@BecomeTheArtist
🌷🌷🌷
Take a tour on my blog to discover my art tutorials!
🌷🌷🌷🌷🌷🌷🌷🌷🌷🌷🌷🌷

Wow so cool! I'll have to do this with my daughters. I love the mandala image and often have referenced it in some of my paintings. Not sure where to get stones from but we have beautiful seashells around here so that might work :)
Thanks so much for your comment. I got the stones from a dollar store next to candles and decorations, but the shape is not optimal. Need to look further as well.
Have fun with your daughters for creating some:)