Creating Animated Gifs - Photoshop Tutorial
Hello everyone!! In this post I am gonna show you how you can make an animated GIF in Photoshop to show your drawing progress. Drawing or painting process in moving pictures looks really cool and people like it.
So, a very good friend of mine, Timmy / @castleberry has made a super cool spider man drawing (which I'll be using to demonstrate the process) and I suggested him to use a animated GIF to demonstrate the whole drawing and coloring process rather than posting individual image with steps. He gave me this idea and even allowed me to use his drawing for this post. :D
Before getting into the process, make sure to check out his original Artwork GRAND FINALE GIF - The Amazing Spider-Man
Step-1

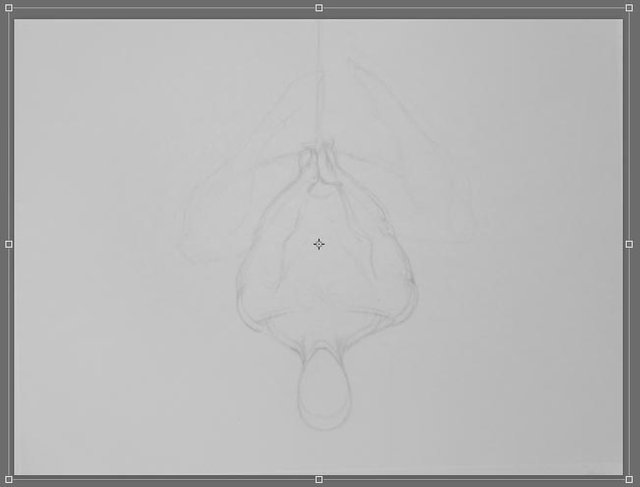
So I had a bunch of images showing the process from start to finish.
Step-2
So I opened all the necessary Images I needed into Photoshop. When you drag all the images into Photoshop, they open as a separate document. So, First open one image in Photoshop and drag all the other images into that document.

Every Image in the document is going to have its separate layer. Press F7 to open up the Layers Panel if you don't have it open already and make sure you name every layer properly so that you don't get lost if you have a lot of images.
Step-3
Now if you are using a Camera to capture your progress you might have to align your images by scaling them up or down.

Lets start with First and Second Frames and hide everyone else for now by clicking on the Eye icon. So, here I have my first frame but the Second frame is not exactly as the same size as the First frame so, what I am gonna do here is - select the 'Step 2' Layer and put its Opacity down to 40% so that I can use the 'Step 1' Layer as a reference and scale the 'Step 2' Layer according to it.
Scaling

Scaling is easy. Just press Ctrl + T. It gives you a bounding box through which you can scale the layer content. So, lets scale the Second frame and make it the size of the First Frame. Once you are done with scaling, set the opacity back to 100%. Repeat the same process with other layers.
Step-4
Now that we have all the layers set up, it's time for the animation. Go to Windows > Timeline to bring up the Timeline Panel.

Step-5
Photoshop has two types of timeline - Video Timeline and Frames Timeline. Video Timeline is suitable for folks who work with software like Premier or FCP.
Frames Timeline has frames that can be modified as per ones requirements. We're gonna use Frames Timeline so click on 'Create Frame Animation' to get the classic Frames Timeline. Once you click on that button you will get one Frame with the top most visible layer.

Now Click on the Top Right Corner of the Timeline Panel and click on Make Frames From Layers. Once you do that you will have a separate Frame for individual Layer.
Click on Play button to check the animation.
Step-6

The GIF Speed is way too fast and we have to add a delay between each frame. Select all the Frames and click on the bottom of any frame where it say "0 sec." and choose the desired timing for your animation. I mostly use 0.8 sec.
For the Last Frame:
The last frame should stay for a bit longer before it jumps back to the first frame so, select the last frame and set its timing to something like 2 sec or whatever you wish.
To make your GIF Loopable, Set the Looping type to Forever. By Default this option is set to Once
Step -7

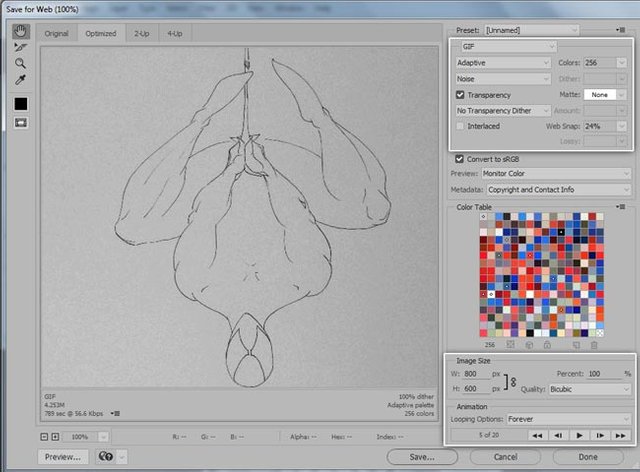
Now Go to File > Export > Save for Web (Legacy). This will pop up the Save for Web Dialog. Choose the File format as GIF as shown in the given snapshot. and If you down want the file size to be heavy. Just play with Color Reduction and Dither Algos or Simple drop the Colors to something like 60 or change the image dimensions to somthing small.
Step-8
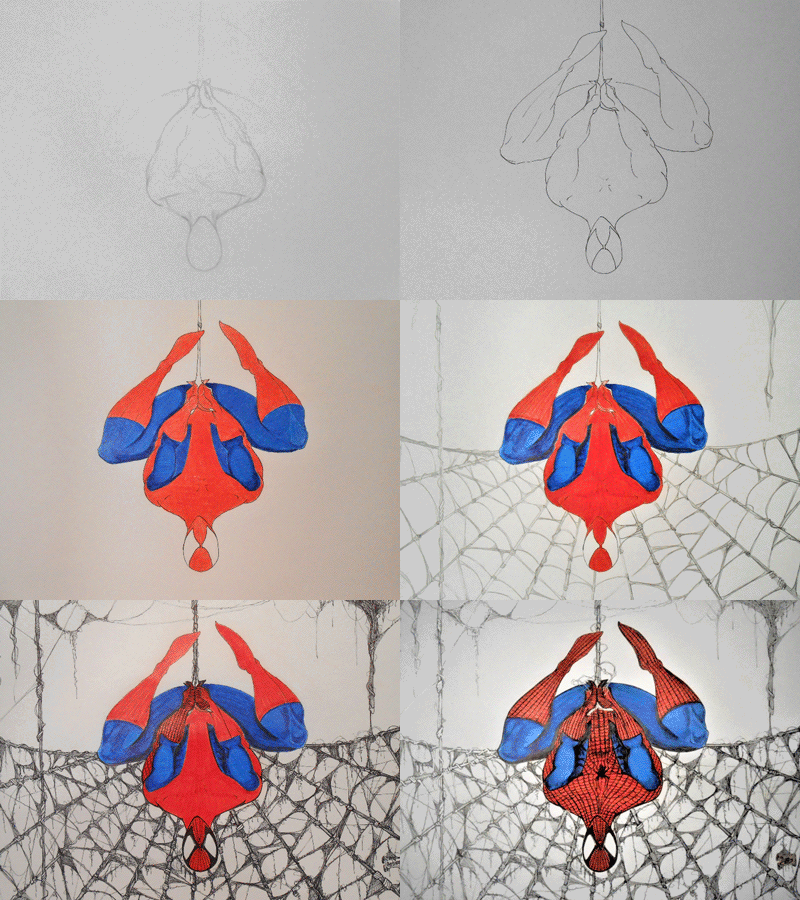
Here is the final result:

I didn't want to include the Full process GIF, But my friend insisted so I am adding one with small dimensions AND don't forget to check the bigger version of it and a HIGH RES image on his blog or just click HERE to see the original Post.
I hope you enjoyed this post. Thank you :))
the photo editing is very remarkable..
I couldn't AGREE MORE!
Very cool tutorial bro..fab work - spidey looks great!
Thanks Pal :D Missing you on chat brother :))
You make a lot of beautiful, edited. I learned something new.
Thanks for original-content. I like it