Eye Tutorial - Dry Brush Technique
Hey guys, continuing to move my art stuff from my previous account to this new "art" account. This is my second eye tutorial. The first eye tutorial was done only using graphite, this one uses the "dry brush" technique which I have briefly described in some of my other posts. There are pros and cons to each medium; with graphite it is easier to be more precise for smaller details and with dry brush you can cover areas faster and get a darker value because of the oil paint being used, but it struggles sometimes to do details.
I have a new camera on its way to my house as we speak, so I am pretty excited that I will now be able to make video tutorials and give more commentary as I actually show the process! So if that is something that interests you make be sure to subscribe and keep an eye out for those videos.
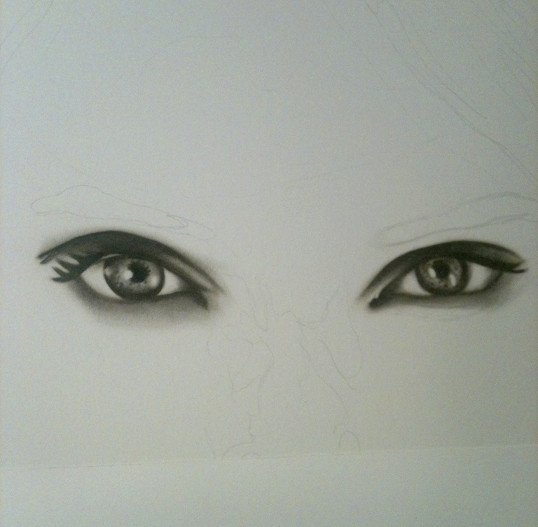
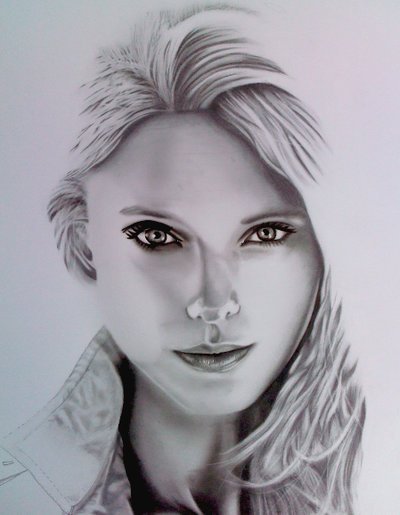
This is what the finished eyes look like:
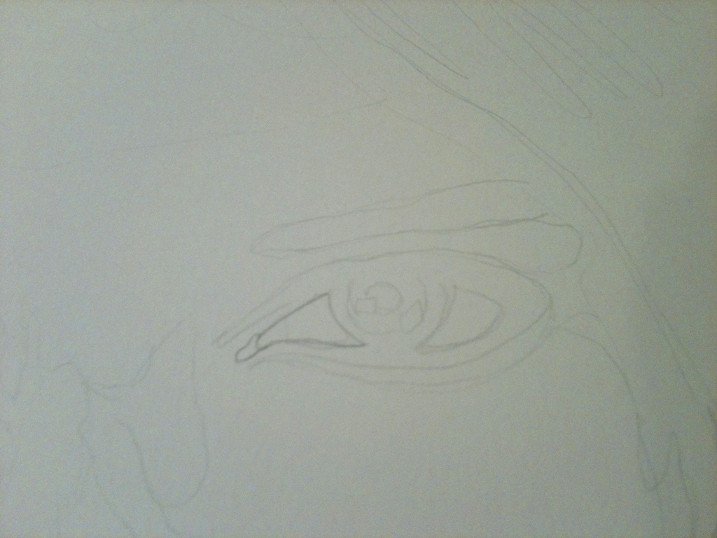
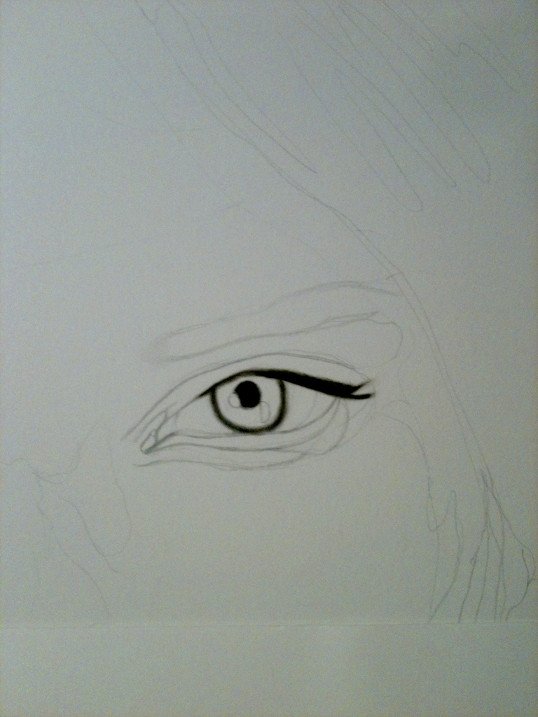
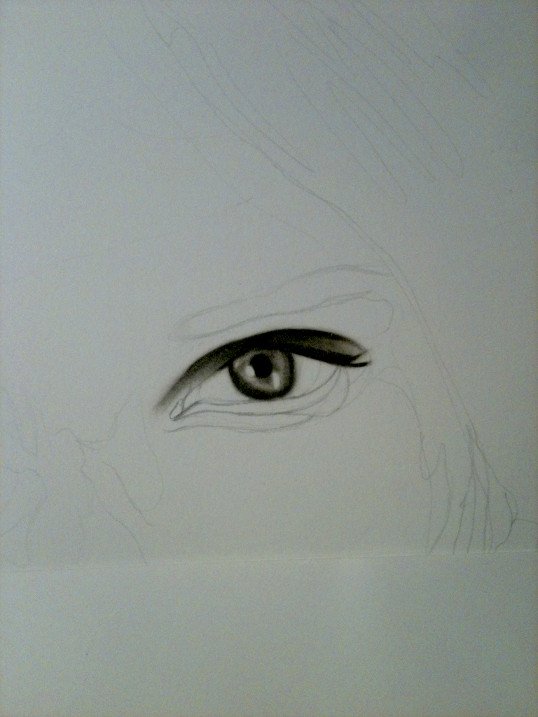
First I lay down the rough sketch:
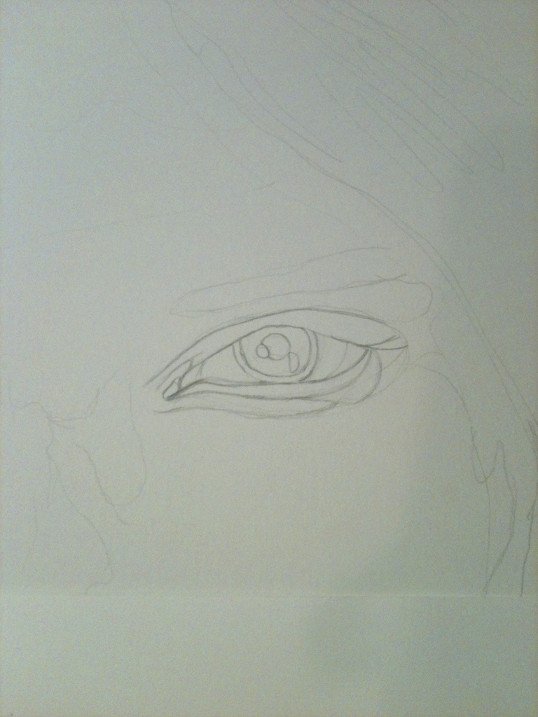
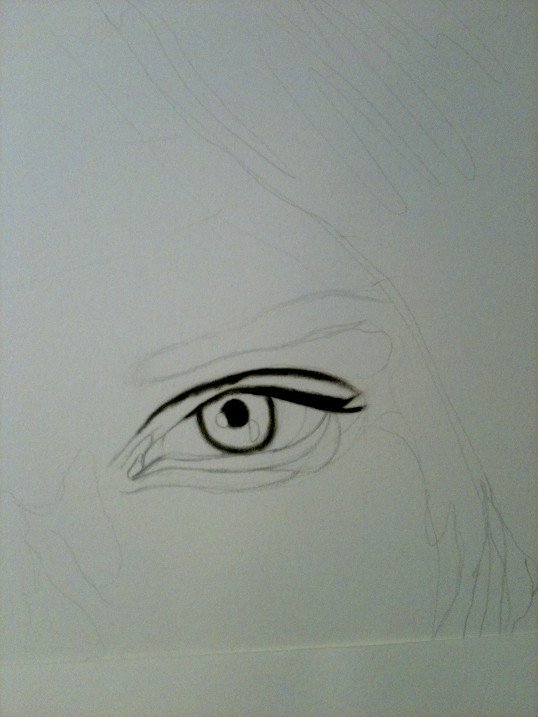
Refine the sketch a bit:
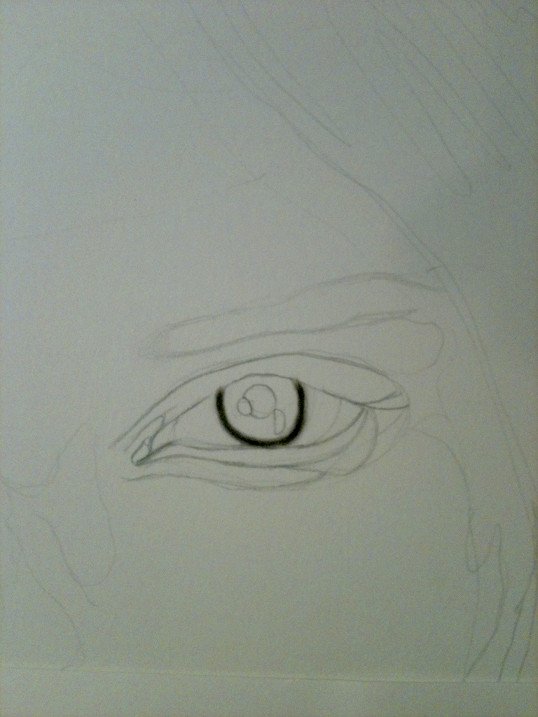
Start with some of the darkest areas:
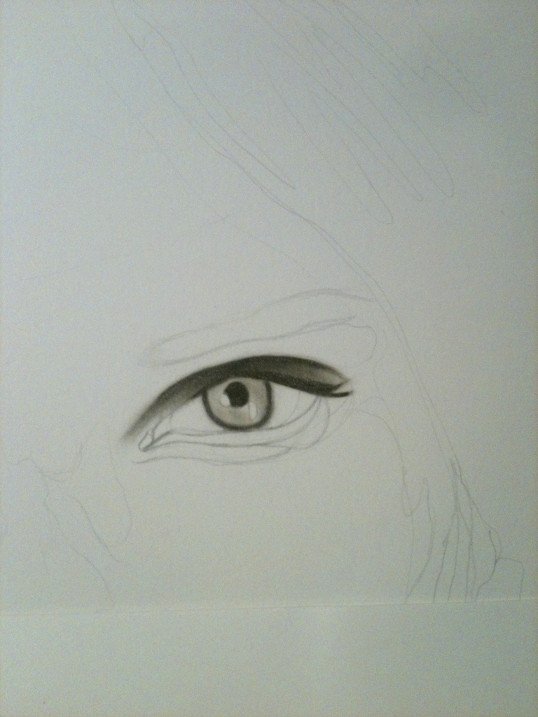
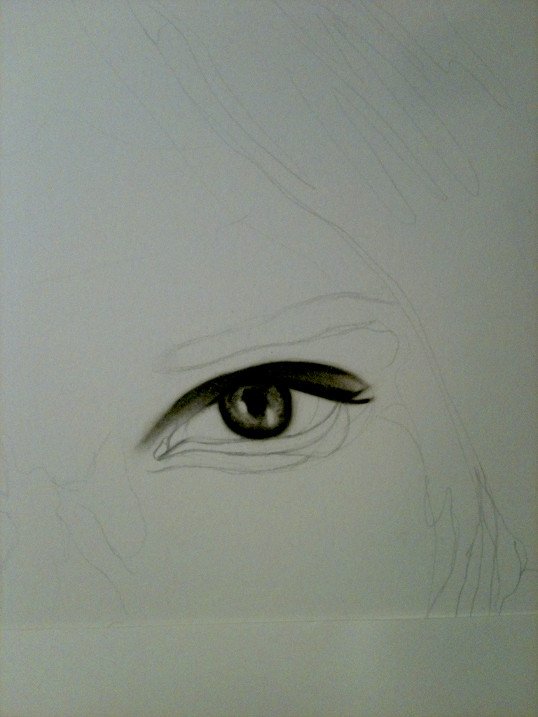
Keep highlights clean and white:

Other dark areas:
Now I take a clean brush (at least, not adding any extra oil) and I brush outward from the paint I just put down to create the shadowed gradient:
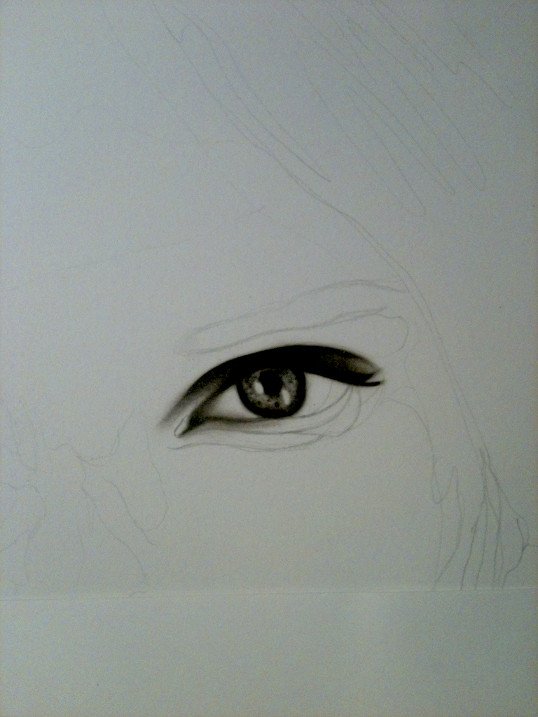
In my opinion, the key to getting good depth and a sort of "randomness" to the texture inside the eye is to layer stuff in there. I'll go through multiple layers of charcoal and then picking it up randomly with my kneaded eraser. Just keep repeating until you get the look you want.
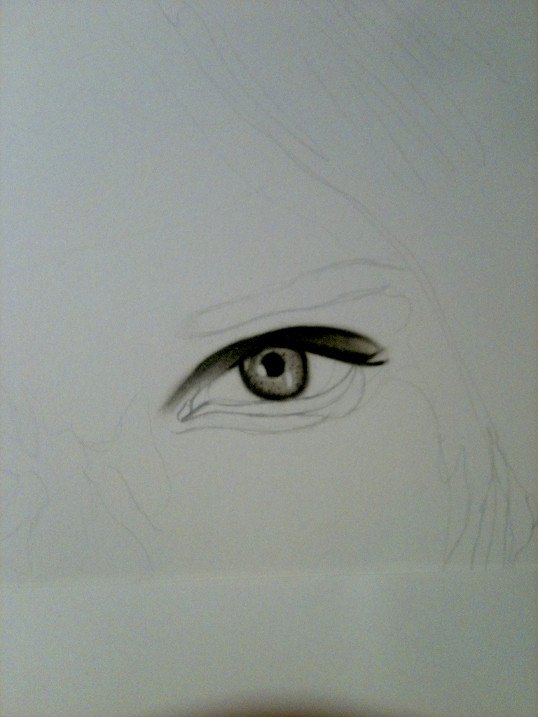
Darken the values:
Add some shadows onto the whites of the eyes:

If you'd like to see more process pics feel free to follow!
wanted to try this technique since forever
you definitely should, it's really fun. I have a new camera on the way, so I'll be making a much more in depth video of this process and do it in real time! Keep an eye out for it!
Oh yeh nice! Fun stuff.
I like your art ! follow
thanks man!
Very nice, great detail
thanks!
Your contour sketches are perfect! Getting that stage right is critical for achieving realistic dimension (it's also the stage where I seem to get stuck most often). When I get a bigger desk, I have to give dry brush a go.
Have you used it with normal charcoal and a deep colored oil, like sepia or an indigo color? I can already imagine the amazing effects!
The finished piece is stunning. You really have a way with the shadows and highlights, giving your subjects great depth.
Yep, the contour drawing is like the blueprints for a building - if anything is off then you're in for troulbe down the road! Yeah, I think you'll like dry brush a lot and it's actually pretty easy and it's also super cheap; I ordered a camera so I can actually shoot good video, so I will have a dry brush video sooner rather than later! I plan to jump pretty hard into the "Learn art with me" thing to get it going.
I did try sepia once, but I don't think it came out very well (but that had nothing do with the sepia) - I think it would be a fantastic idea to do a gradient shift between colors using dry brush!
Lighting is probably my favorite thing, so I try to mess around with it as much as possible, sometimes it goes well and other times not so much lol
Definitely looking forward to more videos from you! If your pictures are worth a thousand words, your video will be priceless. I am always working on improving my fundamental skillz because they are far from perfect. Like anything worth doing, becoming a noteworthy artist takes repetition and dedication. I always get something useful from our interaction ☺
awesome! There are a lot of things I don't like about steemit (if I'm being honest!) but the interactions we have as artists/digital buddies are definitely the high point of steemit and what really keep me going on it :) it definitely shows the potential for steemit in general, now if only some of the other issues could improve....
Sometimes being on steemit feels like being on the Internet back in the late 90's-early 2000's. If nothing else we have the interactions, steemit's silver lining! (Next to STEEM and SBD of course).
Congratulations @artistchristian! You have completed some achievement on Steemit and have been rewarded with new badge(s) :
Click on any badge to view your own Board of Honor on SteemitBoard.
For more information about SteemitBoard, click here
If you no longer want to receive notifications, reply to this comment with the word
STOPOkay, so this is my reply as I was progressing through the post.
(explanation)
Seems easy enough. I don't have the materials currently, but I'll definitely try the dry brush when I get home.
(first pics)
Dry brush seems so much easier than graphite. But honestly. I can't decide which one looks better. They both look great!
(next pics)
This definitely seems more doable. Looks way more easier than the graphite one. I feel I could manage this on an hour or so.
(almost last pics)
Shadinf might be difficult, but a few weeks practice and i might be able to come up with something decent.
(last pic)
puts down phone where's my jetpack? I have nothing else to do here.
So good! The instructions are getting better every time, brother!
well just wait for the video, we're gonna do an eye and it's going to look great!
I am going to follow your instructions next time I draw a portrait, I saved this page for reference. You are so good at drawing humans!
thank you! Means a lot coming from you! I have a new camera on the way, so I'll be making a much more in depth video of this process and do it in real time! Keep an eye out for it!
I will @artistchristian, I am looking forward to more tutorials.
wow...... nice photo........i like it