Hello Steemians
Today, I am creating a post that is slightly different from my usual drawing posts.
I have been asked and encouraged by several Steemians to create a drawing tutorial. Although I am very grateful for the support I still see myself as a learner and there are still a lot for me to learn.
So this will be a drawing tutorial based on how I draw and I hope that you find something useful.
I would appreciate comments and feedback from everyone.
The first drawing tutorial will be based on 'Shading'
DRAWING TUTORIAL 1: Shading
There are many ways to shade in drawing, and different techniques result in different effects
When I draw, there are 3 main techniques that I use to shade:
- Method 1: Pencil Shading
- Method 2: Smudge Shading
- Method 3: Sharpener Shading
There are probably other terms to describe the above techniques, but I will explain what each are based on an example.
___
The drawing materials that you need to perform the above mentioned methods are shown below:
DRAWING MATERIAL
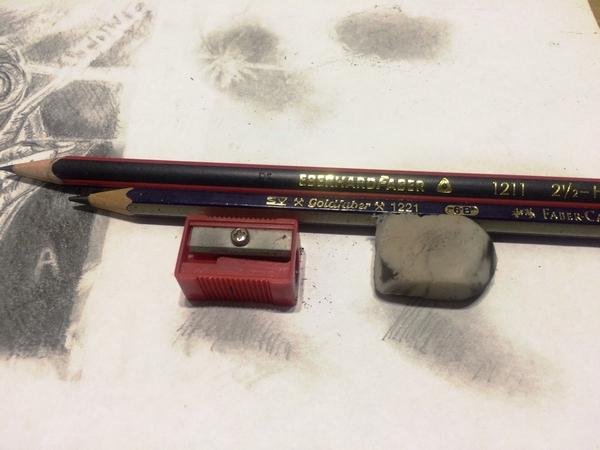 I don't really have a lot of drawing material, and most of my drawings are completed with these drawing materials
As you can see above, the material I use are:
- Pencils (HB, 6B)
- Sharpener
- Eraser
I mostly draw with an HB or 2B pencil, and use darker pencils 6B to add more tone and effect
___
Now that we have gone through the drawing materials I use, lets go through the different shading methods that I use:
METHOD 1: PENCIL SHADING
So like the name suggests, you shade with the pencil. This is probably the most common shading method and I use it often.
HOW:
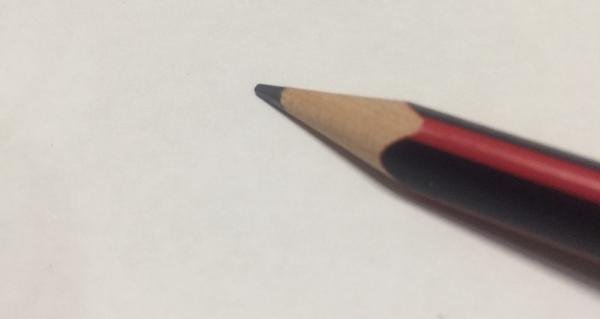
Hold your pencil almost parallel to the paper, so that most of the pencil lead is touching the paper, as shown below:
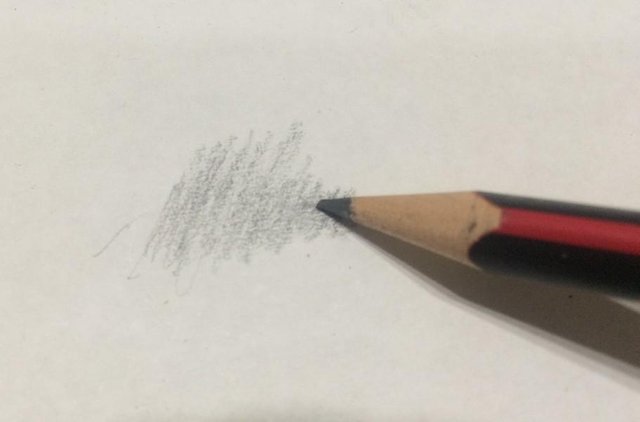
 You can then start shading by moving your pencil, and if you want darker shading, you would press harder and vice versa:
 EFFECT:
It is a useful and a relatively simple technique, and with practice you would be able to add tone to your shading easily.
METHOD 2: SMUDGE SHADING
This method requires the use of a pencil and another piece of paper or tissue
HOW:
You use your pencil to draw lines on the area that you intend to shade, for darker areas draw more lines in that particular area and vice versa, as shown below:
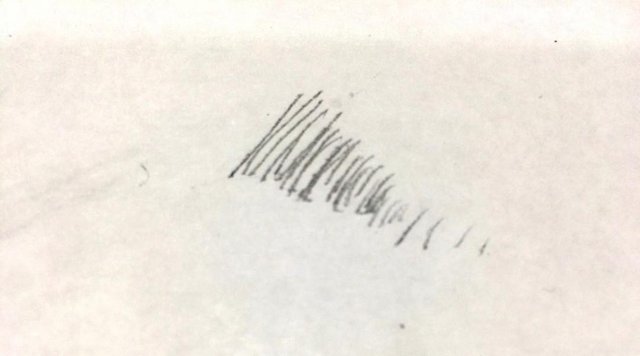 You can then create the shading effect by using the piece of paper or tissue to smudge the lines, and the effect is below:
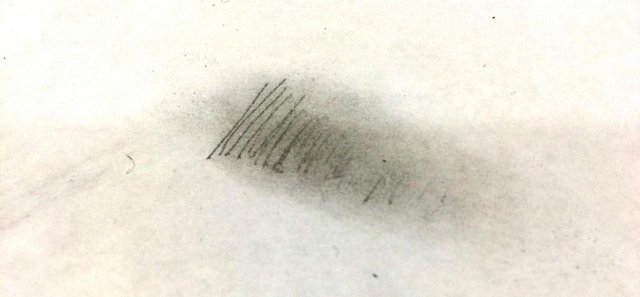 EFFECT:
Requires slightly more effort than the first method, but with practice it may be easier to control the tone change.
In addition, the lines in the smudged area can create a unique drawing effect.
METHOD 3: SHARPENER SHADING
As the name suggest, this method requires the use of a pencil and a sharpener
HOW:
Just like how you sharpen a pencil with a sharpener, you can use the sharpener to create a different shading effect.
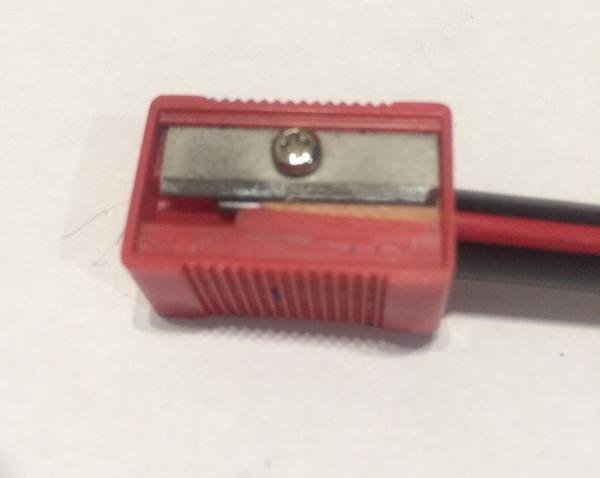 Just like how you normally sharpen a pencil but you point the pencil slightly closer to the top part of the sharpener so that you can scrap off some of the pencil lead when you sharpen the pencil
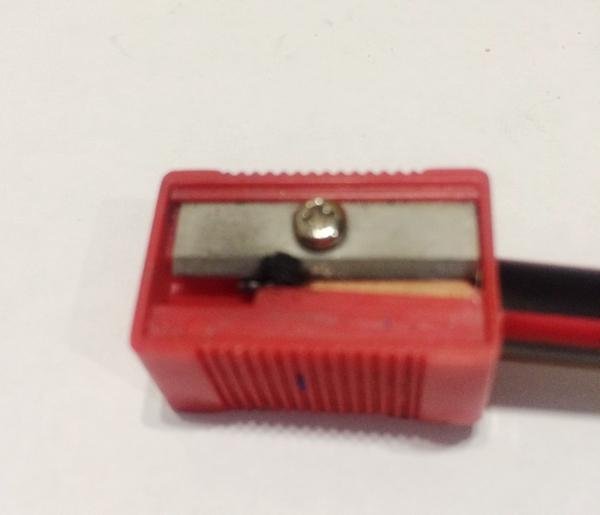 Just like that there are some lead forming on top of the sharpener, which you then pour on the area you want to shade
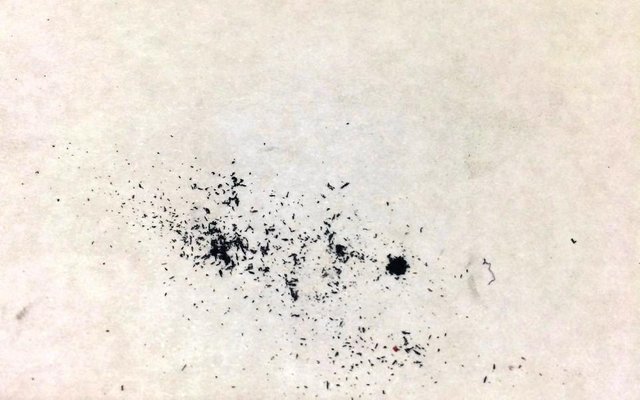 Then with a piece of paper or tissue, you can smudge the pencil lead to create the shading effect
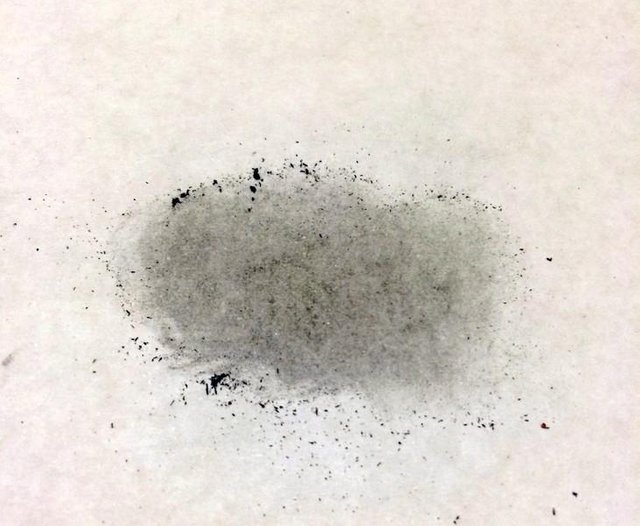 EFFECT:
Requires the most effort of the 3 methods and probably the most difficult one to control the tone, but you are able to create a smooth surface and with practice you will be able to control the tone
SO WHICH METHOD IS BETTER?
After having been drawing for some time, I don't think there is the better method, there are pros and cons for each method and each method creates a different effect which is more effective under different drawings scenarios.
If you are interested in drawing, I would recommended that you try out each method and see which method suits you. In my opinion, I think it would be very beneficial to learn and practice all 3 methods and even use all methods together in a drawing to create a unique and interesting effect
In addition to that, after shading, you can use your eraser to rub through the shading to create an interesting effect, as shown below:
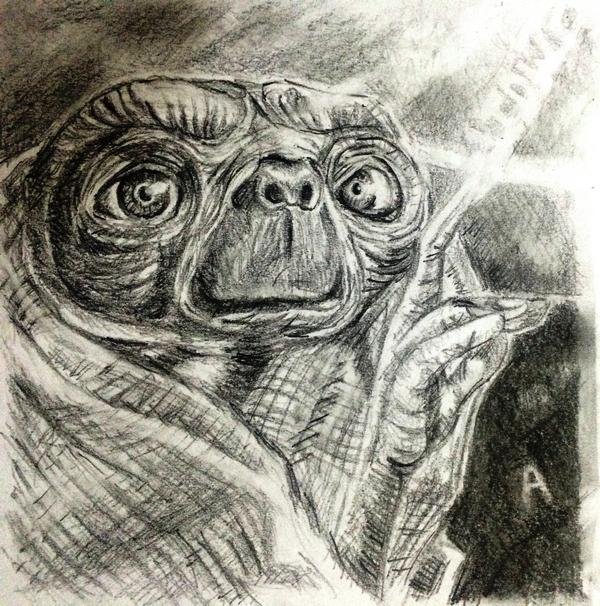
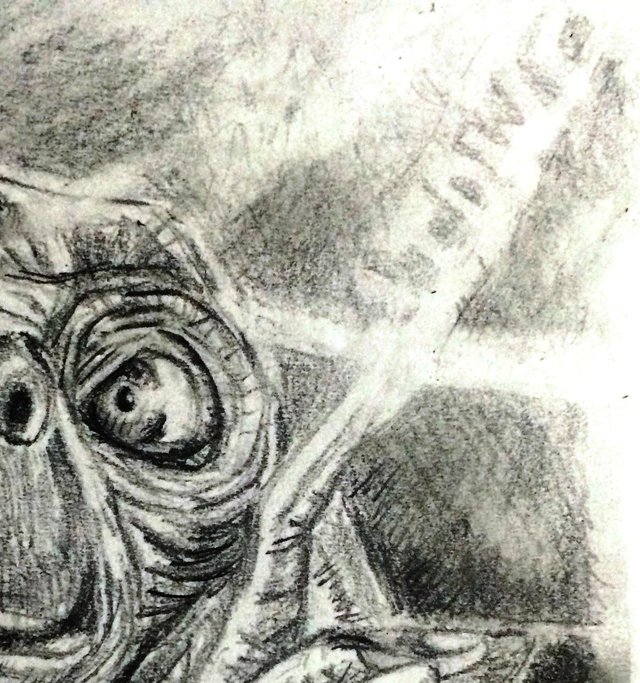 I recently created a pencil drawing for the "Learn to Draw with Friends" Contest, and I made use of all 3 shading methods:
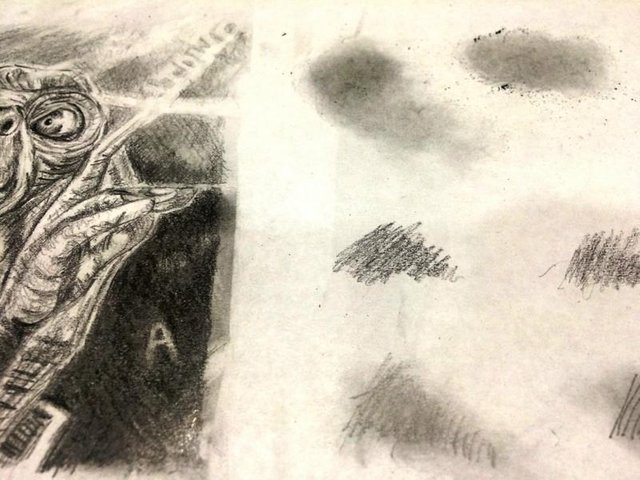
This is how it looked in the end
Here is an animated gif of the drawing process
E.T. (the Extra-Terrestrial) ANIMATED GIF
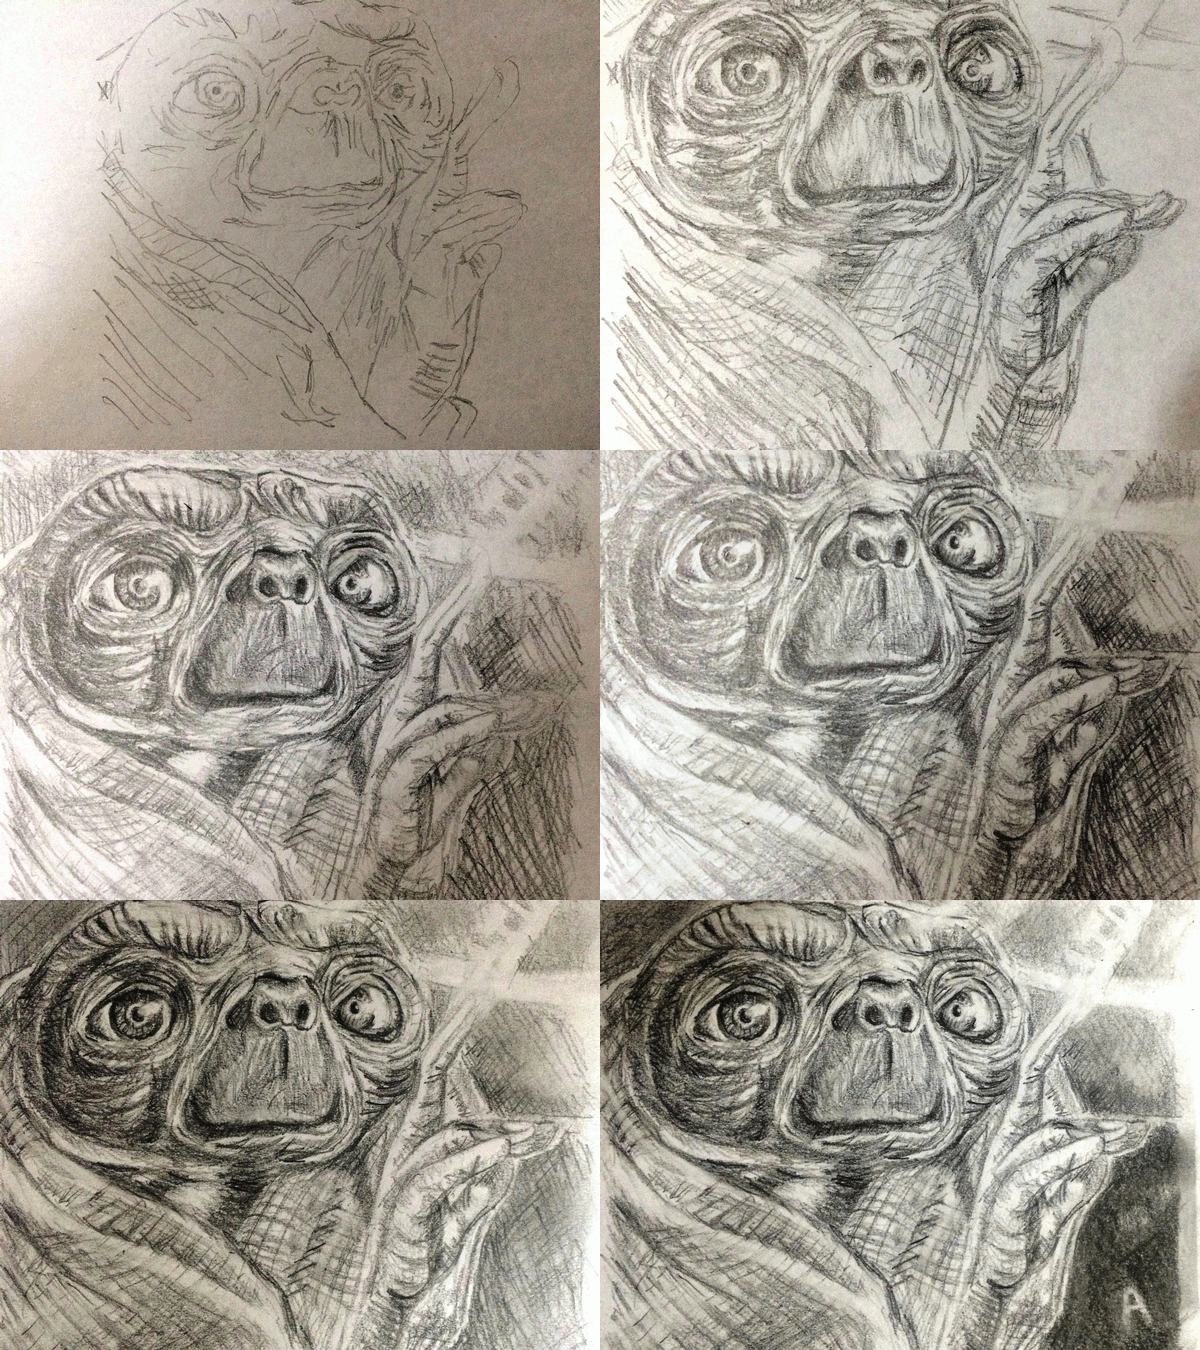 For more process pictures on this drawing, you can see my post on it
https://steemit.com/ltdwf/@apprentice001/e-t-the-extra-terrestrial-is-ready-to-learn-to-draw-with-friends-drawing-in-pencil
Thanks for reading my post and hope that you found it useful
If you like this post, please upvote, resteem, follow and comment.
Thanks for your time and have a great day!


Thanks @asif4745.
Very nice tutorial!
Thanks @thunder1! Glad you like the tutorial. Have a great day!
Lovely drawing of E.T. and thank you for the tutorial!
Thank you very much @jerrybanfield for your support! I am really happy that you like the drawing and the tutorial. Will keep creating these drawing tutorials and posts that will hopefully have a positive impact on others. Have an Awesome day!