H.U.D. TALKING EYE | An Animation Tutorial
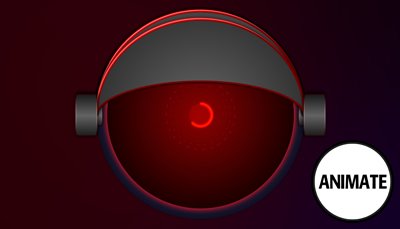
In this post I'd like to share with you one of my personal projects and show you how it was put together. I have broken it down to each of the processes to help you understand exactly how it was built and animated. For this animation I have used only Adobe after Effects. For anyone not familiar with After Effects it's a powerful, industry standard, animation and motion graphics software. It bridges the gap between images and real life video. It can be used for compositing graphics and text into video as well as animating images and logos.
In future posts I will talk about and show you some of my video compositions but for now in this post I'd like to share with you the animation side of the software. Below is an animation inspired by Heads Up Display design called H.U.D. Talking Eye.
H.U.D. Talking Eye
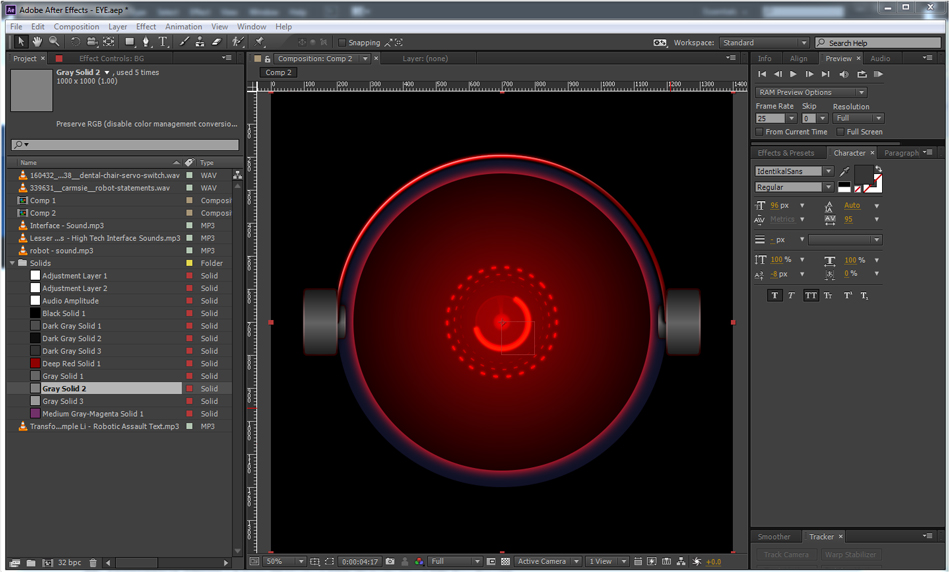
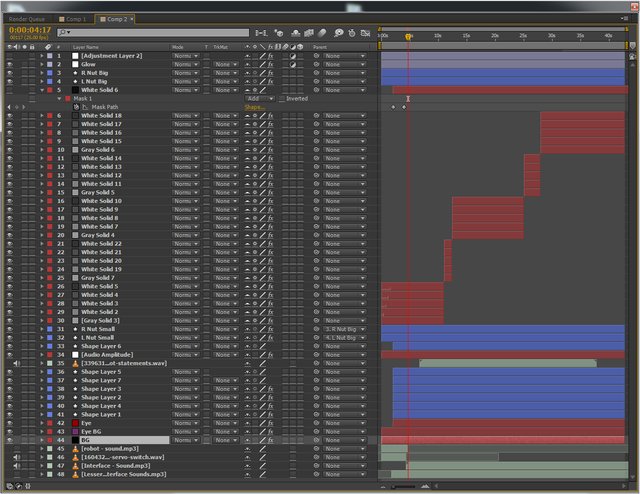
Here is a screenshot of my After Effects workspace. In total I used 48 various layers.
The Tutorial
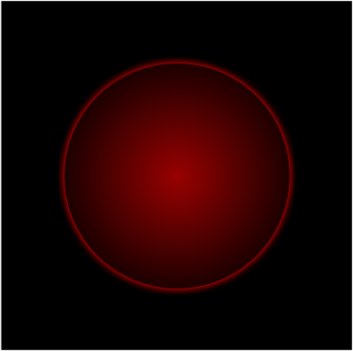
I started off with a simple circle made using a shape layer and filled it red.

I then added an outline and gradient to the circle.
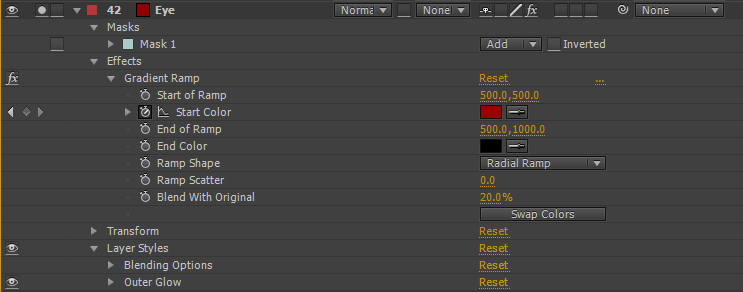
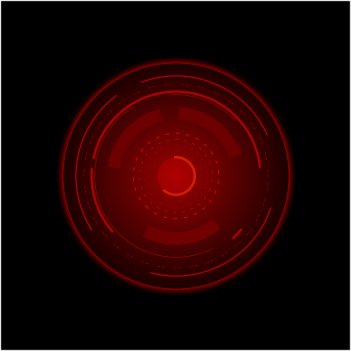
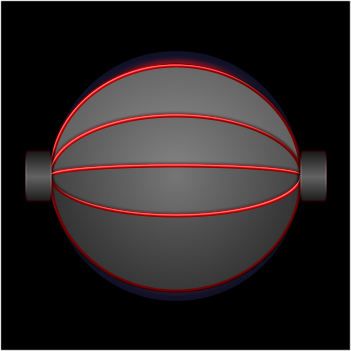
Next I added a selection of different size circle outlines and random broken lines using several shape layers.
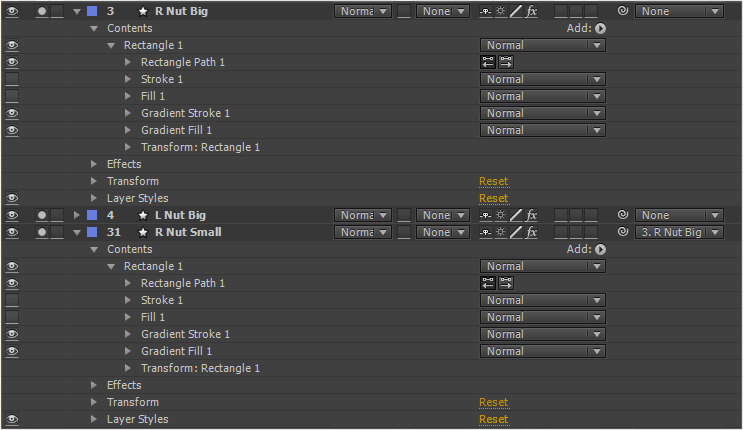
Here I went on to add the bolts for the each side of the eye. I used simple rectangular shape layers filled and outlined and applied a gradient to give it a 3D look.

Next I applied a glow adjustment layer over the whole animation to give it that electric light look and feel.

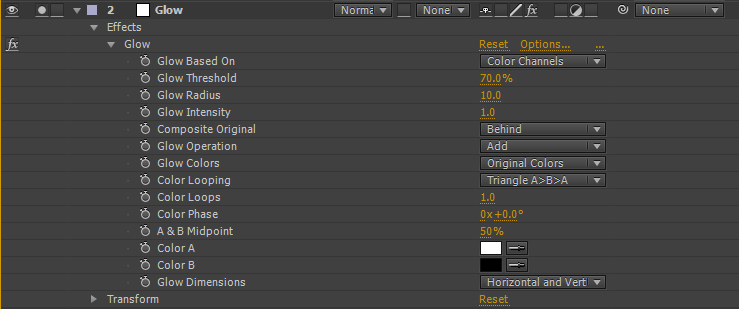
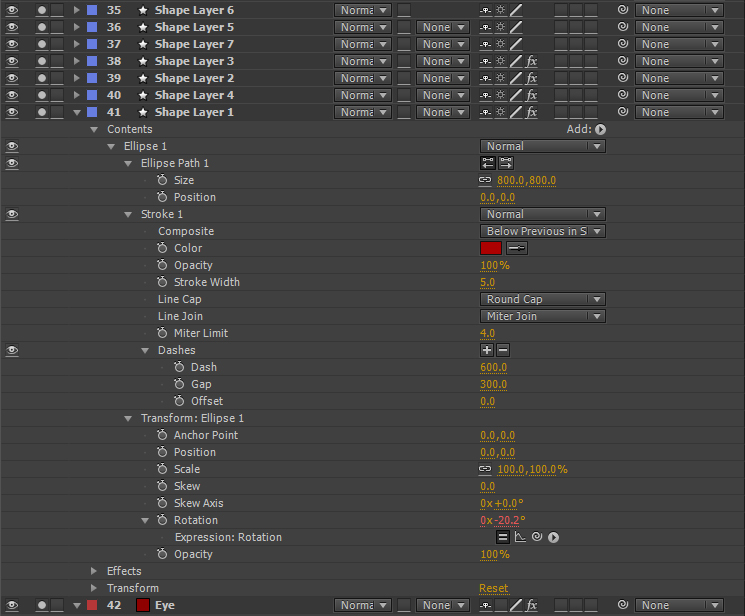
To animate the broken circles I applied some expressions. These a bits of code that will action certain commands automatically without the need for keyframing each move. These expressions were applied to the Z axis rotations. I will explain expressions a bit more in later posts.
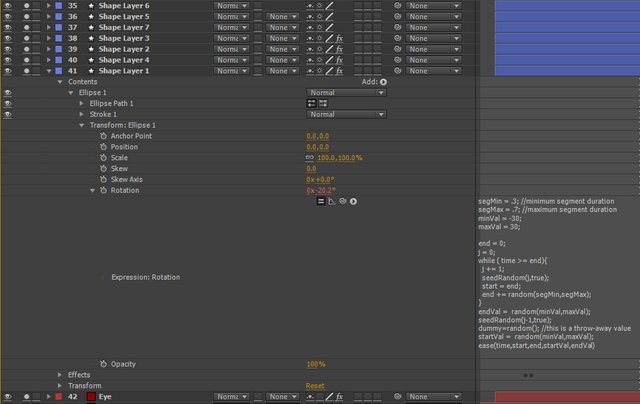
Here is an example of one of the expressions I used on layer 41.
segMin = .3; //minimum segment duration
segMax = .7; //maximum segment duration
minVal = -30;
maxVal = 30;

end = 0;
j = 0;
while ( time >= end){
  j += 1;
  seedRandom(j,true);
  start = end;
  end += random(segMin,segMax);
}
endVal =  random(minVal,maxVal);
seedRandom(j-1,true);
dummy=random(); //this is a throw-away value
startVal =  random(minVal,maxVal);
ease(time,start,end,startVal,endVal)
To make the eye blink I used a few repeating layer shapes with gradients and outlines.

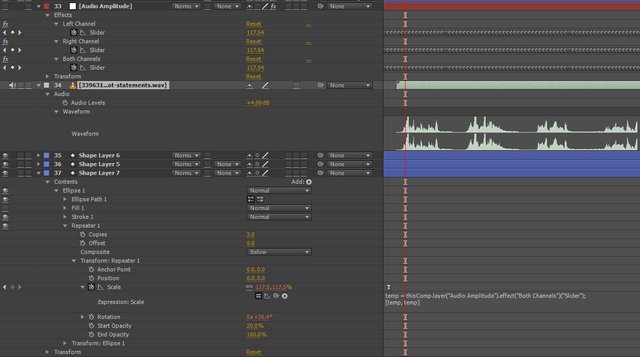
Finally to make the inner part of the eye to animate with the audio sample I converted the peaks of the robot voice sample to keyframes and applied them to the scale parameter of the inner eye layer.

This is my first tutorial here on Steemit. I originally uploaded this animation to DTube. It was a bit confusing and messy but I've got my head around it all now and will be posting more there in the future. I hope you enjoyed this basic tutorial. Please leave a comment if you have any questions or suggestions on future tutorials you might like to see.
If you would like a custom made, personalized animated .gif for your Steemit posts please check out the post below and leave a reply in the comments section.
ANIMATE IT | New Custom Animated Steemit Gifs For Your Steemit Posts

Awesome stuff man! I have always wanted to figure out after effects animation for animating physics setups etc, this tutorial is simple and comprehensive enough for anyone to get started. Cheers mate :)
Thank you. Glad it was of use. After Effects is a big program so there will be a lot more to come. Feel free to leave a comment if you have any suggestions for future tutorials.
Thanks again
@animate
Thank you. A wonderful post.
It's perfect!
Congratulations @animate! You have completed some achievement on Steemit and have been rewarded with new badge(s) :
Click on any badge to view your own Board of Honor on SteemitBoard.
For more information about SteemitBoard, click here
If you no longer want to receive notifications, reply to this comment with the word
STOPSTOP
Definitely reminds me of HAL from 2001: A Space Odyssey!
hah) on the contrary - I dunno nearly nothing about AE))
Happy to help you then :)
to tell the truth I dunno how to use c4d plugin in AE.. but AMA about c4d itself)
You have this down @animate!!! I really love this, and your extensive tutorial to share your tricks. Super sweet piece. I'm excited to see what turns out with the collaborative animation project. Will love to give you something to work with!!
ATS token i.c.o offering free 75 tokens worth 10 $ , here is the link
https://steemit.com/ico/@kingjan/ico-for-authorship-com-tokens-is-open-for-investors
This is considered spam and will get you flagged.
not spam
Yes it is. Flagged.