Vintage Airstream Travel Trailer Renovation: Post 7 - Interior Aluminum Skins
Putting on the interior walls has been challenging, particularly because I do not have the original walls to use as templates. Everything has to be measured precisely, cut and riveted securely. In this post I’ll explain the simplest method I’ve found.
For the size of my Airstream, I needed 18 sheets of 4 x 8 .032 aluminum. Buying in that quantity should provide you with a much better per sheet price than individual sheets. I was able to get all my aluminum for under $1,000.00 CDN with delivery.
You will need:
– a grinder
– several metal cut off disks
– WD-40
– Tin Snips
– All the usual airstream tools – riveter, drill, rivets, measuring tape, etc…
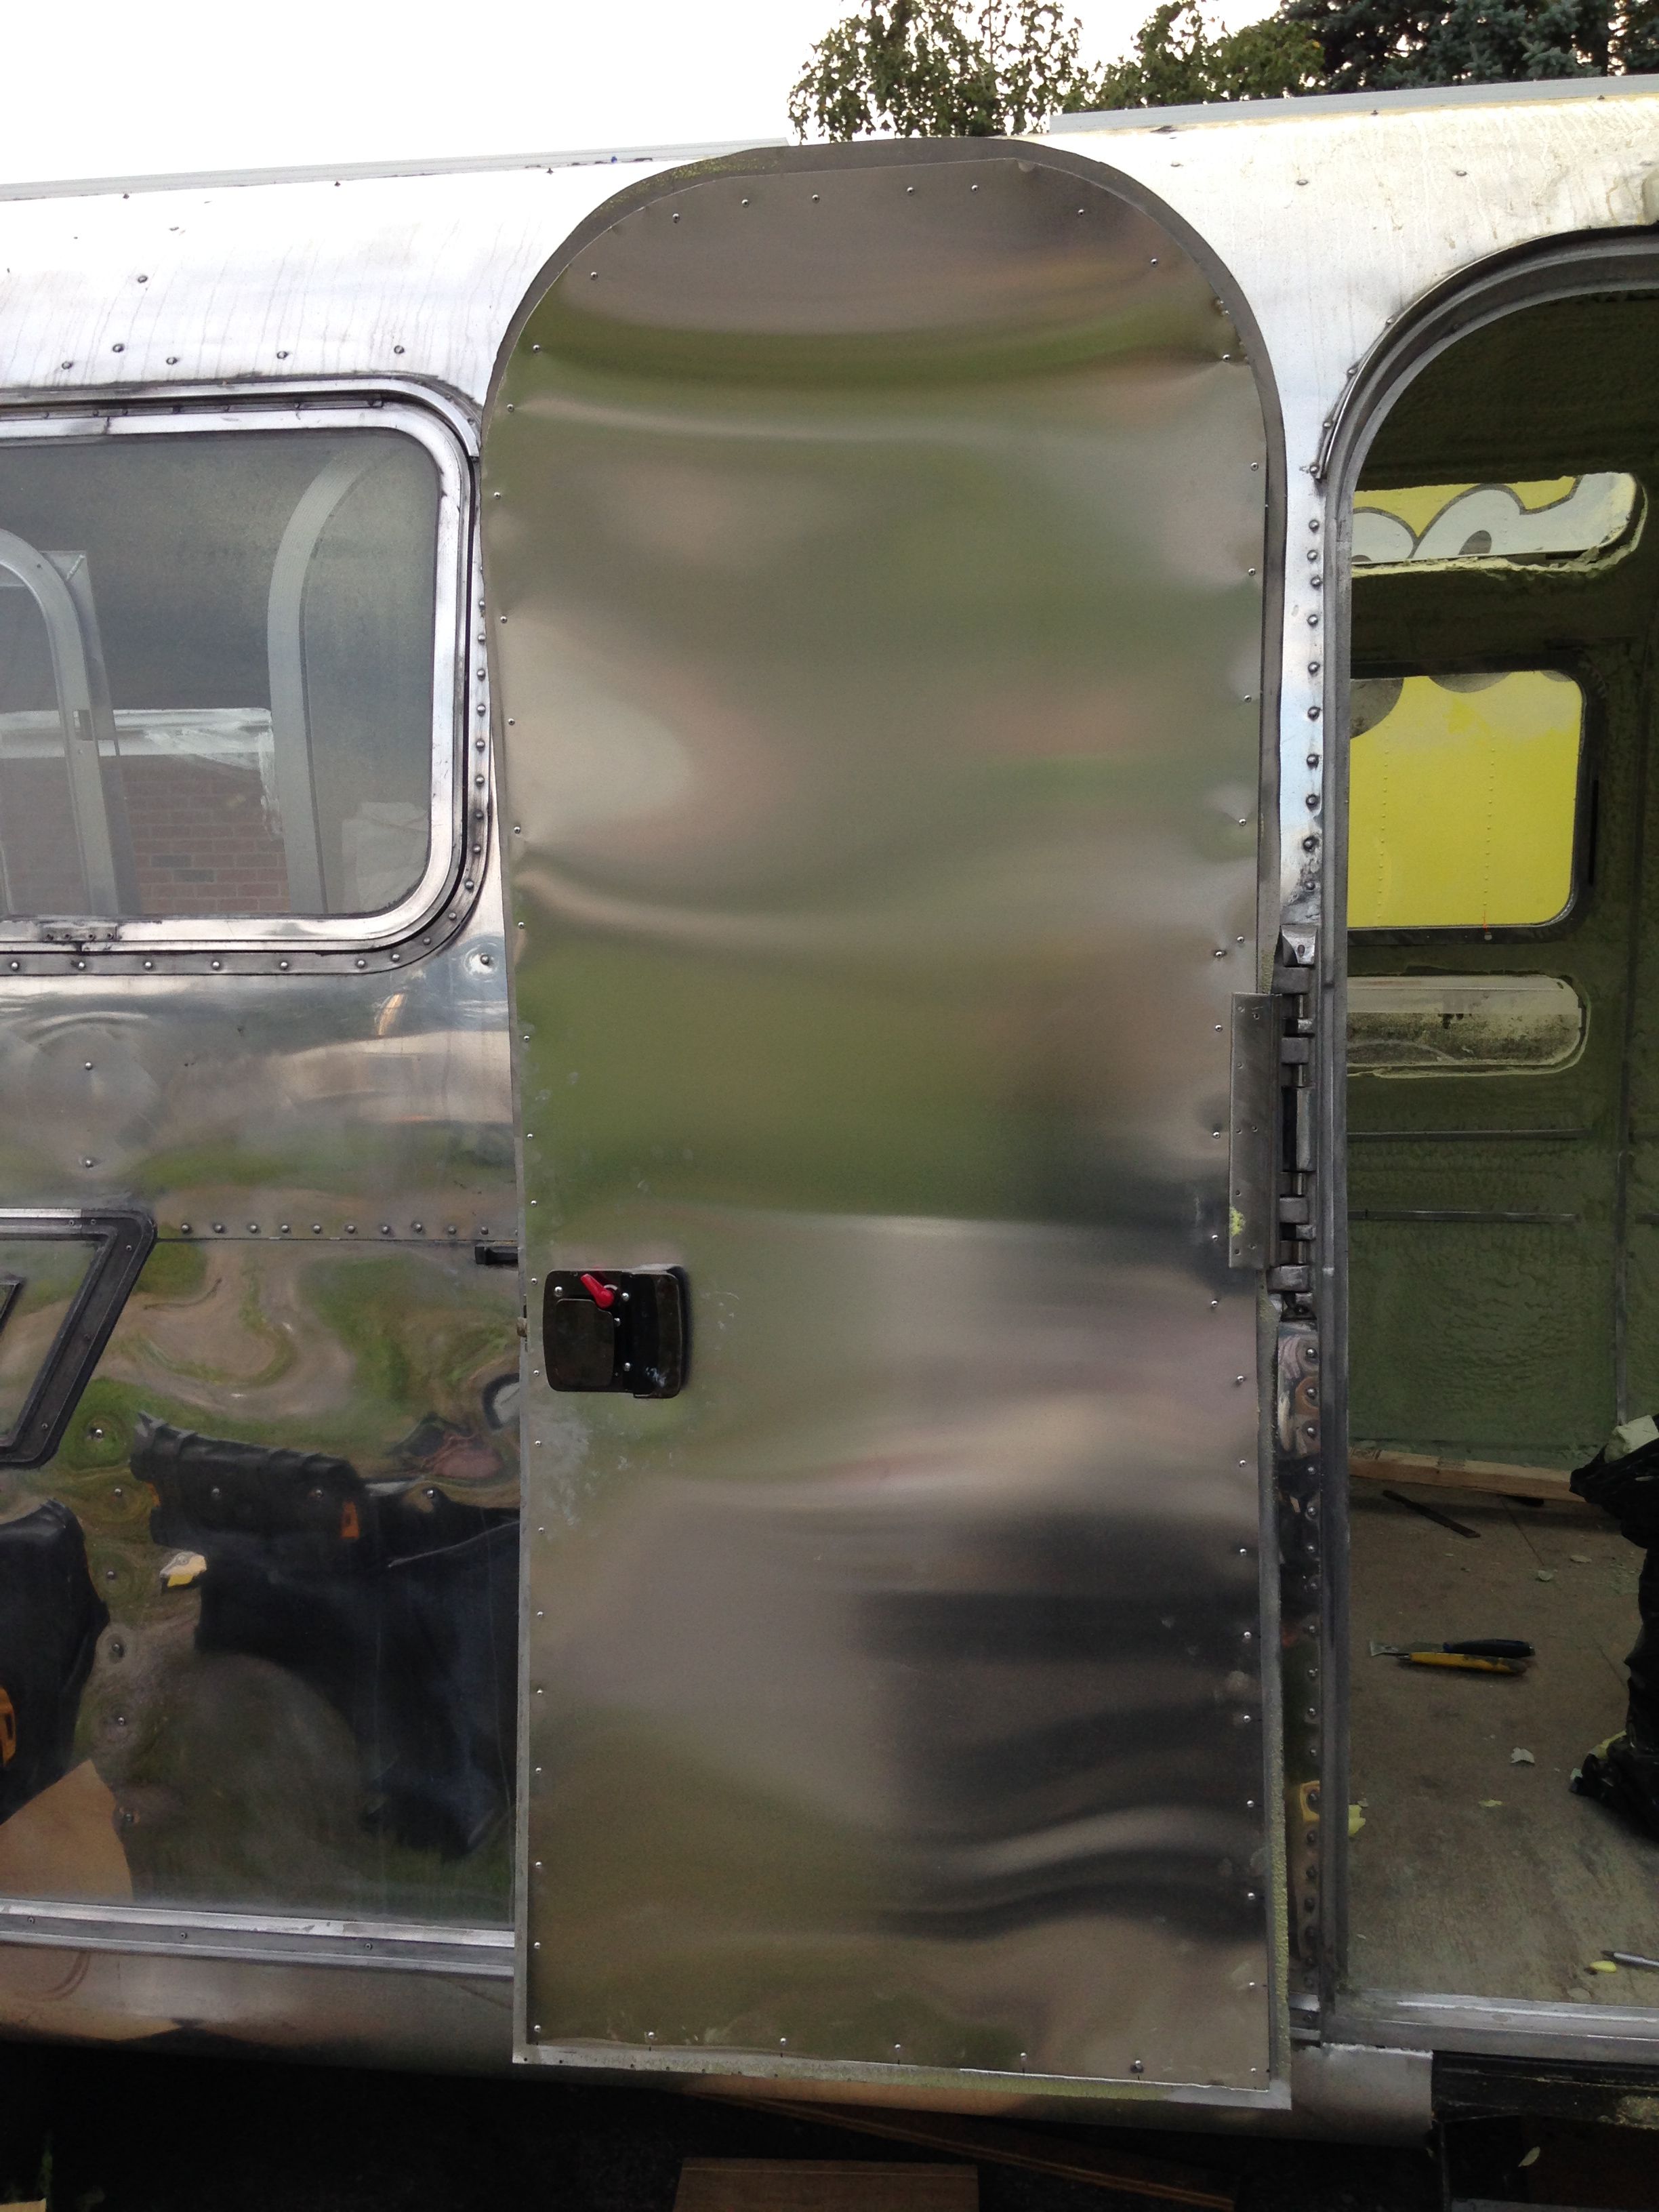
Below: First panel installed.
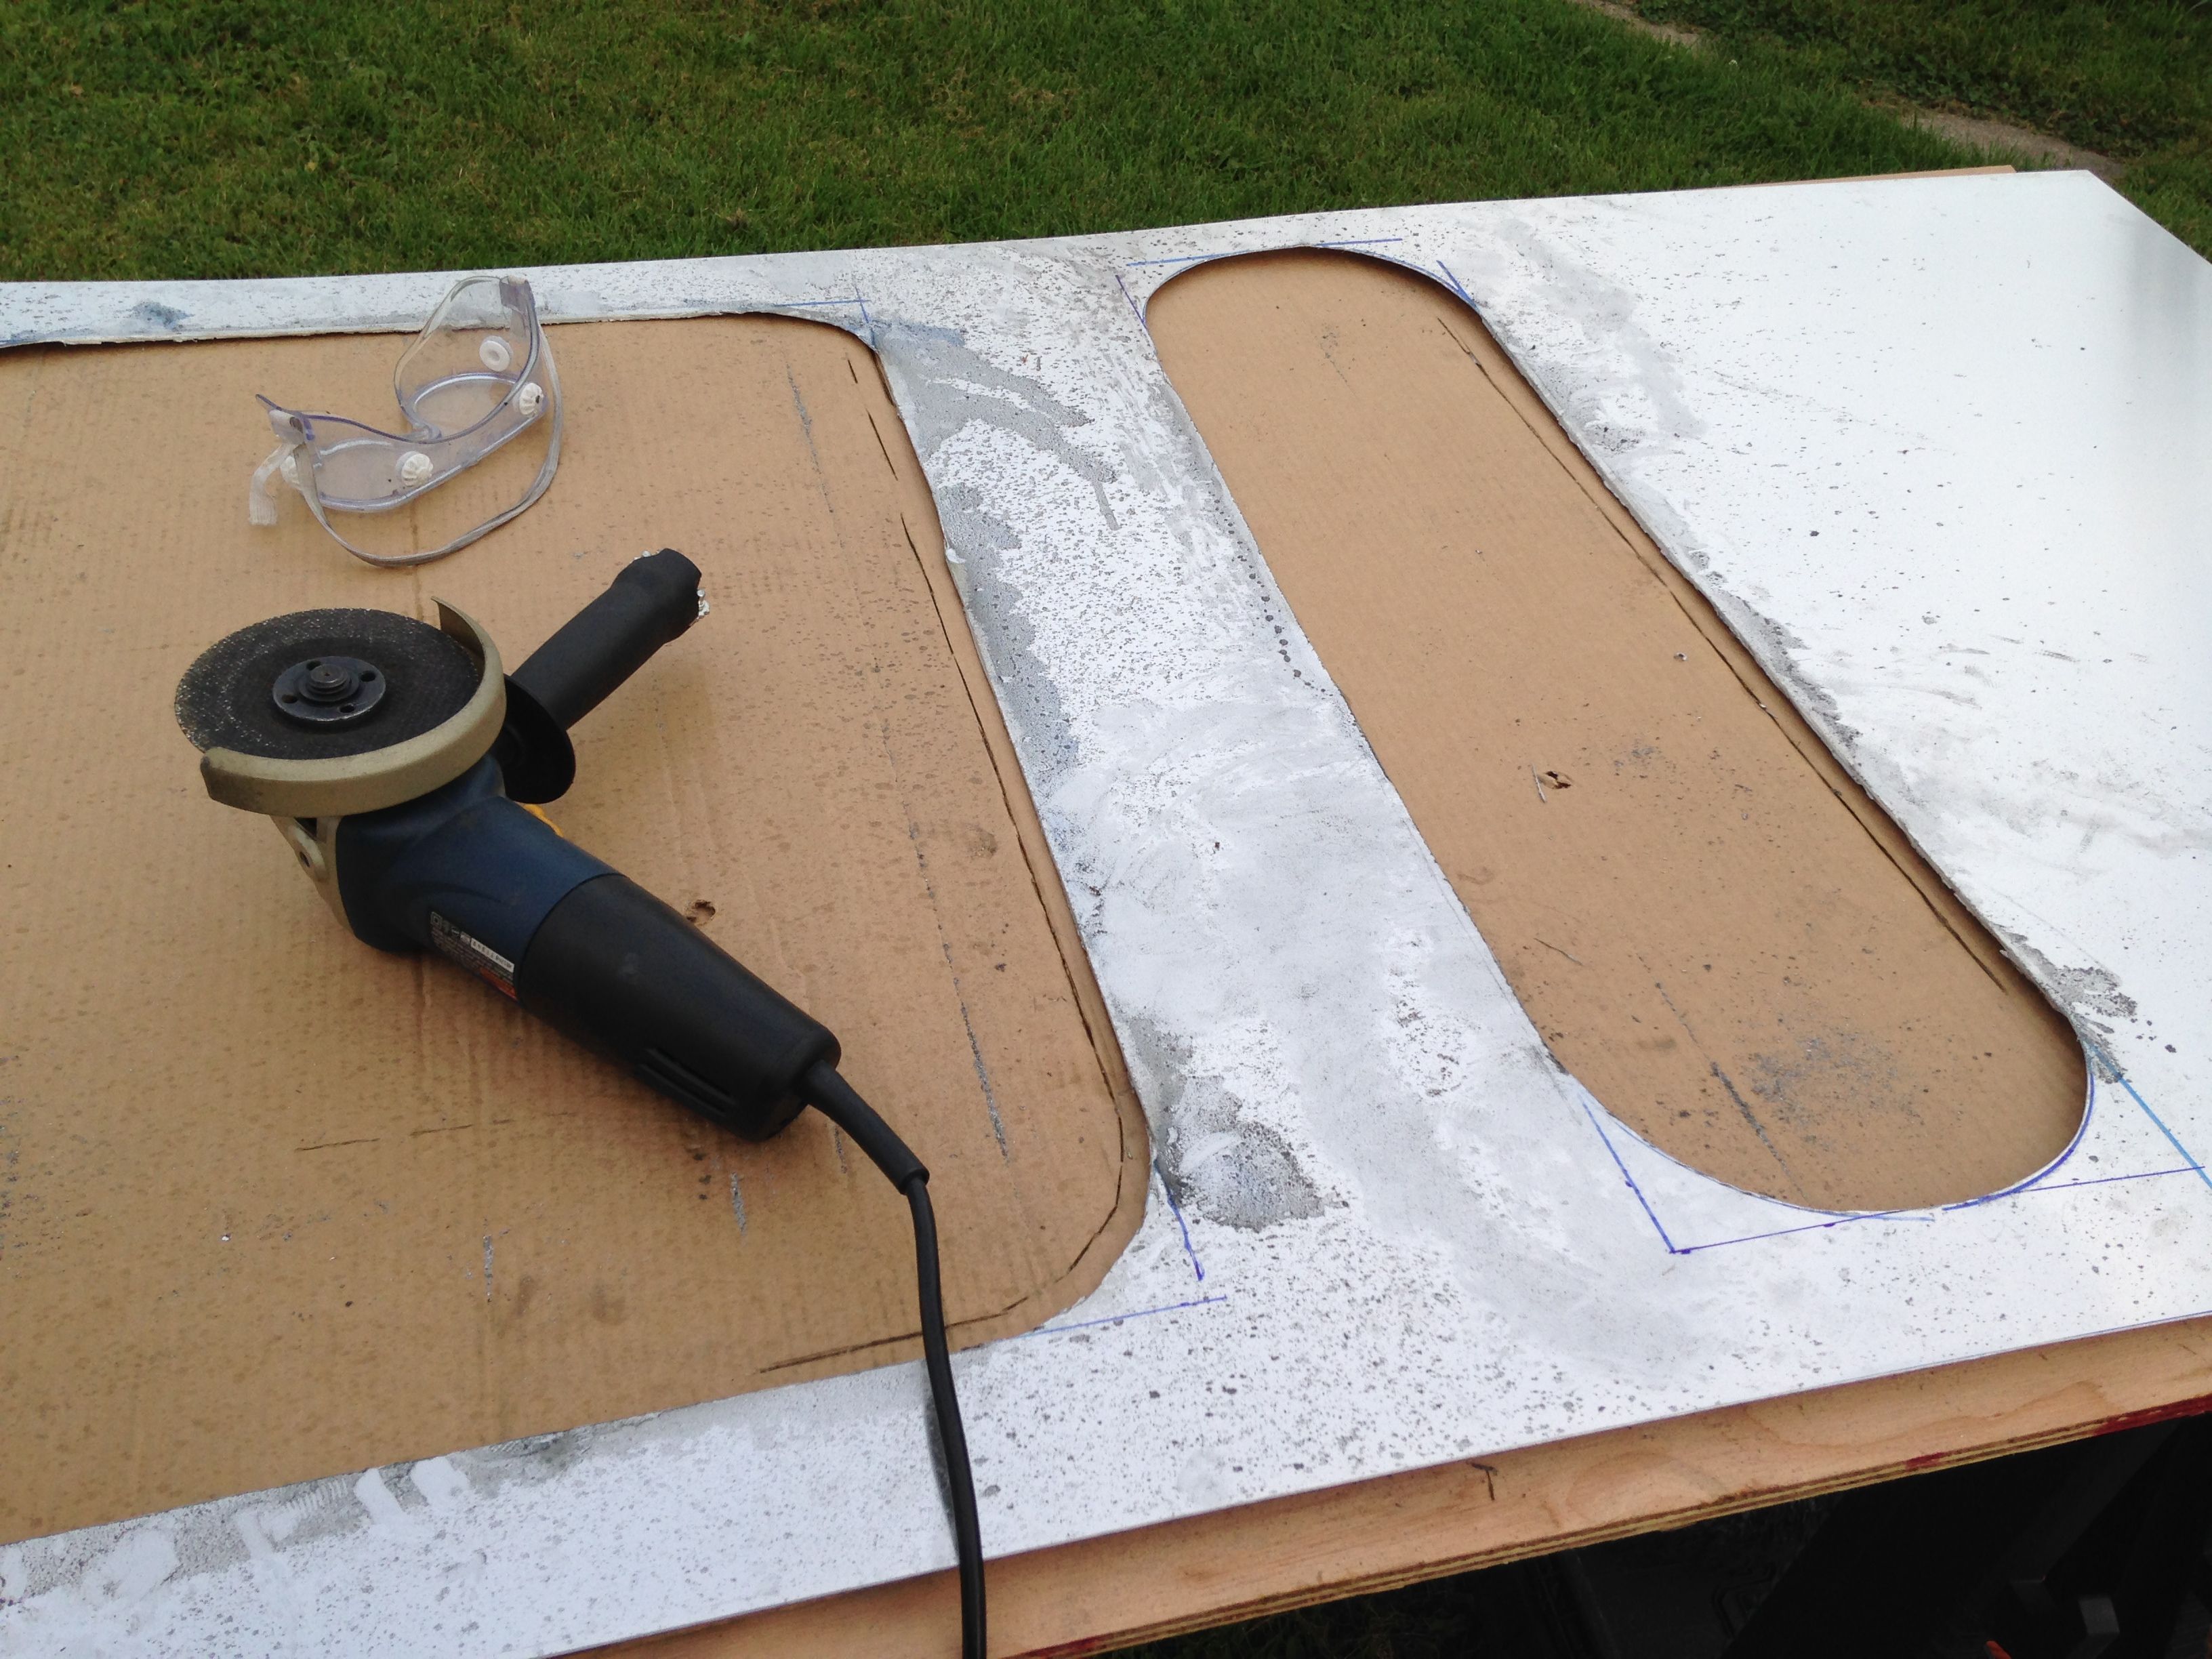
Once you have made your measurements, place the full sheet of aluminum on something flat, clamp it down, and drawn the lines you intend to cut on the side that will not be exposed. Spray the lines with WD-40, but only do one window at a time as the spray will distort your lines. The WD-40 helps the cut off wheel slide along and prolongs its life.
I would advise using the grinder to cut straight lines only. The curved edges of each window should be done by hand with the tin snips. The cut does not have to be perfect since your frames will cover the edges.

The metal fragments from the grinder can slide under and easily scratch your aluminum so be sure to brush them away often.
Installing the sheets inside the Airstream is really a two person job. Have one person hold the sheet in place, while the second drills and rivets. Apply quite a bit of pressure to the aluminum so that it follows the curve and does not create spaces between your next sheet of aluminum. Measure accurately, from one support gusset to the next as that is where the rivets should go.
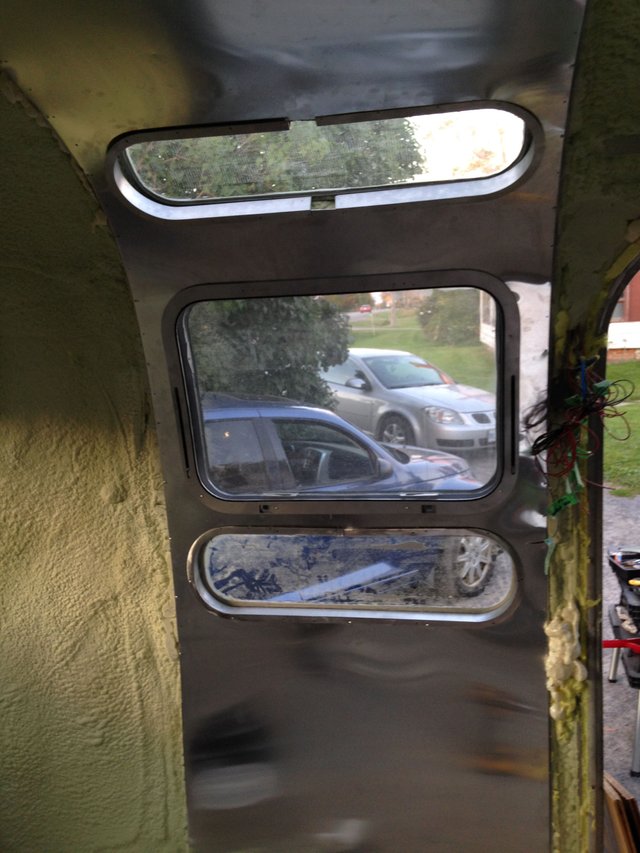
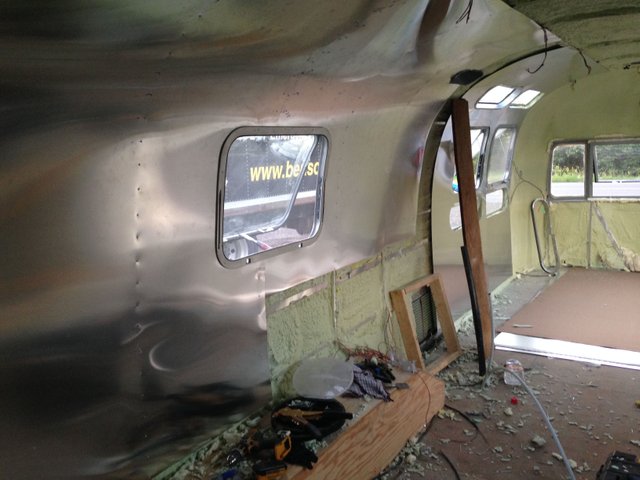
Here is the first wall panel on inside. As you can see, the top vista window frame is the incorrect size, fortunately you can still order them from Silver Trailer Supply.
Don’t forget to make holes for all your electrical.
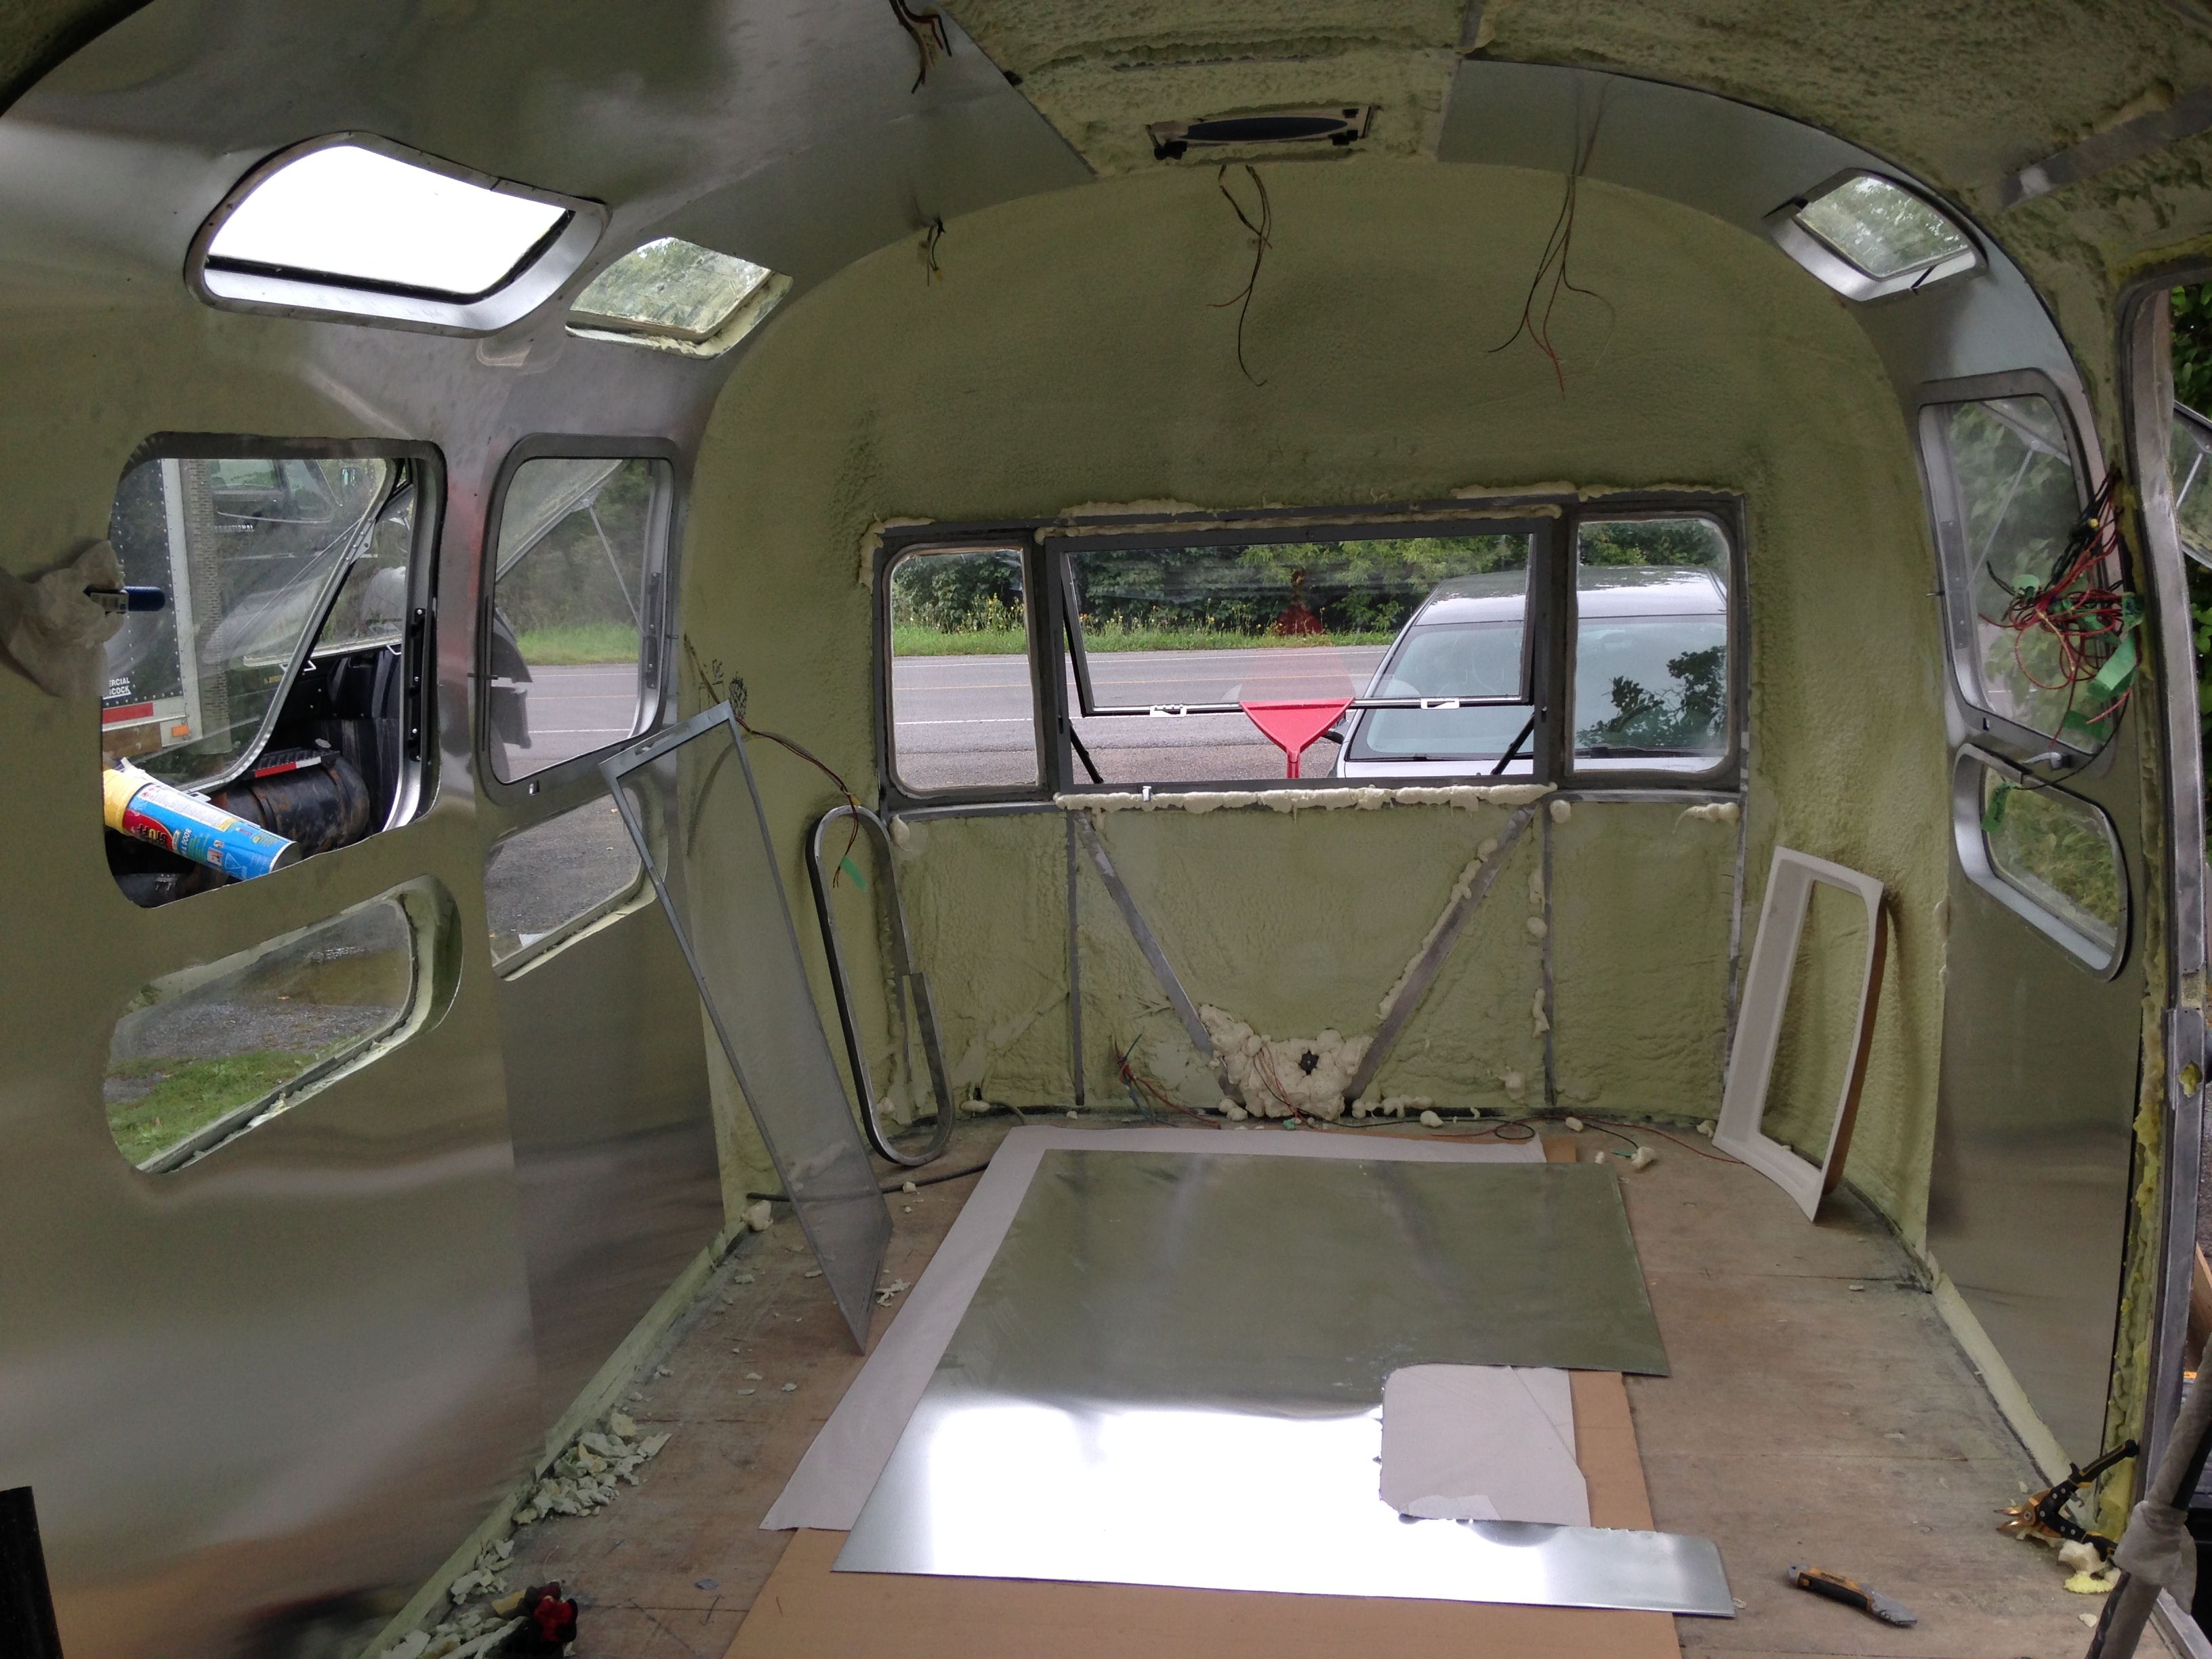
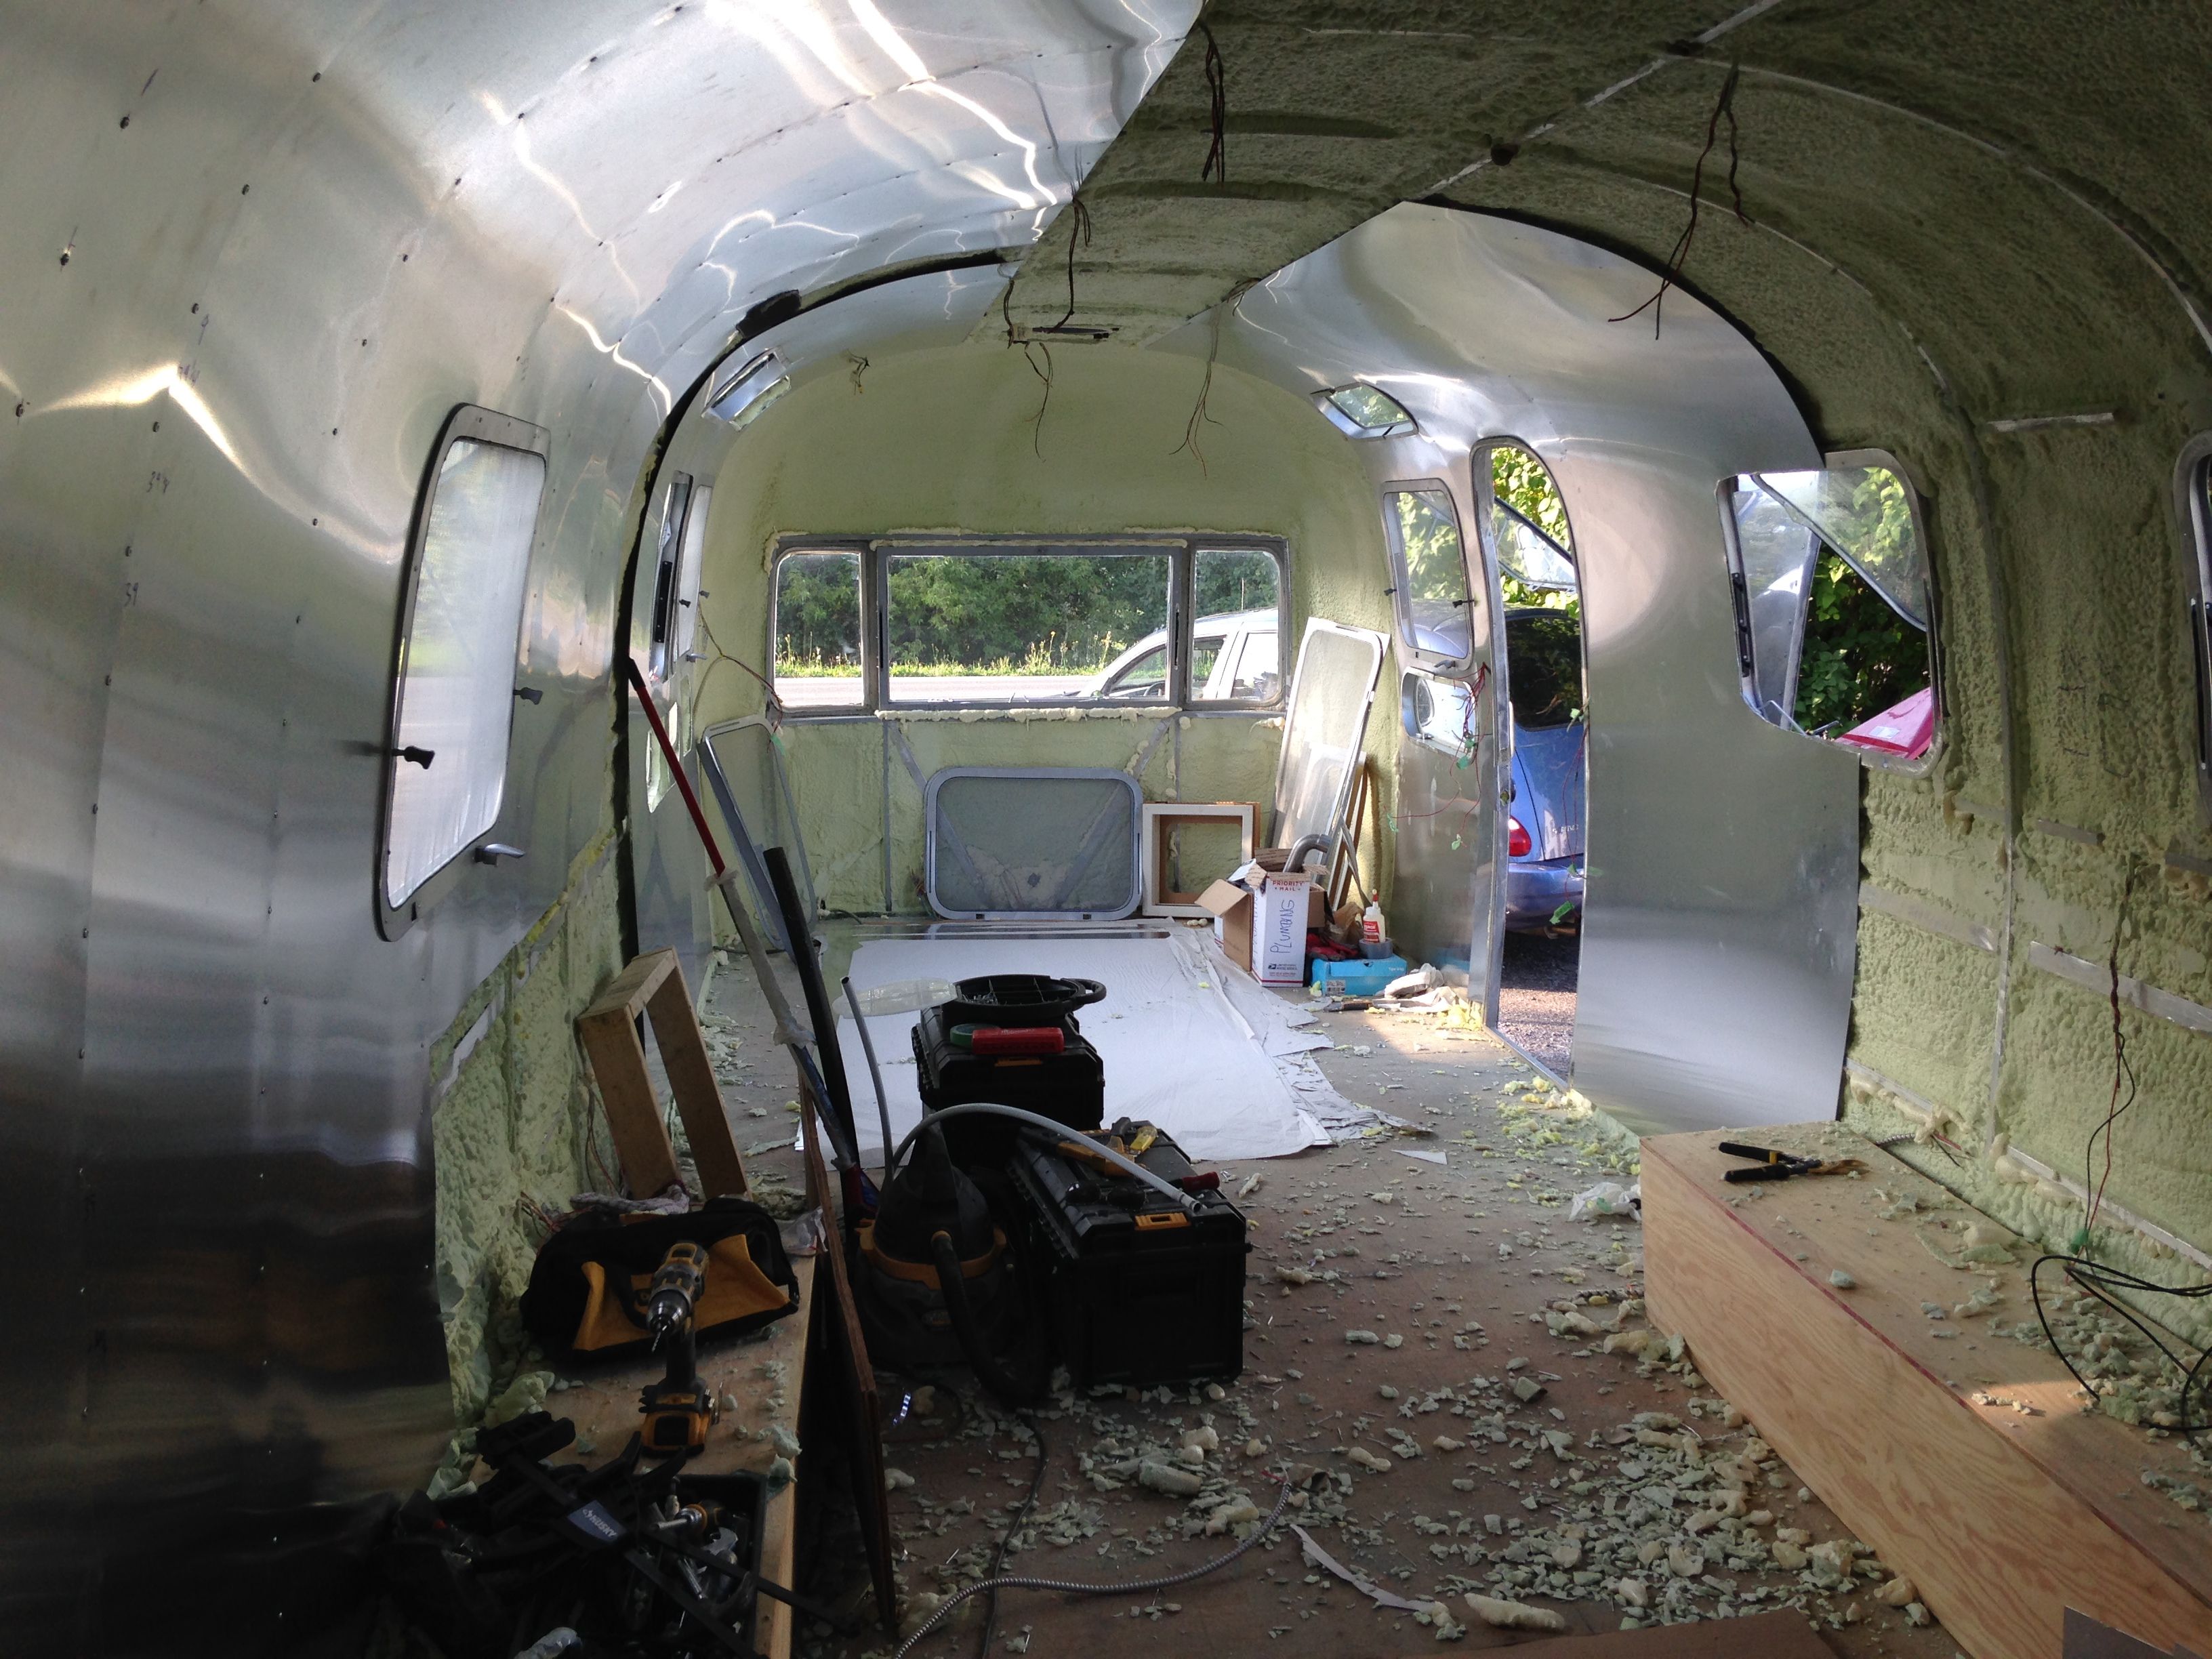
Although aluminum is lightweight, any extra weight that can be excluded is beneficial. I have decided not to run the aluminum sheets from ceiling to floor where there will be cabinets that will cover the wall anyway.
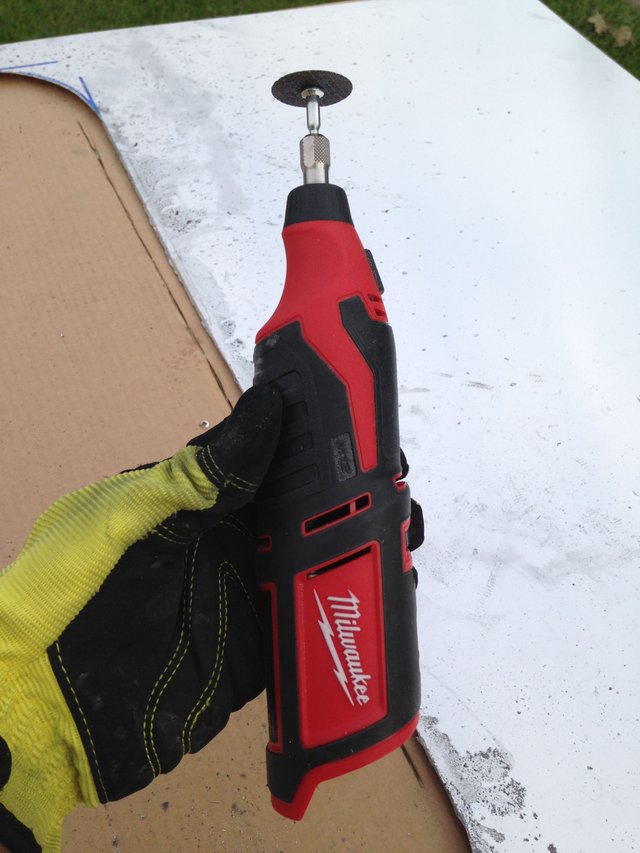
This is a useful tool for cutting hard to access areas. Its called a rotary tool and has dozens of uses, you can put different attachments on, use it as a cutting tool, grinder, polisher, engraver, etc…
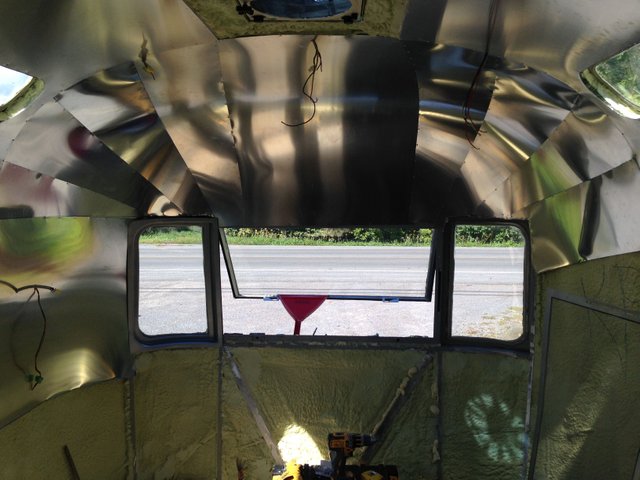
The curved front and back sections of the Airstream trailer was a job that I had been contemplating for several months. I anticipated that this would be very difficult, especially without templates, but it turns out that it was actually the easiest part of the interior so far. Here's my method:
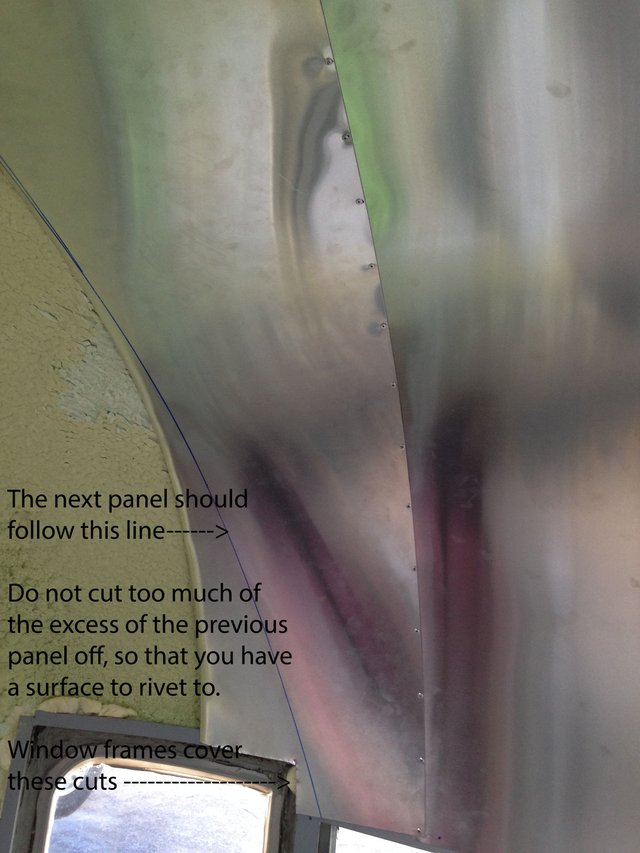
I first began by installing a large piece in the centre that is tapered at the bottom. It is 6 inches wider at the top, which leaves several inches on each side of the window frame below. You can go with whatever size you prefer as long as the aluminum will fit the contour, keeping in mind that the wall curves down as well as around. It does not matter if your cuts are perfect because each of the following sheets will slightly overlap the previous and you should keep the already cut sides exposed.
Use full 4×8 sheets for the normal walls where the vista view windows are so that there is a perfect straight edge to overlap the ends of the cut pieces you will use for the curved end. You will need to hold those walls on with temporary rivets and put permanent ones in place as each curved wall sheet slides underneath.
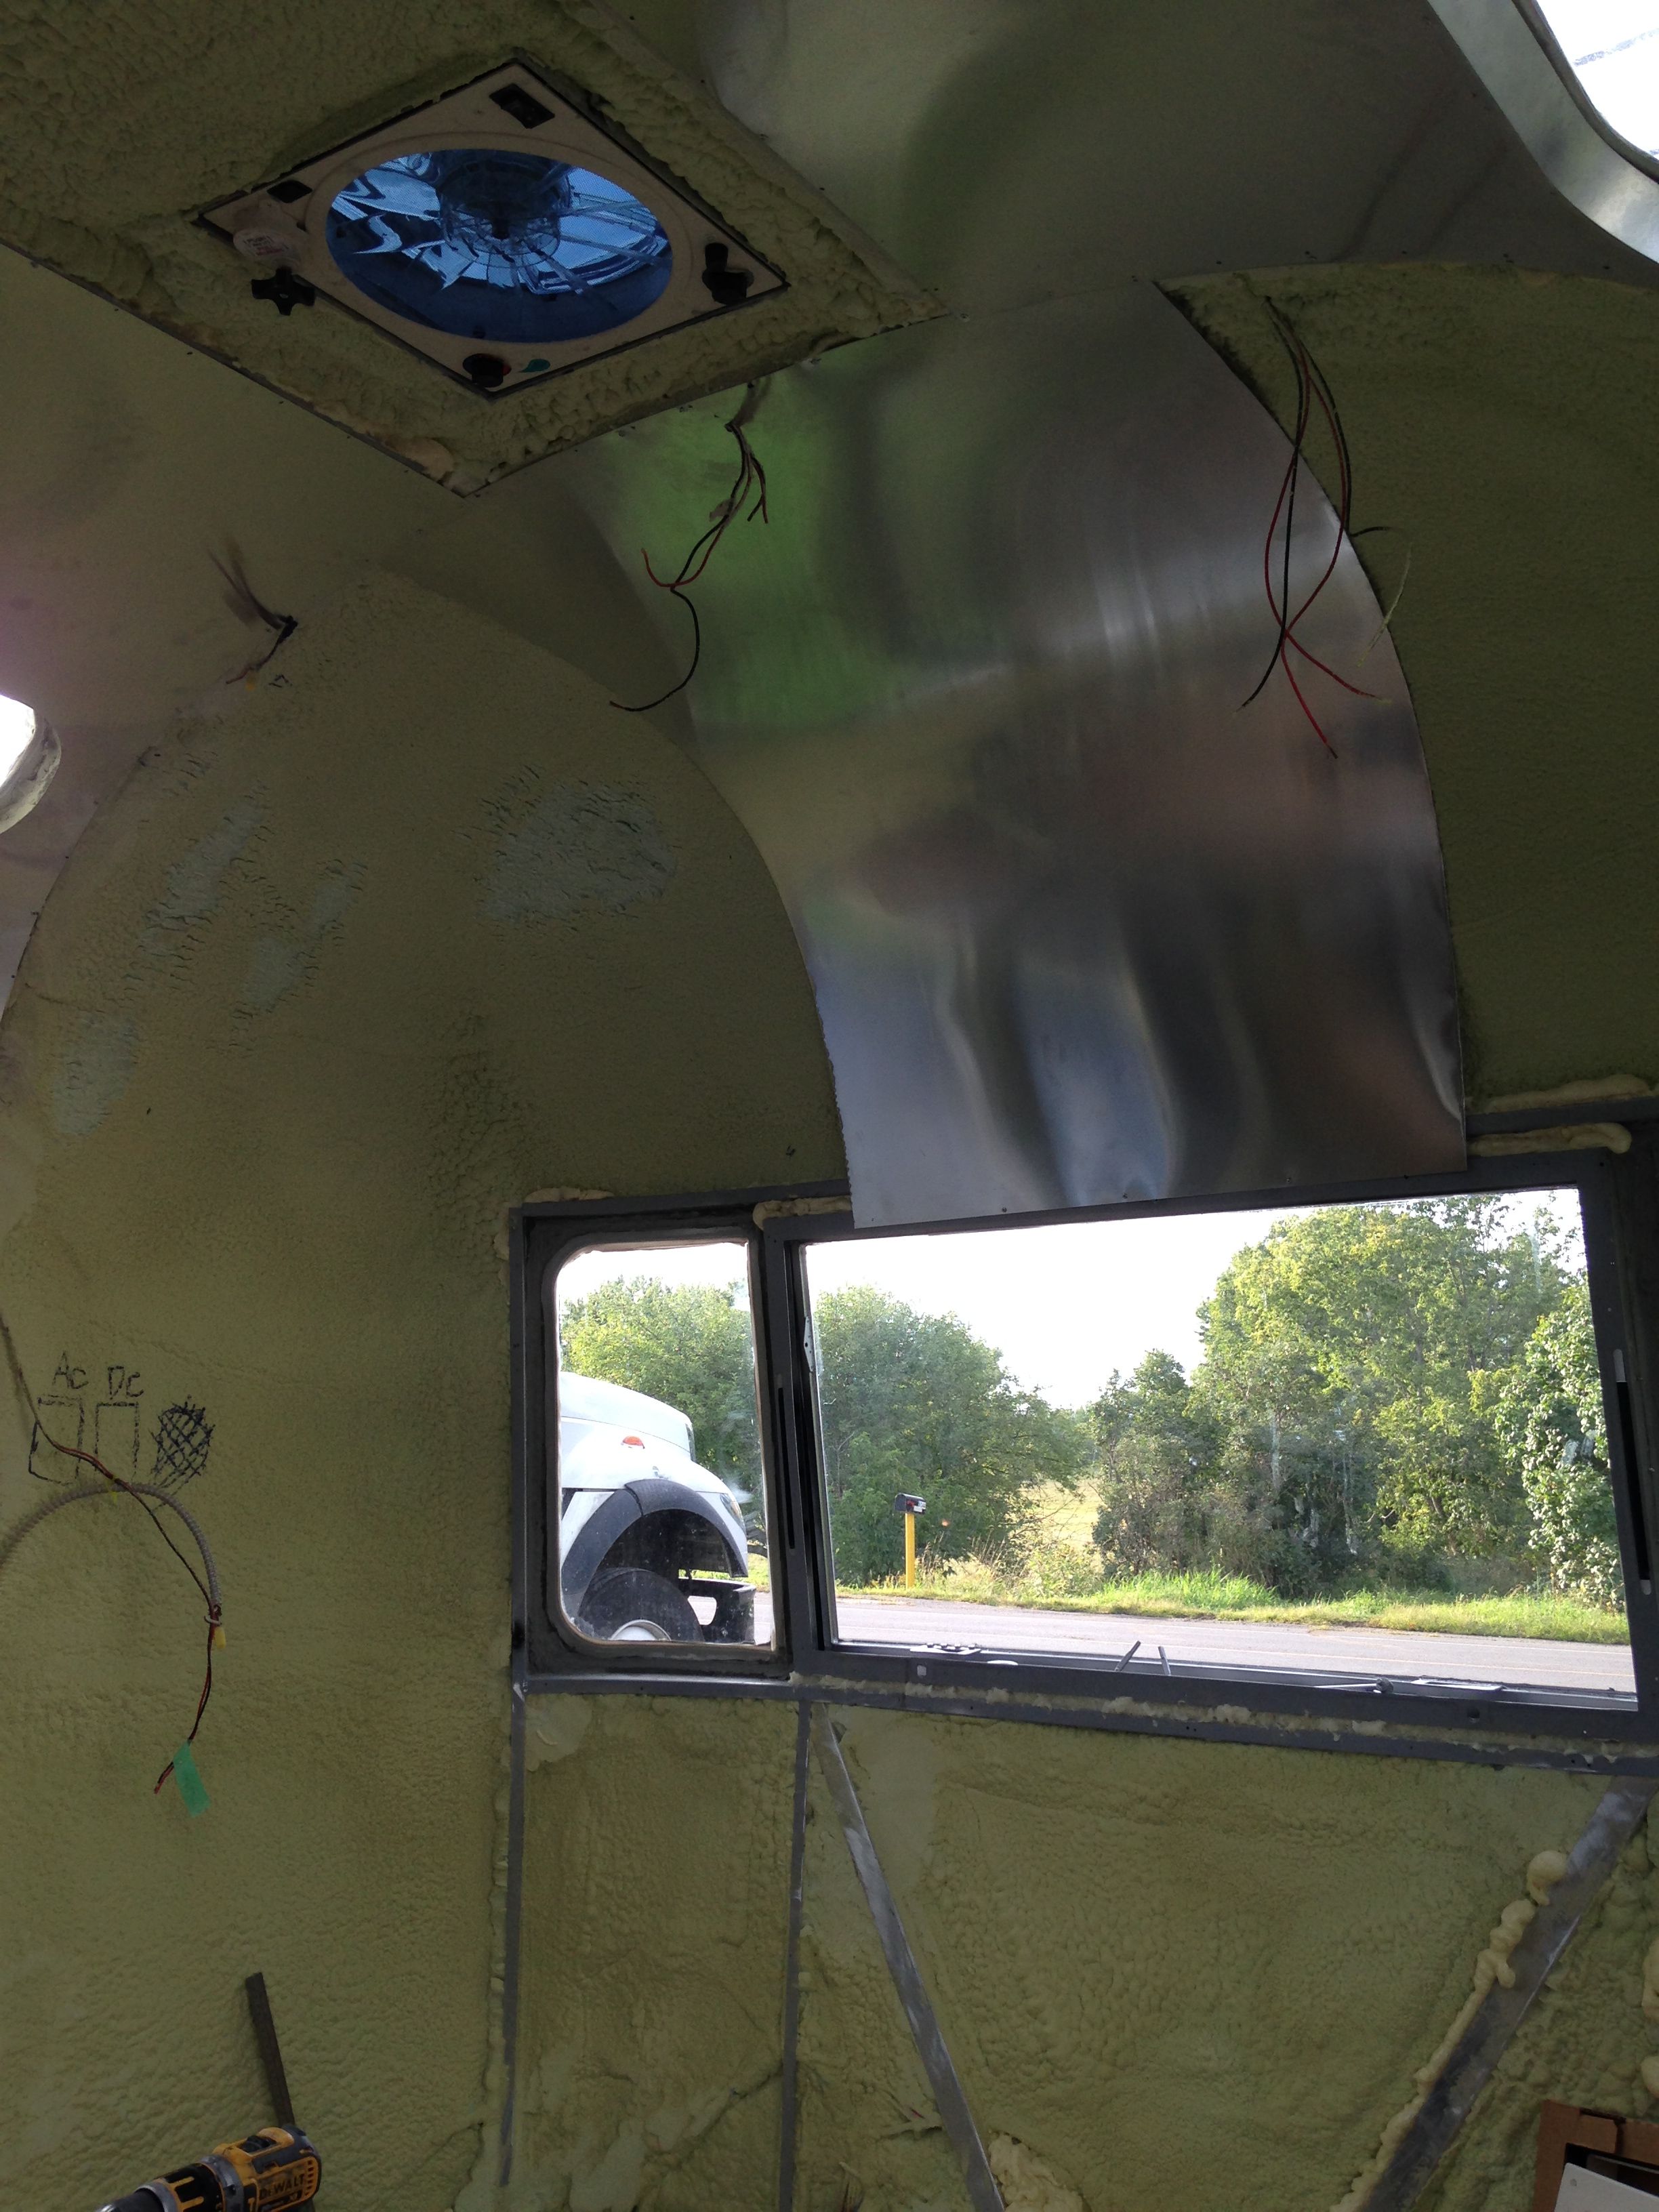
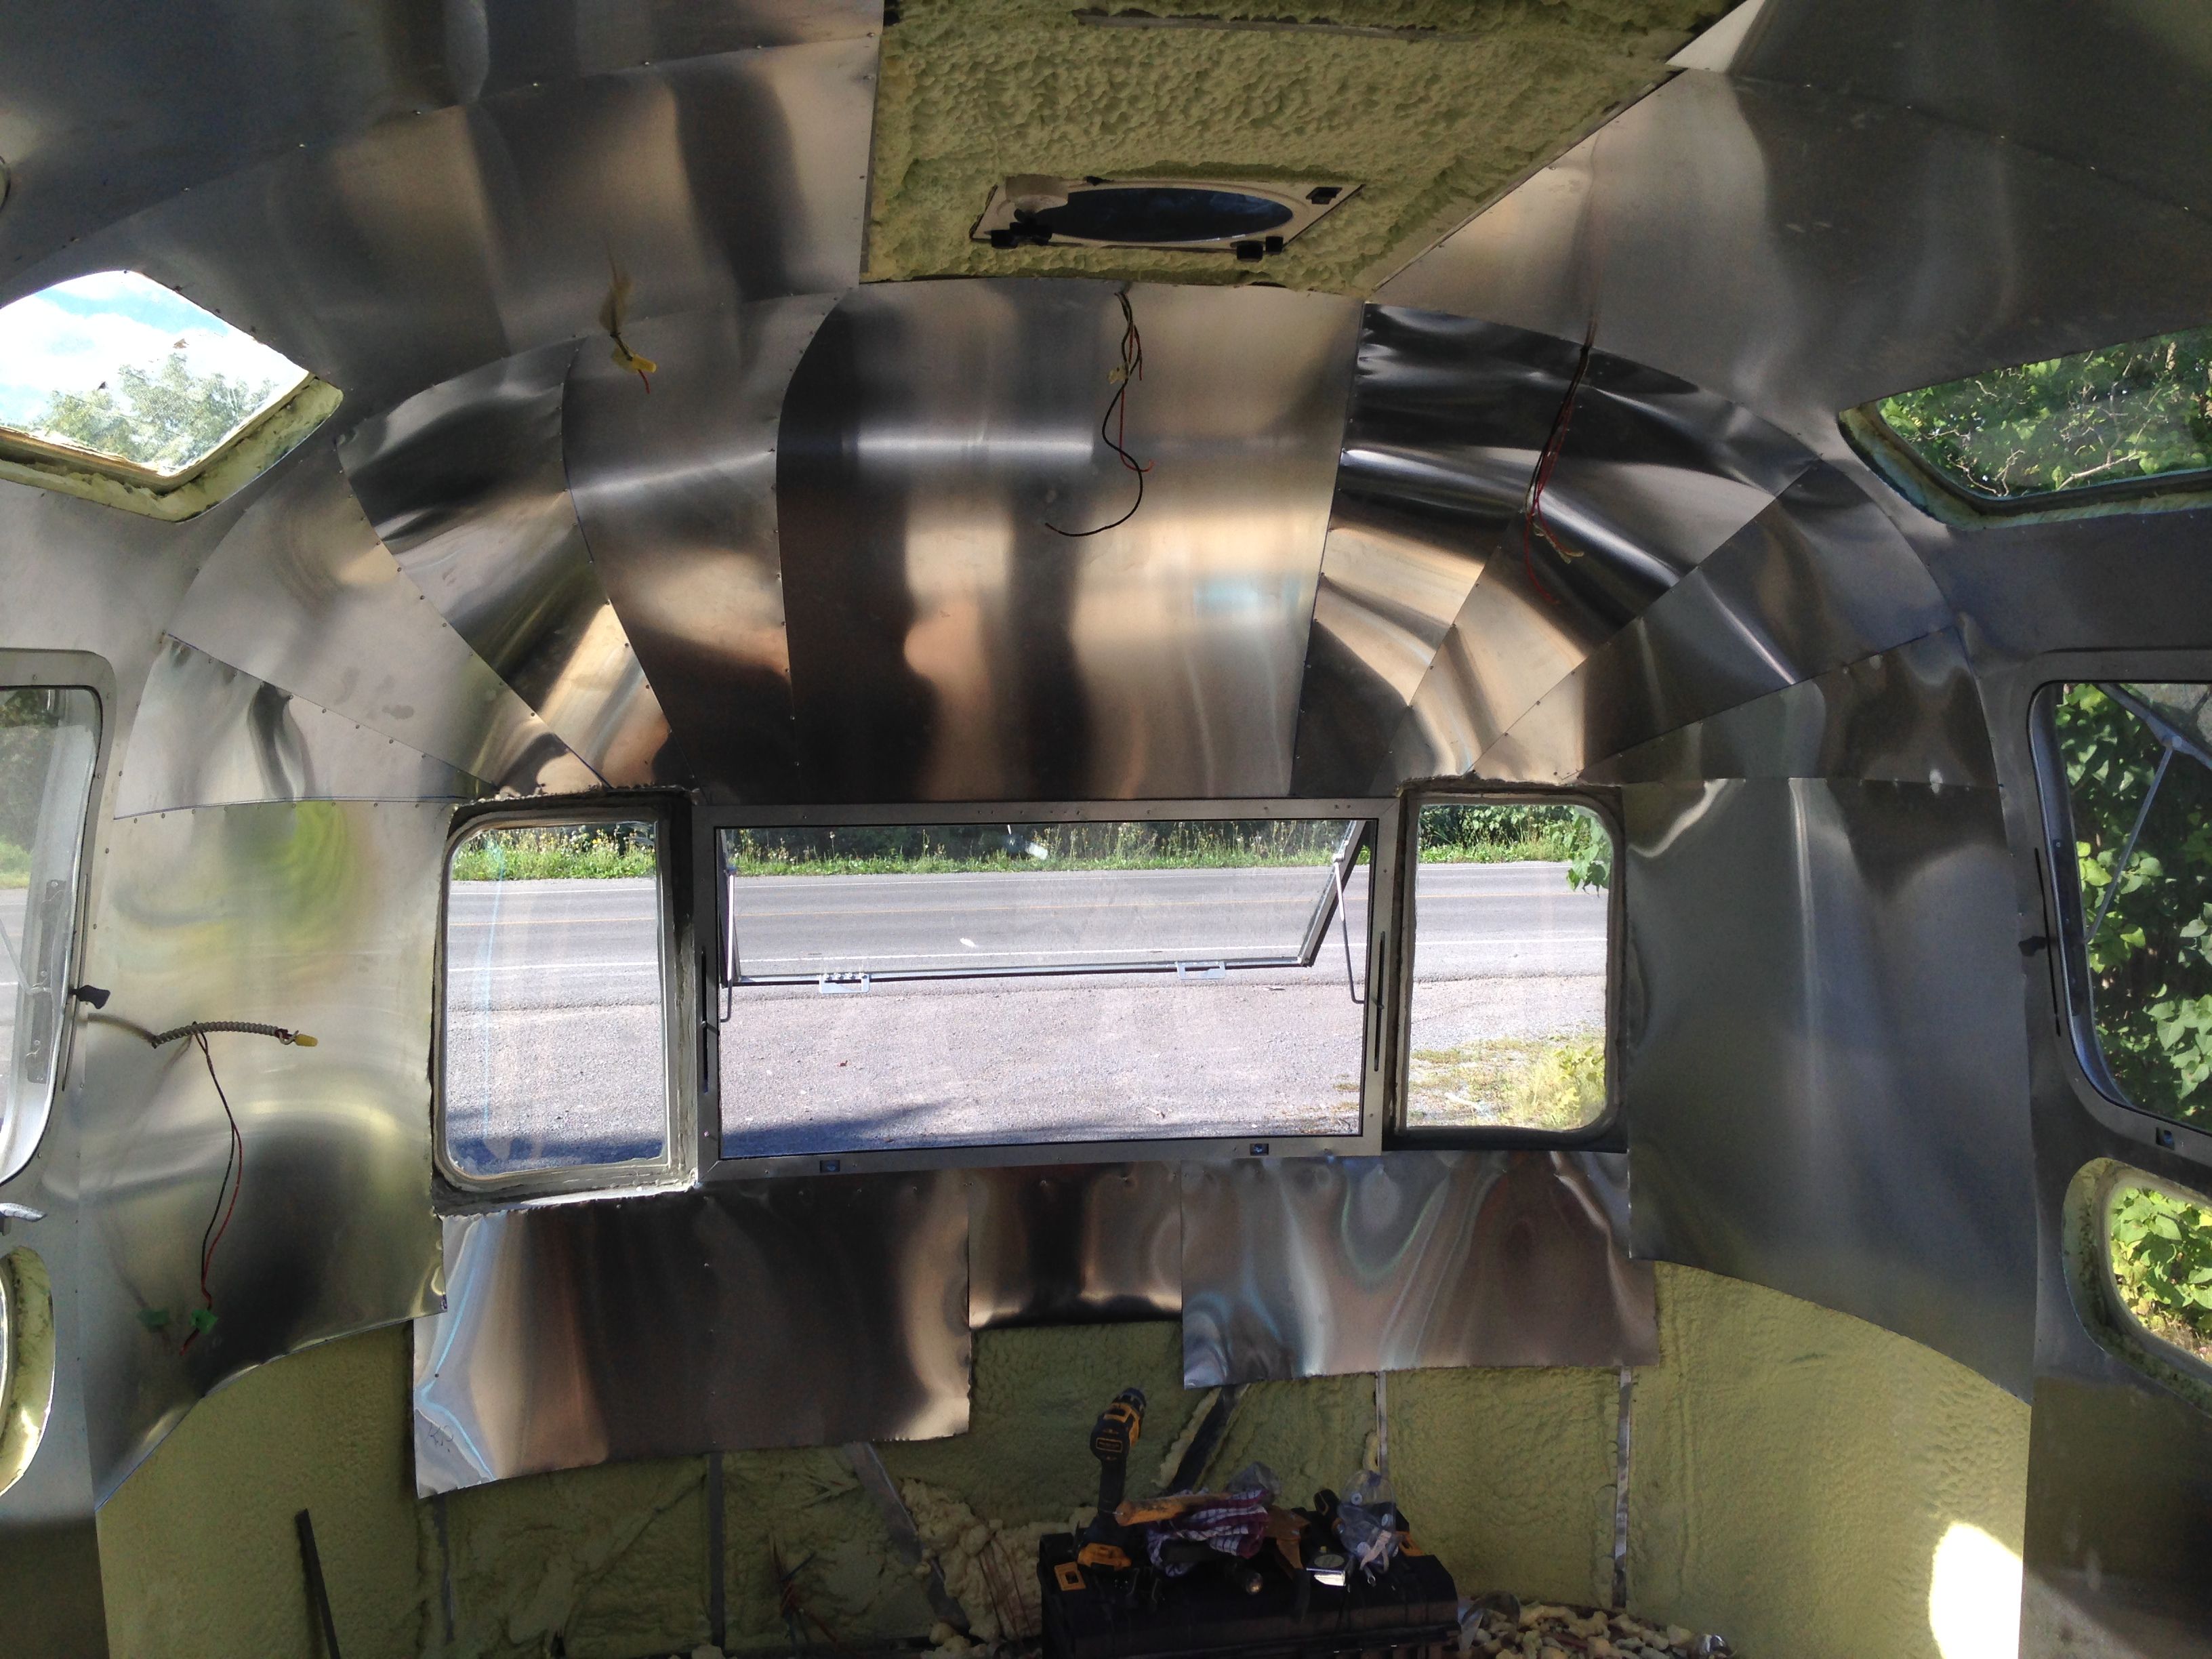
I wrote the details of the next part directly on the image as it is easier to understand that way. See below.
Follow a similar process for each subsequent sheet you put on. Use the temporary rivets in the regular wall sheets as a guide to let you know where your pieces should be placed.
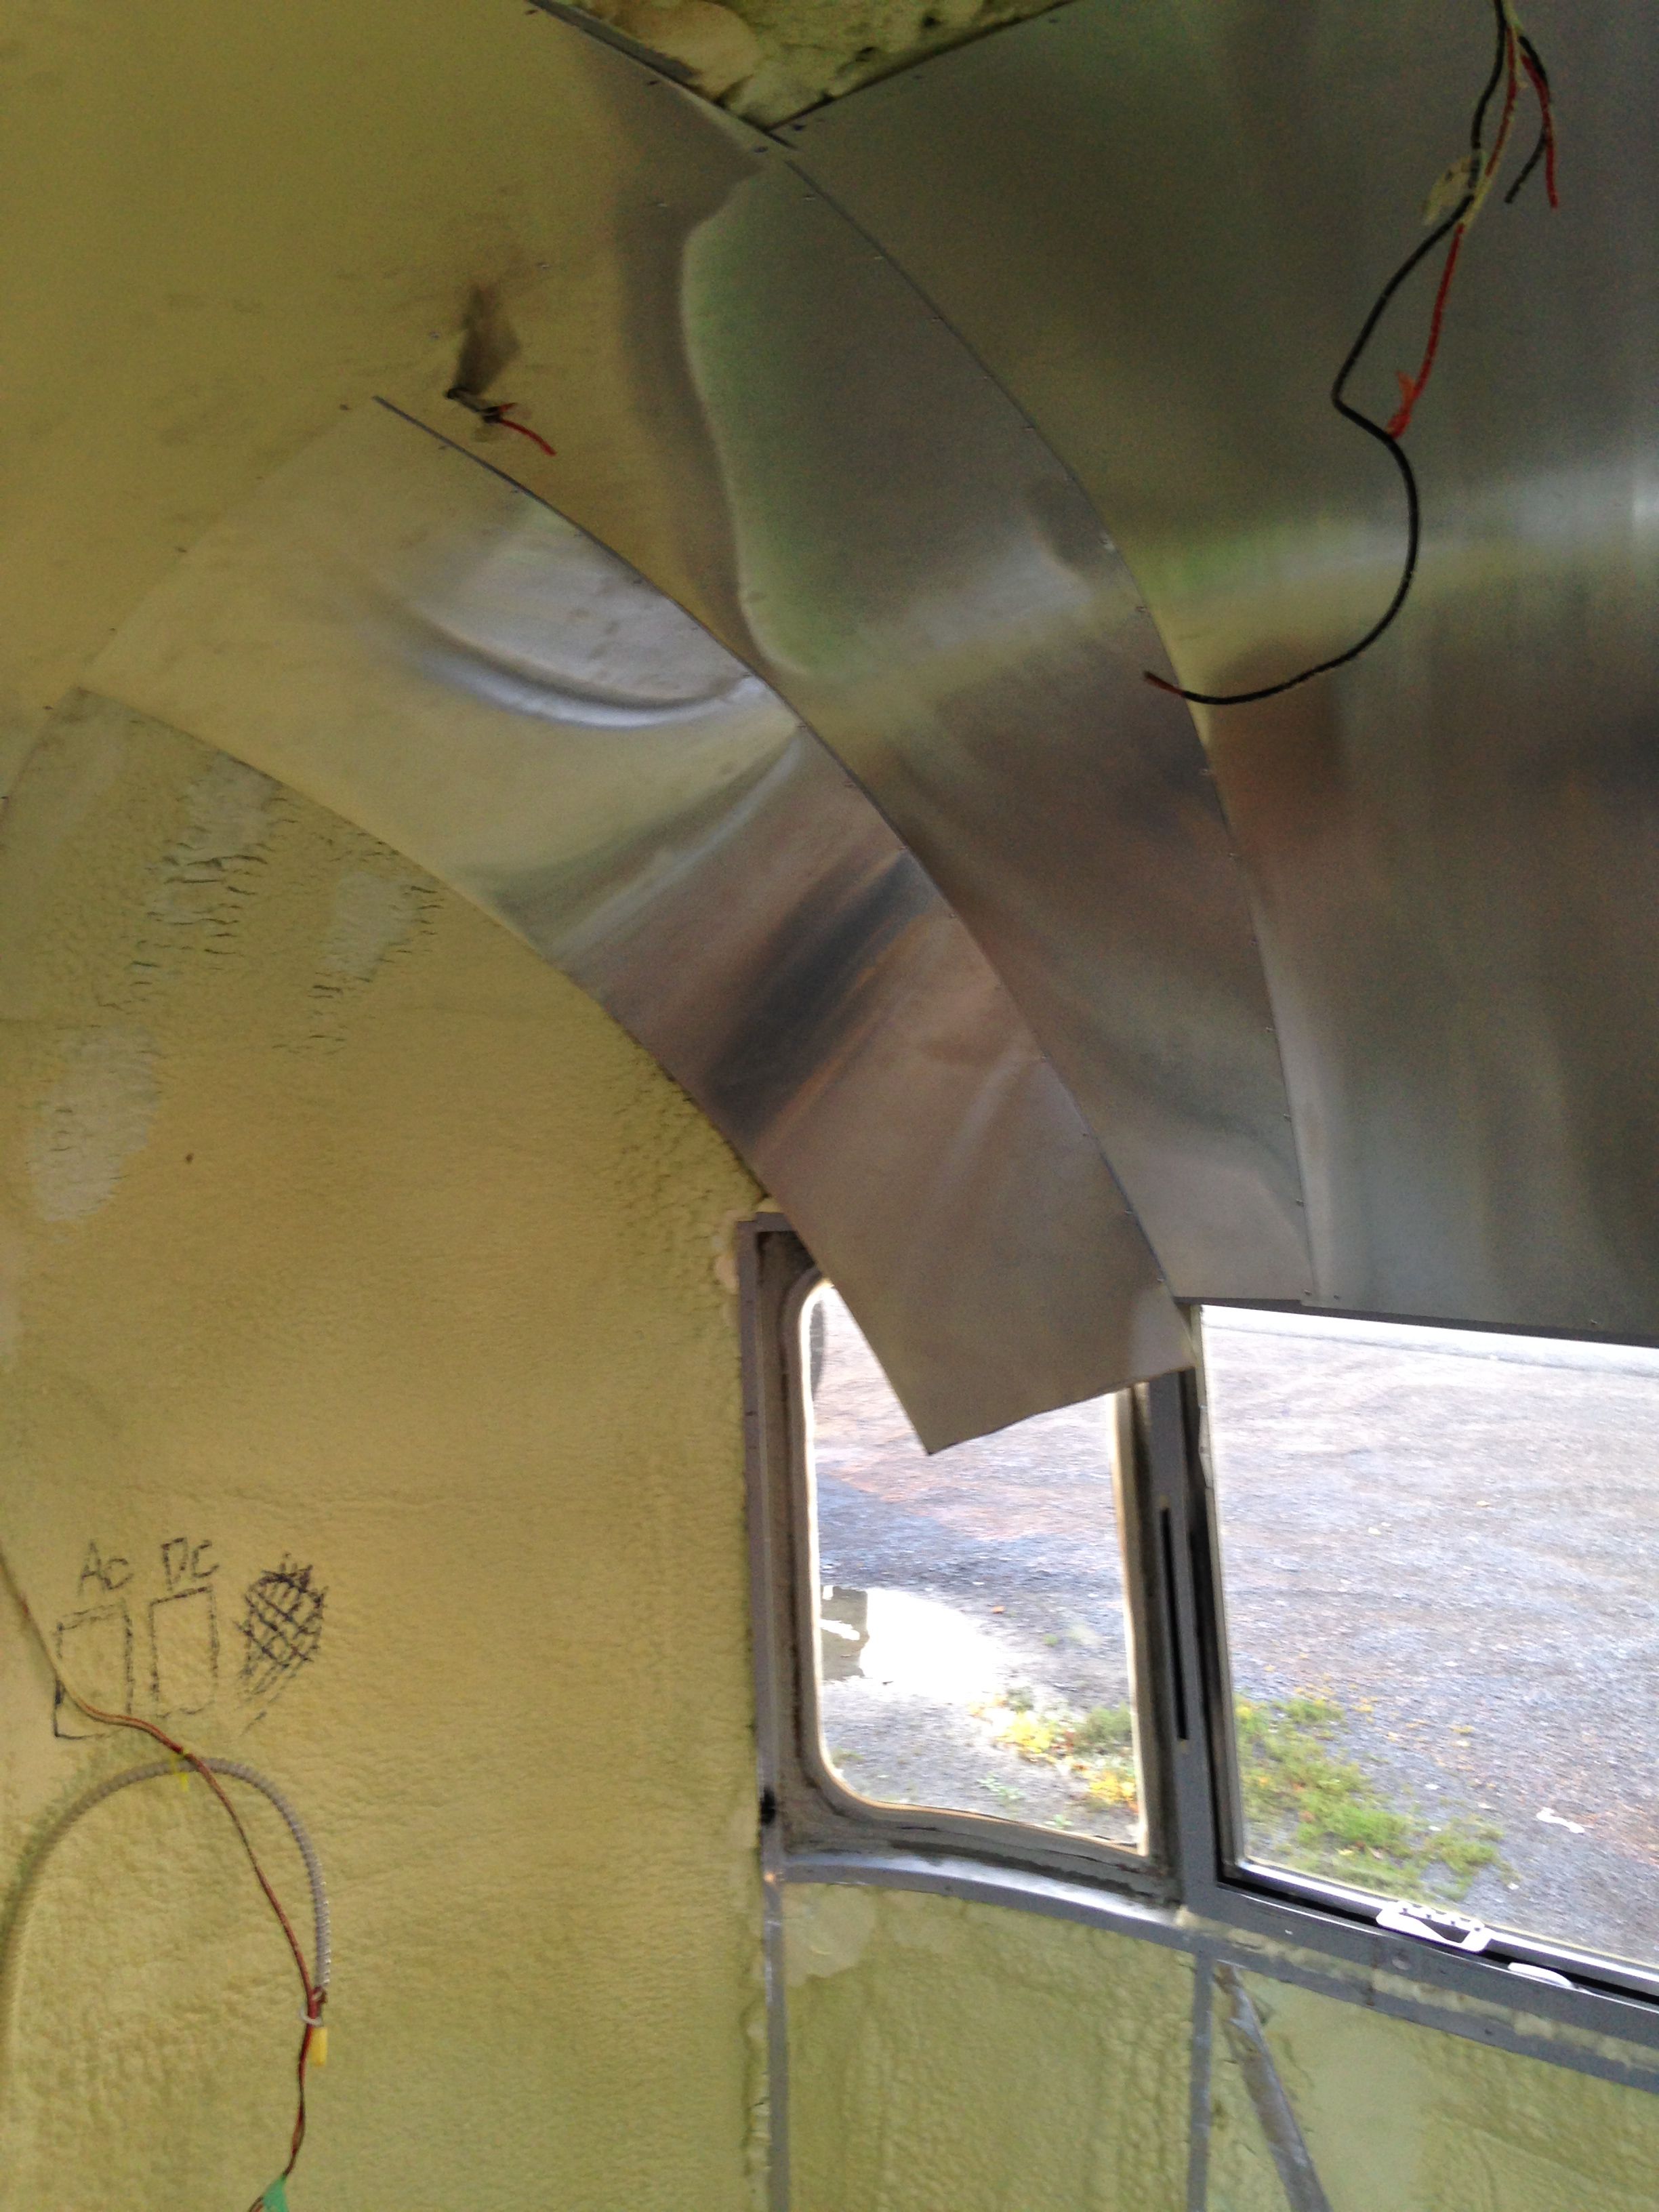
Repeat the process on the opposite side. Make sure measurements are exact before riveting! This entire area will be one of the most visible on the interior when finished and blemishes will be very noticeable.
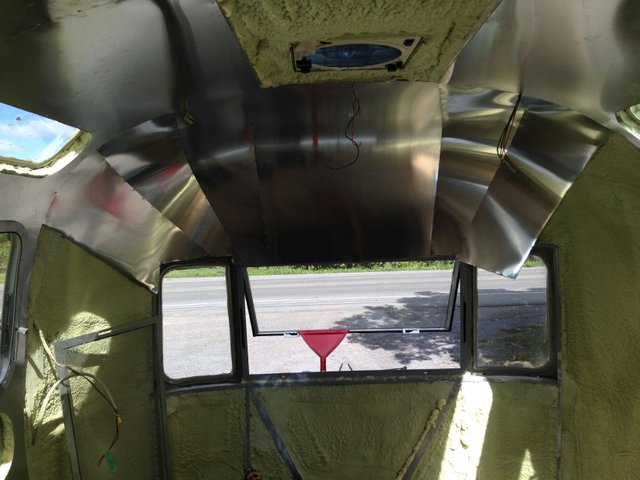
With each panel, the progress looks much better.
When you reach the end of one side, you will need a much larger sheet to reach the bottom of the curved front windows. If you are building a wrap around couch there, as I am, you do not need the aluminum to extend to the floor, but rather just a few inches below the windows.
Make sure you cut any holes for electrical outlets, etc…before you rivet the sheet in place.
Use tin snips to cut any excess around the windows and then place your interior window frames and rivet over any jagged edges so that none are left visible. (In these photos I have not yet installed the window frames)
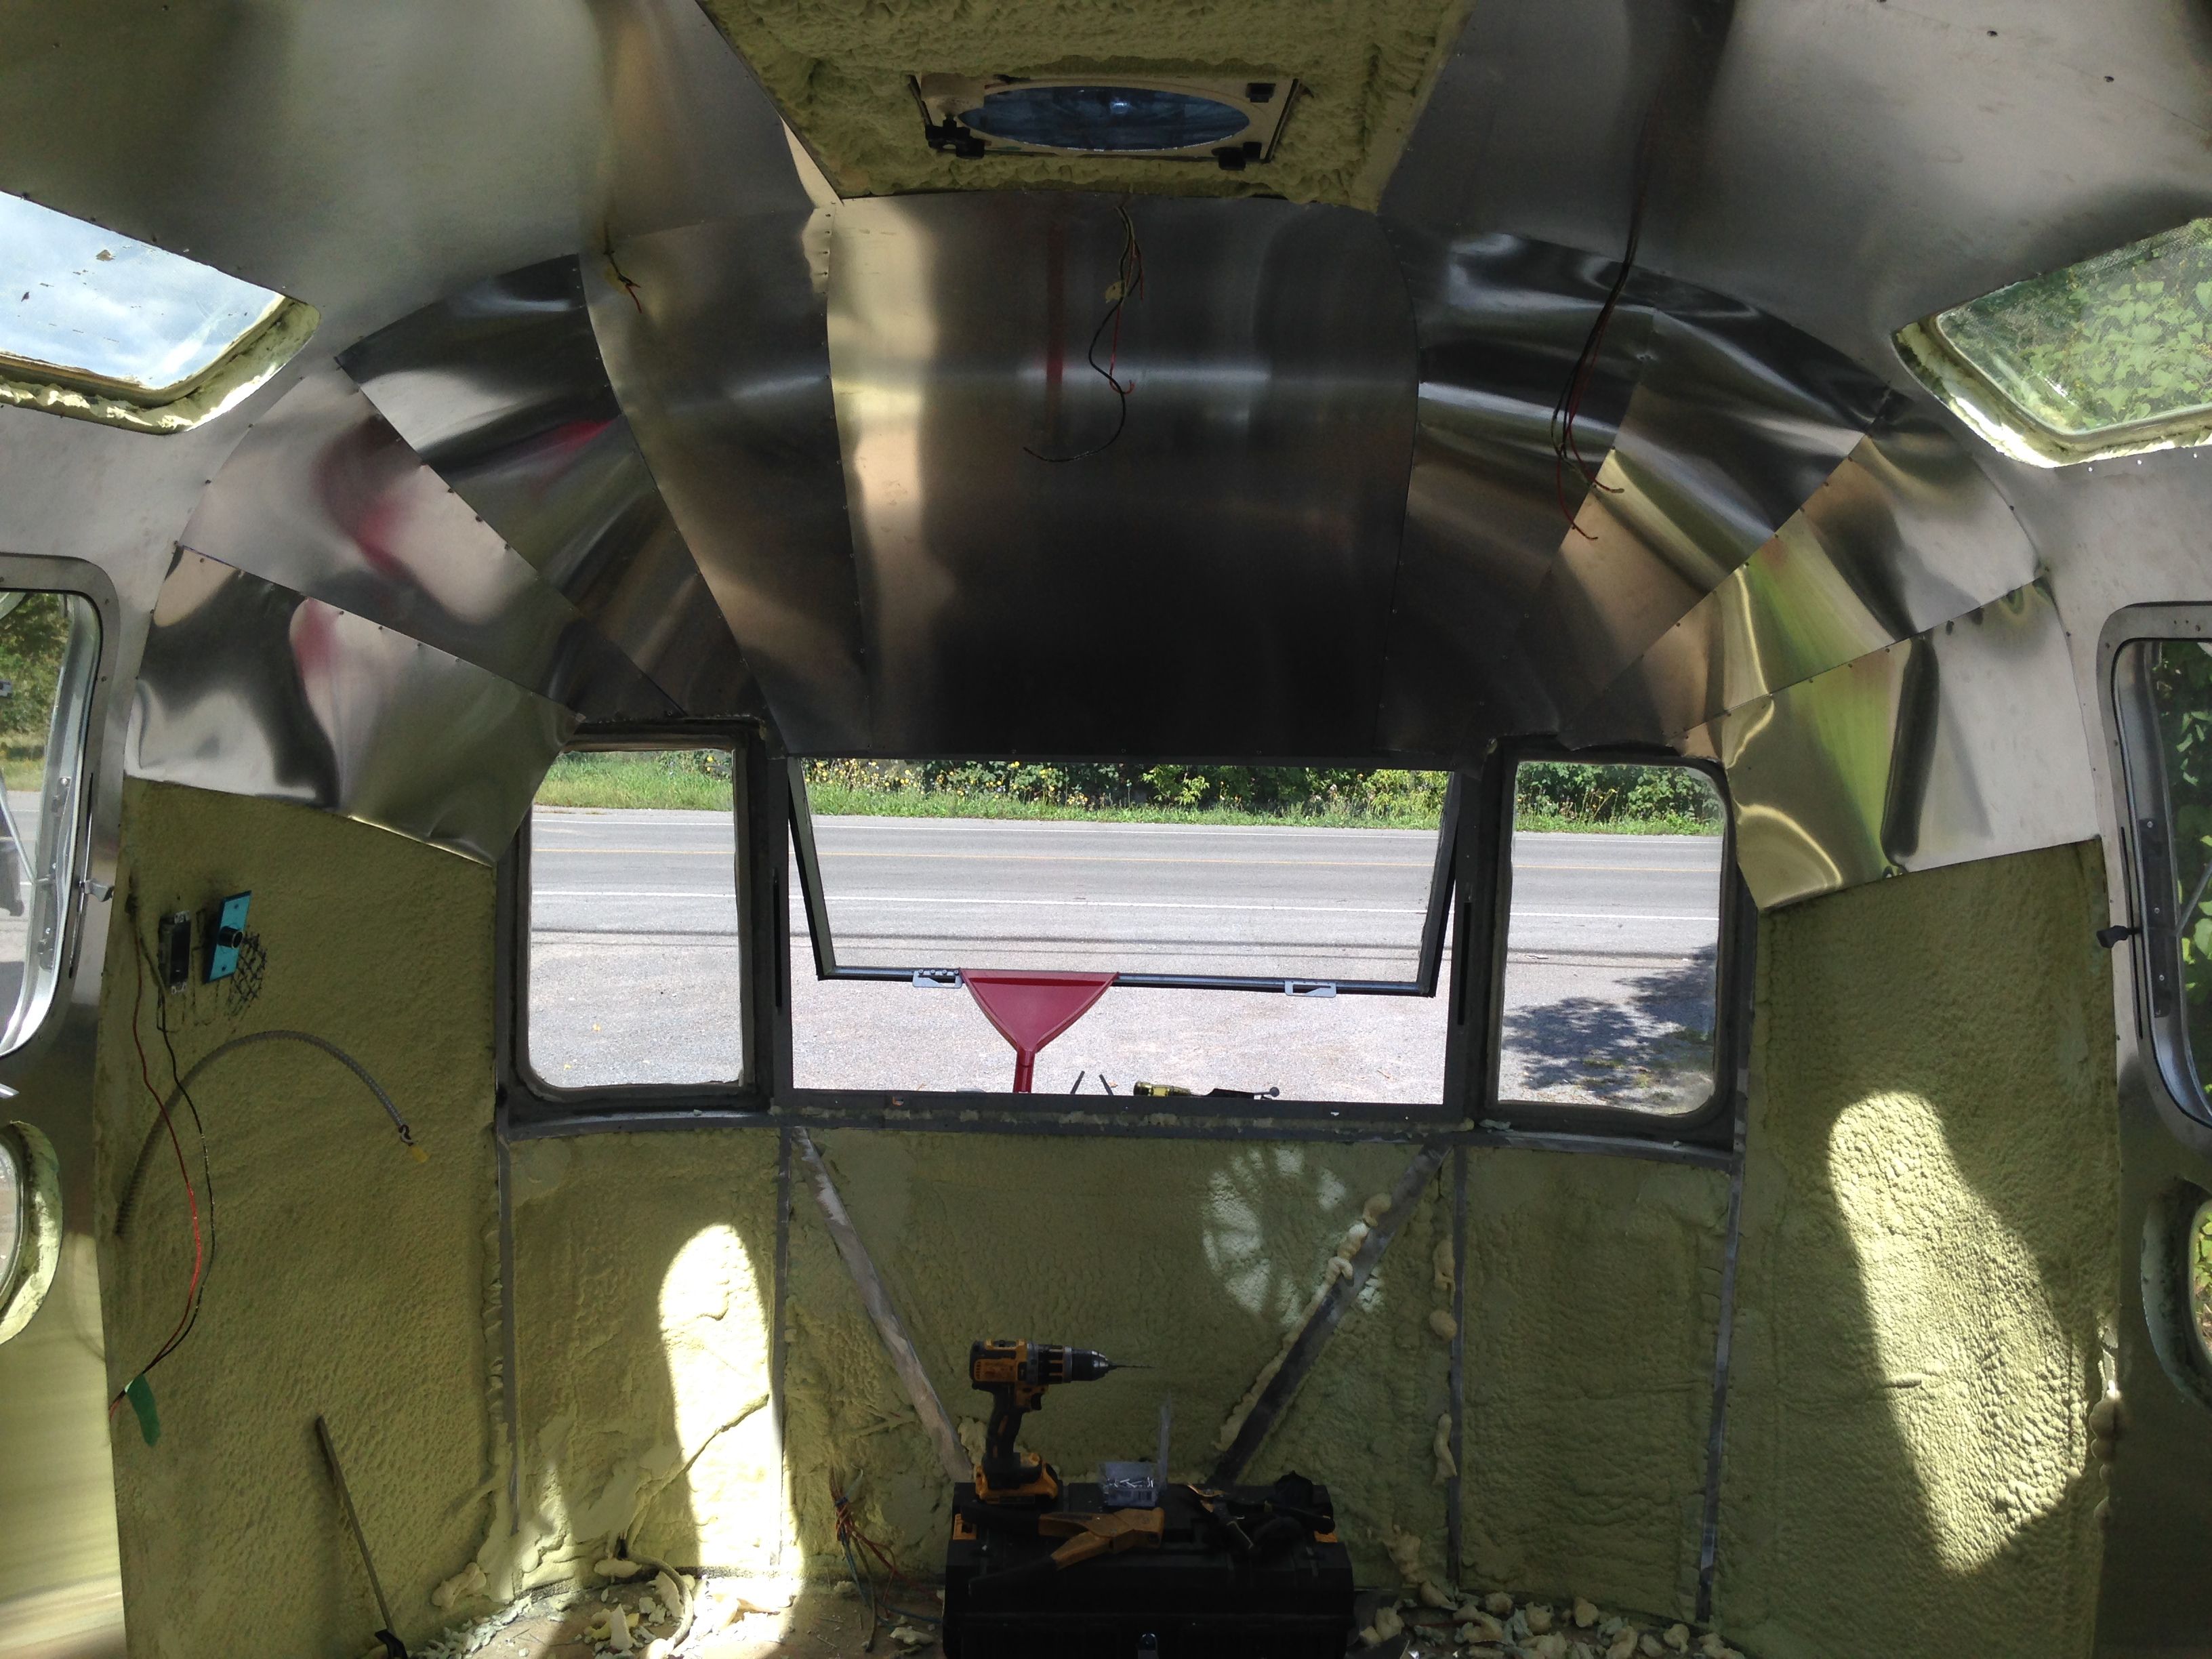
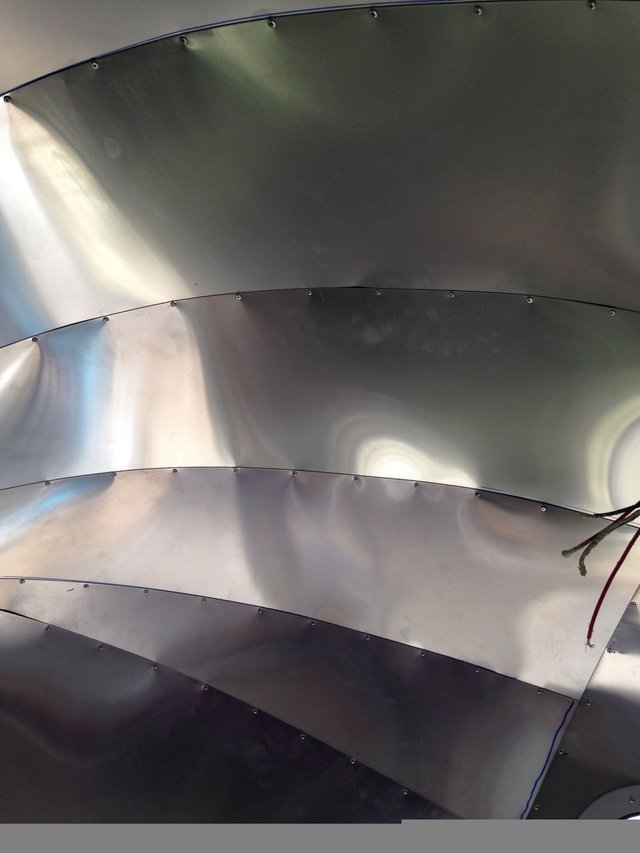
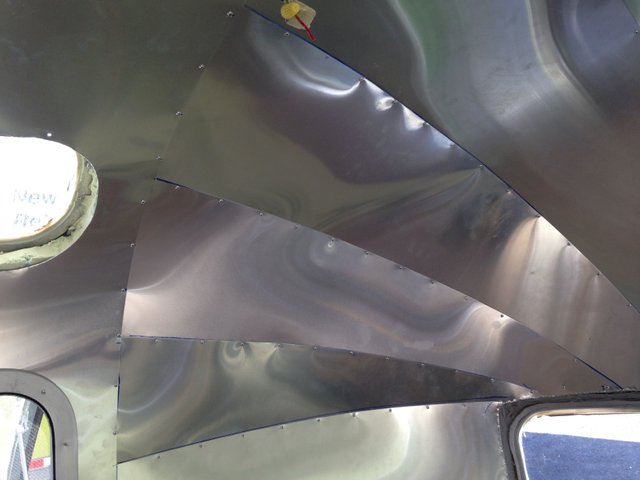
Here are a few closeups of the finished curves. Many fingerprints but no scratches!

You have a very good skill.
I can feel it made hard.
Congratulations @mistahlee! You have received a personal award!
Click on the badge to view your own Board of Honor on SteemitBoard.
Congratulations @mistahlee! You received a personal award!
You can view your badges on your Steem Board and compare to others on the Steem Ranking
Do not miss the last post from @steemitboard:
Vote for @Steemitboard as a witness to get one more award and increased upvotes!