CONTEST ALERT : New DIY contest week29 begins// A VIDEO TUTORIAL ON HOW I CRAFTED OUT AN AMAZING MONOGRAMING DESIGN 😃
Good day Beloves Steemians 😃
It's another beautiful day to participate in this wonderful contest and am so happy to engage with you guys. I will also love to thank this wonderful Community for creating such opportunity, for we the MEMEBERS to delibrate fully on this contest. Finally Below I will be giving a well detailed explanation on how I created this amazing Design using my Embroidery Machine and also a video tutorial on how it was produce. Let's goo
Today, I will be showcasing some steps on how I created this amazing Design using my monograming machine, They name of this design is known to be PATRICIA HOUSE a write-up and sincerely speaking it was really a great job,and I believe you all will learn a lot, Below are some steps I took Let's goo
- STEP ONE
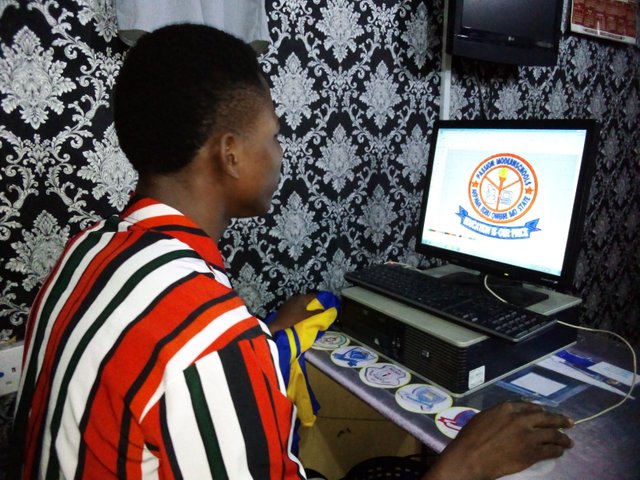
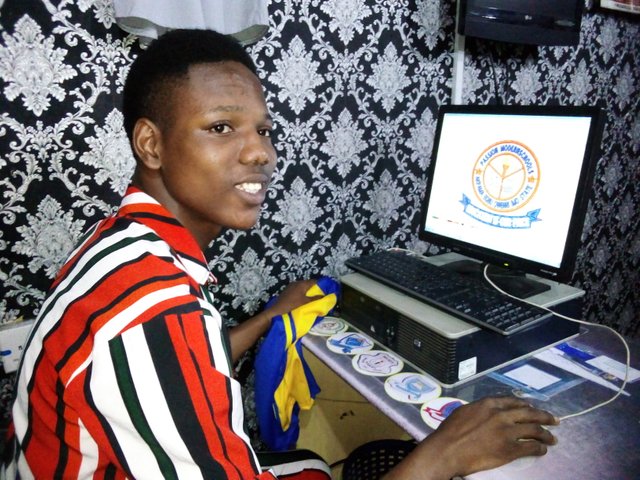
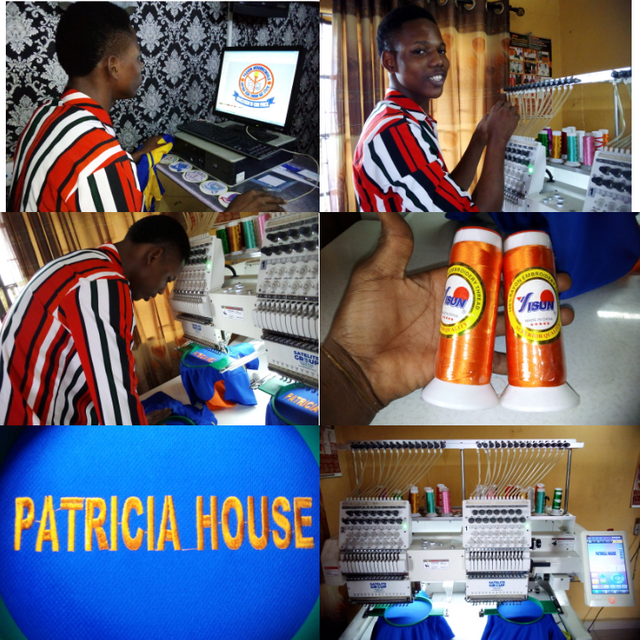
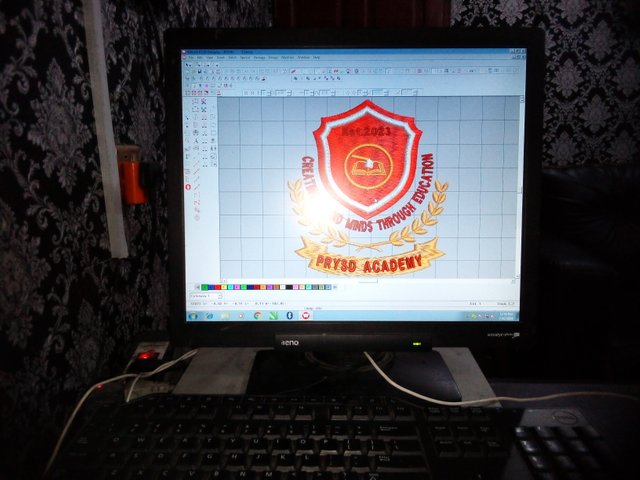
The First step I took was to use my computer system to create this particular Design known as PATRICIA HOUSE. Well this step is always called digitizing which means using the WILCOM APP to create that exact Design you Really want. Well I first create it, which seems to be easy and After I was done I then consider the second step.
 |  |
|---|
- STEP TWO
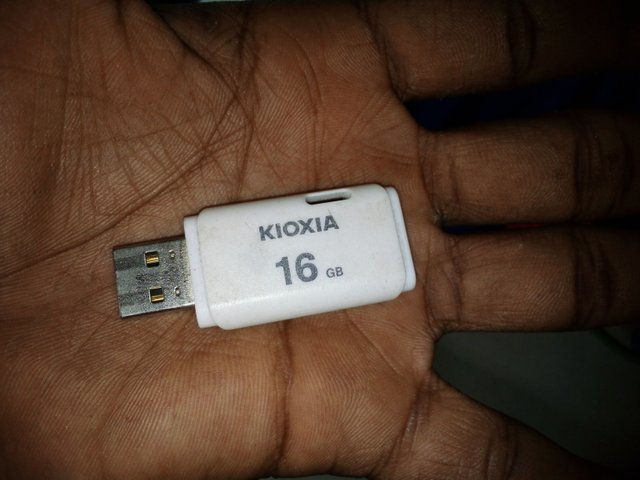
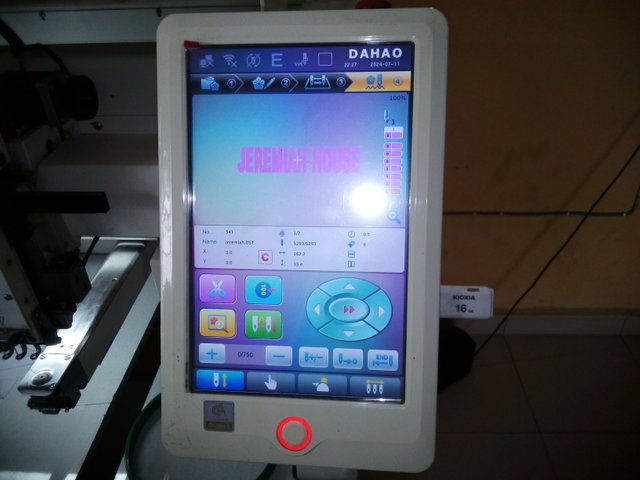
At this point in time, After I was done digitizing it using my computer system, the next thing I do was to transfer it to the FLASH DESK, and through this flash desk I was also able to enact it into the main monograming machine. Which means FROM COMPUTER SYSTEM= (FLASH DESK) = MONOGRAMING MACHINE
 |  |
|---|
- STEP THREE
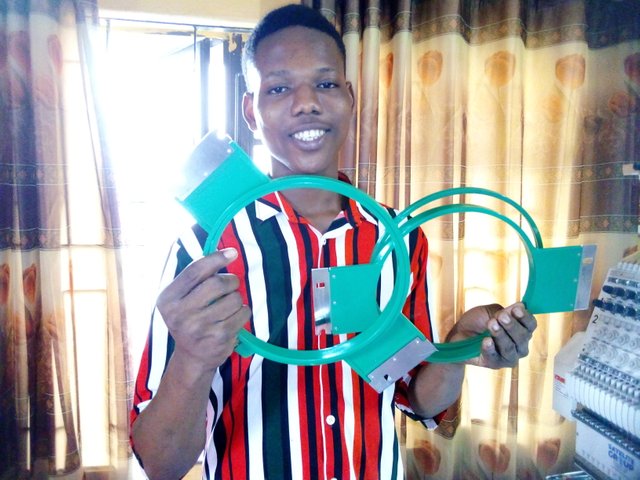
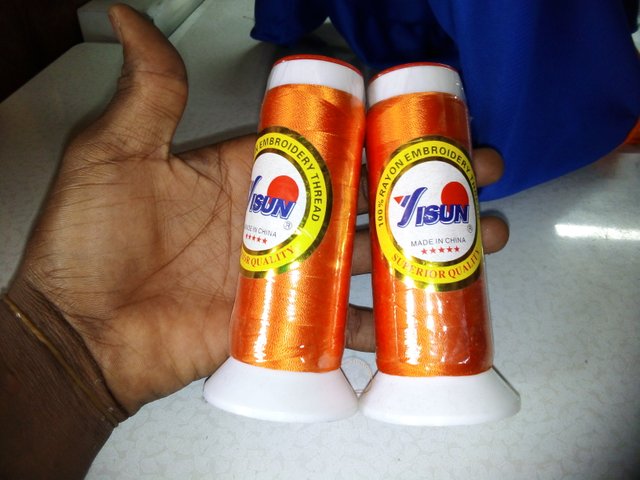
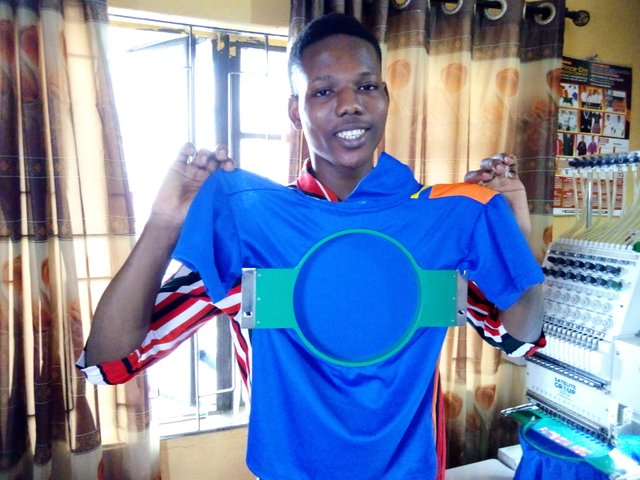
After I was done with my step two which is transferring the already created Design from the computer system to the flash desk and from the flash to the main monograming machine. Then I brought out my working equipment which is my frame and thread.
 |  |
|---|
- STEP FOUR
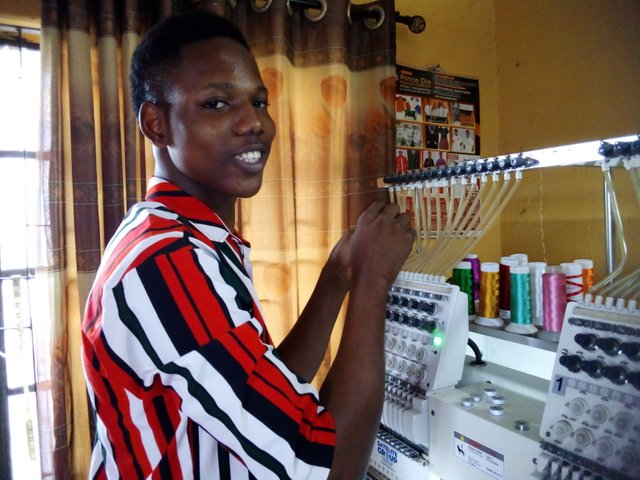
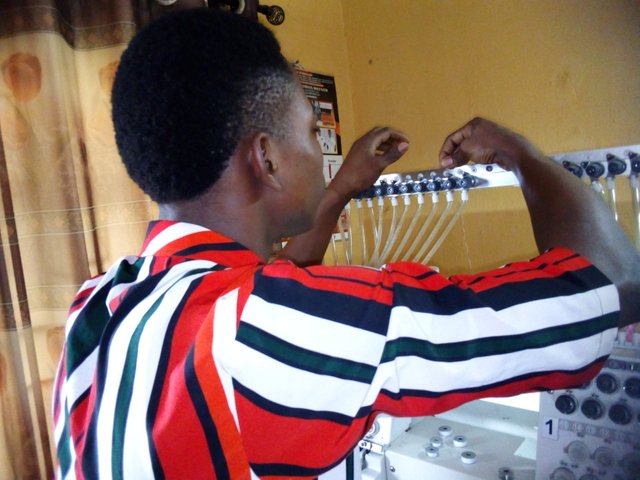
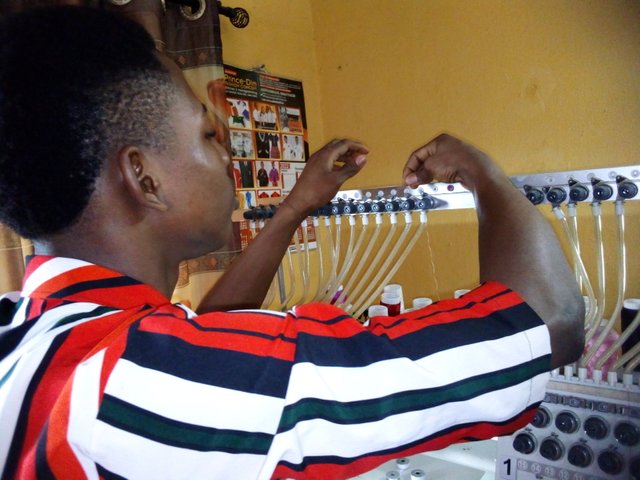
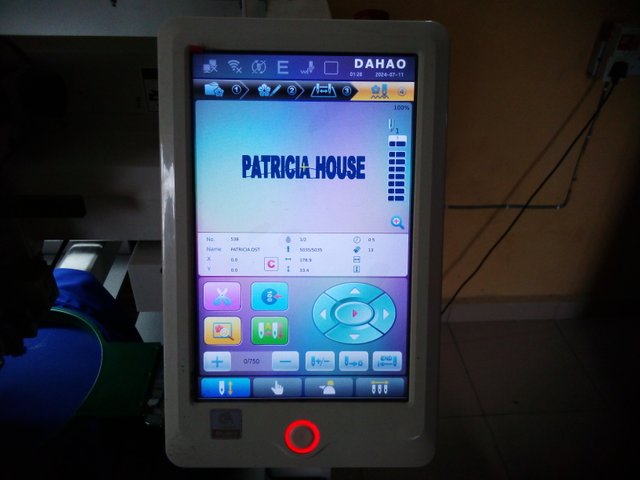
At this point I started adding my thread which will be used for the Design known as ORANGE COLOUR to my monograming machine, well it was really an easy step for me, I added it to the exact needle 7 in the both head, and after I was done I then move to the next step.
 |  |
|---|
- STEP FIVE
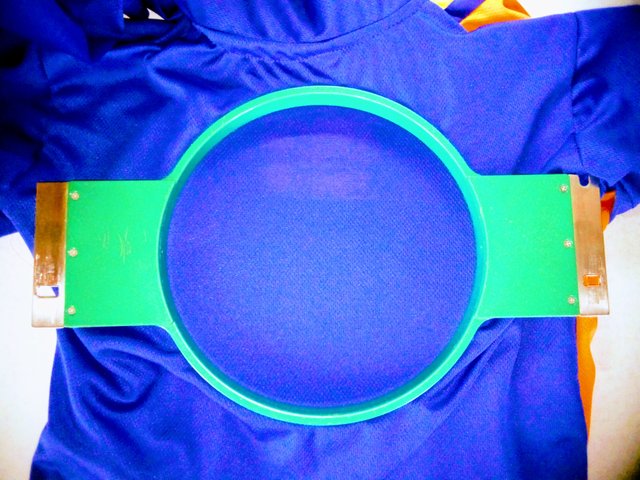
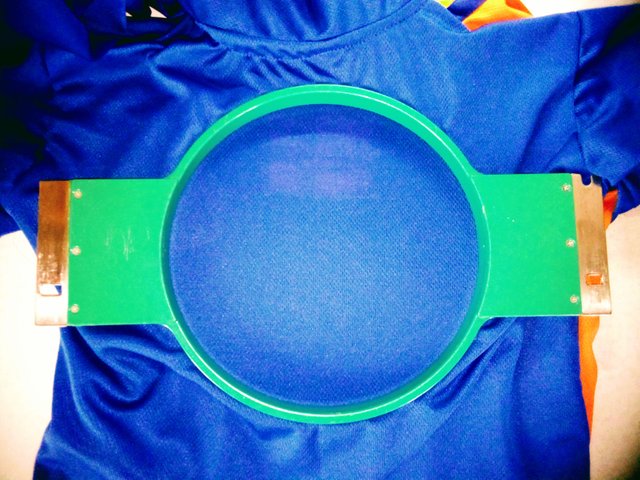
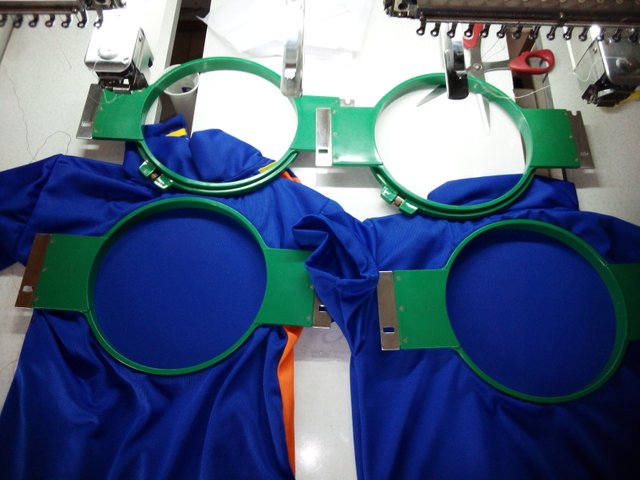 | 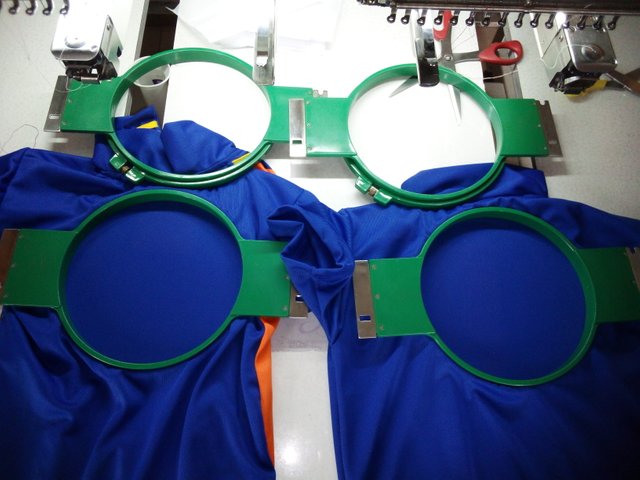 |
|---|---|
 |  |
- STEP SIX
 |  |
|---|---|
 |  |
- FINAL STAGE
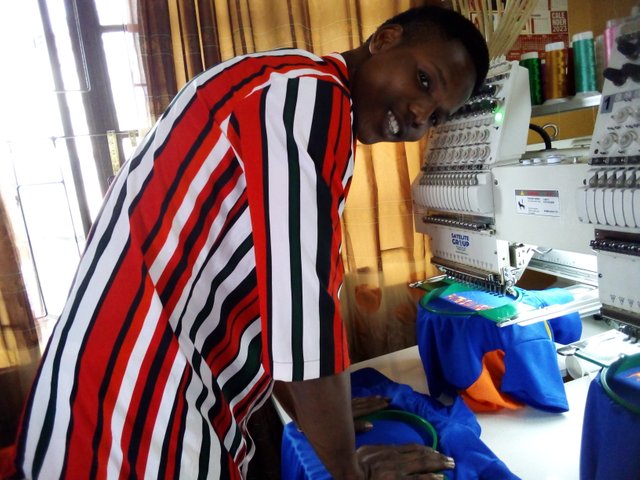
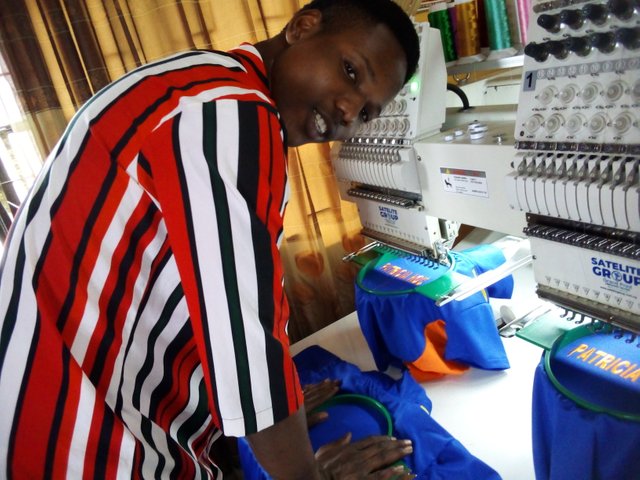
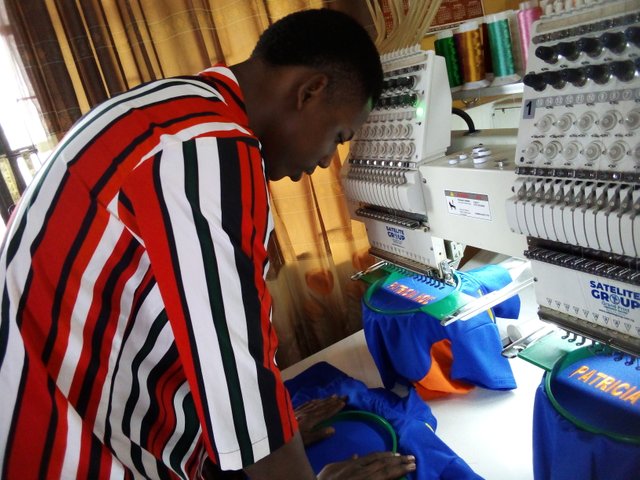
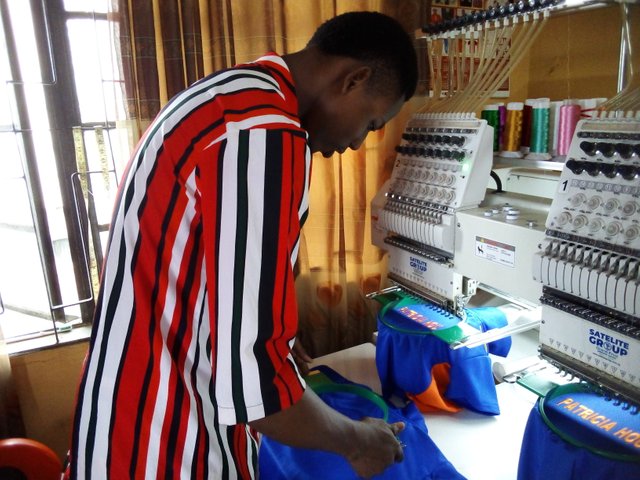
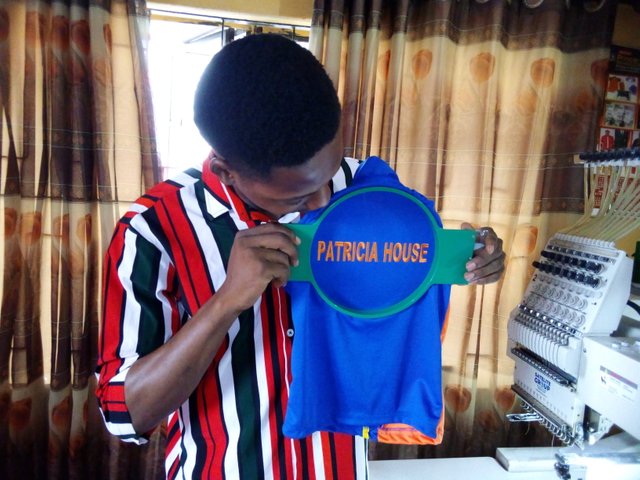
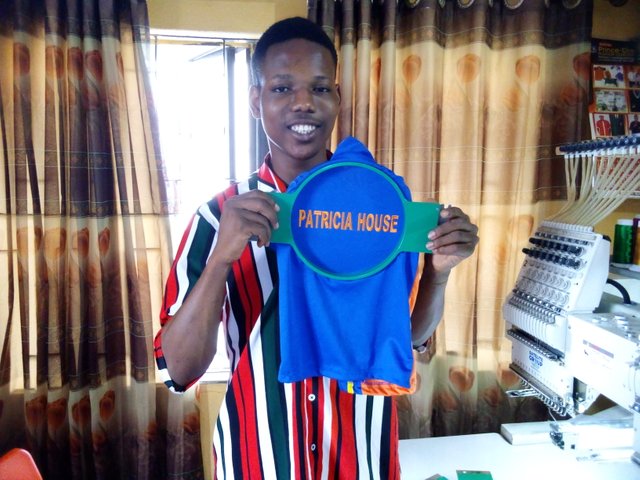
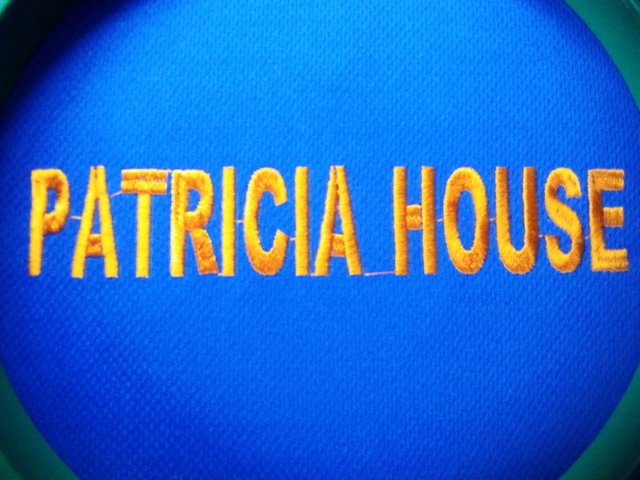
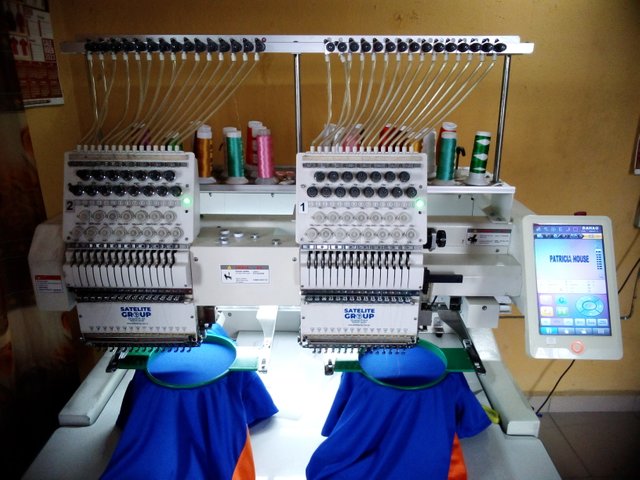
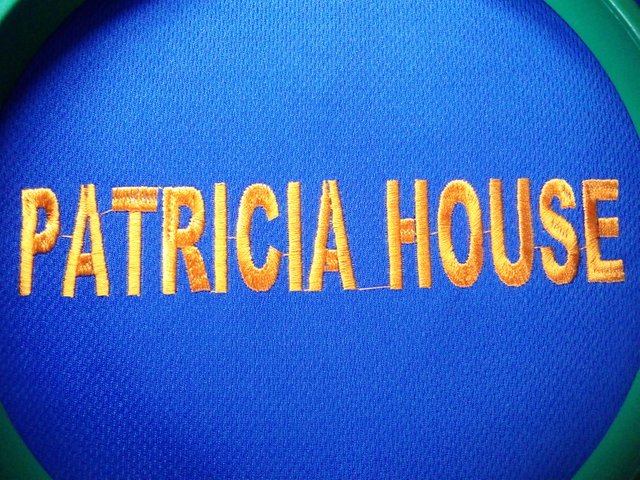
After I on my machine, my monograming machine started placing the Design, which stand to be a write-up, and a name of a sports house known as PATRICIA HOUSE 📌. It took the machine only 5 MINUTES to make this wonderful Design and after a while my Design was definitely ready to be serve 😃.
 |  |
|---|
A VIDEO TUTORIAL ON HOW MY MONOGRAMING MACHINE CREATED THIS AMAZING DESIGN 😃 |
|---|
Above is a video tutorial on how my monograming machine created this design and I believe you all will learn a lot from it.
Thanks for Your VISITATION 😃 I Really Appreciate 😃. Hope you all enjoyed it. Am inviting @saintkelvin17 @josepha @patjewell
🔥ALL IMAGES OWNED BY ME 🔥 |
|---|
- MY REGARDS
@steemkidss
@ngoenyi
Wonderful tutorial bro, I really love it. This your skill is a very wonderful one and I will love to visit this place if we meet someday.
Thanks for the invitation.
We invite you to continue publishing quality content. In this way you could have the option of being selected in the weekly Top of our curation team.
https://twitter.com/Manofgrace0001/status/1811349734163980705?t=__G_r47BLfP__N_J3avW9Q&s=19
We invite you to continue publishing quality content. In this way you could have the option of being selected in the weekly Top of our curation team.
Wow,you are really talented my friend,it seems you are good at this and I urge you to continue with this skill. Success
Thanks you so much, I really appreciate 🙇
Awh! You should not have! To think you did some embroidery in my honor. Wow! 😜
Yes, Patricia is my full name!
Jokes aside. I've always wondered how they do it. Well, because of your detailed post, I now know. Thank you!
Best wishes for the contest!
😇😇😇. Wow, First time knowing your full name [PATRICIA]💃💃. I promise to create a better embroidery Design and dedicate it to you here in this platform. It will be just for you, just show me any Design you want me to create with my embroidery machine, and I will do as you say.
Everyone normally wonder how we operators create such Design, it is not an exposed business . 🤭🤭
Finally thanks for wishing me the best, I really appreciate 🙇🙇
Oh wow!! Thank you!
I will leave it to you to create me a thumbnail image for my account.
That will be so special!