CABINET MAKER X #10 Mahogany Wardrobe Alterations Part 1

Hi everyone,
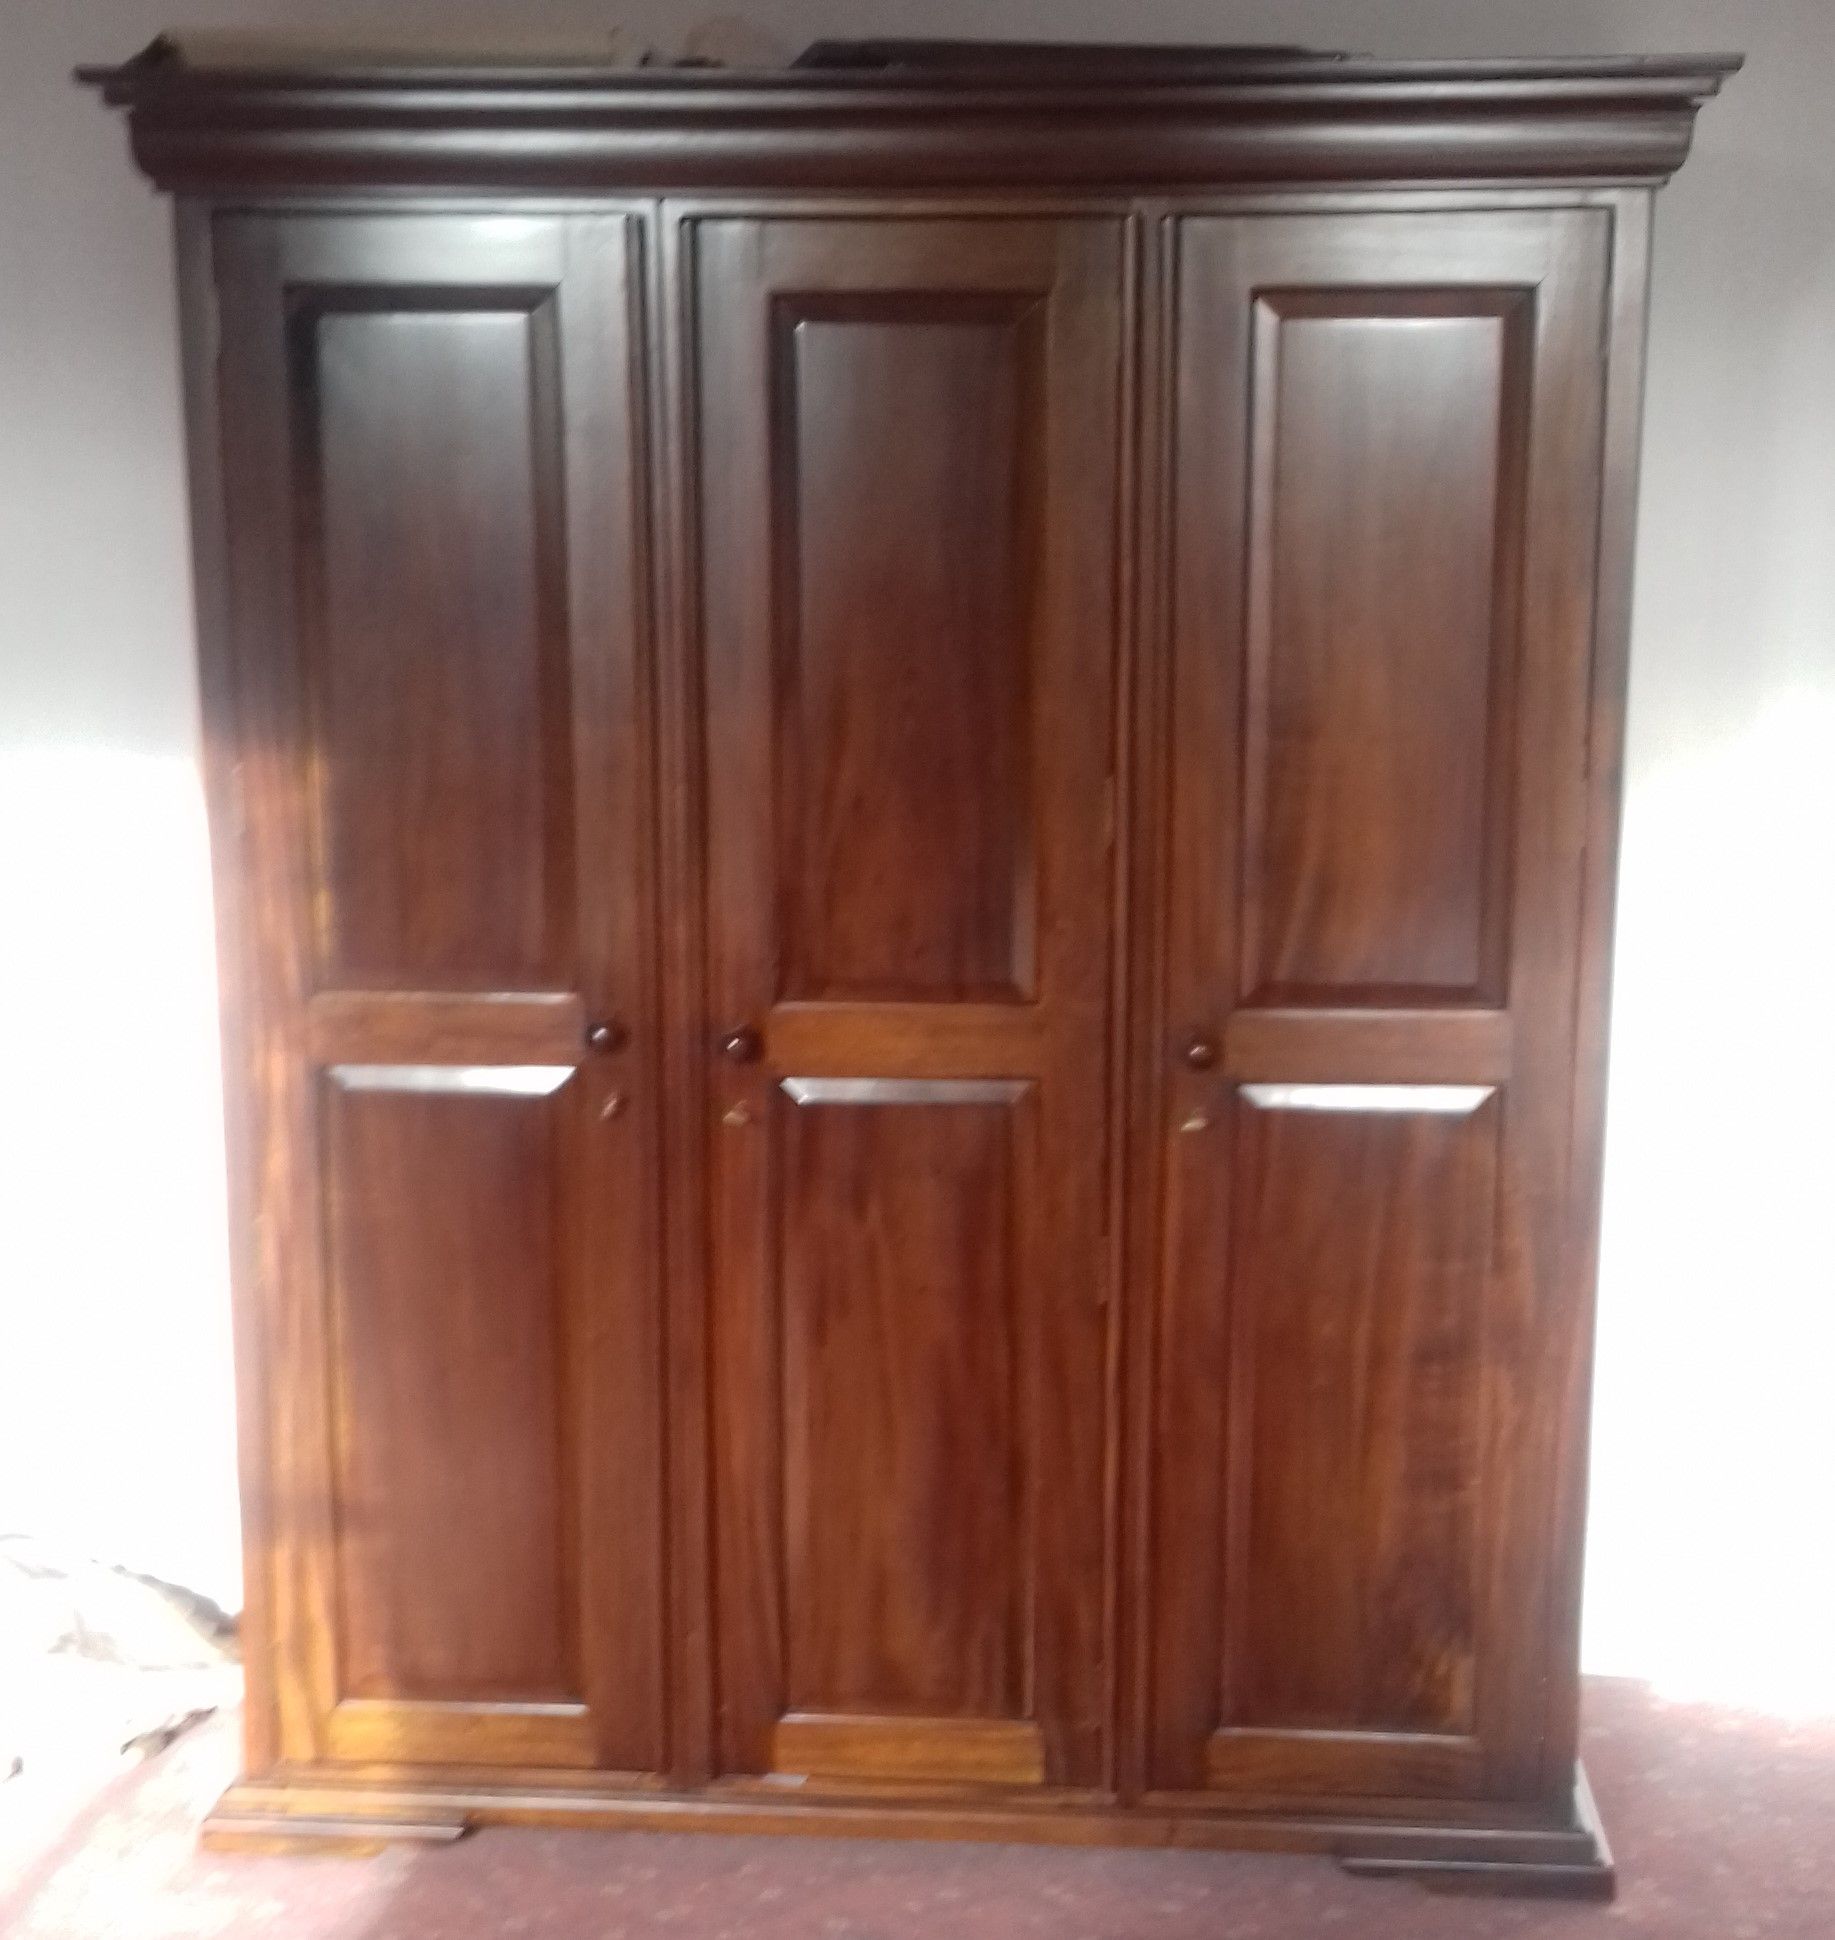
This week I am reducing the width of a mahogany wardrobe for a client of mine.
They are remodelling a bedroom and would like the wardrobe to fit in an alcove. At the moment it is 133 mm too wide.
The wardrobe currently consists of three sections with doors that sit on a plinth and have a cornice along the top.

All three sections have to be reduced but only two of the doors need adjusting.
Originally the client asked me to only reduce the central door but after I had taken measurements it was clear that 133 mm was too much to take out of one door alone.
So in this video I discuss my plan which is to;
Remove the sides of the central section and just use the cross rails to join the side sections together. This will save 45 mm and also remove the visible join that is on the wardrobe at the moment.
Cut down the side sections by 42 mm and reassemble them. I will need to reduce the back panels and the floors as well.
Reduce the width of the two side doors which will keep a nice symmetry. I will achieve this by cutting the hinge side stile from the door , hand cutting new tenons and mortising the stiles.
Because the wardrobe is stained and spray lacquered I will need to fit these perfectly as I do not want to sand the joint after glue up.
I have my work cut out for me and this job will demonstrate a number of skills and techniques.

Disclaimer:
Always adopt safe working practices. The way I do things are for illustrative purposes only and may not work for you so make sure you have all the relevant safety information and protective safety wear.

If you have any questions about woodwork, furniture or being self employed as a crafts person let me know.
I know my wood and I have spent years teaching myself furniture making , furniture history as well as living it as a self employed cabinet maker .
I am also in the process of writing a
'How to series: Setting up a Woodworking Business'
Which you can read here;
Part 1: Workshop
Part 2: Tools and machinery
Part 3: Finding a good timber yard
Part 4: Deciding what type of woodwork you are going to do.
Part 5: Advertising and getting customers
Part 6: Dealing with Customers.
Still I am learning every day and the journey is the point.
We have started a woodworking community here on steemit and would welcome you. We have a discord channel, link here: Woodworking on Steem Discord Channel
And a weekly woodworking post competition ,which you can read about here


Steemfollower is a great way to get more upvotes from like minded steemians.

Many thanks for viewing,
Until next time,
Congratulations! This post has been upvoted by SteemMakers. We are a community based project that aims to support makers and DIYers on the blockchain in every way possible. Find out more about us on our website: www.steemmakers.com.
If you like our work, please consider upvoting this comment to support the growth of our community. Thank you.
Way To GO! Some beautiful work my friend!

Keep On Steemin On!
Thanks Man
as usual some awesome work there my friend
Thanks , it is quite nice doing alterations for a change.
You can read about us here