How To Draw Lou Reed:Portrait Tutorial #11
Welcome Back To Portrait Tutorial #11!
If your looking to hone your artistic ability, check out how a fellow artist works his pieces or even just appreciate looking at the process of art, you are in THE RIGHT PLACE!
Todays Subject: Lou Reed
"Take A Walk On The Wild Side"
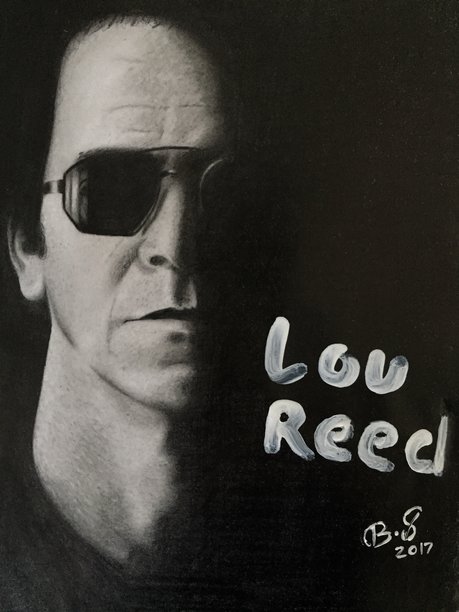
Duration:10 hours Over 2 Days
This was a very high contrast art piece that required a lot of time shading, my suggestion to anyone attempting this is to keep this in mind when planning out size. The bigger you make it obviously may increase time dramatically.
Ever since I was about 13, this man has been a catalyst of creativity for me. I'm inspired every time I hear his voice.
R.I.P to a legend. 1942-2013
Reference Image
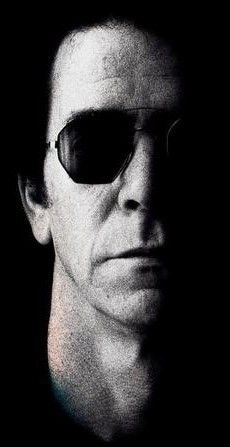
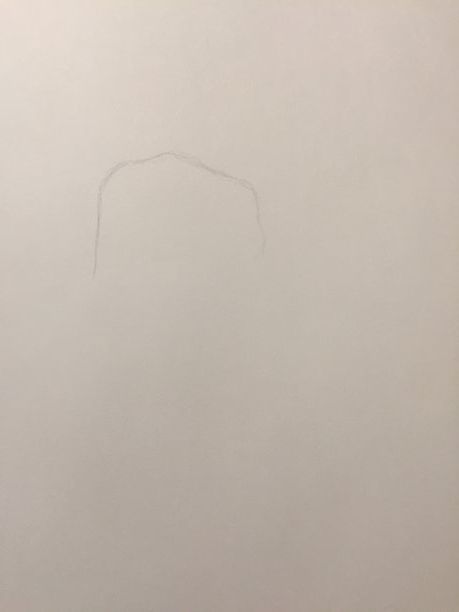
I start this art piece by blocking in the most obvious shapes. The easiest place I feel in this image would be the forehead. Draw in the shape you see made by the surrounding contrast.
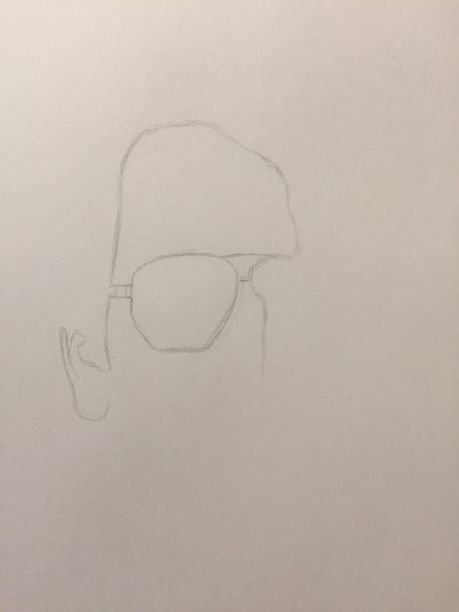
Continue to outline the rest of the face and start piecing in the glasses.
Add the nose. looking back and forth from you reference image to match distance and size.
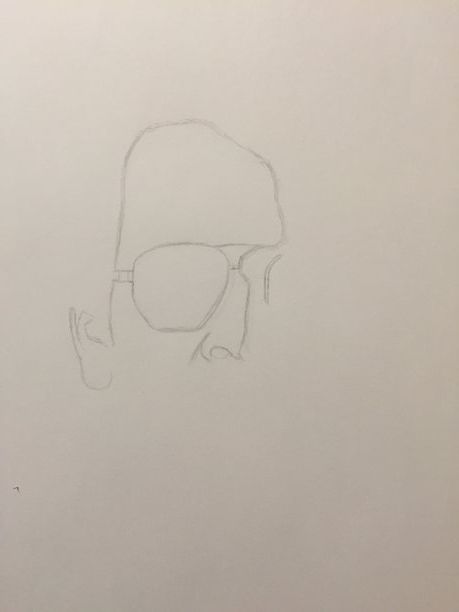
Draw in the mouth and the rectangle regions on the left side of glasses. This will be the most transparent part, and will not be completely shaded in.
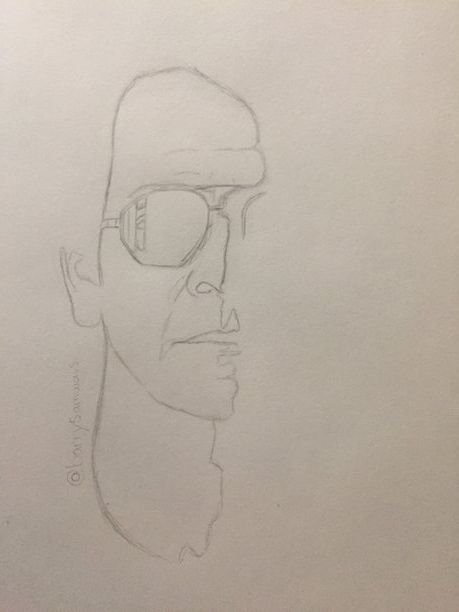
now make place holders for everywhere that has shading. To make things less complicated at first we do not want to worry about exact small details, just general tone level. Squinting your eyes or taking off glasses may help to lessen your view of detail and see the simpler shapes within.
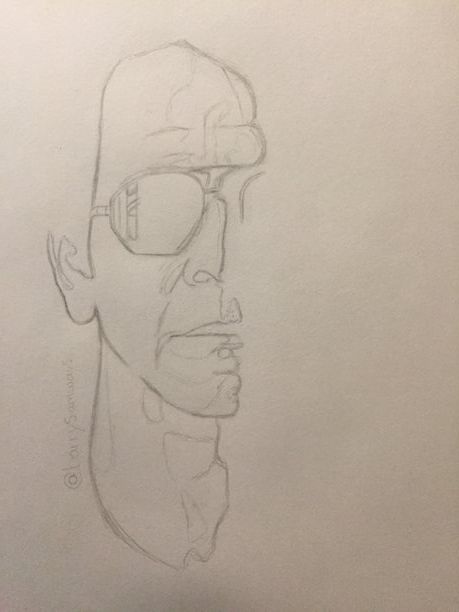
Now we will dive into adding the surrounding contrast that will envelope the lighting on the face and really make this look real.
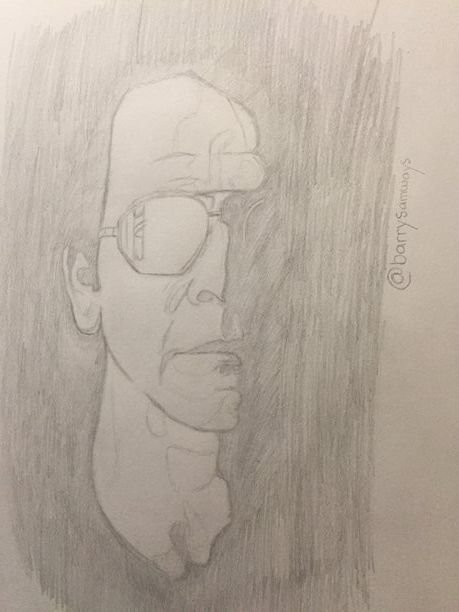
Crosshatch the opposite direction.
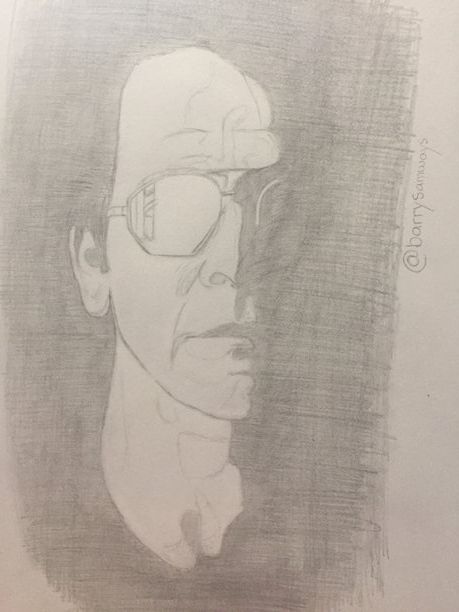
Then smooth over.
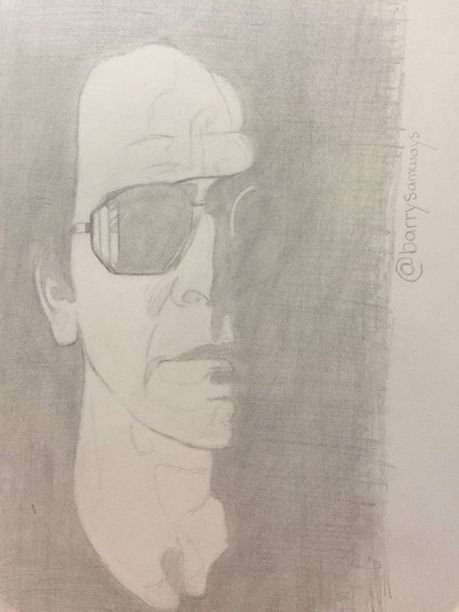
Move from a 2H to a B grade pencil and deepen tone level.
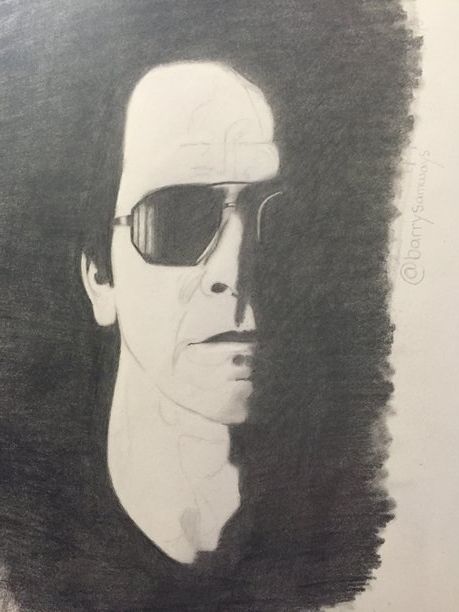
Lightly start to distinguish the lighting on face you shaped in with a 2H pencil.
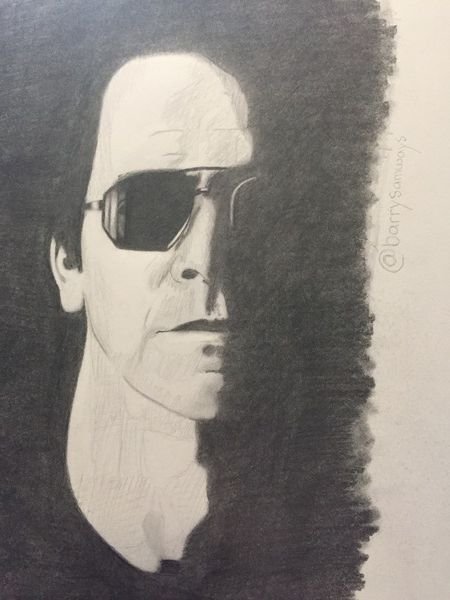
Smooth over with shading stick/Q-tip.
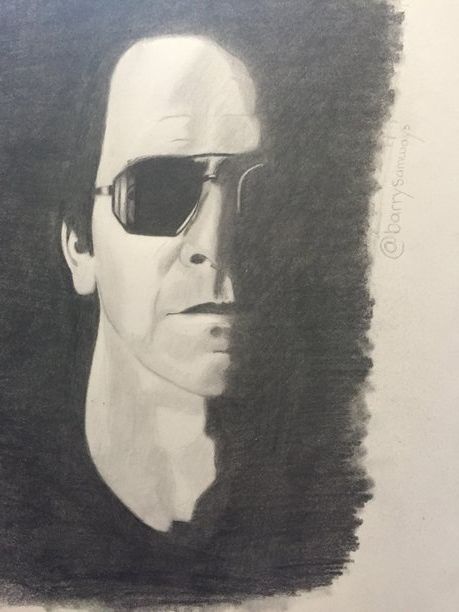
Now I will show you how I accomplish a deeper level of detail for skin texture. Make small notches all over your shading with an eraser.
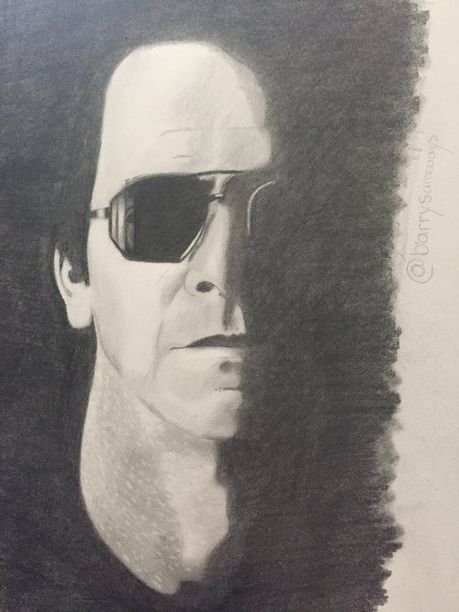
Now take a 2H/HB pencil and make little dots where the pores would be. This is the most tedious task, but taking your time will be rewarded with a beautifully detailed art piece.
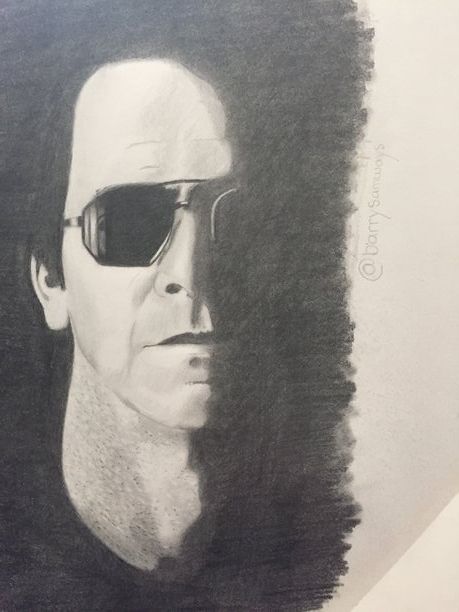
Now when you smooth back over that area you have the illusion of a clean detailed organic texture.
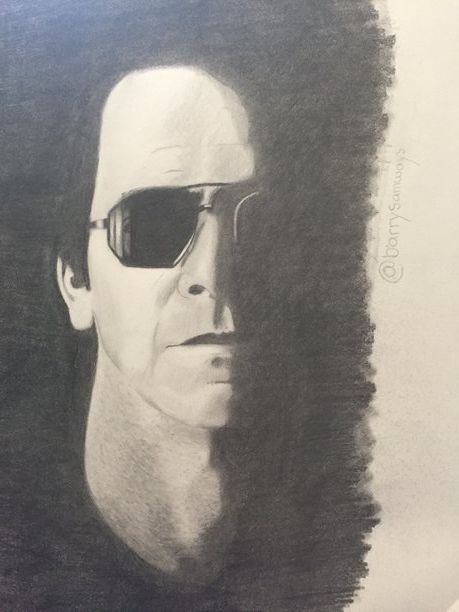
Do the same for the lower face.
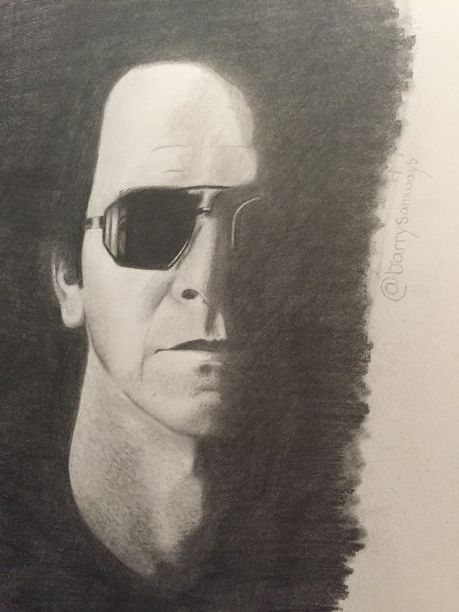
And the forehead.
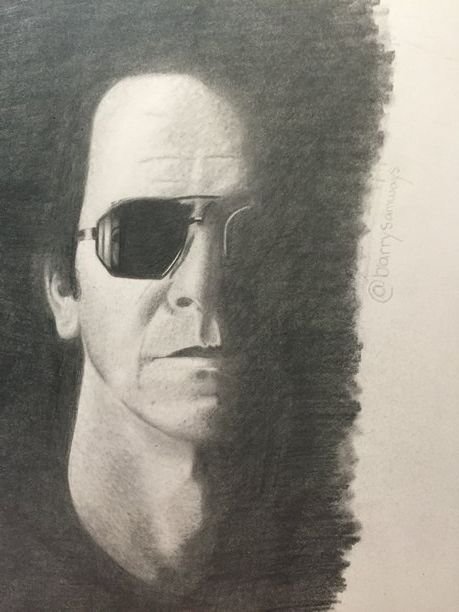
This last step adds the most contrast so I move from a 2B pencil to a 6B and just go back over all the shaded areas I have already made and darken until its a nice even natural shade of black that I am happy with.

Do you love Steem?
Resteem Upvote and Follow to help it grow!
All rewards received from this post will be Powered Up stabilizing the Steem cryptocurrency.
So feel good about those clicks knowing your helping the entire community!
If you have requests for possible future drawings let me know in the comments, and maybe your suggestion will be next.
Steem On,
Barry F Samways
reSteemed
thank you.
Nice one.. Could you write some paragraphs about the tecniques used?
I made a few......This is a complete step by step tutorial. Did you read whole post?
Yes
I don't feel like I will be able to make the portrait with the directions given. Do you think there is no way to talk to us more about the tecniques?!
These are guidelines for more adept artists I make novice level lessons as well. Check out my Fundamental Foundations For Art posts and you may learn better mapping skills and be able to understand this more. Learning to read negative space is the biggest technique challenge you will find here. I have a lesson on that
Read negative space? Not sure what you mean.
This is why you need to read my previous post explaining. Without understanding how to draw the lines you see and their correct angles you wont want to tackle this kind of art piece https://steemit.com/art/@barrysamways/fundamental-foundations-of-art-1-negativespace
What if I read someone else blog / book ?! Maybe i can read yours.. But i dont need it. Isn't it?!
I'm sorry that didn't make sense to me can you reword the question?
wow thank you for these tutorial
makes me so happy you enjoyed the post!
Hi Friend .. Are you having fun yet???? I was just thinking about you and thought I would hop over and see how you are doing!!! I see you are doing AMAZING!!! I am SUPER proud of you and your success thus far .. Keep up the GREAT work Friend .. SUNSHINE247
Already the fact that it's Lou Reed deserves an upvote. Nice work.
Haha Thank you for knowing good music. That deserves upvote.
Thanks, CU later (on the Dirty Boulevard)
and Followed
The craftsmanship is worth it
I'll say it again. If I didn't see the process, I'd swear it was a photo! You are extremely talented. Following and resteeming. Can't wait to see more of your unbelievable work....I'll have to make a special request!!!
Your too kind :) make a request any time! I love to have future ideas for posts
I had a grand idea but its more like ppl than a person...The Beatles!
This is an amazing portrait art! Great work it's so realistic.
Thank you so much :) I'm glad you like it
Mann i just loved how you made the texture of the glasses
awesome! I like how they turned out as well. Follow this tutorial and you can do it too! Just followed you
Great sketch. Great artist. Two great artists!