XUVCoin Masternode Set Up
Hi, I would like to show you guys how to set up remote vps masternode for XUVCoin . Just follow my guide you guys will able to set up a masternode less than 30 minutes! :)
Let's get started.
First you guys need create vps server. I will use vultr for this guide. Here is the link to start https://www.vultr.com/?ref=7188571
Required Operating System: Ubuntu 14.04
Setting Up a Server
After creating Vultr Account click on the big plus sign

It will take you to the creating server page.
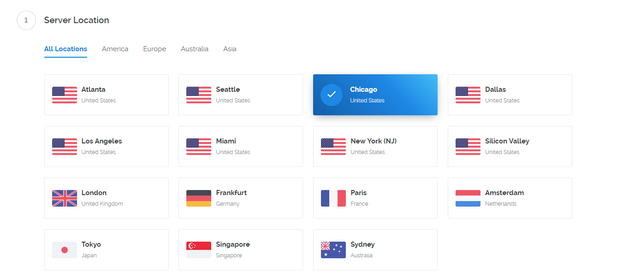
1.First choose your server location. Which means choose the closest place to you. In my case Chicago.
Choose Server Type.
We would like to choose Ubuntu 14.04

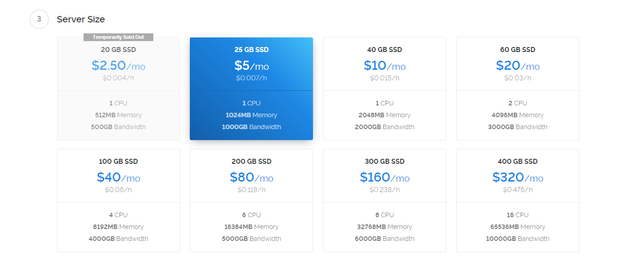
Choose Cheapest Server Size :)
Give it a server name. I named simple XUVCoin-1

Press Huge button Deploy Now and done. Let's wait until server is finished.
Setting up a control wallet with a masternode configuration.
After we have finished setting up a server. We are going to click on the manage

Download Putty In order to access to the server. Here is the link.
https://the.earth.li/~sgtatham/putty/latest/w64/putty-64bit-0.70-installer.msi
After downloading putty go to your windows search bar and search for the putty word it should show up. Now open up your putty in order to access to the server
Now go back to your web browser. You should see this page.

Copy your server ip address put it in the putty.
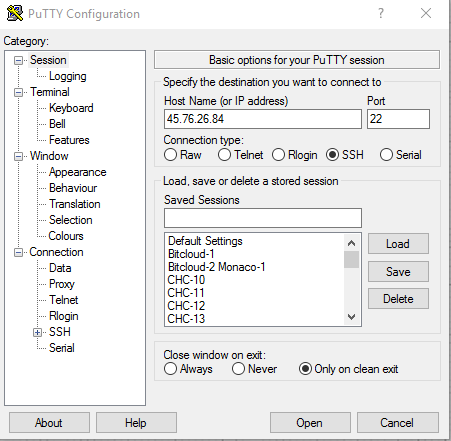
Press Open and press Yes. You should see a terminal looks something like this.
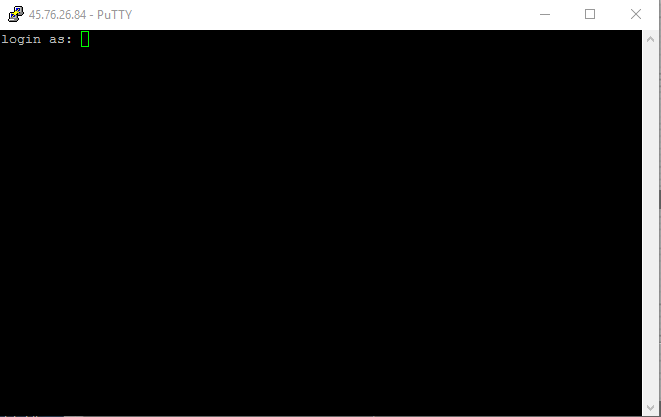
Now type the username:root
press enter
after that copy or type the password. Copy the password from vultr and paste to the terminal simply right click on mouse will paste to the terminal. Password will be hidden.
It is just simply copy paste from now on. Just copy what I have and paste to the terminal :).
- Let's update and upgrade the server
sudo apt-get update -y
apt-get upgrade -y
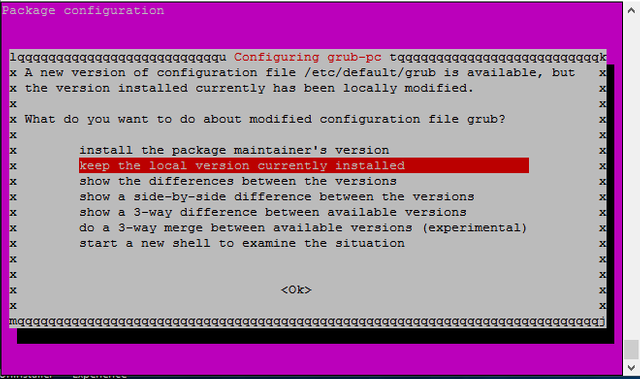
Note: when you see the this thing just press enter inside terminal.
Let's install essentials
sudo apt-get install -y build-essential libtool autotools-dev pkg-config libssl-dev libboost-all-dev autoconf automakeInstalling libsecp256k1
sudo apt-get install git
git clone https://github.com/bitcoin-core/secp256k1
cd ~/secp256k1
./autogen.sh
./configure
make
./tests
sudo make installInstall libminiupnpc
sudo apt-get install libqt4-dev libminiupnpc-devInstall libgmp
sudo apt-get install libgmp-devInstall Openssl
sudo apt-get install opensslInstall Berkeley 4.8
apt-get install software-properties-common && add-apt-repository ppa:bitcoin/bitcoin
apt-get update
apt-get install libdb4.8-dev libdb4.8++-devAllocating Memory with Swap
sudo dd if=/dev/zero of=/var/swap.img bs=1024k count=1000
sudo mkswap /var/swap.img
sudo swapon /var/swap.img
sudo chmod 0600 /var/swap.img
sudo chown root:root /var/swap.img
Now we going to use nano. Nano is linux notepad
sudo nano /etc/fstab
Press bottom arrow and scroll to the bottom and paste this
/var/swap.img none swap sw 0 0
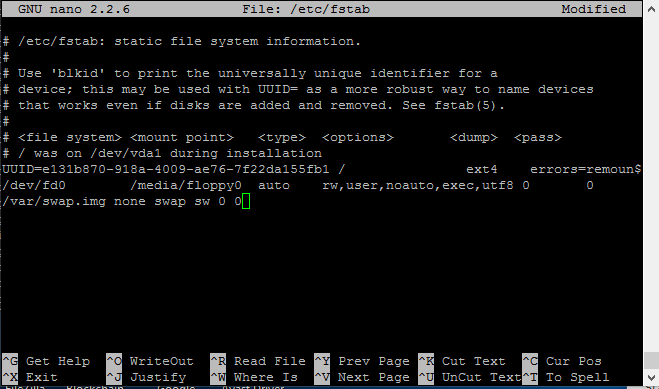
Press CTRL-X > Press Y > Press [ENTER]
- Installing and Compile the Wallet From Source Code
cd ~
git clone https://github.com/XUVCoin/XUVCoin
cd ~/XUVCoin/src
make -f makefile.unix # Headless
Note: 10-20 Minutes Wait time here
10.Command and Running XUVd
strip XUVd
sudo cp XUVd /usr/bin/
XUVd
Important Note in order to sync your windows cold wallet:
Go to your windows search bar and typed %appdata% click on the folder
.txt%20-%20Notepad.png)
Which will bring you to this location C:/users/Your windows username/appdata(hidden)/roaming and find XUV folder and click on it

Now Find file name XUV.conf and open up and paste this info
addnode=93.178.248.10:19117
addnode=145.239.39.141:19117
addnode=67.225.186.33:19117
addnode=94.177.242.42:19117
addnode=142.44.243.194:19117

Save it and exit and open up your XUV wallet let it syncing
11.Getting masternode private key
Go to your windows XUVCoin wallet and open up
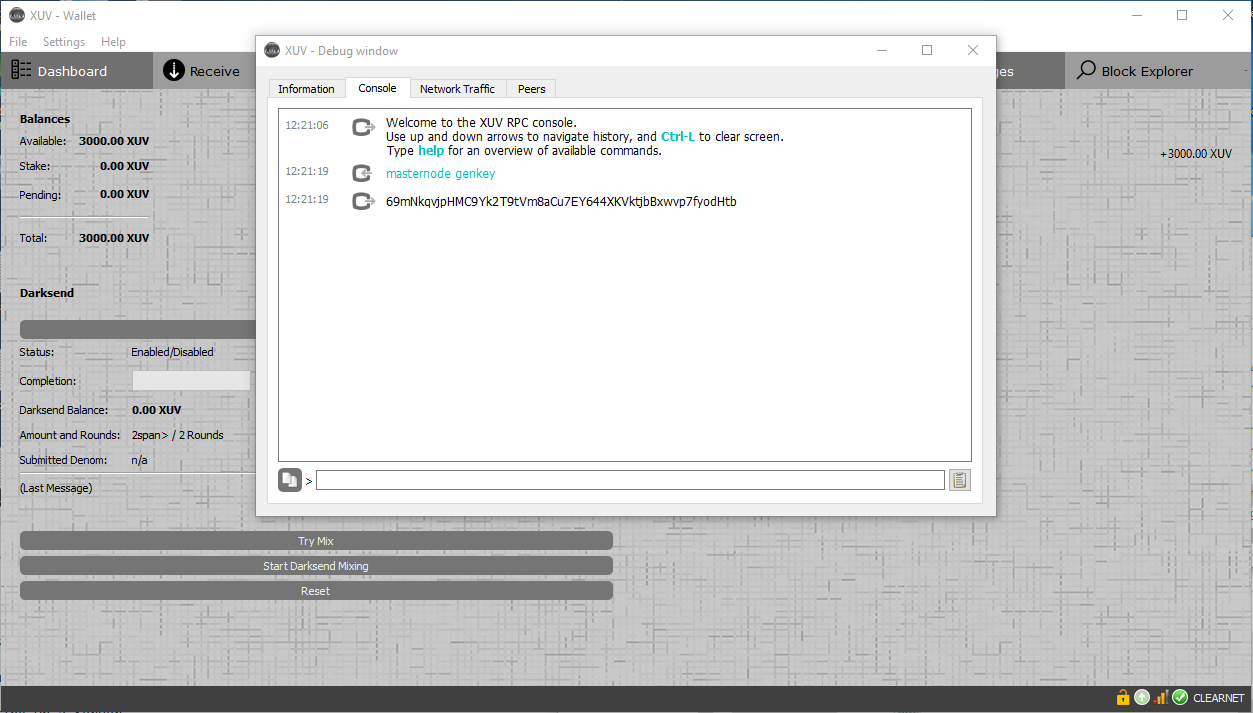
Now go to Help> Debug Window > Console > Type masternode genkey and you should see output this is going to be your masternode private key copy it and save it somewhere
- Configuring XUV Coin For a Masternode
Now do this.
nano ~/.XUV/XUV.conf
Copy and paste this.
rpcuser=putanyworkyoulike
rpcpassword=putanyworkyoulike
rpcport=19116
server=1
listen=1
daemon=1
masternodeaddr=[your-server-ip-address-here my is 45.76.26.84 ]:19117
masternode=1
masternodeprivkey=[your masternode private key from step 11 my is 69mNkqvjpHMC9Yk2T9tVm8aCu7EY644XKVktjbBxwvp7fyodHtb]
Press CTRL-X > Press Y > Press [ENTER]
We are done configuring the masternode now let's started XUVCoin masternode!
XUVd
Great we are almost finished!
13.Configuring Masternode Cold Wallet
Let's go back to windows XUVCoin wallet.
Go to Receive > New Address MN01 > Press OK
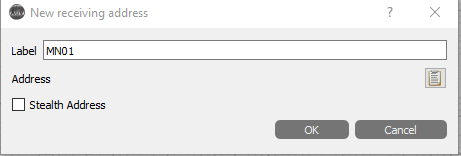
Let's copy adress

Send Exactly 3000 XUV coins. NOTE: Go to your transactions wait for at least 15 confirmations
14.Getting TxHash and TxIndex
Now Go to Help > Debug Window > Console > Type masternode outputs
You should see some thing like this but different values
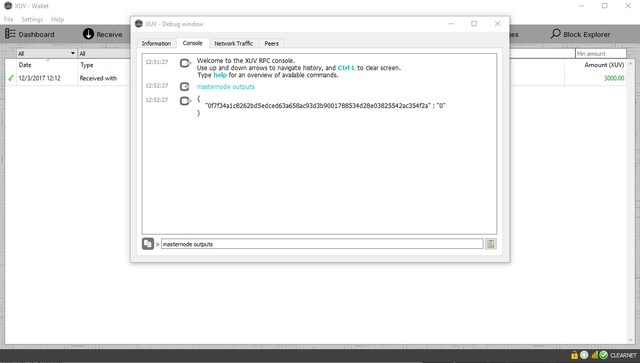
Copy this information and save it and exit out from console.
15.Creating Masternode from windows.
Now go back to your windows wallet go to Masternodes > Create
Fill out like this

Press OK
Now Press Update

After that press Start All
Your masternode is completed
Thanks for this, i we are getting involved in running master nodes and i wanted to use xuv to start with account of the low value.
Great guide! Thank you.
It will be work for Virtus masternodes too!
https://www.virtuspay.co