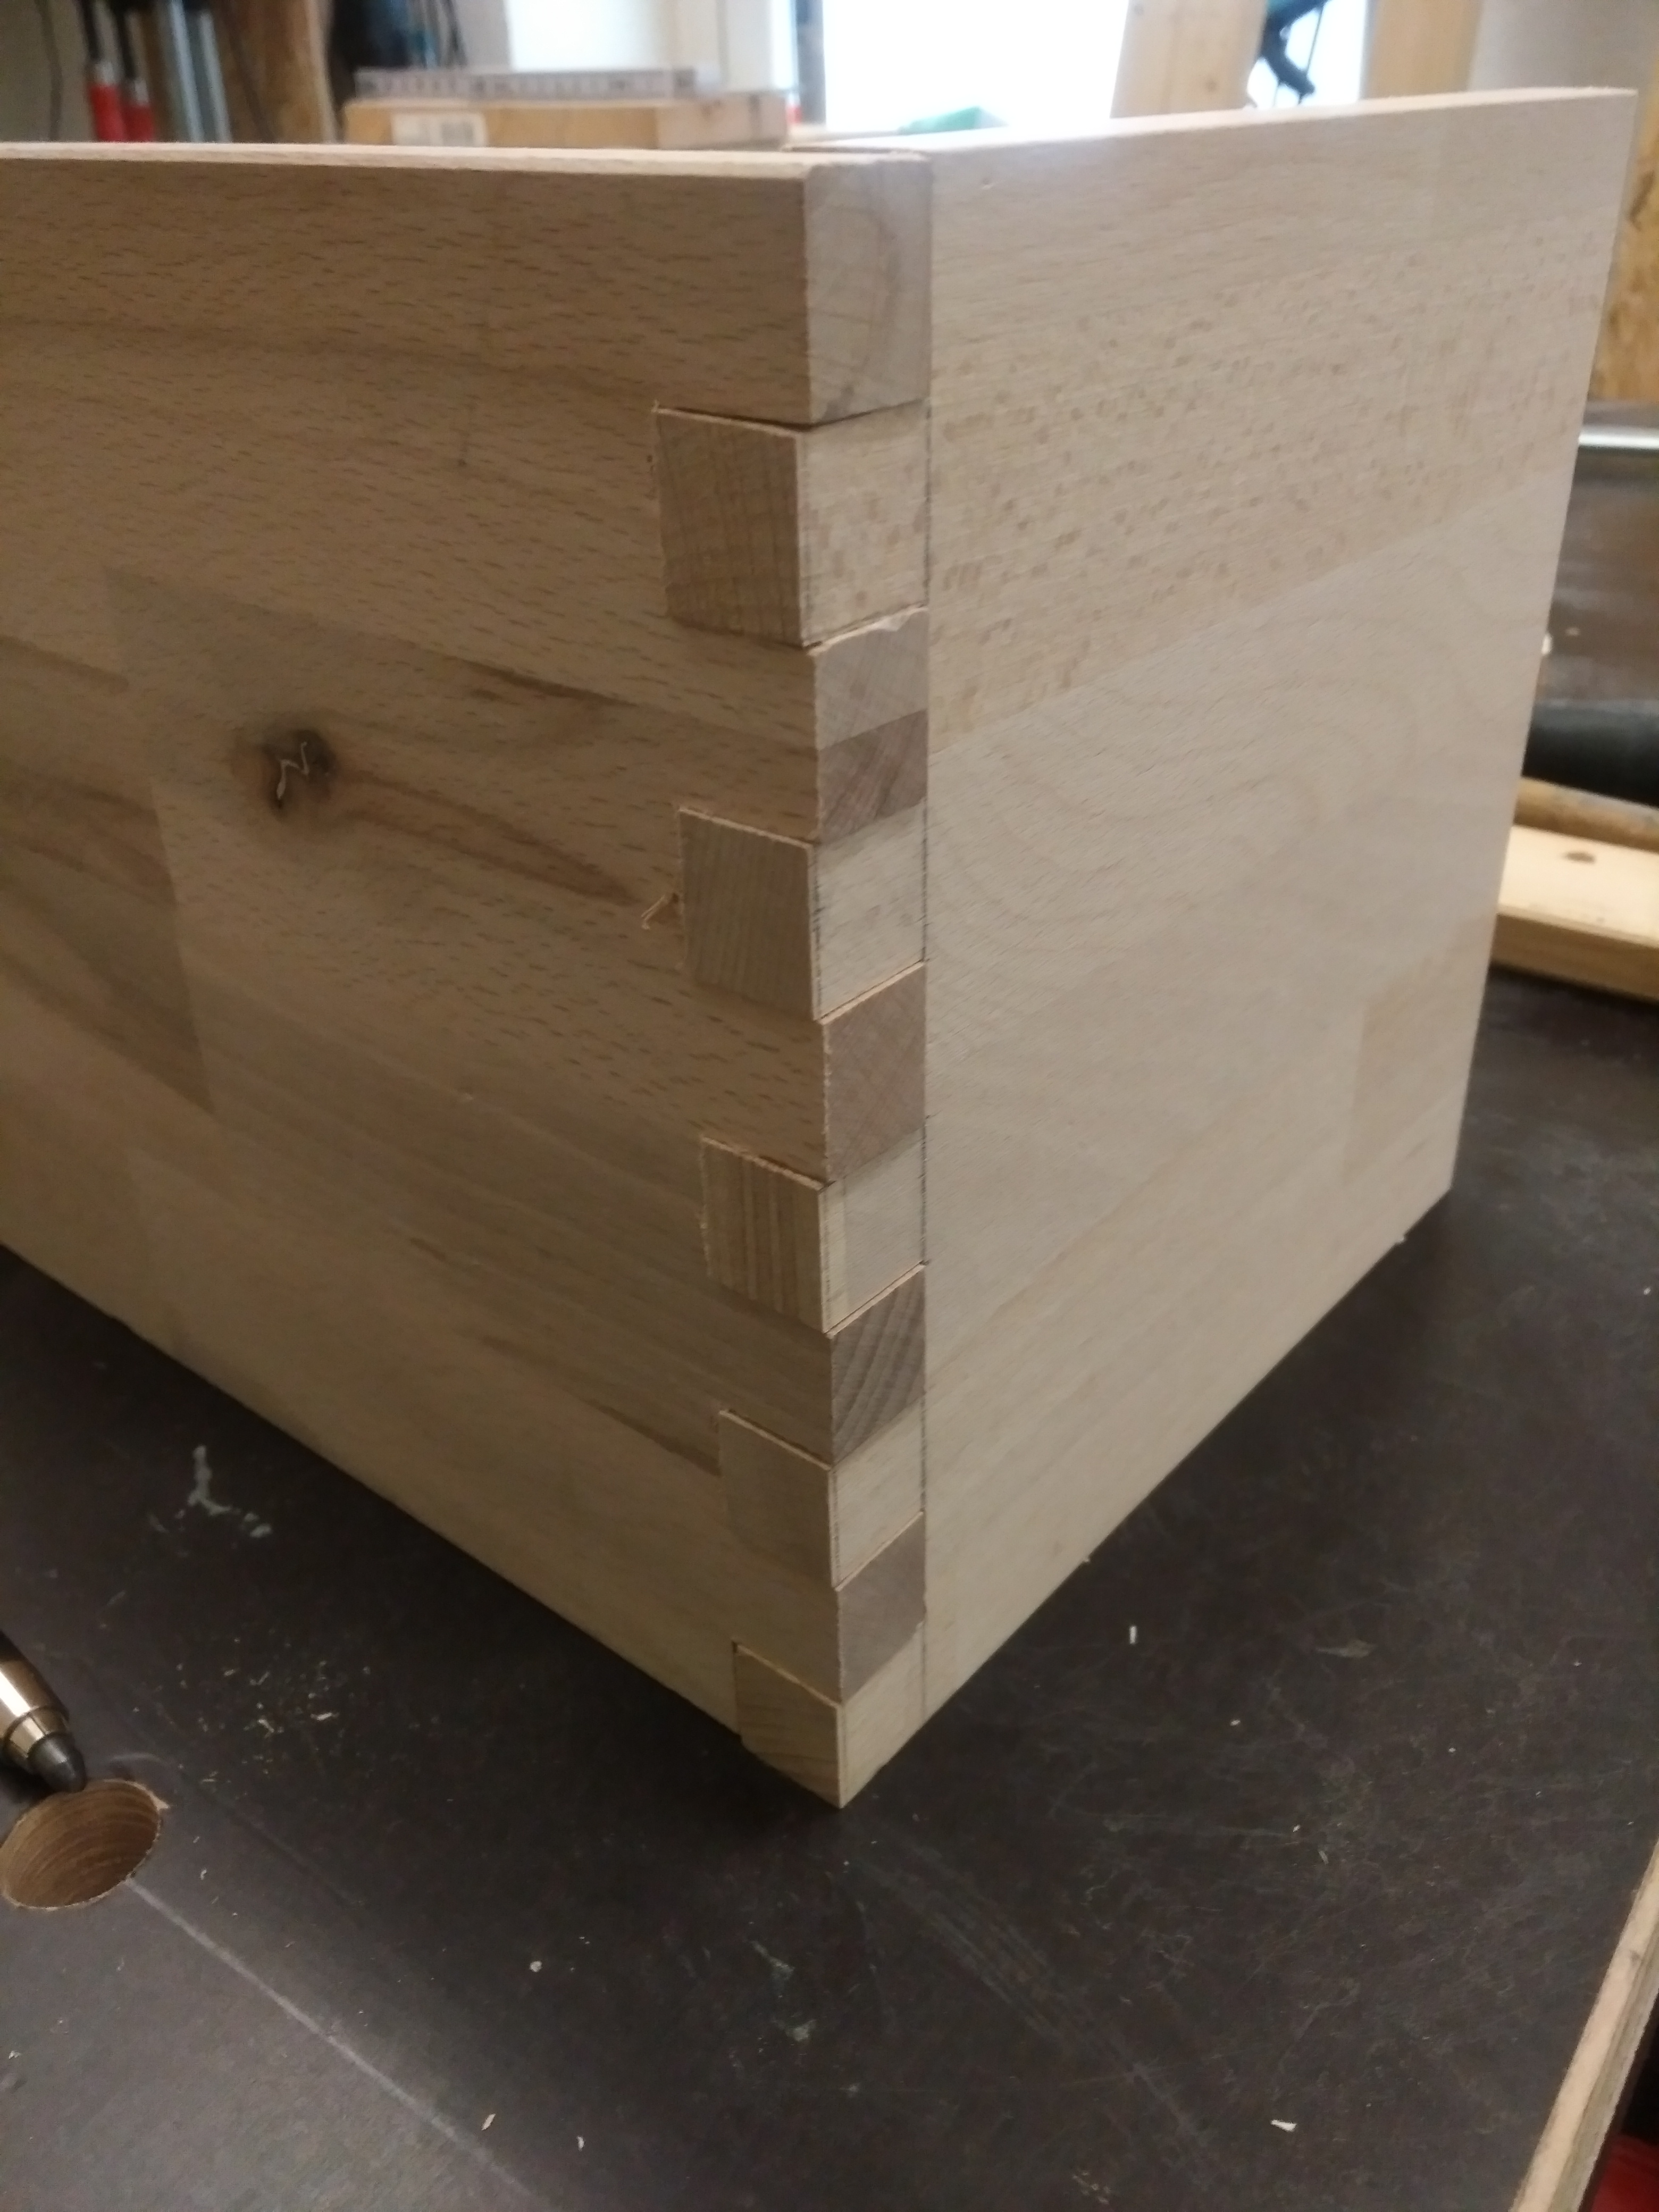
einfache Zinkenverbindung / simple tine connection
Einfache Zinkenverbindung mit der Tischkreissäge
Am beginn des Projektes Meerschweinchen - Haus stellte sich die Frage wie sollen die Holzverbindungen ausgebildet werden?
Hier viel nun die Wahl auf eine Einfache Zinkenverbindung.
Heute die einfache Zinkenverbindung

Das Material / Werkzeuge
Das Material
- Holzreste (am besten 20 cm X 20 cm) 2 Stück
Das Vorgehen
Anzeichnen
- Brett dicke auf alle Bretter übertragen
- Zinken gleichmäßig aufteilen (in diesem Beispiel: Zinkenstärke 2 cm)
Vorbereiten des Sägevorgangs
- Beide Bretter 2 cm (Zinkenbreite) versetzt zusammen zwingen
- Den Sägeanschlag auf das gewünschte Maß einstellen
Das Vorgehen an der Tischkreissäge
- Für den ersten Schnitt, den Sägeanschlag auf Zinkenbreite stellen und sägen
- Für den nächsten und weiteren Zinken wird der Anschlag jeweils um 2 weitere Zinkenbreiten verstellt.
- so geht es weiter bis alle Zinken geschnitten sind
Überprüfen der Zinken und zusammen stecken. Solte es nicht passen sind nur leichte korekturen mit einer Feile nötig.
Fertig 😉
Viel Spaß beim Werkeln
euer Bastler und Co. Team
Dank für eure Unterstützung
Wunschliste für spätere Projekte
[Spenden für unser neue Kamera](https://paypal.me/linerus)Simple tine connection with the table saw
At the beginning of the project ** guinea pig - house ** the question arose how should the wood connections be formed?
Here now much the choice on a simple tine connection.
Today the simple tine connection

The material / tools
The material
- Wood residues (preferably 20 cm X 20 cm) 2 pieces
The procedure
Mark
- Transfer board thickness to all boards
- Divide tines evenly (in this example: tine thickness 2 cm)
Prepare the sawing process
- Both boards offset 2 cm (tine width) offset together
- Set the saw stop to the desired dimension
The procedure on the table saw
- For the first cut, set the saw stop to tine width and saw
- For the next and further tines, the stop is adjusted by 2 additional tine widths.
It continues until all tines are cut
Check the tines and put together. If it does not fit only slight korekturen with a file needed.
Finished 😉
Have fun with the work
your Bastler and Co. team
Thanks for your support
[Donations for our new camera](https://paypal.me/linerus)▶️ DTube
▶️ IPFS