Old Barn Wood Dining Table
Happy hard fork eve everyone. I am in a happy and apprehensive mood, I am excited about the unique path we are about to partake and the price of steem went up 3 cents 4 cents nope back to 3 cents while I was writing this post.
Old Barn Wood Dining Table
I have finally arranged all my pictures from my big woodworking project last winter, one year later right? This project was done at my friends shop, a much higher quality wood-shop than my wood-shop, with a parking space.
I found the plans for this project on a great website called Ana-White.com The plans can be found here. I mixed two plans together, switching out the table top from this plan. I used 2x6s for the legs instead of 2x4s, I liked the hefty look of the 2x6 legs. And always modify as you go, everyone does it. I find that I will finish more projects when I am carefree and flexible, instead of quitting after I find a board or tool that I don't have.
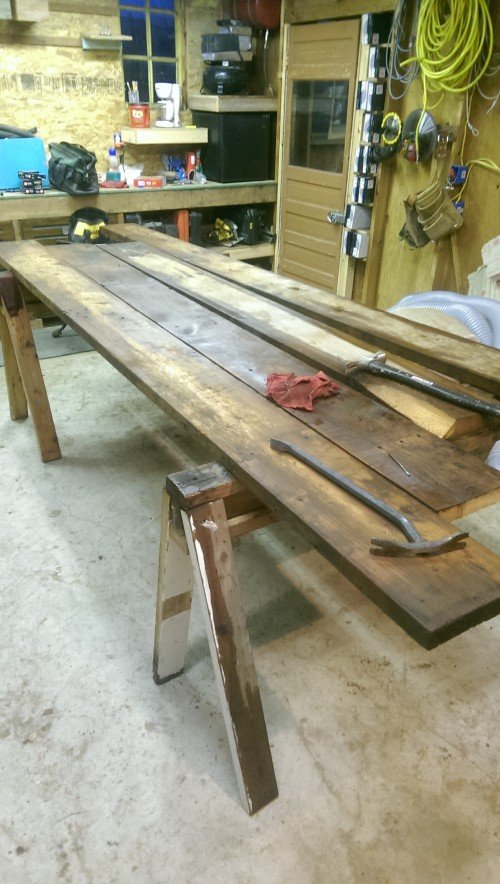
First I cleaned off the boards and removed the nails, old nail holes look awesome when you add finish to the completed project. I even thought about leaving in some of the nails but decided against it.
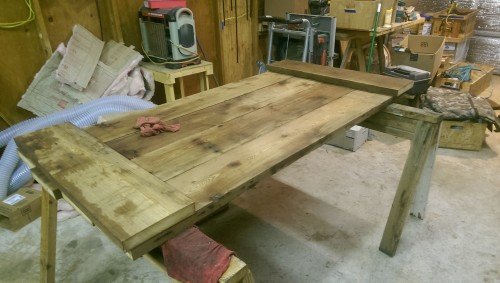
I did a rough cut of the lengths just to see how it looks. When it's a big and important piece I like to leave an extra 2 inches and then lay the boards all out and then go back and carefully cut the final cut. For all other cuts, I use the wise suggestion, "measure twice and cut once".
I am a big fan of DIY easy and cheap; we can't all be like Frank Howarth. Really Frank!? a zombie bat?
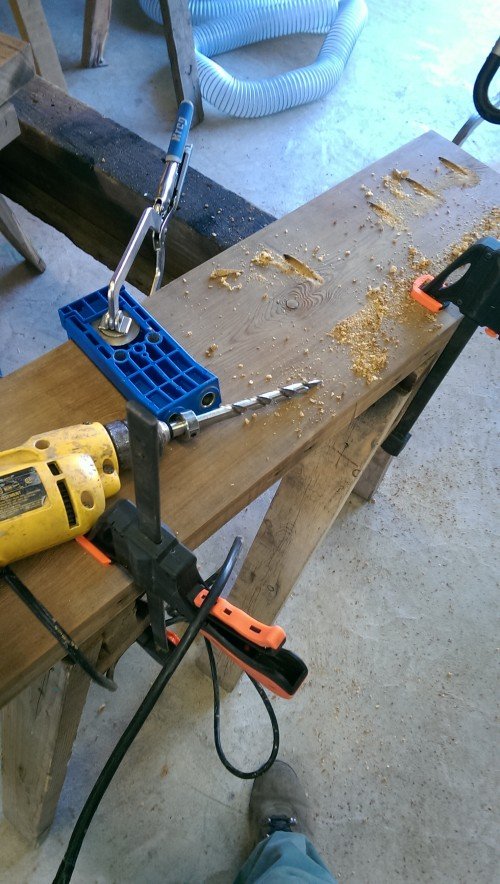
So to Keep It Simple, Kreg Jig is the best way to go for strong, discreet and fast wood joint. For this project you will want to use the HD, it's perfect for 2x4s and bigger.
The Kreg Jig is a jig that helps drill a pocket hole for a screw.
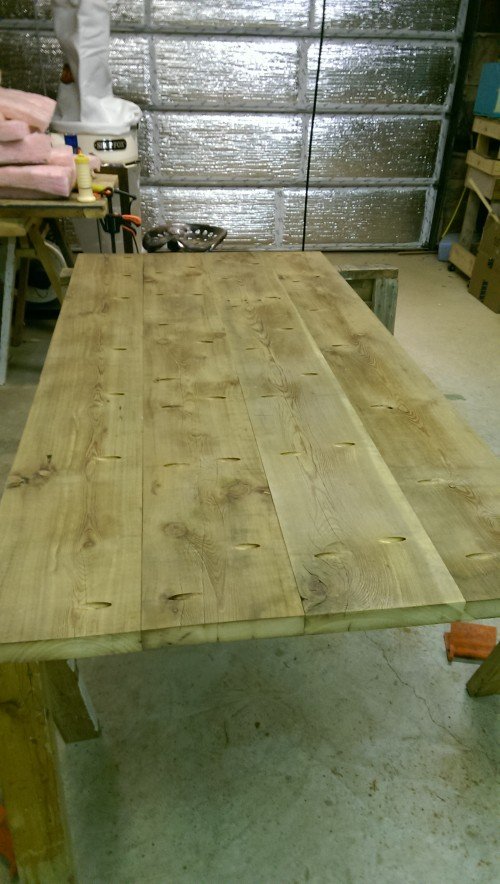
This is the underside of the table, with the pocket holes completed. Next, I added the bread boards. If you have any warping this straitens most of it out, but this limits the boards from "moving" around; a minor downside to using screws instead of biscuit joints. My philosophy with cheap DIY is; don't invest too much into your project, money or sentiments.
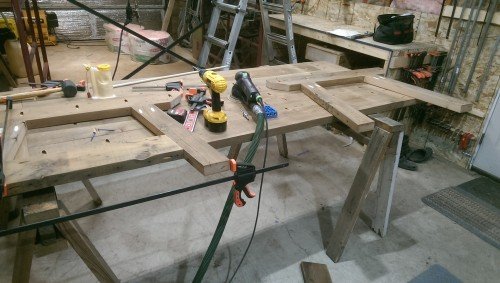
The next part was by far the hardest for me. The legs are angled at ten degrees and the bevel cuts have no room for errors. Big reminder from the plans,
make the four legs up from the 2x4s with one end cut at 10 degree bevel - but two will be cut one way, and the remaining two cut in mirror to the first two.
Do not forget to mirror the cuts for each of the two sets of legs. If one bevel or angle cut is off you will need to redo the whole leg assembly. (hey! are you reading this? if so comment "Merry Christmas you filthy animal" on this post. The first 20 people to do so get a Christmas reply in their wallet;-) ) After spending all day messing with the legs, I am proud to have only messed up one set of legs. After you have the legs set up, you can play around with the 2x4 cross support and braces; make sure it looks good before screwing it all down.
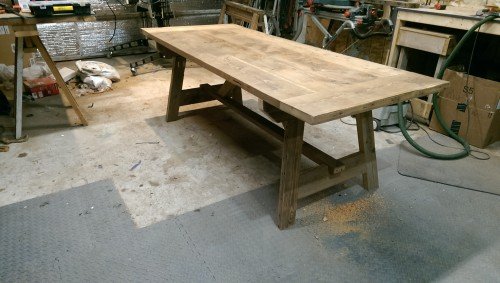
Now you can assemble the table to see how it looks. I used a dowel to plug in the pocket holes; you can buy pre-made plugs by Kreg Jig but not in the HD size. Looks like you can buy a bit to make some, Christmas wish list!!
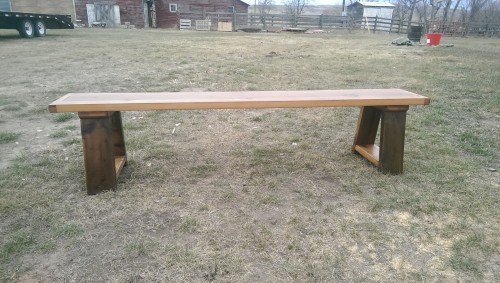
I made a bench from these plans that go with the table. Once again I diverted from the original plans and instead of using
2 - 2x4 @ 83-1/2"
1 - 2x6 @ 83-1/2"
I used two 2x2s on each side of a 2x10 and 1x1s on the ends. Using a 2x10 makes the bench rock solid so I waived the braces on the bottom. Most importantly tailor to what you need and what feels good. I literally sat on a few other sizes before settling with this layout.
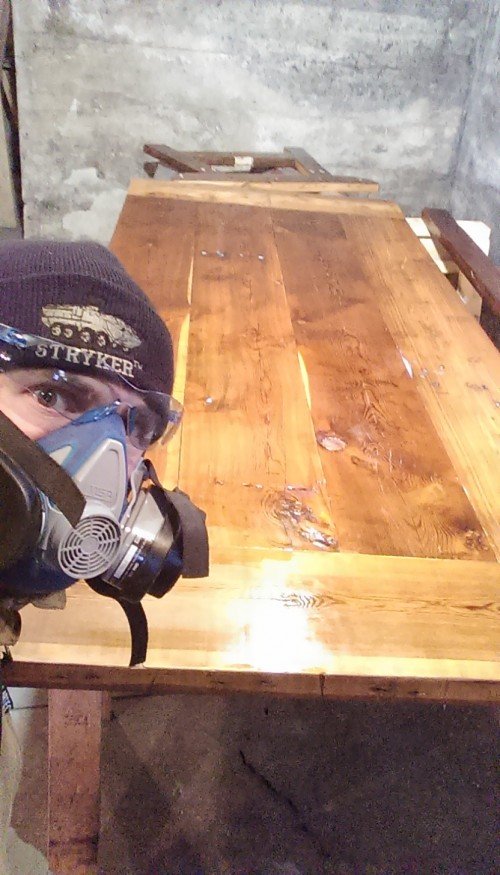
You can add a finish as it stands, what I did was take the legs and supports off and paint them individually. I find it makes painting much easier. I did three to four coats of polyurethane, it's a bit stenchy but nothing a good airing out can't fix. I am not completely sold on the polyurethane, I have found other products that I would like to try in the future.
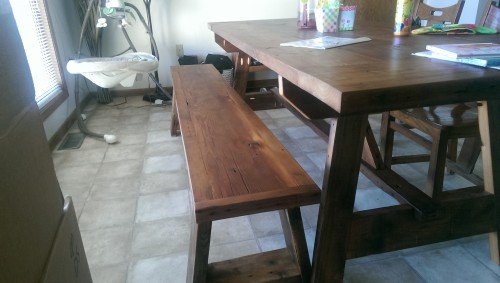
Hope you enjoyed this, I love the table, but to be honest I loved building it better. I might sell it and build a different one some day soon.
Thanks for reading

This post is 100% Steem Power!!!
Merry Christmas you filthy animal
and you spelled different wrong in the last sentence :-p
Merry Christmas, thank you.
Merry Christmas you filthy animal!
:))
:)
Merry Christmas you filthy animal
Merry Christmas you filthy animal

Merry Christmas you filthy animal
Merry Christmas you filthy animal :)
Merry Christmas You Filthy Animal! Haha I LOVE that movie!
Beautiful table, I'm a woodworker as well. Followed! :D
Merry Christmas you filthy animal