LIV + VR setup for Mixed Reality: Debugging Session 1
I had trouble setting up my LIV software today with Beat Saber and a chat with the venerable Dr. Doom of the Liv core team cleared things up. I'd like to pass on what I've learned. Please note that the instructions apply to the following:
- 0.0.17. version of LIV (released May 2nd)
- VIVR 2.0.0. (released March 14th)
- Oculus Rift CV1 room scale setup (2 touch controllers, 3 sensors, headset)
- External web camera
- GPU: GeForce 1080 something
LIV currently DOES NOT WORK with AMD R9.
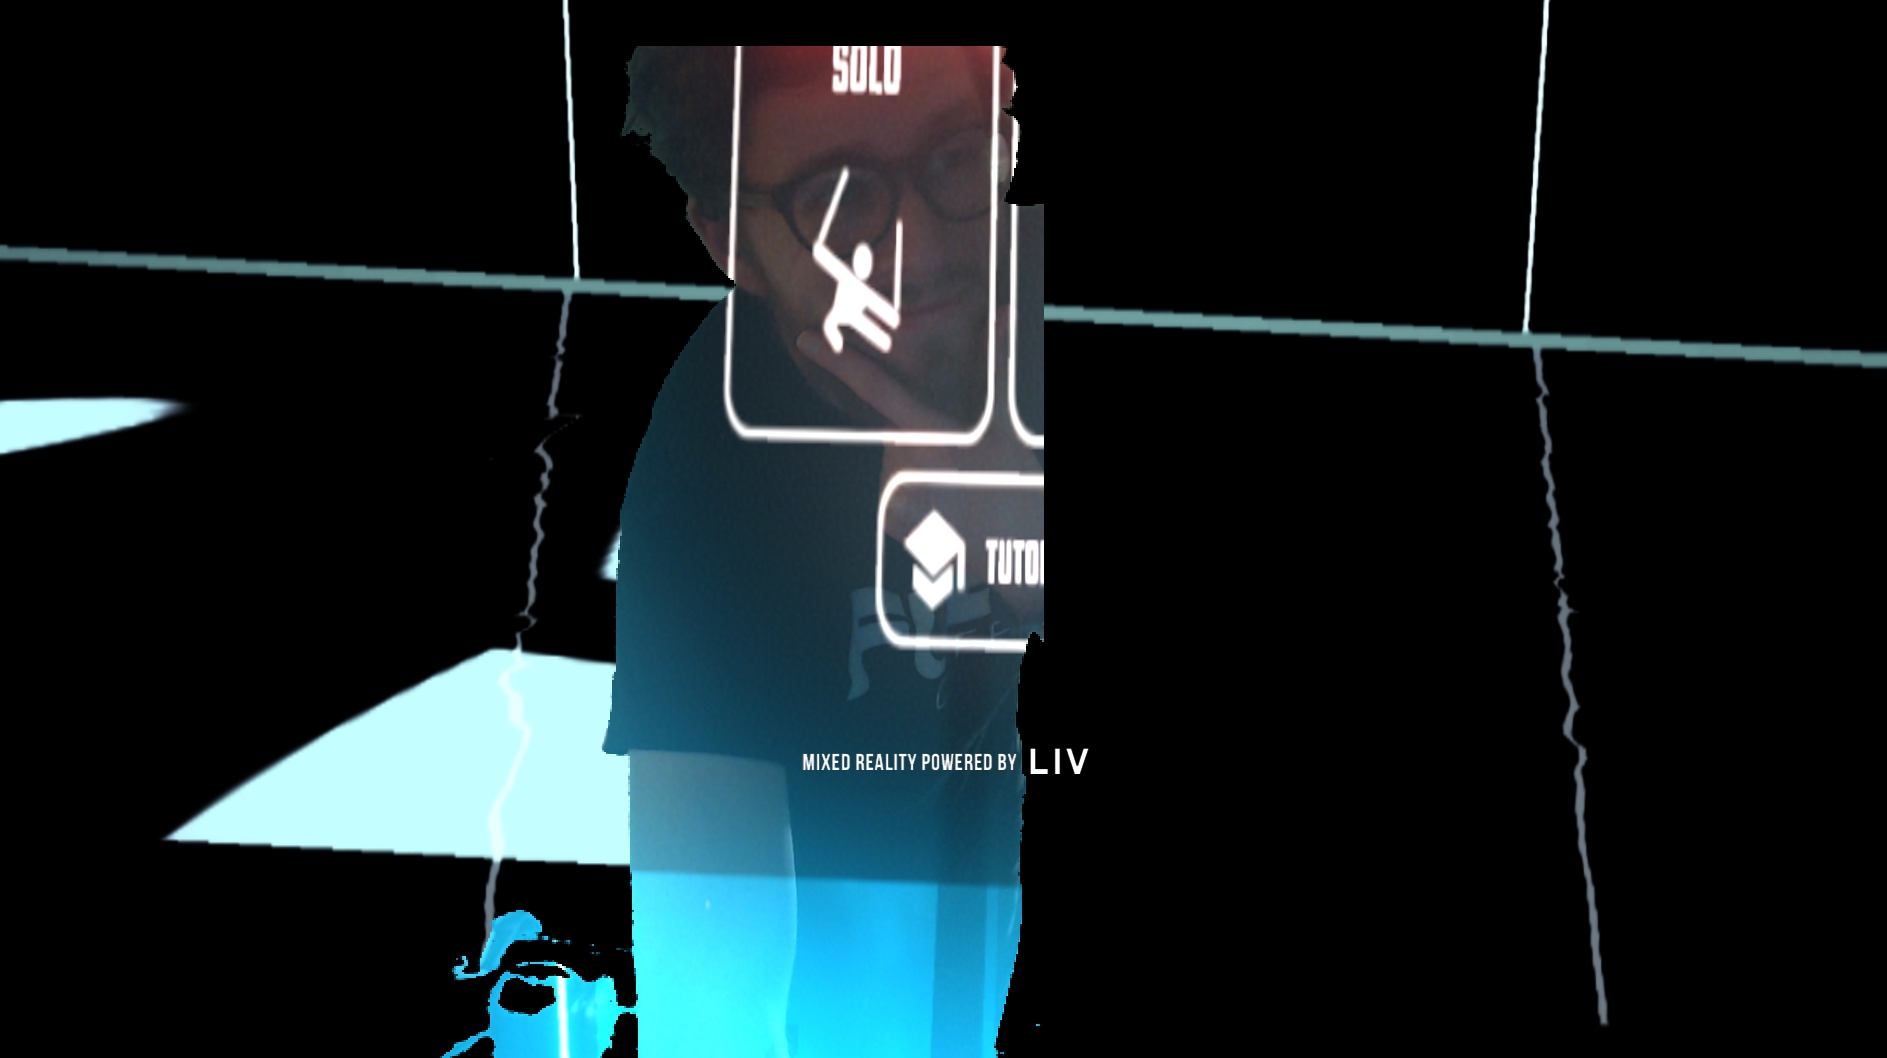
The guide, while good-ish, doesn't go into specifics, so I'll describe the steps one by one to be followed in sequence. The problem we fix here is one related to bugged perspective where the play area projected onto the webcam's image is wrong and offset to the side or up/down - as if the camera isn't where we said it would be. It can look something like this:
Images taken from LIV Discord chat
First, download and install Liv Client, Liv: VIVR, and Beat Saber (if that's your game of choice).
Hang your headset off your shoulder or put it on your head but not in a way which lets it obstruct your view. I.e. wear it for tracking only. Strap your Touch controllers to your wrists.
If Beat Saber is your game of choice, go to Steam -> Library -> Right click the game -> Properties -> Beta, and pick the beta program to get the experimental LIV-friendly version.
Run the Liv client - make sure you are not in a beta mode (Properties -> Betas). Make sure you have installed the most recent driver. You do this by clicking "Install" when LIV client launches. If only "Uninstall" is available, turn off Steam VR (which will have auto-launched by then) do that, then Install, then launch the Compositor.
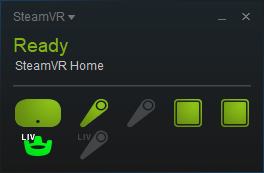
With the compositor launched and the Steam VR status showing green tracking icons (headset + controllers + sensors + at the end LIV-labeled "virtual" trackers of which at least one is green), close the client. Note that only the last two green icons are important, as in this image (which is for the Vive, but the last two icons are the same) - if one of those is green, you're on a good path.
In the LIV client, open the About tab and make sure Enable SDK is checked.
Open LIV:VIVR, open camera settings, turn off auto white balance and configure it to your liking, and turn off auto focus, then sharpen it manually.
In the second dropdown, click AUTO DETECT. It should switch to a LIV tracker. If it says "Not tracking", then it selected an inactive one - open the dropdown and select the next LIV virtual camera (two should be present, just pick the other one).
Start calibration. The first click will be as close as possible to the camera, even touching the lens. The other two clicks should be as far into your play area as possible, BUT keep in mind that the controller should POINT TOWARDS THE CAMERA, so maintain its orientation when doing the markings.
Once done, export the configuration file and save it somewhere.
In LIV Client, add a new camera by going to Camera -> Add, select your camera and resolution, then import the file by selecting Import -> From file. Add latency if needed - a higher latency can help sync up controllers with your arms. As you move your arms, the controllers will reflect their new position on screen instantly, but the camera will lag a little. By adding latency, you make the controllers lag too, so that they become in sync. Experiment with the settings. I found that 4-5 frames is good.
Go to Target, select Steam, select Beat Saber, Launch. When it fully loads, close it. This is because when launched from LIV, Beat Saber inherits its configuration file, but does not apply it.
Go to Steam and run Beat Saber from there (the beta version). Then in the LIV Client, go to Target -> Manual -> select Beat Saber from the dropdown menu, and select the second option for the display to get a nice overlay effect.
Note that during any of these steps the Compositor may crash. If this happens, just relaunch. Being trigger happy can cause this - wait for the apps you're using to fully load before executing actions on them.
That's it, it should work now.
I will update this post with images soon, on another computer at the moment. Happy MR-ing!
.jpg)

