HOW TO RESIZE A VIRTUALBOX FIXED SIZE VIRTUAL DRIVE (.VDI) ON MAC
So you created a disk for your Windows or Linux VirtualBox VM and you made the mistake of not creating the drive as a dynamically expanding storage drive, you chose fixed size.
Now you’re running out of space and all your Google searches point you to stupid posts on the virtualbox.org forums that lead to nowhere, specially if you are a MacOSX user, look no further, you’ve found the solution to your problem on this post.
VirtualBox for Mac comes with a tool called VBoxManage, this tool is all you need to resize your virtual disk.
When you’re using the VBoxManage tool make sure your VM is not running, stop it completely to be safe.
Step 0. Backup your current drive (optional)
I recommend that before you do anything you clone your existing drive, just in case…
You can clone your drive using guess what? yes, the VBoxManage tool. No need to download any external tools.
$ VboxManage clonehd <path to your original drive> <path of the copy>
in my computer it looked exactly like this:
$ VBoxManage clonehd /Users/gubatron/VirtualBox VMs/windows7-64bit/windows7-64bit.vdi /Users/gubatron/windows7-64bit.cloned.vdi

0%…10%…20%…30%…40%…50%…60%…70%…80%…90%…100%
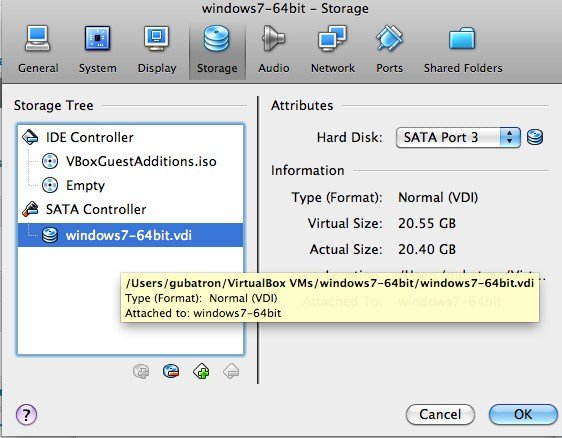
If you don’t know where your .vdi file is, it’s very simple, right Click your VM > Settings > Storage, and mouse over the .vdi to see it’s physical location on your Mac hardrive.
Step 1. Resize!
The command to resize is:
$ VBoxManage modifyhd <path to your vdi> –resize <new size in megabytes>
In my case I had a 20GB drive that I wanted to double in size (40GB), a quick Google search for “40GB to megabytes” yields the number 40960, so that’s what I put on my –resize parameter.
This is how it looked for me:
$ VBoxManage modifyhd /Users/gubatron/VirtualBox VMs/windows7-64bit/windows7-64bit.vdi –resize 40960

0%…10%…20%…30%…40%…50%…60%…70%…80%…90%…100%
The ‘resizing’ is almost immediate.
Step 2. (Re)Start VirtualBox
After you’ve physically resized your drive, both VirtualBox and your OS should know about the changes.
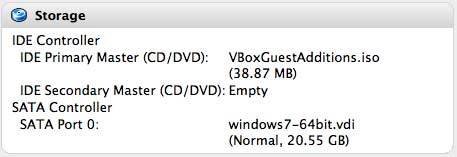
At this point, clicking on your VM in the VirtualBox window will show that it still has the old size:
Before: (Note the size of the drive at the bottom of the image)

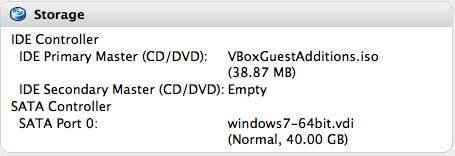
After doing the resize, shutdown completely your VirtualBox, and launch it again. When you see the information about the storage drives attached to your VM you should see the new disk size.
After: (Note the size of the drive at the bottom of the image)

Step 3. Let your OS know the new logical size of the drive

When you start your VM, it won’t know right away what the new size of the disk is, you’ll have let the operating system know that there is additional space it can use.
If your VM is running Windows 7, the way to let the operating system know that it can use the additional space on your drive is very straight forward.
Click on the Windows (Start) Icon on the Bar > Right Click on “Computer” > Manage (You’ll need to be an Administrator)
The “Computer Management” window will open, in it go to:
Storage > Disk Management > Right Click on the partition you want to extend.

Select the option that says “Extend”, a Wizard will open, just hit Next until it ends if you want to use the whole space.
After you’re done, if you refresh your “Computer” on the File explorer the resized drive should show right away

That’s it, enjoy and let me know how it went.


Do you know if this works in the same way using windows like host?