Arduino 101: Simple obstacle warning using ultrasonic and buzzer
What Will I Learn?
- You will learn how digital input and output works by using an ultrasonic sensor as the input and the piezoelectric buzzer as the output.
- You will learn the basic function of an ultrasonic sensor.
- You will learn how to integrate the ultrasonic sensor into your own projects.
Requirements
Hardware
Arduino Uno
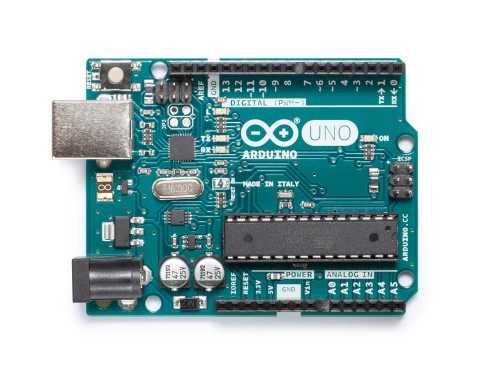
Image sourceUltrasonic Sensor (HC-SR04)
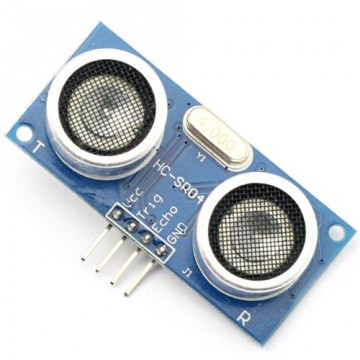
Image sourcePiezoelectric Buzzer
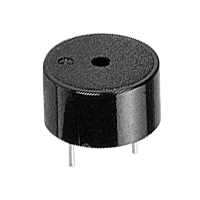
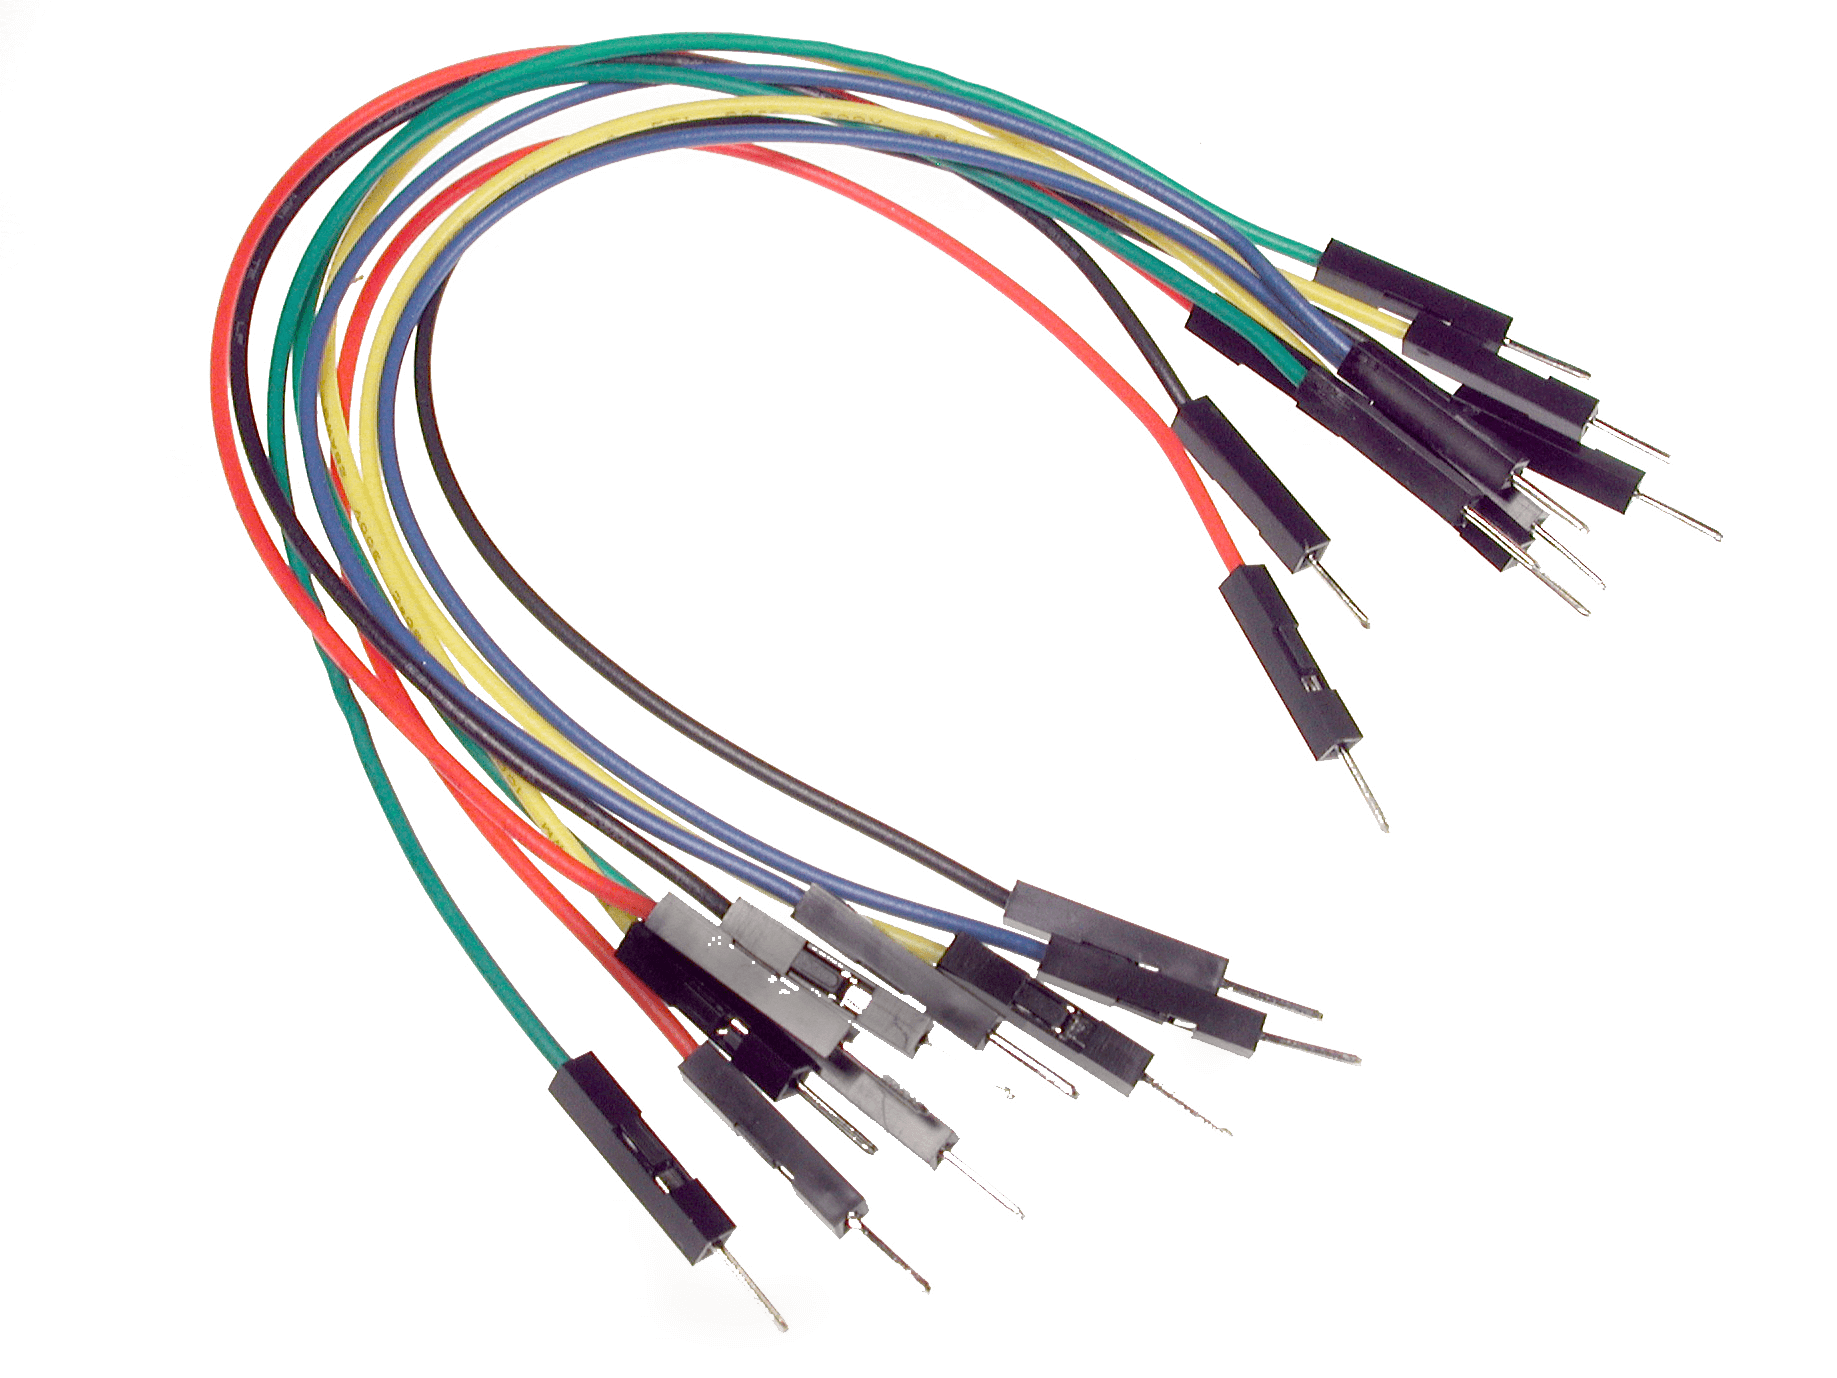
Image sourceJumper Wires
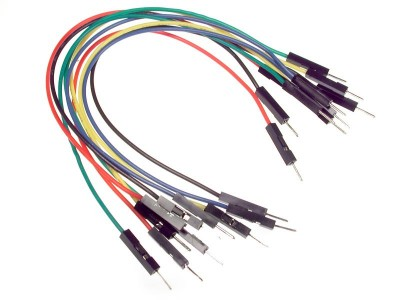
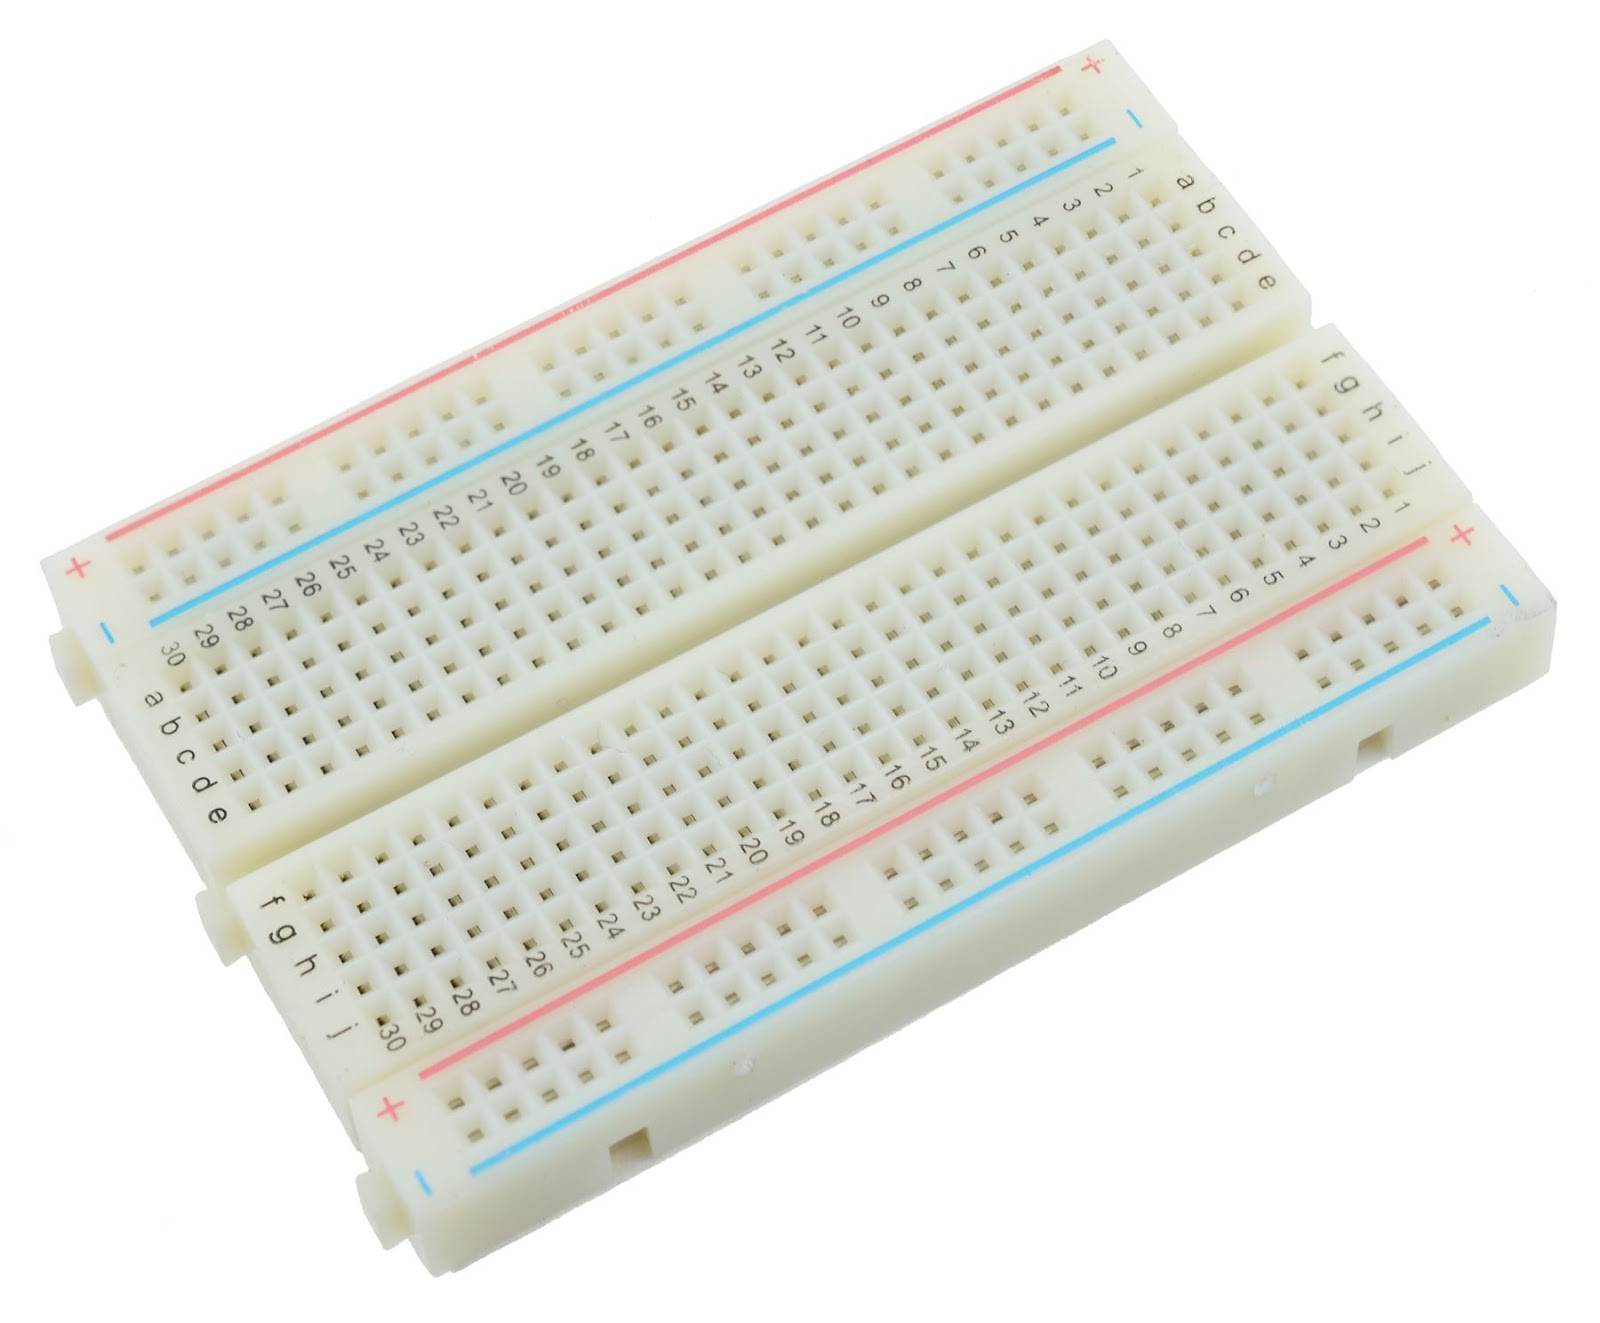
Image sourceBreadboard
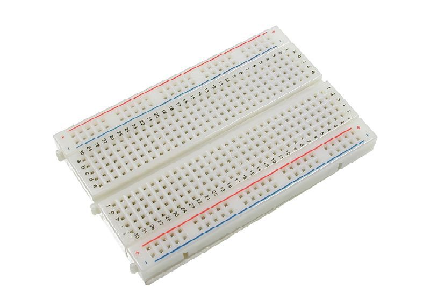
Image sourceComputer

Image sourceUSB type A to B cable
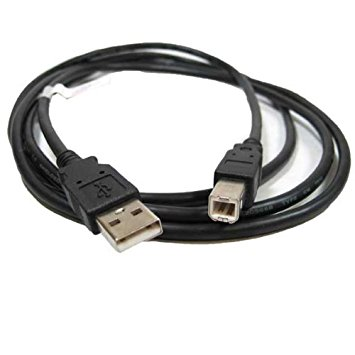
Image source
Software
- Arduino Software / Arduino IDE (Integrated Development Environment)

Knowledge
- Basic electronics and programming knowledge
Difficulty
- Basic
Project description
This project uses an Arduino Uno to control the whole circuitry. The ultrasonic sensor will be its input and also the triggering device. Once there is an obstacle in front of the sensor it will immediately send the data to the Arduino board which will then activate the piezoelectric buzzer to sound its alarm to notify the user that there is an obstacle. This project can be used for vehicles, especially the big trucks, this will notify the driver when something is behind the truck thus avoiding any accidents.
Component description
Arduino Uno - this is the type of arduino board that is regularly utilized by specialist due to its shabby and strong outline. It is stuffed with a microcontroller board that depends on ATMega328P with 14 advanced I/O pins (6 are PWM outputs), 6 analog inputs, 16 Mhz quartz crystal, a power jack, a USB port, an ICSP header and a reset button.
Ultrasonic sensor - is a gadget that can gauge the distance to an object by utilizing sound waves. It measures the distance by sending a sound wave at a particular recurrence and tuning in for that sound wave to bounce back. By recording the elapsed time between the sound wave being produced and the sound wave ricocheting back, it is conceivable to compute the distance between the sonar sensor and the object.
Piezoelectric buzzer - These device generates a monotone (single frequency) at a high sound pressure using built-in oscillation circuits.
Tutorial Contents
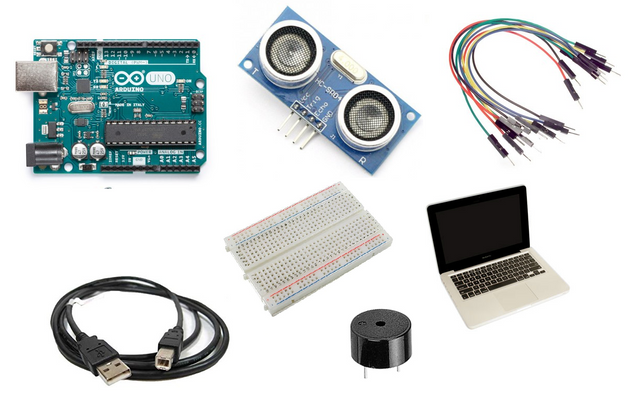
Step 1: Gather your parts
- The parts used in this project should be pretty easy to get because they are just common components that are available in your local electronics shop.
Step 2: Construct the circuit
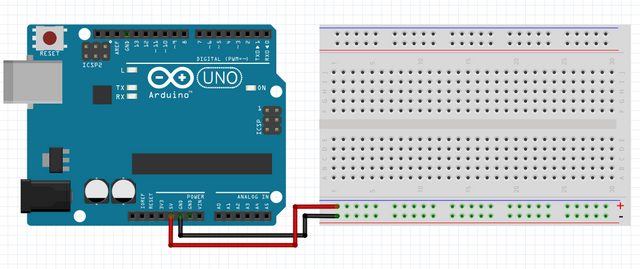
Connect the Sources
- Assign which slot you want to place your voltage source(+). I recommend placing it into the lowest side of the breadboard because this is where the conducting plate is fully connected horizontally. Now, connect the jumper wire to the 5V pin of the arduino board and connect the other end of the jumper wire to the assigned slot that you want to be your voltage source.
- Assign the ground slot(-). I recommend placing it to the lowest side/upper side of the breadboard where the conducting plate is fully connected horizontally but make sure that the voltage pin and ground pin is not connected on the same slot as this will result into a short circuit which could damage your board. Now, connect the jumper wire into the GND pin of the arduino board and the other end to your assign ground slot.
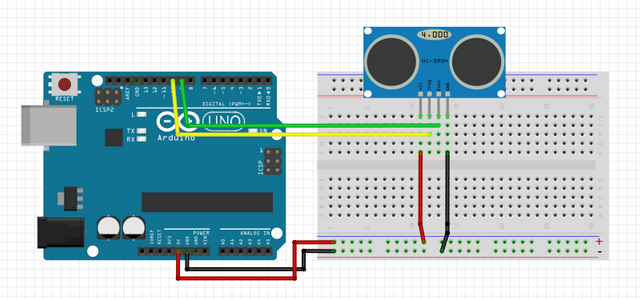
Connecting the sensor
- Connect the VCC pin of the ultrasonic sensor to the voltage source (+).
- Connect the GND pin of the ultrasonic sensor to the ground (-).
- Connect the Echo pin of the ultrasonic sensor to pin number 9 of the arduino uno board.
- Connect the Trigger pin of the ultrasonic sensor to pin number 10 of the arduino uno board.
- Note: I encourage you to use color coding wires so that you can easily identify what your connections are, especially when you are using a lot of components.
Connect the buzzer
- Connect the ground pin of the buzzer to your ground source(-).
- Connect the positive pin of the buzzer to pin number 2 of the arduino uno board.

Step 3: Programming
Now that you have completed the circuitry, let us go to programming the arduino.
Connect your arduino board into your computer by using the usb type a to b cable.
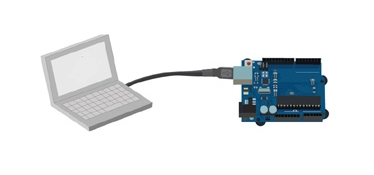
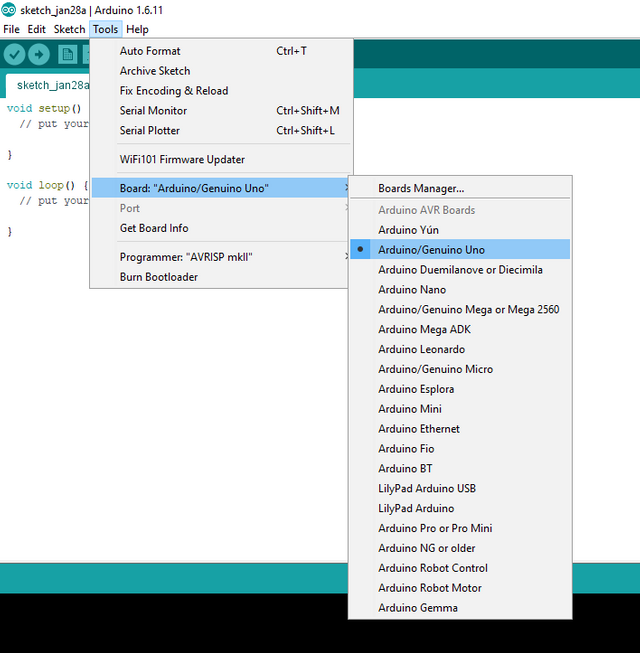
Image sourceOpen the Arduino IDE and go to Tools > Board > then select the Arduino/Genuino Uno.
Now, copy this program and paste it into your Arduino IDE.
int const trigPin = 10;     // Defines the data pins of the ultrasonic
int const echoPin = 9;
int const buzzPin = 2;      // Defines the buzzer pin
void setup()
{
pinMode(trigPin, OUTPUT);   // sets trig pin to have output pulses
pinMode(echoPin, INPUT);    // sets echo pin to be input and get the pulse width
pinMode(buzzPin, OUTPUT);   // sets buzz pin as output to control the sound
}
void loop()
{
int duration, distance;     // The Duration will be the input pulse width and distance will be the distance to the obstacle in centimeters
digitalWrite(trigPin, HIGH); // The output pulse with 1ms width on trigPin
delay(1);
digitalWrite(trigPin, LOW);
duration = pulseIn(echoPin, HIGH);  // Measures the pulse input in the echo pin
distance = (duration/2) / 29.1;   // Distance is half the duration devided by 29.1 (from datasheet)
// if the distance is less than 0.5 meter and more than 0 (0 or less means over range)
if (distance <= 50 && distance >= 0) {
// It will trigger the Buzzer
digitalWrite(buzzPin, HIGH);
} else {
// Will no Sound
digitalWrite(buzzPin, LOW);
}
// Waits 50 milliseconds
delay(50);
}
What this code simply does is very simple, first it defines the pins 9 and 10 as the data inputs (these are the pins where the echo and trig pin of the ultrasonic is connected) and defines pin 2 as the output (buzzer pin). It sets the trigger pin to give out the pulses and the echo pin to listen for the echo waves this will determine the distance of the object from the sensor. Once the sensor is less than 0.5 meters away from the obstacle, the arduino board will then activate the piezoelectric buzzer to sound the alarm, thus notifying the user that it is close to an obstacle. If the sensor is more than 0.5 meters away from the obstacle It will wait for 50 milliseconds until the buzzer stops buzzing.
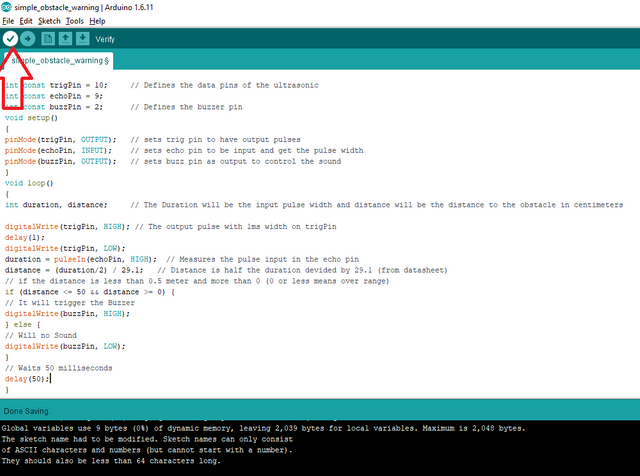
Now that you have copied and pasted the code into your arduino IDE, click Verify to check for any errors.
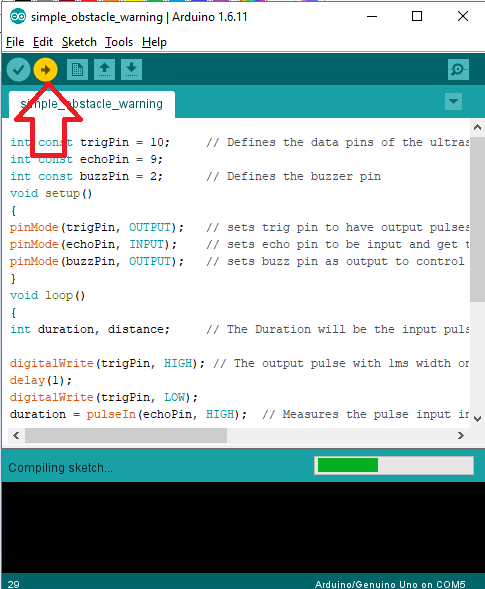
If there is no errors in the code, click the Upload button to start compiling your codes and program it into the arduino board.
Step 4: Testing
- After the Arduino IDE finishes the programming, you can now test the project. Hover your hand front of the sensor (< 0.5 meters), this should activate the buzzer and will keep sounding its alarm as long as your hand is still blocking it.
- Now remove your hand away from the sensor, this should make the buzzer stop its alarm.
- If nothing is working, redo the previous steps and make sure you have followed it correctly.
Curriculum
You can also check out my other arduino tutorials.
- Arduino for beginners
- Arduino 101: Tilt Sensor with Arduino
- Arduino 101: PIR based burglar alarm with Piezoelectric buzzer and Arduino
- Arduino 101: Motion activated Servo motor with Arduino
Posted on Utopian.io - Rewarding Open Source Contributors
Your contribution cannot be approved because it does not follow the Utopian Rules.
You can contact us on Discord.
[utopian-moderator]
Oh! my bad, I didn't know someone already posted the same contribution.keep up the good work @manishmike10
oh! wait a minute @manishmike. I just noticed that my contribution and his contribution is completely different. We used different component to alarm the user of the warning and also our code is completely different. can you please look to it again? :(
Different software’s or hardware, but aren’t the end result the same?
Mmmm. Good point. but aren't the contributions for developers and hobbyist, who may want to use our contributions for their projects? If so, the end result may be the same(obstacle warnings) but our approach is different. The other one uses optical warnings while mine is sound warning which uses entirely different codes and hardware. The other way can't be used if the developers/hobbyist want to have a sound alarm also they cannot use my mine if they want the optical warning. I think this will give more options to the users, they could even use both ways to evolve the project.
Well, this are just my thoughts. I just wanted to let you know what I think.
If you still think my contribution cannot be approved, then so be it. I will respect your decision @manishmike. Thank you for taking the time to response to my comment👍.