Arduino : Display Banner , Blinking , Scrolling and Running Text on LCD
What Will I Learn?
- You will learn to use Liquid Crystal LCD
- You will learn how to program arduino uno and Display Text on Liquid Crystal Display
- You will learn how to program arduino uno and Display Blinking Text on Liquid Crystal Display
- You will learn how to program arduino uno and Display Scrolling Text on Liquid Crystal Display
- You will learn how to program arduino uno and Display Running Text on Liquid Crystal Display
Requirements
Hardware
- Arduino Uno

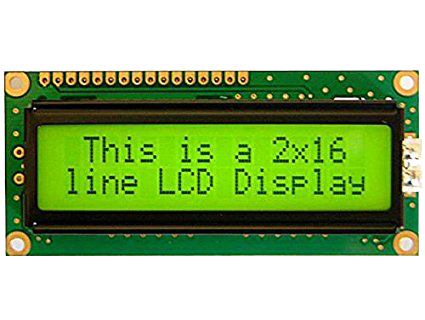
- Liquid Crystal LCD ( 16 x 2 )
- Breadboard

- Resistor 10K Ohm

- Jumper Wires Male To Male

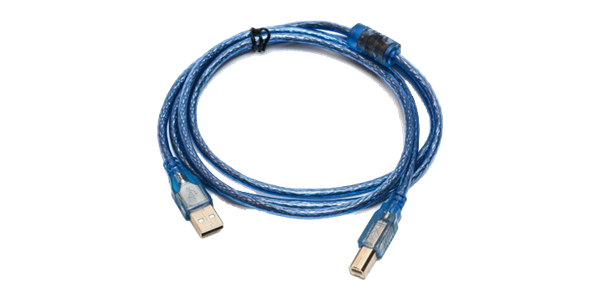
- USB type A to B cable
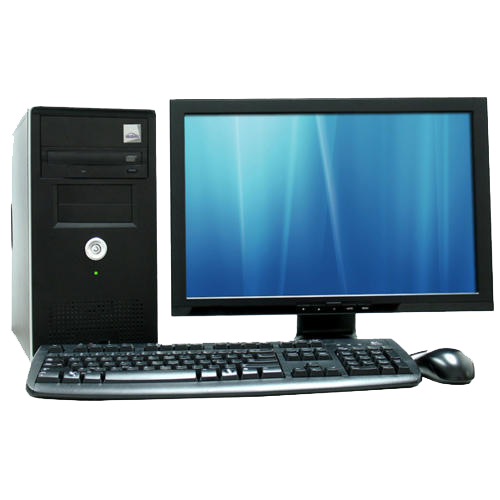
- Personal Computer (Laptop)
Software
- Arduino IDE

Knowledge
- Electronics and Robotics Basic
Difficulty
- Basic
Project Introduction
This is a simple project that uses Liquid Crystal LCD with arduino uno. Liquid Crystal LCD connected to arduino uno board serves as Output viewer media. The output displayed varies depending on the given command. This project can try how to program arduino uno and Display Text, Blinking, Scrolling and running Text on Liquid Crystal LCD.
Component Description
Arduino Uno - is a microcontroller board based on the ATmega328P (datasheet). It has 14 digital input/output pins (of which 6 can be used as PWM outputs), 6 analog inputs, a 16 MHz quartz crystal, a USB connection, a power jack, an ICSP header and a reset button. It contains everything needed to support the microcontroller; simply connect it to a computer with a USB cable or power it with a AC-to-DC adapter or battery to get started.(Source : Arduino.cc )
LCD (Liquid Crystal Display) - LCD screen is an electronic display module and find a wide range of applications. A 16x2 LCD display is very basic module and is very commonly used in various devices and circuits. These modules are preferred over seven segments and other multi segment LEDs. The reasons being: LCDs are economical; easily programmable; have no limitation of displaying special & even custom characters (unlike in seven segments), animations and so on.(Source : engineersgarage)
Tutorial Contents
Step 1 : Prepare All Parts
You can buy from online store or directly to the Electronics Shop

Step 2 : Build Circuit Architecture

- Connect the "GND" of the arduino uno board to "VSS" , "R_W" and "K" LCD.
- Connect the "5V" of the arduino uno board to "VDD" ,and "A" LCD.
Pin Connect
- Connect the "pin number 7" of the arduino uno board to "RS" LCD.
- Connect the "pin number 6" of the arduino uno board to "E" LCD.
- Connect the "pin number 5" of the arduino uno board to "DB(4)" LCD.
- Connect the "pin number 4" of the arduino uno board to "DB(5)" LCD.
- Connect the "pin number 3" of the arduino uno board to "DB(6)" LCD.
- Connect the "pin number 2" of the arduino uno board to "DB(7)" LCD.
Step 3 : Programing
- Connect Arduino to the computer with USB .
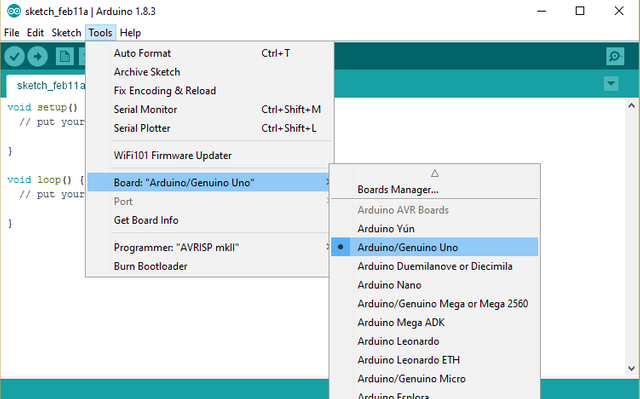
- Open the Arduino IDE > Chose your Board Type

Copy the code below and paste it into your own sketch in the arduino software.
- Program Display text on LCD
// Program Display  text on LCD
// include the library code:
#include <LiquidCrystal.h>
// initialize the library with the numbers of the interface pins
LiquidCrystal lcd(7, 6, 5, 4, 3, 2);
void setup() {
// set up the LCD's number of rows and columns:
lcd.begin(16, 2);
lcd.clear(); // start with a blank screen
lcd.setCursor(0,0); // set cursor to column 0, row 0 (the first row)
lcd.print("TUTORIAL"); // change this text to whatever you like. keep it clean.
lcd.setCursor(0,1); // set cursor to column 0, row 1
lcd.print("Display  Text");
}
void loop()
{
}
- Program Blinking text on LCD
// Program Blinking Banner text
// include the library code:
#include <LiquidCrystal.h>
// initialize the library with the numbers of the interface pins
LiquidCrystal lcd(7, 6, 5, 4, 3, 2);
void setup() {
// set up the LCD's number of rows and columns:
lcd.begin(16, 2);
lcd.clear(); // start with a blank screen
lcd.setCursor(0,0); // set cursor to column 0, row 0 (the first row)
lcd.print("TUTORIAL"); // change this text to whatever you like. keep it clean.
lcd.setCursor(0,1); // set cursor to column 0, row 1
lcd.print("Blinking Text");
}
void loop() {
// Turn off the blinking cursor:
lcd.noDisplay();
delay(500);
// Turn on the display:
lcd.display();
delay(500);
}
- Program Scrolling Text on LCD
// Program Banner scroll text 1234567890
// include the library code:
#include <LiquidCrystal.h>
// initialize the library with the numbers of the interface pins
LiquidCrystal lcd(7, 6, 5, 4, 3, 2);
void setup() {
// set up the LCD's number of columns and rows:
lcd.begin(16,2);
}
void loop() {
// set the cursor to (0,0):
lcd.setCursor(0, 0);
// print from 0 to 9:
for (int thisChar = 0; thisChar < 10; thisChar++) {
lcd.print(thisChar);
delay(500);
}
// set the cursor to (16,1):
lcd.setCursor(16,1);
// set the display to automatically scroll:
lcd.autoscroll();
// print from 0 to 9:
for (int thisChar = 0; thisChar < 10; thisChar++) {
lcd.print(thisChar);
delay(500);
}
// turn off automatic scrolling
lcd.noAutoscroll();
// clear screen for the next loop:
lcd.clear();
}
- Program Running Text on LCD
// Program Baner running text
// include the library code:
#include <LiquidCrystal.h>
// initialize the library with the numbers of the interface pins
LiquidCrystal lcd(7, 6, 5, 4, 3, 2);
void setup() {
// set up the LCD's number of rows and columns:
lcd.begin(16, 2);
// Print a message to the LCD.
lcd.print("Running Text"); // 12 huruf
delay(1000);
}
void loop() {
// scroll 12 positions (string length) to the left
// to move it offscreen left:
for (int positionCounter = 0; positionCounter < 12; positionCounter++) {
// scroll one position left:
lcd.scrollDisplayLeft();
// wait a bit:
delay(300);
}
// scroll 28 positions (string length + display length) to the right
// to move it offscreen right: 12+16 = 28
for (int positionCounter = 0; positionCounter < 28; positionCounter++) {
// scroll one position right:
lcd.scrollDisplayRight();
// wait a bit:
delay(300);
}
// scroll 16 positions (display length + string length) to the left
// to move it back to center:
for (int positionCounter = 0; positionCounter < 16; positionCounter++) {
// scroll one position left:
lcd.scrollDisplayLeft();
// wait a bit:
delay(300);
}
// delay at the end of the full loop:
delay(1000);
}
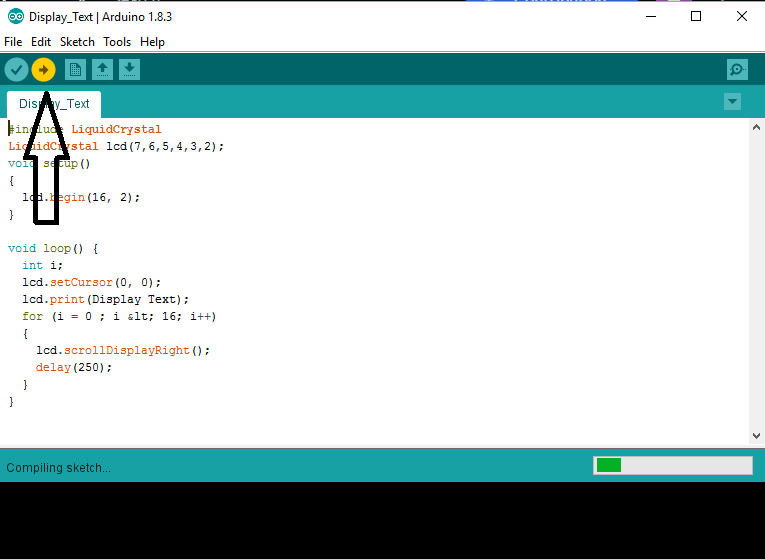
After Copy the codes, click the "Verify button" to save and compile the sketch. This will also check for any errors in the program.

If no errors is found , now you can click "Upload button" to start installing the program into the arduino uno board.
Posted on Utopian.io - Rewarding Open Source Contributors
Your contribution cannot be approved because it does not follow the Utopian Rules.
Your tutorial is not narrative enough. The only text you have used was copied from other online sources, for example:
https://www.engineersgarage.com/electronic-components/16x2-lcd-module-datasheet
and
http://www.newark.com/arduino-org/a000066/dev-board-atmega328-arduino-uno/dp/78T1601
I am not sure if I would call this plagiarism but it clearly does not show as much effort as other tutorials for this topic. Please try to be more informative in the future and don't copy phrases from other tutorials.
You can contact us on Discord.
[utopian-moderator]
Thank you very much for the correction, it is really helpful for my next post