How to Make Modelling Object LCD TV and Speaker Using Blender 3D - Bagaimana Membuat Modelling Object LCD TV dan Speaker Menggunkan Bleder 3D
[ENG]
Hellow Everyone ..
today i want to post tutorial #6 "How to Make Modelling Object LCD TV and Speaker Using Blender 3D"
[IND]
Hallow Semua ..
Hari saya akan memposting turial#6 "Bagaimana Membuat Modelling Object LCD TV dan Speaker Menggunakan Blender 3D
Untuk Langkah - Langkah dapat dilihat di bawah ini :
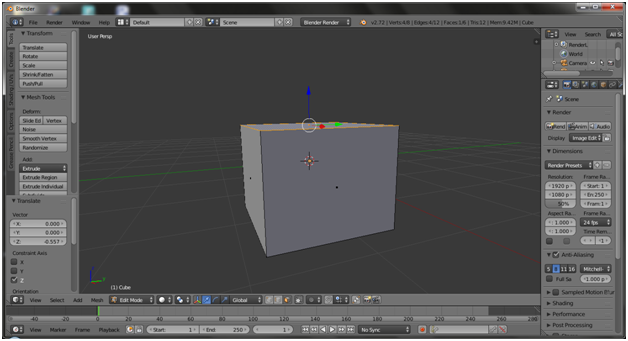
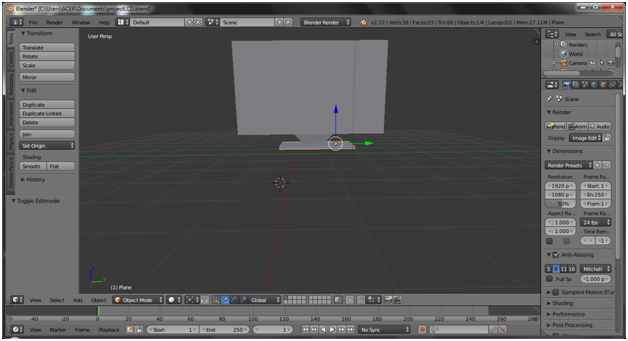
1.Buka Aplikasi Blender
Open Aplication Blender
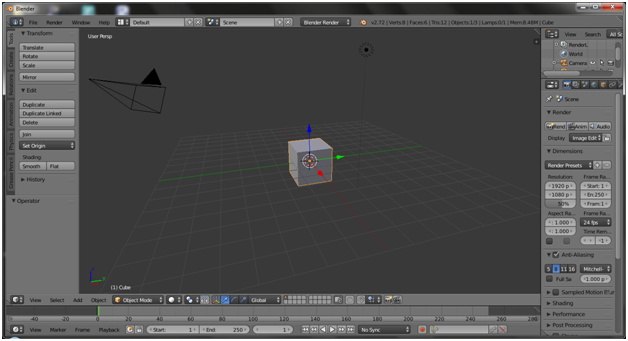
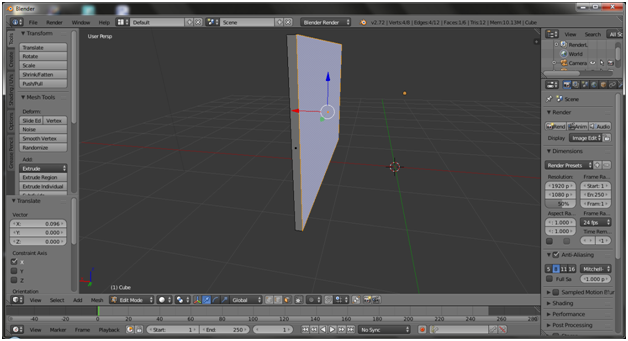
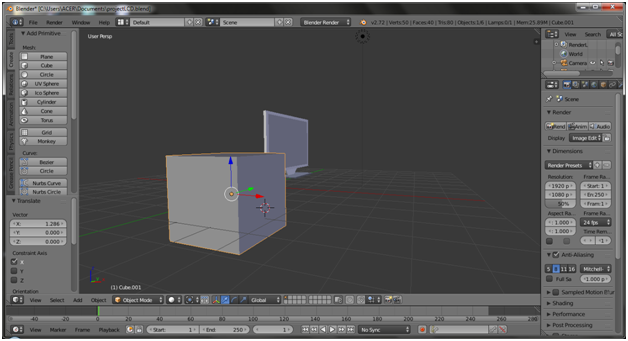
2.Object yang digunakan adalah Kubus
Klik Shorcut Ctrl + S untuk membesarkan Object Kubus
Object using Cube
Klik Shorcut Ctrl + S for Zoom Object Cube
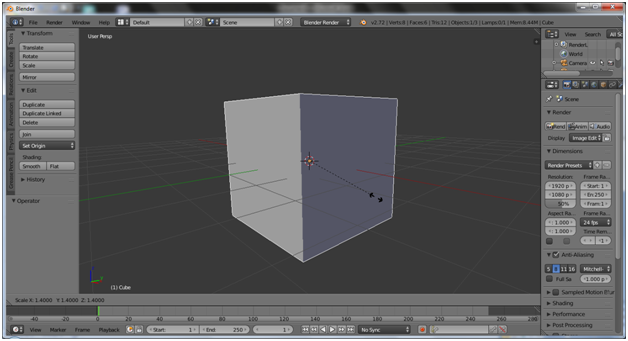
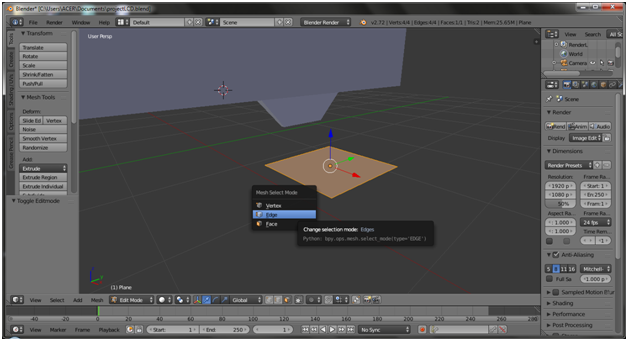
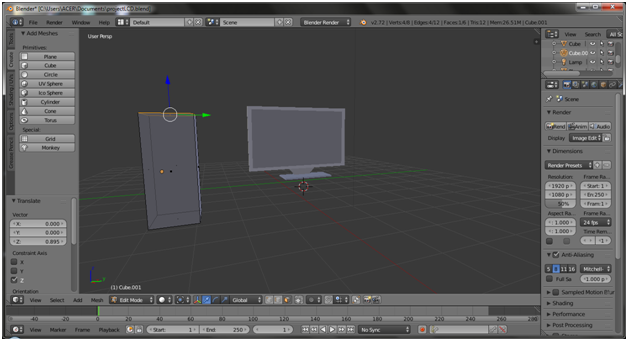
3.Klik Tab
Klik Tab
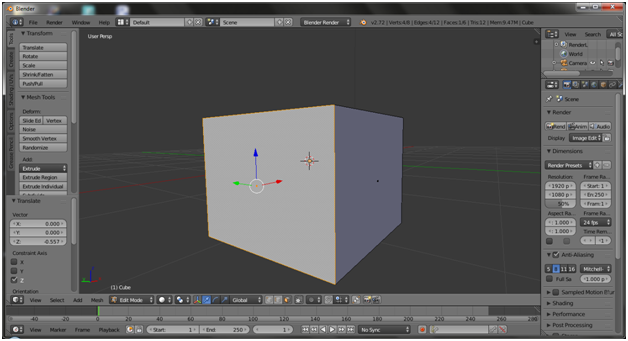
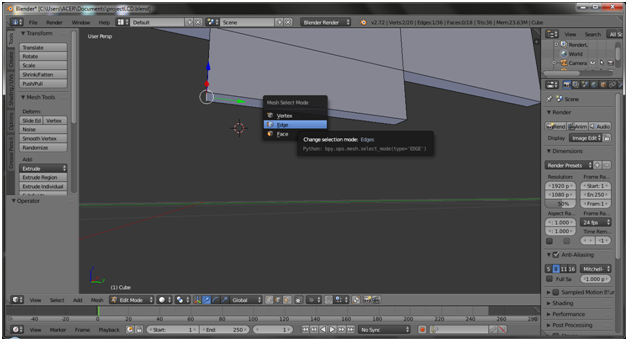
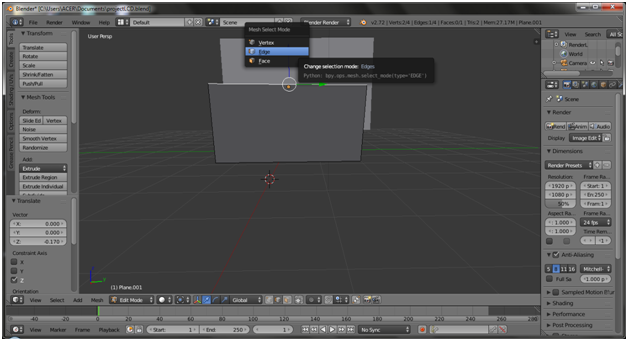
4.Klik Ctrl + Tab Pilih --> Face
Klik Ctrl + Tab Choice --> Face

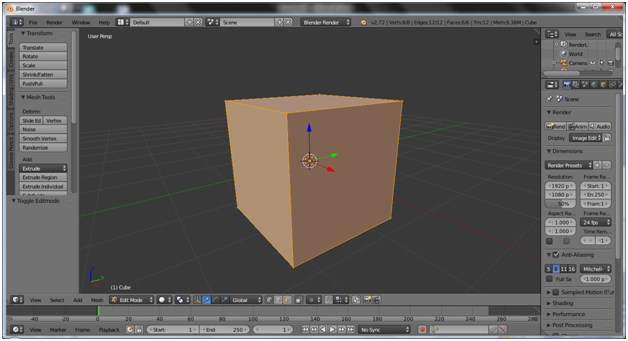
5.Klik bagian atas object kubus
Klik on the Top Object Cube
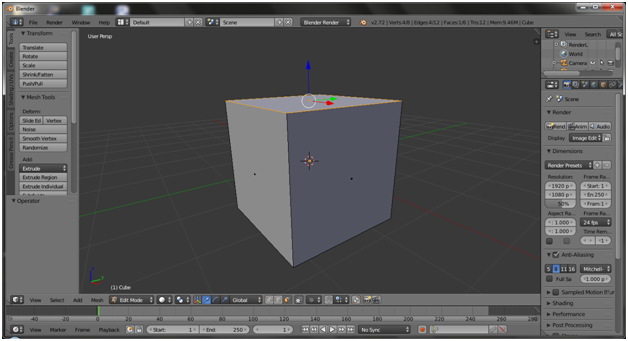
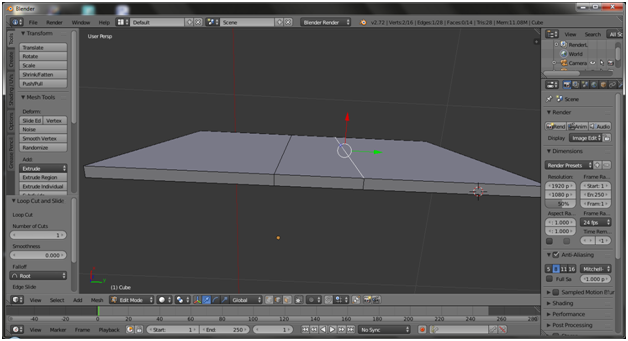
6.Kemudian tarik kebawah arah panah warna (biru) untuk mempertipis object
Next drag down to minimize object using direction arrow (blue)
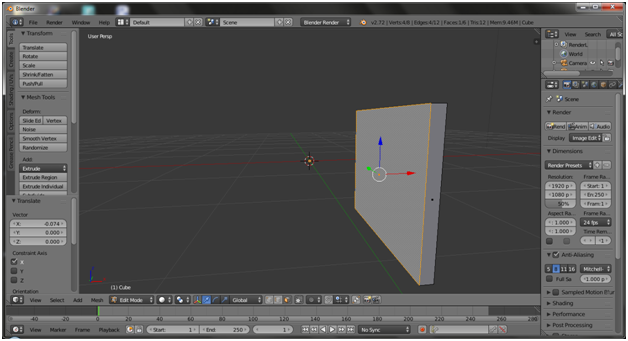
7.Pada bagian depan lakukan sama seperti langkah ke (6)
do the same with step (6)
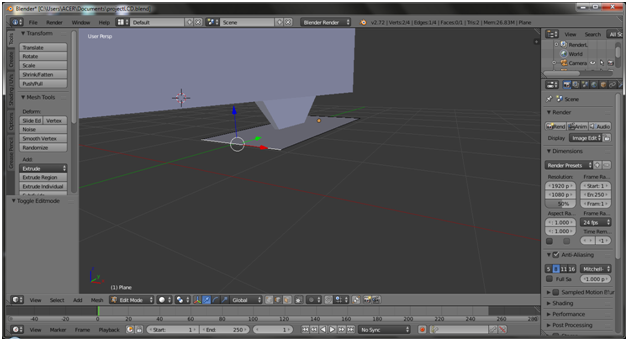
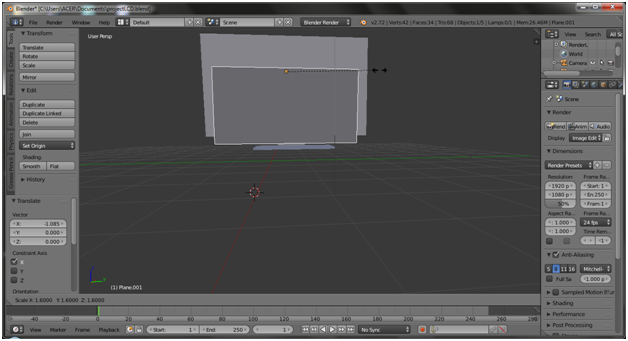
8.Buat bagian depan object seperti yang ditampilkan pada gambar dibawah ini:
Create the front of the object as show in the picture bellow:
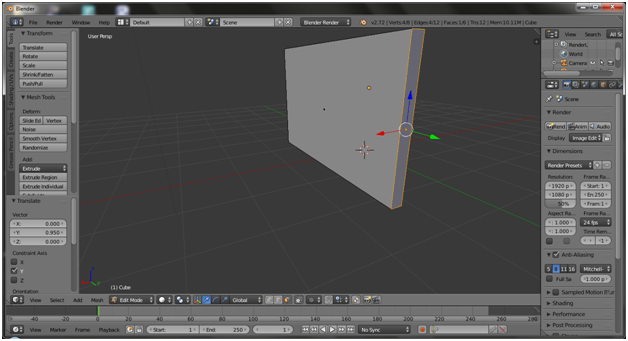
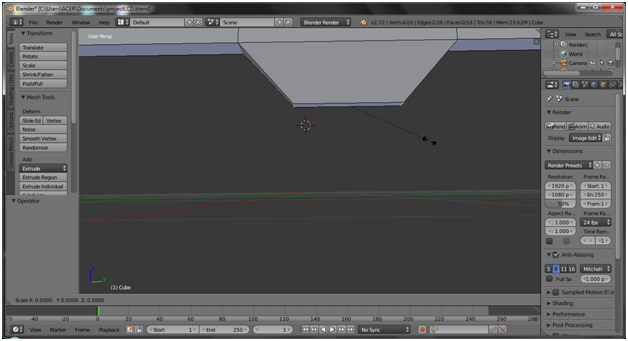
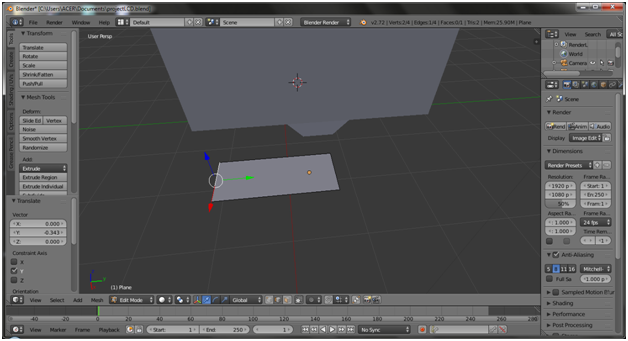
9.Tipiskan bagian bawah object seperti yang ditampilkan gambar dibawah ini :
Thin the bottom of the object as show in the picture bellow :

- Lakukan hal yang sama dengan langkah (9) pada bagian samping object
Do the same with step (9) on the side of the object
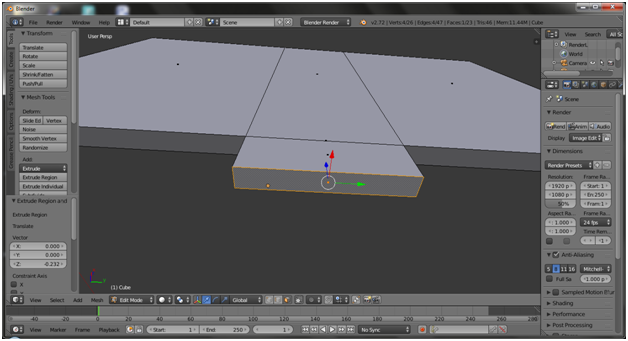
11.Potong Object untuk membuat bagian tengah menggunakan Ctrl + R
Cut Object to make the middle use Ctrl+ R
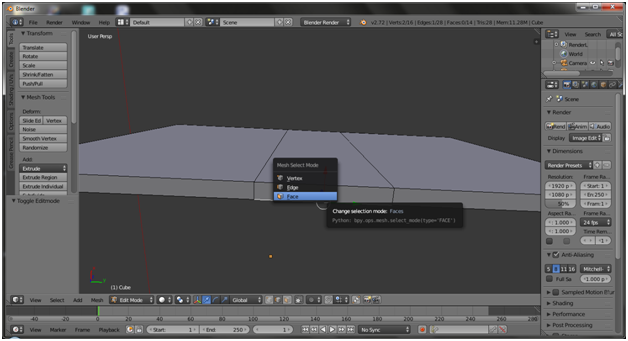
12.Klik Ctrl + Tab , Pilih --> Face
Klik Ctrl + Tab , Choice --> Face
13.Klik pada bagian yang sudah di potong tadi , kemudian Klik shortcut E dan tarik kebawah menggunakan arah panah warna (biru)
Click on the section that has been cut, then Click the shortcut E and drag down using the direction of the color arrow (blue)
14.Klik pada sudut object Klik Ctrl + Tab Pilih --> Edge
Klik on the corner object Klik Ctrl+Tab Choice--> Edge
15.Kecilkan menggunakan Shorcut Ctrl+ S
minimize using shortcut Ctrl+S
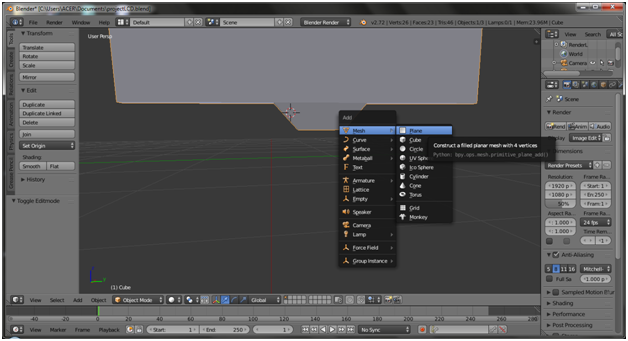
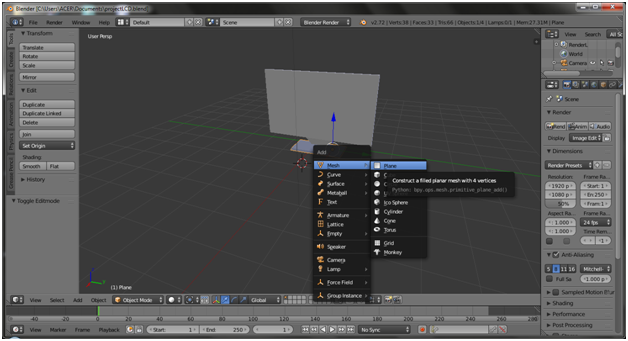
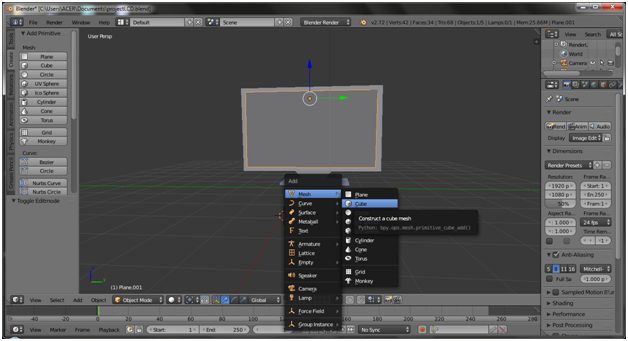
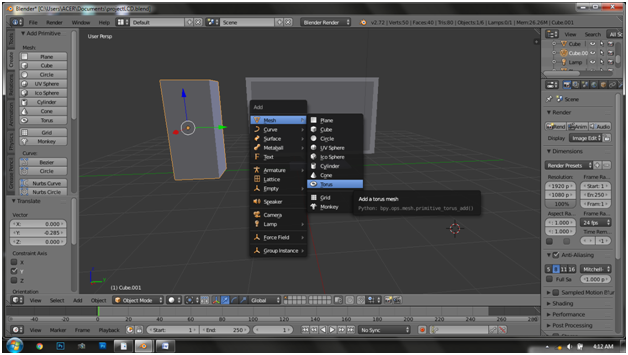
16.Add object -->Plane
Klik Ctrl + A --> Mesh Pilih --> Plane
add object --> Plane
klik Ctrl+A --> Choice --> Plane
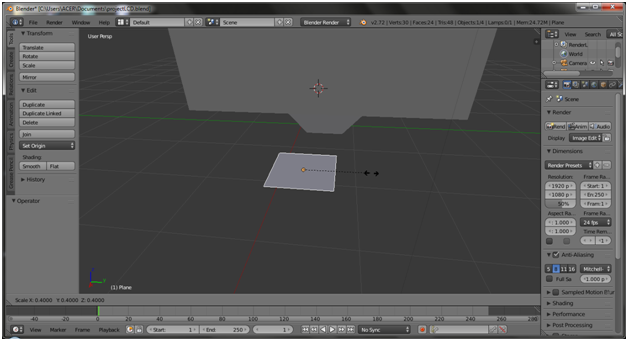
17.Kecilkan object plane menggunakan Ctrl + S
minimize object plane using shortcut Ctrl+S
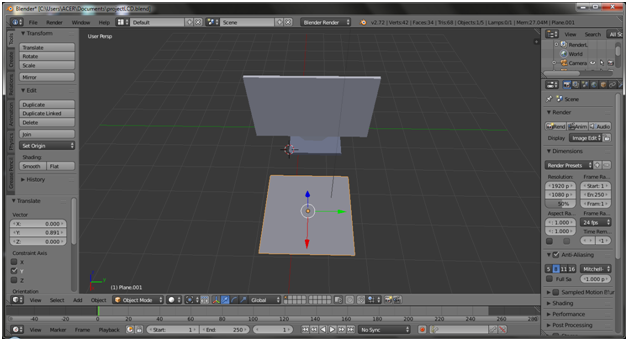
18.Letakkan object plane dibawah object LCD
kemudian klik pada sudut object plane klik Ctrl + Tab pilih --> Edge
Place the object plane under the LCD object
then click on the corner of the object plane klik Ctrl + Tab pilih --> Edge
19.Klik pada sudut object Plane Ctrl +Tab Pilih --> Face kemudian Klik shortcut E dan tarik kebawah menggunakan arah panah (biru)
Click on the corner of the Plane object Ctrl +Tab Pilih --> Face , Then Klik shortcut E and pull down using the arrow (blue)


- Hasil
Results
21.Tambahkan object plane Ctrl+A --> Mesh Pilih Plane
Add object plane Ctrl+A --> Mesh Choice Plane
22.Putar object plane Klik Ctrl+R
Rotate object plane Klik Ctrl + R
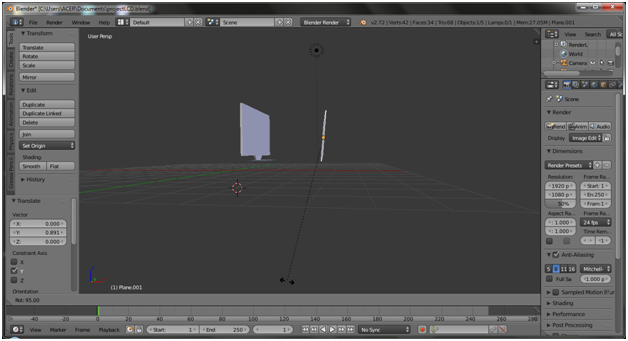
- Ctrl+Tab Pilih --> Edge
Ctrl+Tab Choose --> Edge
23.Perbesar object plane Ctrl+S
Zoom in object plane Ctrl+S
24.Hasil
Results
25.Klik **Ctrl+A --> Mesh pilih Cube
Klik **Ctrl+A --> Mesh Choose Cube
26.Perbesar object cube Ctrl+S
Zoom in object cube Ctrl+S
27.Tambahkan object Torus , Ctrl+A Mesh --> Torus
Adding Object Torus, Ctrl+A Mesh --> ** Torus**
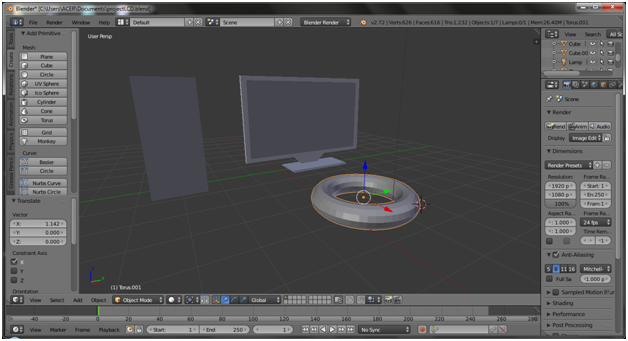
28.Kecilkan object Torus Ctrl+S
Minimize object torus Ctrl+S
29.Putar arah object Torus Ctrl+R
Rotate object torus Ctrl+R
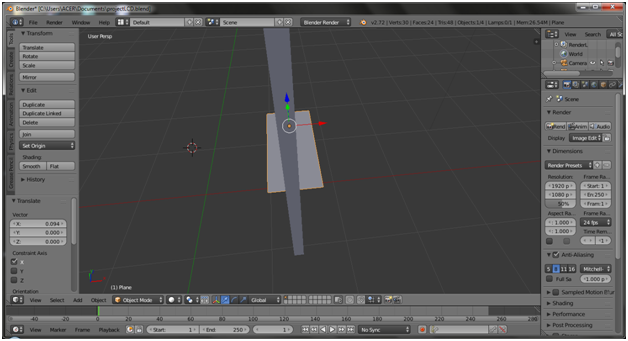
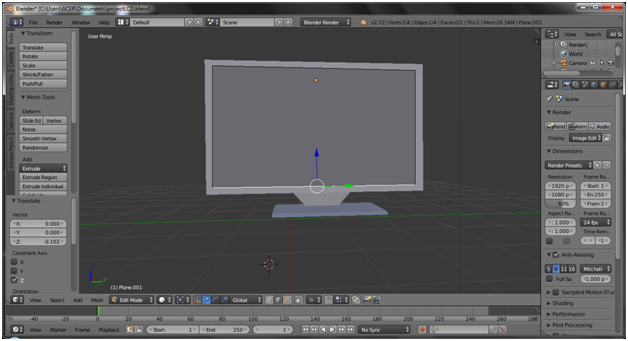
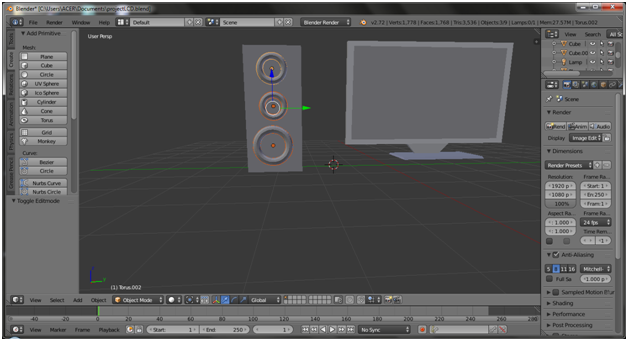
30.Letakkan object Torus pada object Cube , seperti yang ditampilkan pada gambar dibawah ini:
Put the Torus object on the Cube object, as show in the picture below:
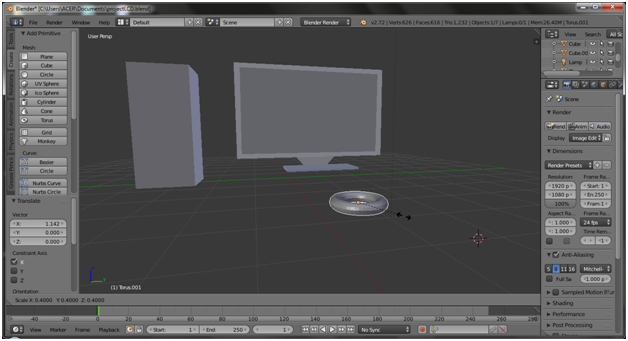
31.Duplicate object Torus SHIFT+D
Duplicate object Torus SHIFT+D
32.Duplicate Object Kubus SHIFT+D dan Object Torus SHIFT+D
.Duplicate Object Cube SHIFT+D dan Object Torus SHIFT+D

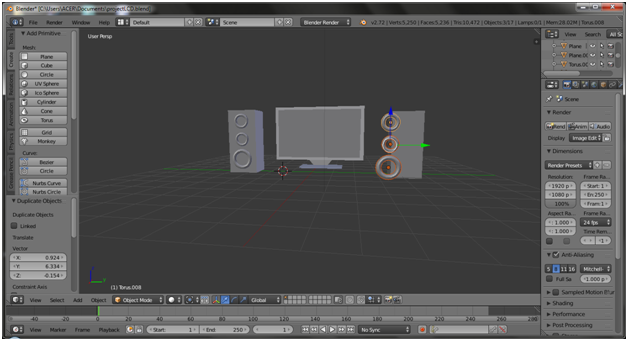
33.Hasil
Results
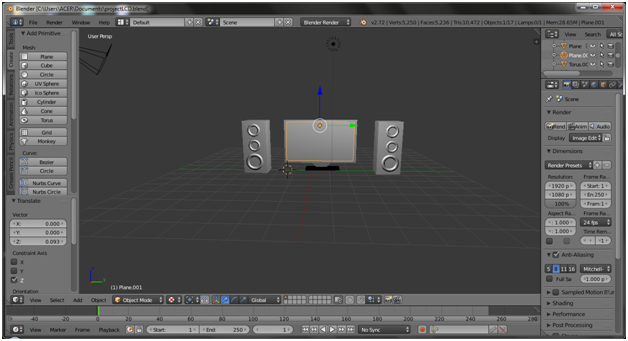
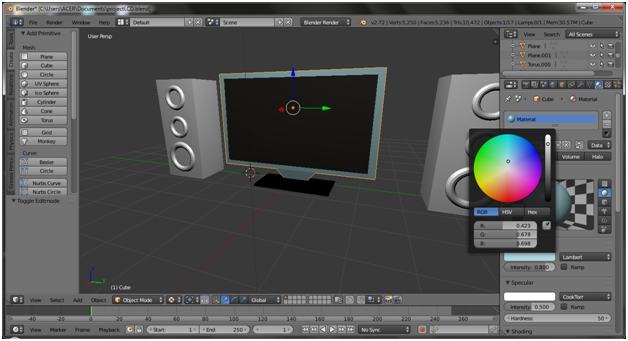
34.Klik pada Object LCD untuk memberi warna
Klik object LCD for give coloring
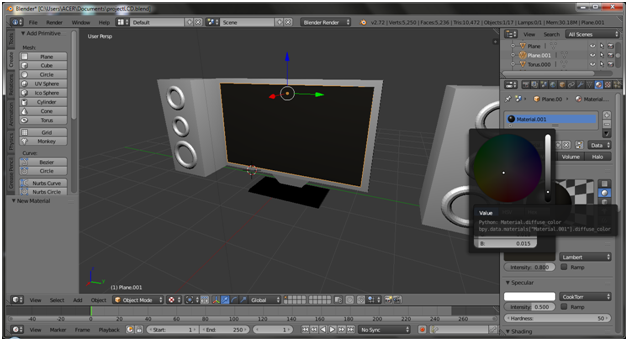
35.Selanjutnya memberi warna Badan LCD TV :
Next give colorin in the body LCD TV:
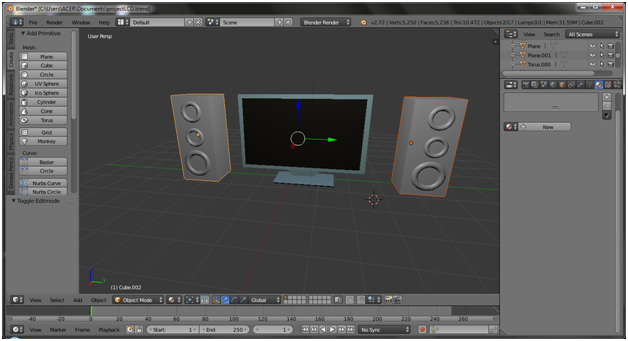
36.Hasil
Results
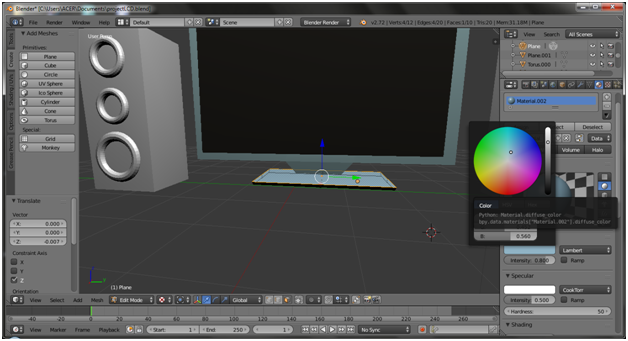
37.Memberi warna object Speaker :
Give the coloring object speaker:
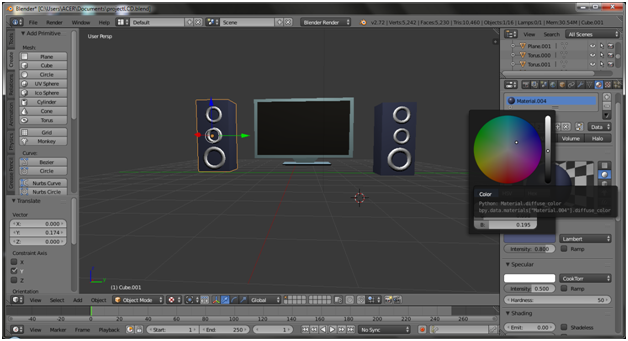
38.Hasil:
Results

Posted on Utopian.io - Rewarding Open Source Contributors
awesome post my friend...
thankyou somuch @itwithsm
you welcome...
Hey @saputra.ridho I am @utopian-io. I have just upvoted you!
Achievements
Suggestions
Get Noticed!
Community-Driven Witness!
I am the first and only Steem Community-Driven Witness. Participate on Discord. Lets GROW TOGETHER!
Up-vote this comment to grow my power and help Open Source contributions like this one. Want to chat? Join me on Discord https://discord.gg/Pc8HG9x
Thank you for the contribution. It has been approved.
You can contact us on Discord.
[utopian-moderator]
thanks mod