How to Make Cigarette Box Modelling Object Using Bleder 3D||Bagaimana Membuat Modelling Object Kotak Rokok Menggunakan Blender 3D|[ENG-INA]
[ENG]
Hallo ... today i want to post my contribution in tutorial #9
"How to Make Cigarette Box Modelling Object Using Bleder 3D "
[IND]
Hai .. hari ini saya akan memposting kontribusi di tutorial ke #9
"Bagimana Membuat Modelling Object Kotak Rokok Menggunakan Blender 3D"
Object used is :
-Cube
-Cylinder
-Text
Object yang digunakan :
-Cube
-Cylinder
-Text
For the step, can see the down here:
Untuk langkah - langkah nya bisa di bawah ini :
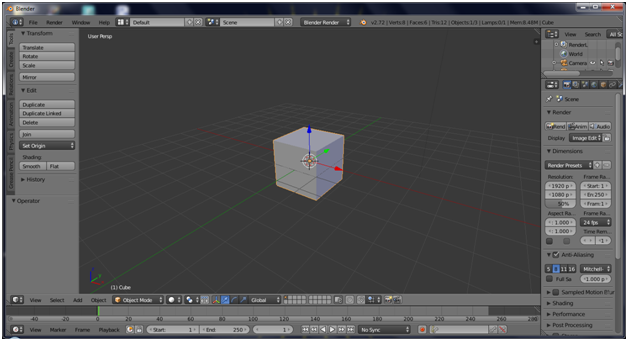
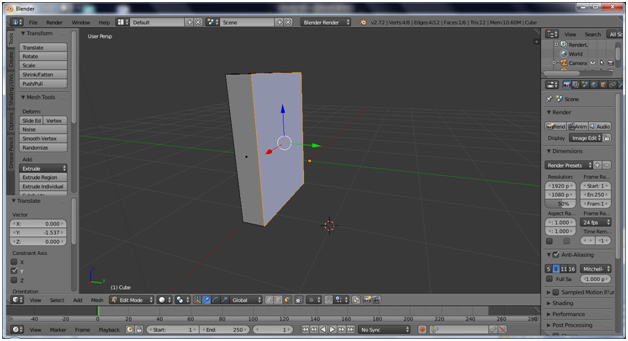
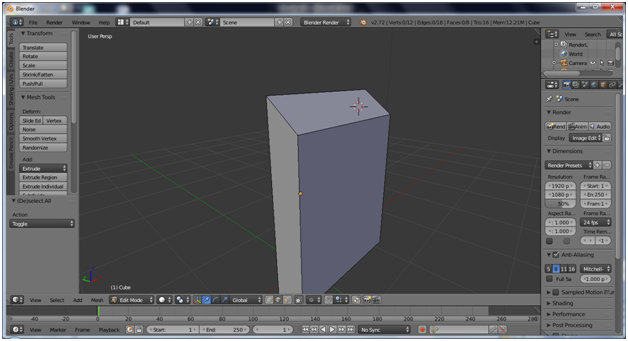
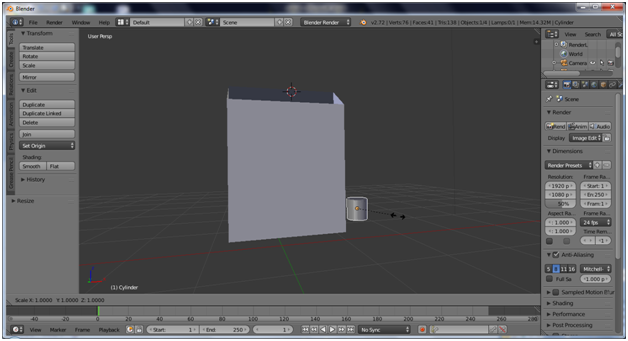
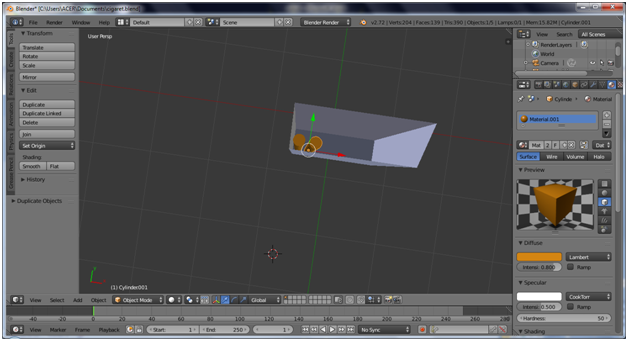
1.Buka Aplikasi Blender, Object yang digunakan adalah kubus
Open Blender Application , the object used with cube
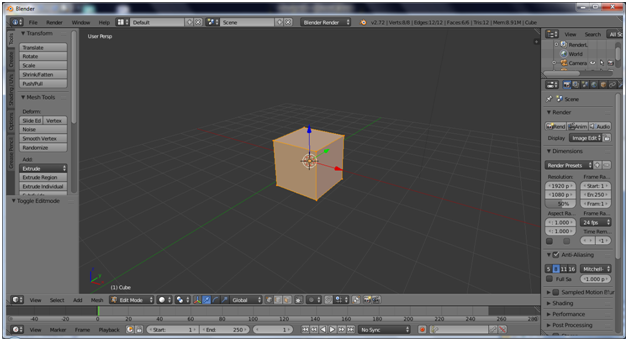
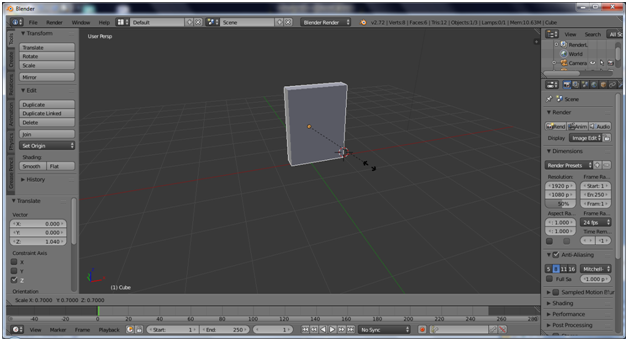
2.Klik pada Object Kubus
Click on the Cube object
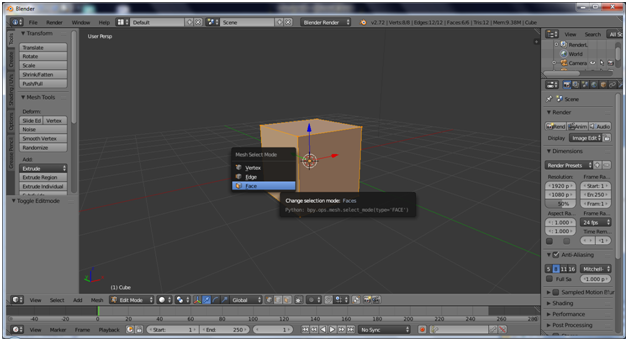
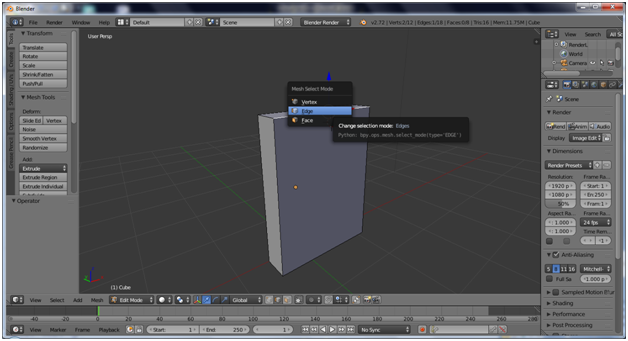
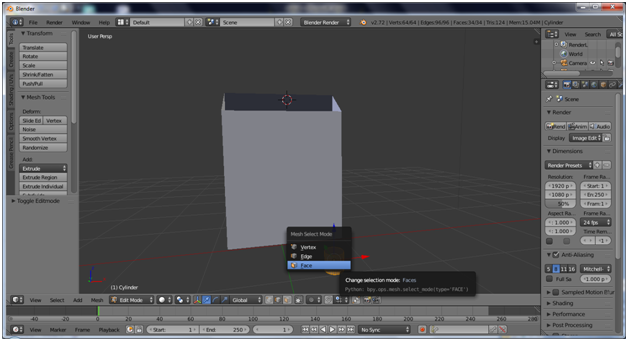
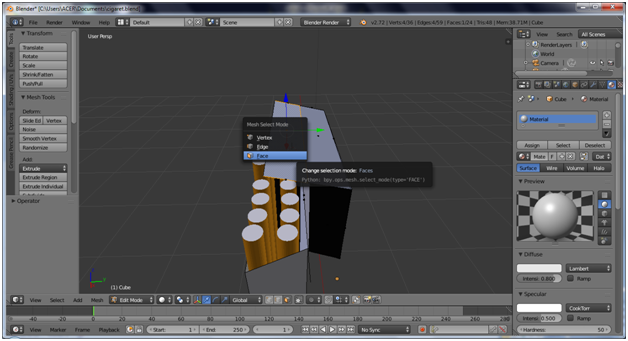
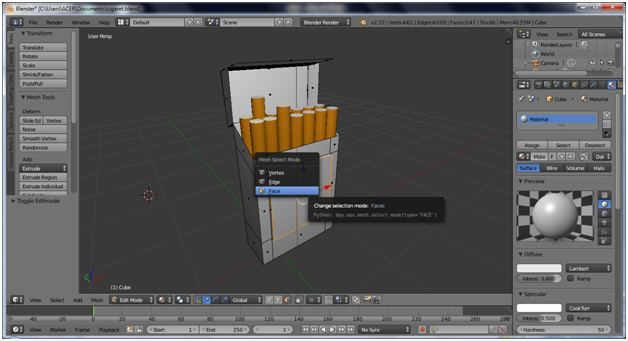
3.Kemudia klik Ctrl+Tab dan pilih Face
Then click Ctrl+Tab dan chooseFace
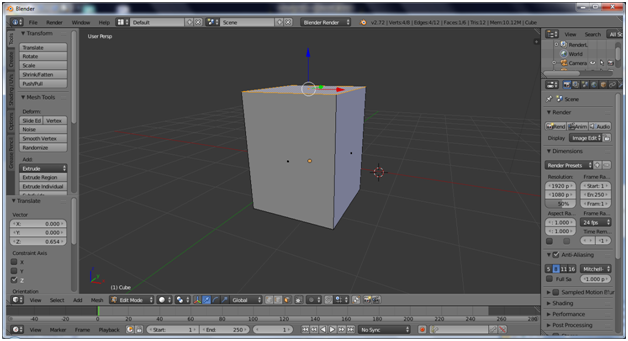
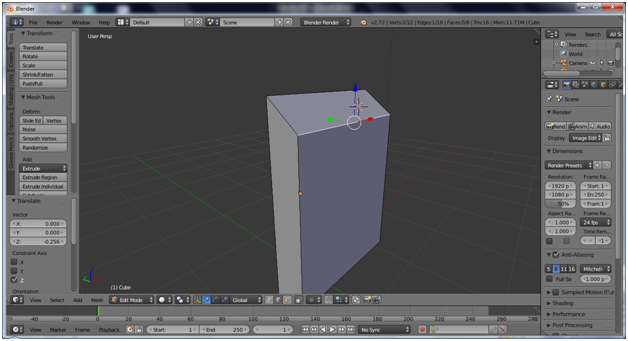
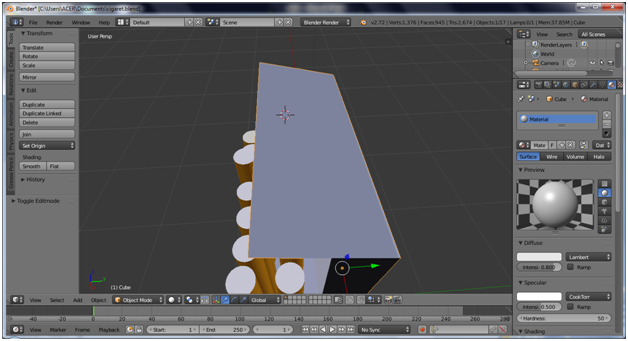
4.Klik pada bagian atas kubus, kemudian tarik keatas menggunakan arah panah warna (Biru)
Click on the top the object cube , then pull up using arrow way (Blue) colours
5.Selanjutnya , klik Ctrl+Tab pilih Face
Next, klik Ctrl+Tab chooseFace

6.Klik pada bagian depan object kubus , tipiskan menggunakan arah panah warna (hijau)
Click on the front the object cube, then create tinny the object using arrow way (green) colours
7.Kecilkan object menggunakan S
Minimize the object using S
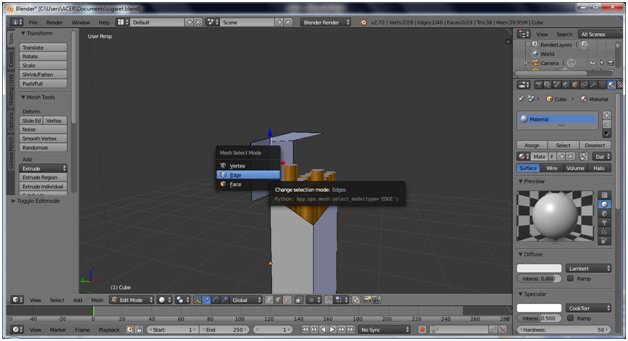
8.Klik Ctrl+Tab pilih Edge
Click Ctrl+TabChoose Edge
9.Klik pada bagian sudut depan , kemudian tarik kebawah menggunakan arah panah warna (Biru)
Click on the corner front object cube , then pull down using arrow way (Blue) colours
Hasil
Results
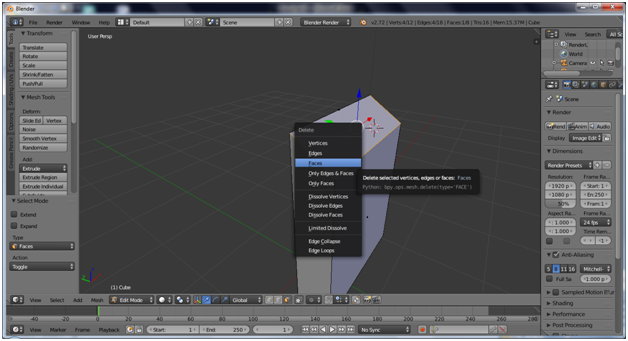
10.Klik pada lengkungan object , KlikX pilih Face
Click on arch the object , then click KlikX chooseFace
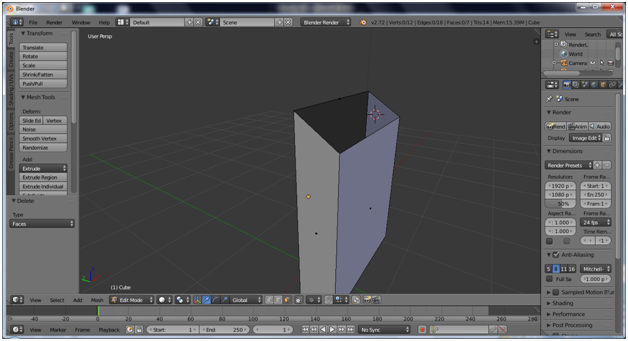
Hasil
Results
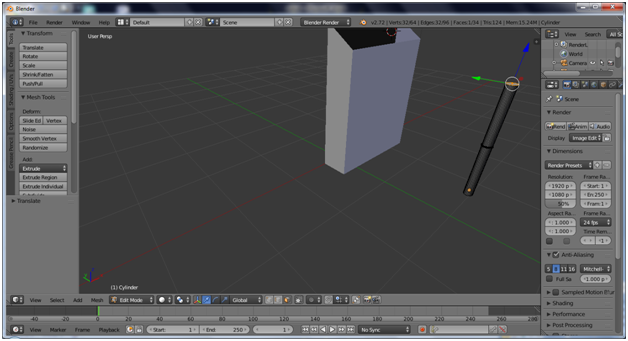
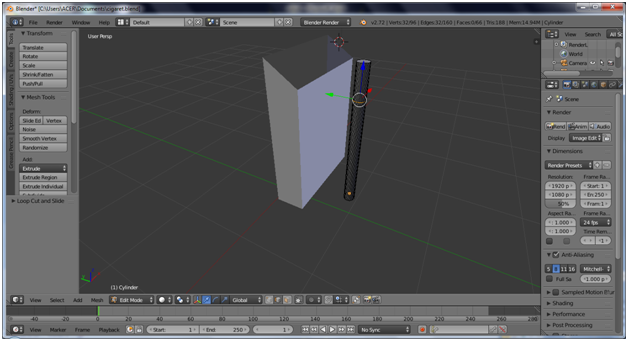
11.Tambahkan object Cylinder menggunakan Shift+A pilih Cylinder
Object cylinder akan di gunakan sebagai object batangan rokok
Add the object Cylinder using Shift+A chooseCylinder
Object Cylinder will be used as cigarette


12.Kecil kan object cylinder menggunakan S
Minimize the object cylinder using S
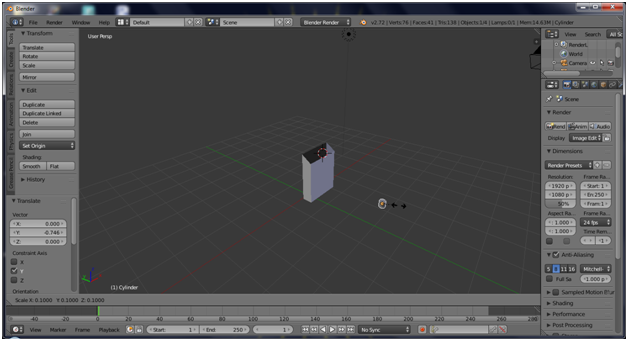
13.Klik pada object cylinder , Ctrl+Tab pilih Face
Click on the object Cylinder, using Ctrl+Tab choose Face
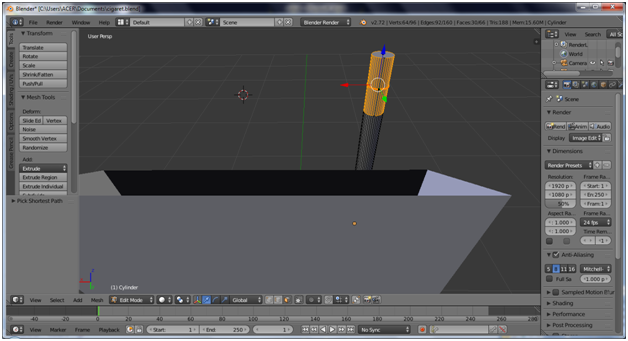
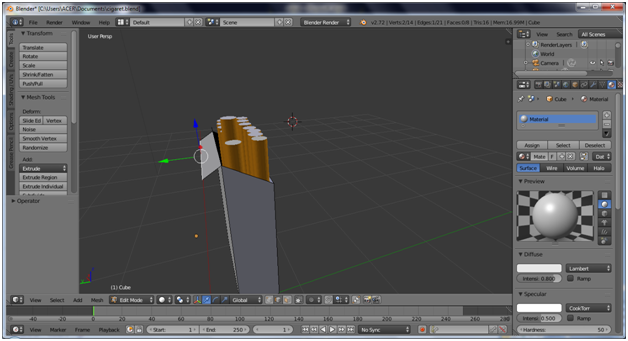
14.Kemudian , klik pada bagian atas object cylinder dan tarik ke atas menggunakan arah panah warna (biru)
Then click on the buttom object cylinder and pull up using arrow way (Blue) colours
15.Hasil:
Results
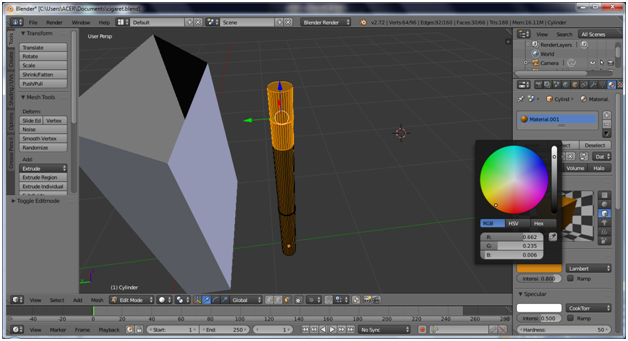
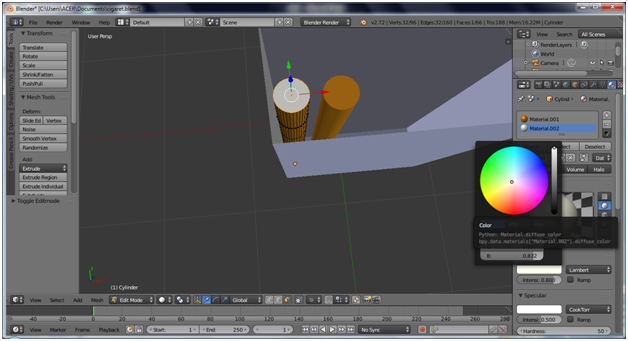
16.Klik pada bagian atas object Cylinder
Click on the top Cylinder object
17.Kemudian beri warna seperti gambar dibawah ini:
Then give a colours like the picture down here:
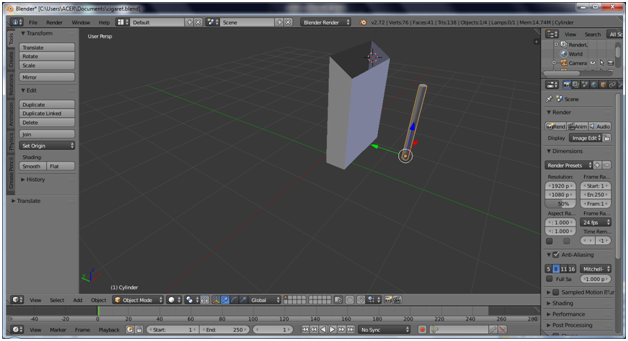
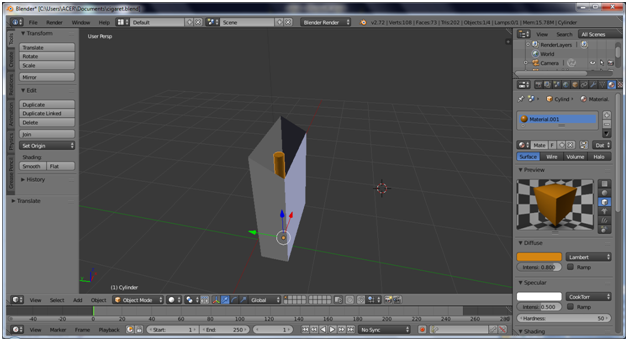
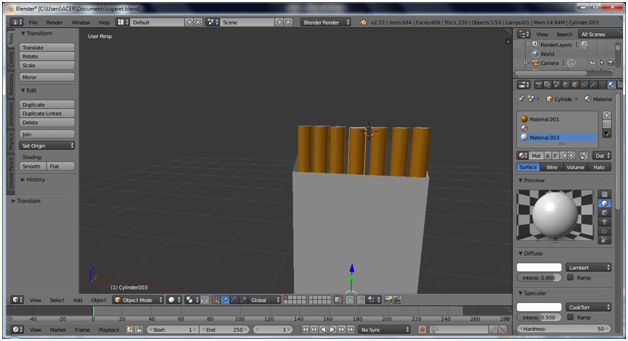
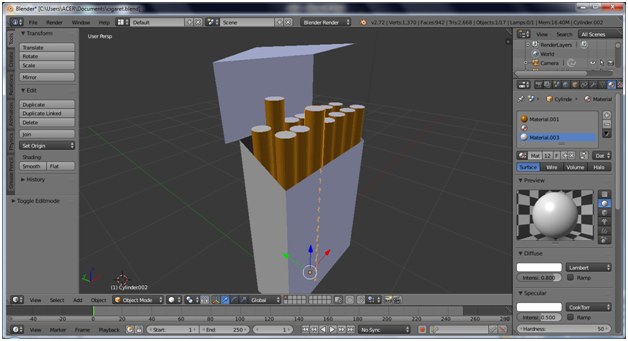
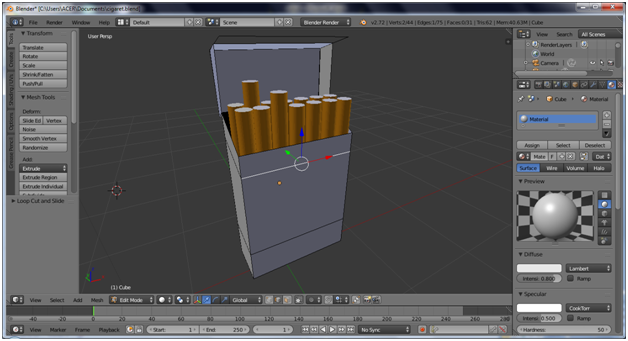
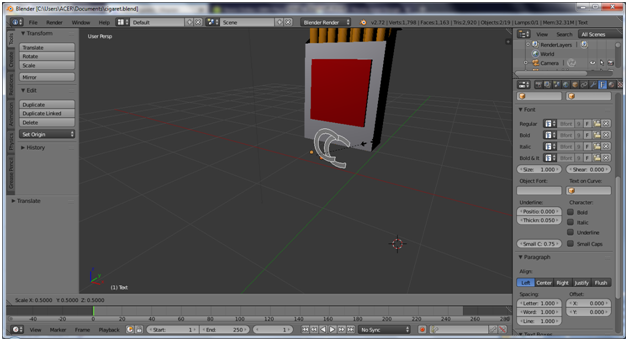
18.Letakkan object Cylinder seperti yang ditampilkan pada gambar dibawah ini :
Put the Cylinder object like down picture here:
19.Klik Shift+D untuk membuat duplicate pada object cylinder
Click Shift+D for make duplicate the cylinder object
20.Klik pada bagian atas object Cylinder kemudian beri warna sesuai gambar dibawah ini :
Click on the top Cylinder object , then give a colours like the picture down here :
21.Hasil
Results
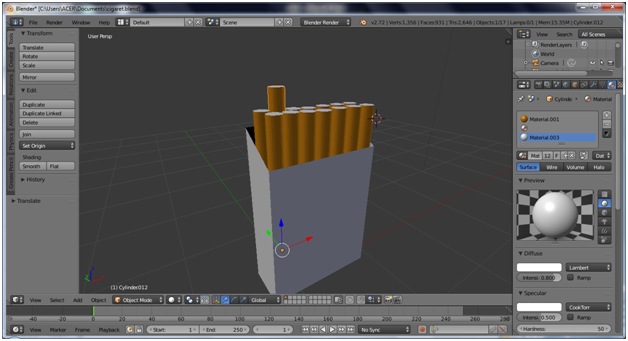
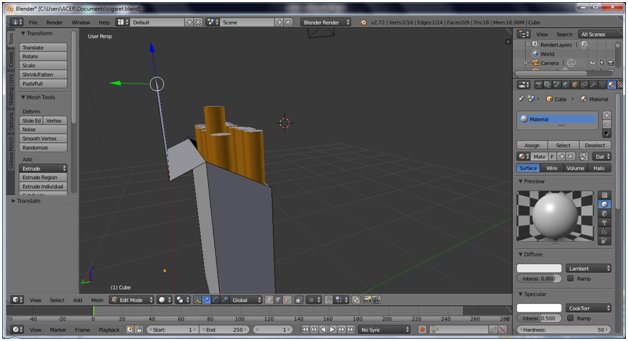
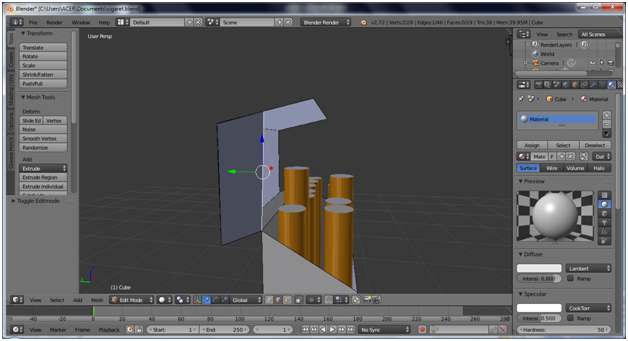
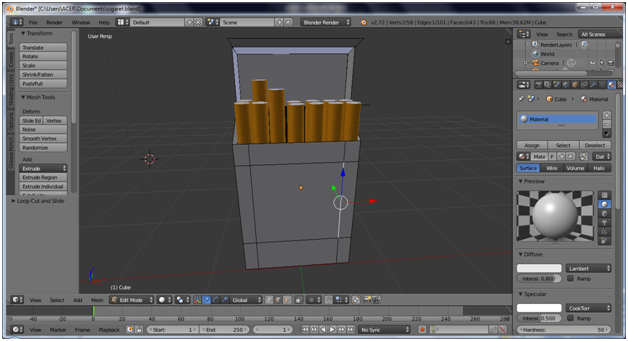
22.Klik pada bagian belakang lengkungan atas object , kemudian tarik kebelakang menggunakan arah panah warna (hijau)
Click on the side arch the up object, then pull back using arrow way (green) colours
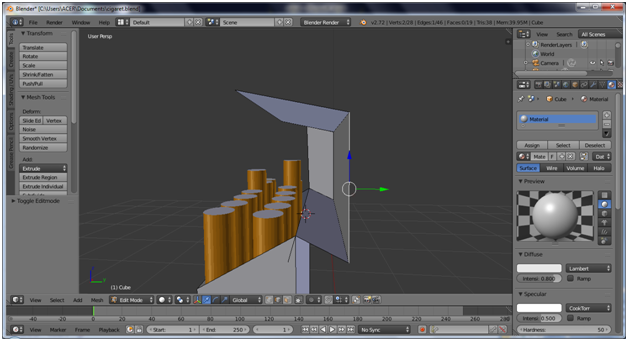
23.Tarik ke atas menggunakan arah panah warna (Biru)
Pull up using arrow way (blue) colours
24.Tarik kedepan menggunakan arah panah warna (hijau)
Pull to the front using arrow way (green) colours
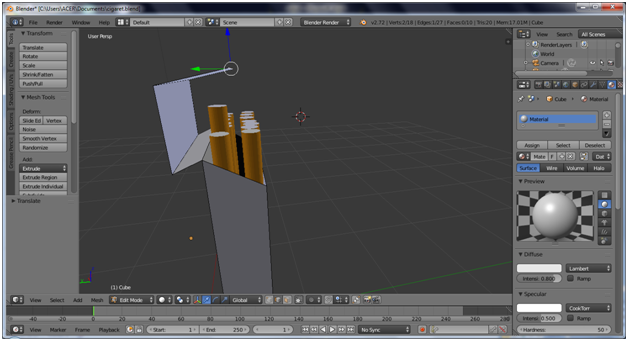
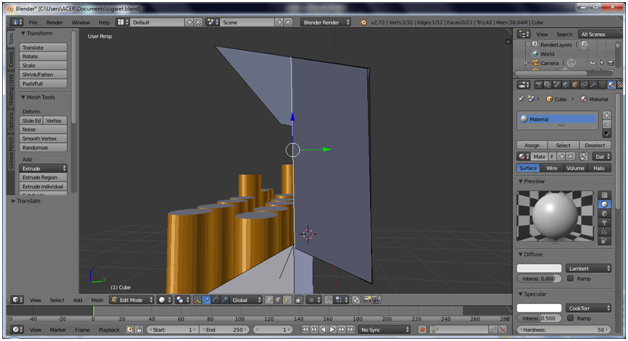
25.Hasil
Results
26.Klik Ctrl+Tab pilih Edge
Click Ctrl+Tab choose Edge
27.Tari ke samping kanan menggunakan arah panah warna (hijau)
Pull to the right using arrow way (green) colours
28.Lakukan hal yang sama seperti Langkah (27)
do it the same like a step (27)
29.Potong bagian atas menggunakan Ctrl+R
Cut the side up using Ctrl+R

30.Ctrl+Tab pilih Face
Ctrl+Tab choose Face
31.Klik X dan pilih Face untuk menghapus
Click X and choose Face for delete it

32.Hasil
Results

33.Potong bagian depan menggunakan Ctrl+R
Cut the front object using Ctrl+R


34.Klik Ctrl+Tab pilih Face
Click Ctrl+Tab choose Face
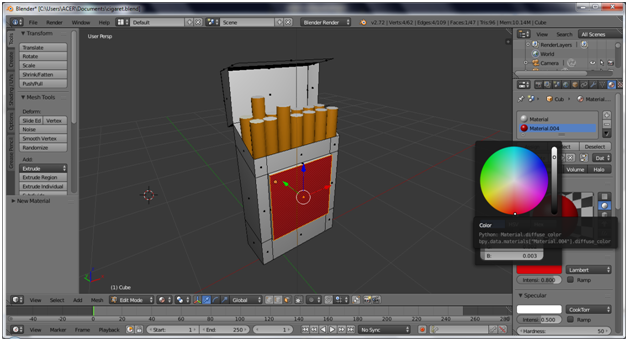
35.Beri warna merah pada object yang sudah di potong , klik tanda (+) untuk menambahkan warna dan pilih (New) untuk memasukkan warna baru
Give the red colours to object has been cutting , Click (+) for add colours , and choose (New) for input new colours
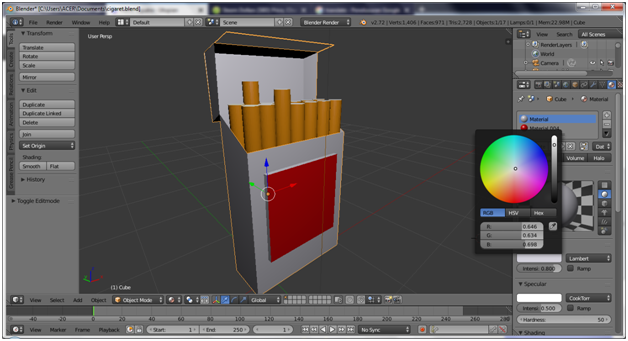
36.Lakukan hal yang sama pada langkah (33)
do it same the like a steep (33)
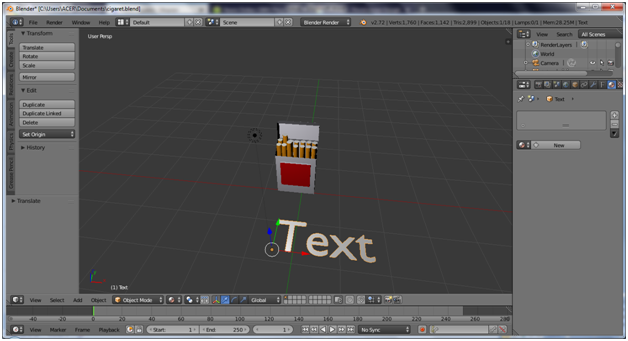
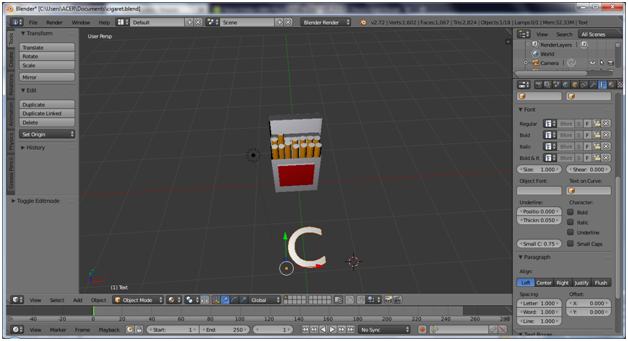
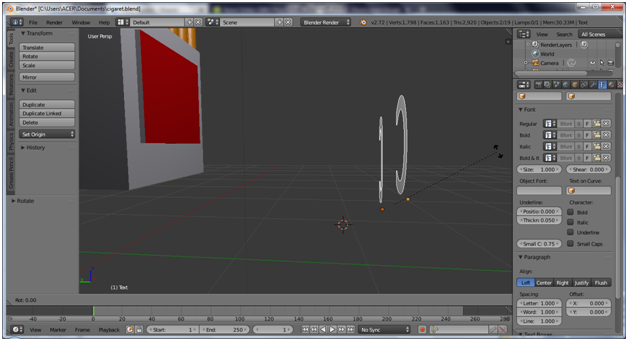
37.Tambah kan Text , Klik Shift+A pilih Text
add Text , Click Shift+A choose Text

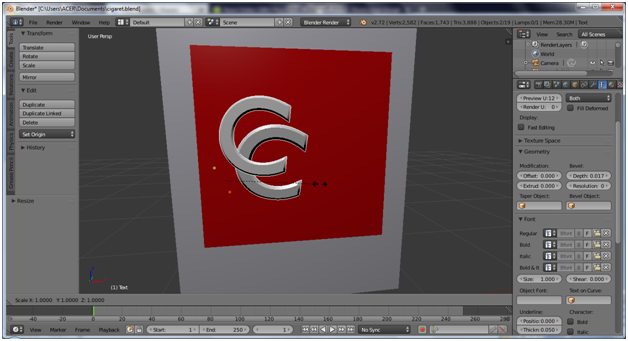
38.Ubah tulisan text , klik Tab kemudian buat tulisan C
Change Text to C using Tab and write C
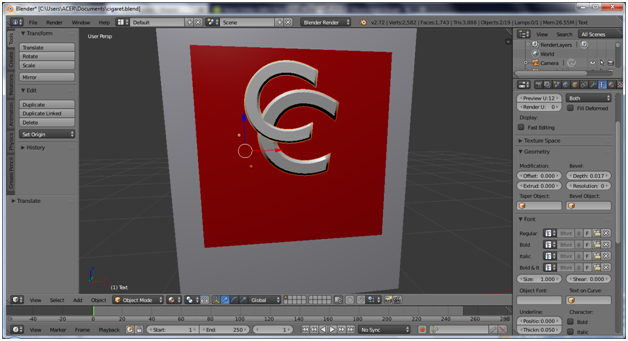
39.Duplikate text dengan cara Shift+D
Duplicate the text using Shift+D
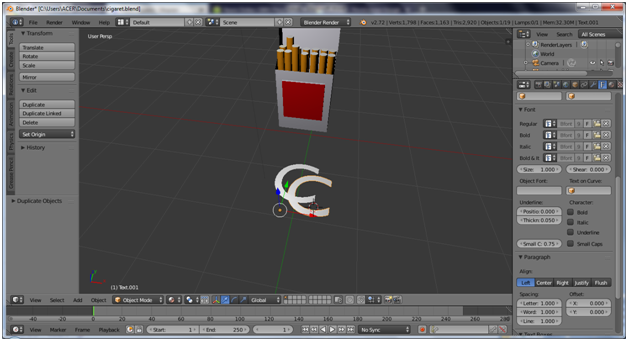
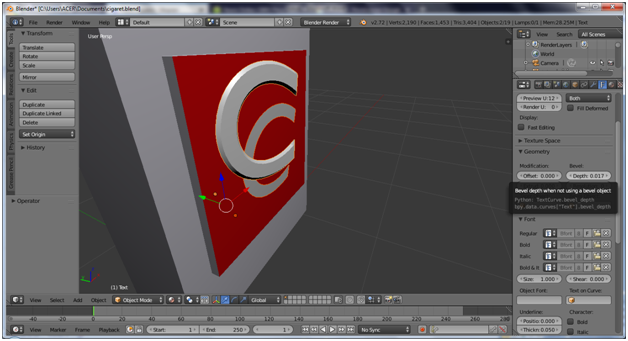
40.Putar arah text menggunakan R
Rotate the way text using R
41.Tarik kebelakan dan letakkan seperti gambar dibawah ini, menggunakan arah panah warna (hijau)
Pull back and put the text like the picture down here , using arrow way (green) colours
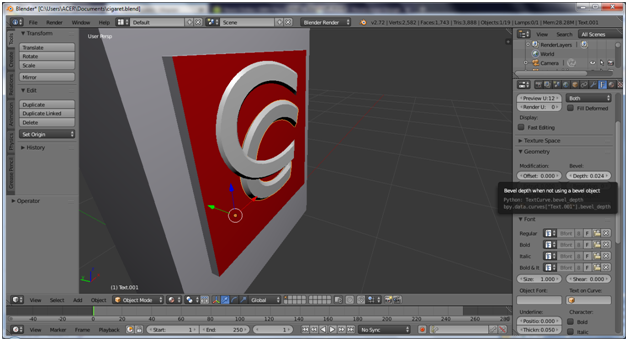
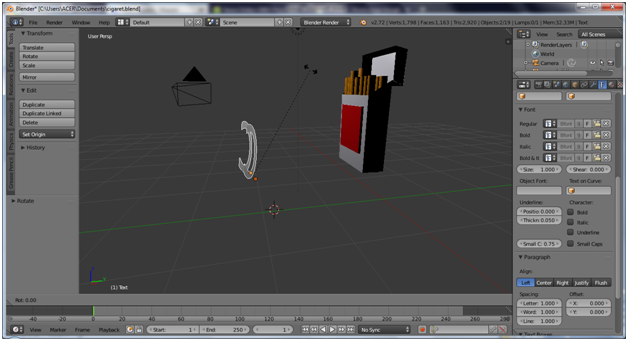
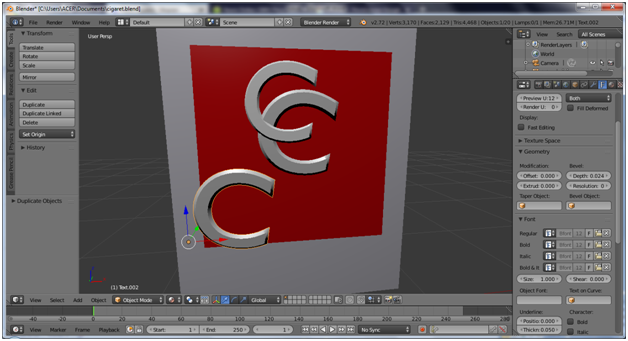
42.Putar text menggunakan R
Rotate the text using R
43.Duplikate lagi text menggunakan Shift+D
Duplicate again the text using Shift+D
44.Klik Tab kemudian ubah text menjadi “Cigarets”
Click Tab then change the Text C to be “”Cigarets””
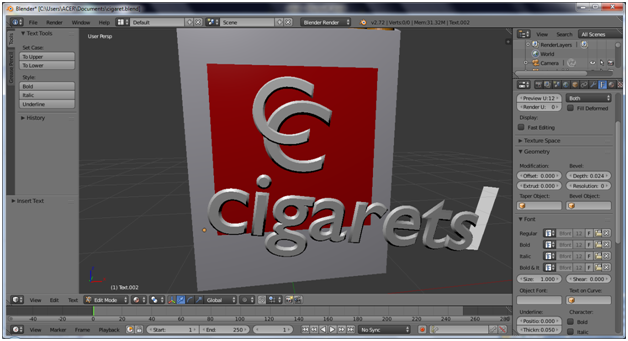
45.Putar text “Cigarets” menggunakan R
Rotate text “Cigarets” using R
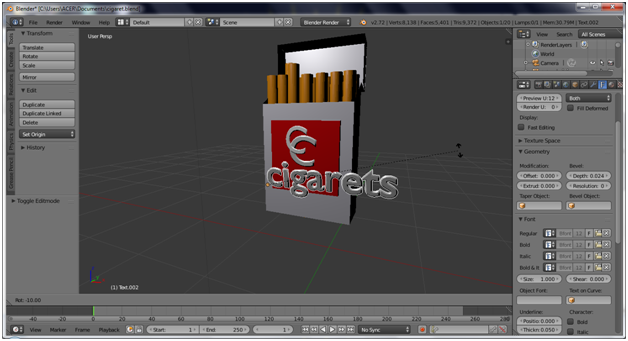
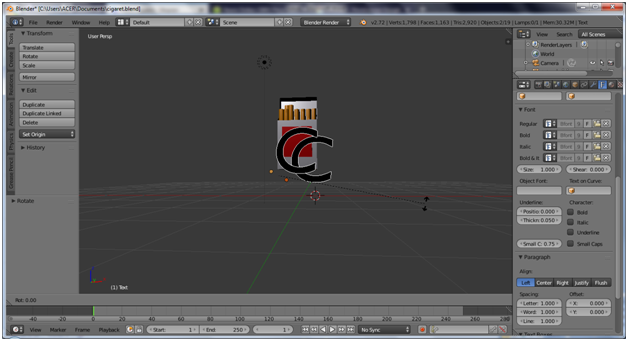
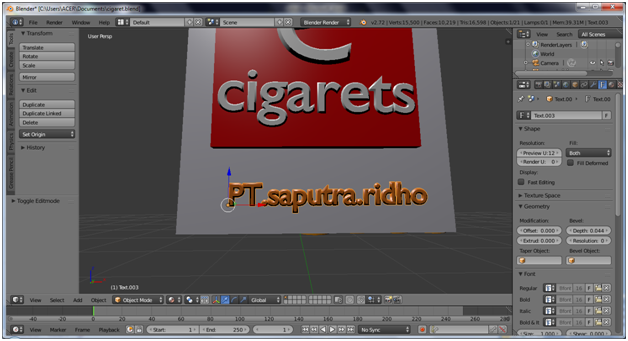
46.Duplikate text “Cigarets” dan ganti menjadi “PT.Saputra.ridho”
Duplicate text “cigarets” and change to be “PT.Saputra.ridho”
47.Hasil
Results
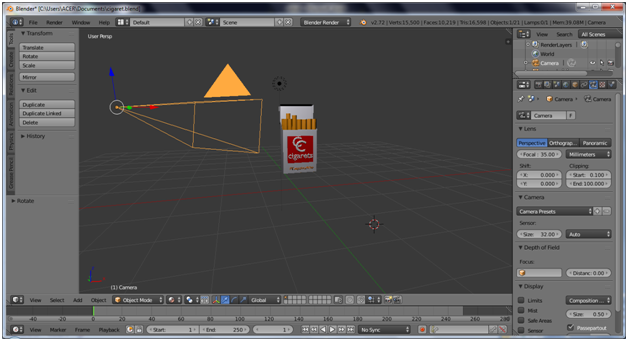
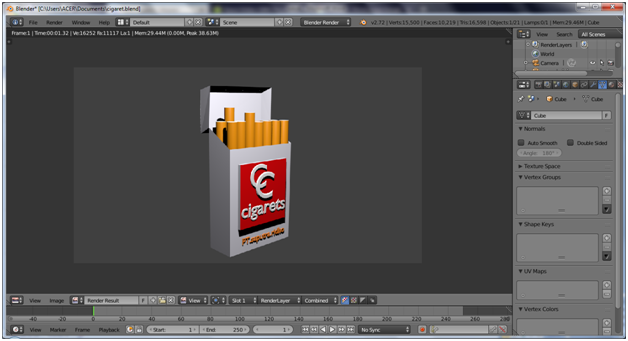
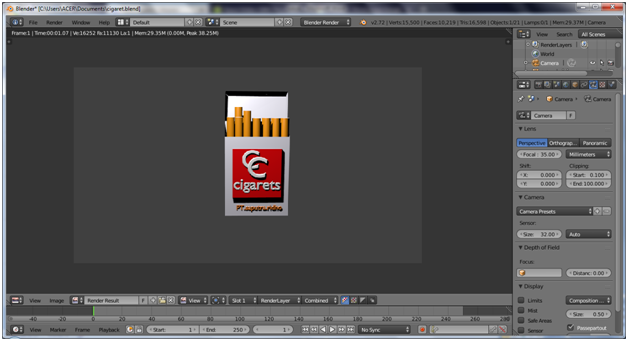
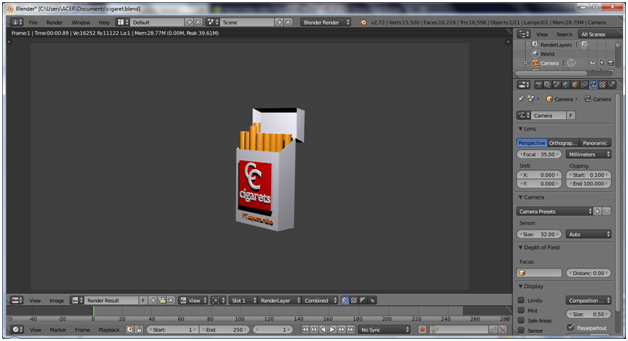
48.Render : menggunakan Klik F12
Rendering : Using Klik F12
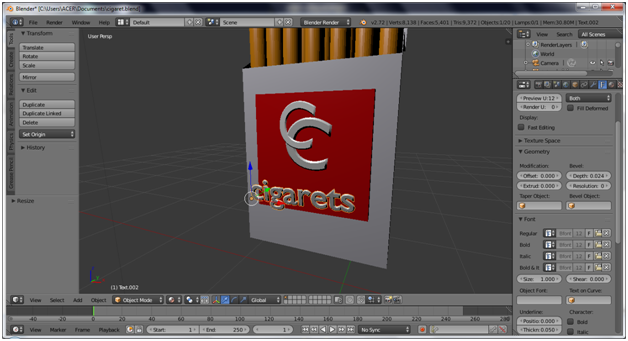
show left view
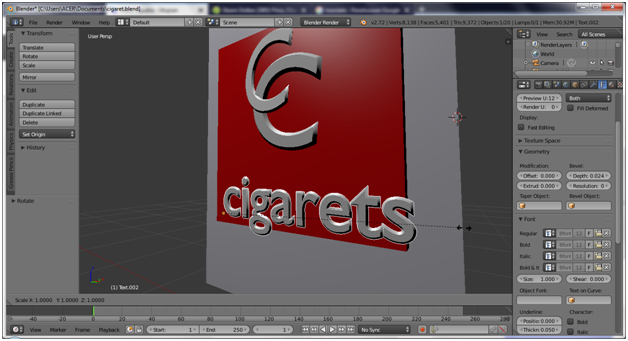
show middle view
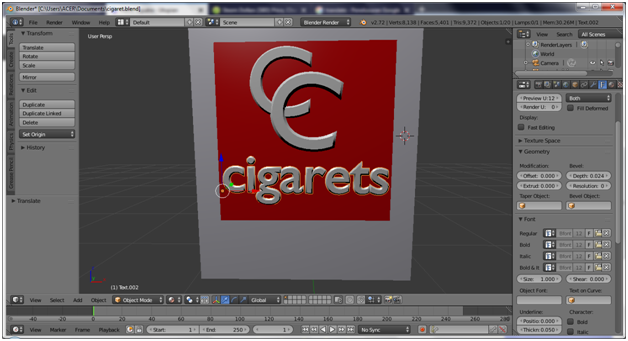
show right view
You can see my original contribution:
Download Here
Posted on Utopian.io - Rewarding Open Source Contributors
Thank you for the contribution. It has been approved.
You can contact us on Discord.
[utopian-moderator]
Thanks mod @manishmike10
Hi. Similar tutorials will not be accepted again. I suggest you to move to the deeper aspect of blender and make a Video tutorials on them. As just reading does not explain much for a blender tutorial.
thanks mod , i have been understand ..
for the next i will do it .. im sorry .. for i dont know rules for new
Hey @saputra.ridho I am @utopian-io. I have just upvoted you!
Achievements
Suggestions
Get Noticed!
Community-Driven Witness!
I am the first and only Steem Community-Driven Witness. Participate on Discord. Lets GROW TOGETHER!
Up-vote this comment to grow my power and help Open Source contributions like this one. Want to chat? Join me on Discord https://discord.gg/Pc8HG9x
Waaoo Amazing , Really love the post and your hardwork Saputra.ridho. I would love to follow you.
yeah sir, thank you ..
Sudah kami upvote ya..
thanks you