Tutorial : How to Create Transparent Text Using Inkscape
Goodnight everyone! Hopefully you are always in good health and can run daily activities and routines as usual, and hopefully today is better than yesterday.
On this occasion I went back to share the tutorial and also wanted to invite the novice designers, to learn to create a transparent text effect using Inkscape software.
But before we go into the tutorial session, first I invite you to know what is Inkscape, so much easier to use this software later.
Inkscape

Inkscape is an open source software that is almost equivalent to corel draw, although not as famous as the corel draw itself. But this software already meets the standard XML, SVG and inkscape CSS can also run on windows operating system, so this graphic device is really friendly with you who have talent graphic designer. The main goal of inkscape is presented is to be one of the current cutting-edge graphics tools.
Okay, that's a glimpse of information about this inkscape, now we go into tutorial session.
That's a glimpse of information about inkscape, hope you guys novice designers like me can understand and are interested to follow this tutorial from me.
Tutorial
How to Create Transparent Text Using Inkscape
For the first step, provide an image or photo as background to create a transparent text effect, images can be downloaded on the internet and better if using private images, here I use one of my photography collection.

The second step, we set the work page first, by the way, click the file on the menu bar, select the document properties and uncheck show page border on the document properties command screen. Next click view on the menu bar and then select zoom and select zoom 1: 1, last activate fill and stroke command screen and align and distribute object by clicking both icon in Inkscape menu bar, as in the picture below.


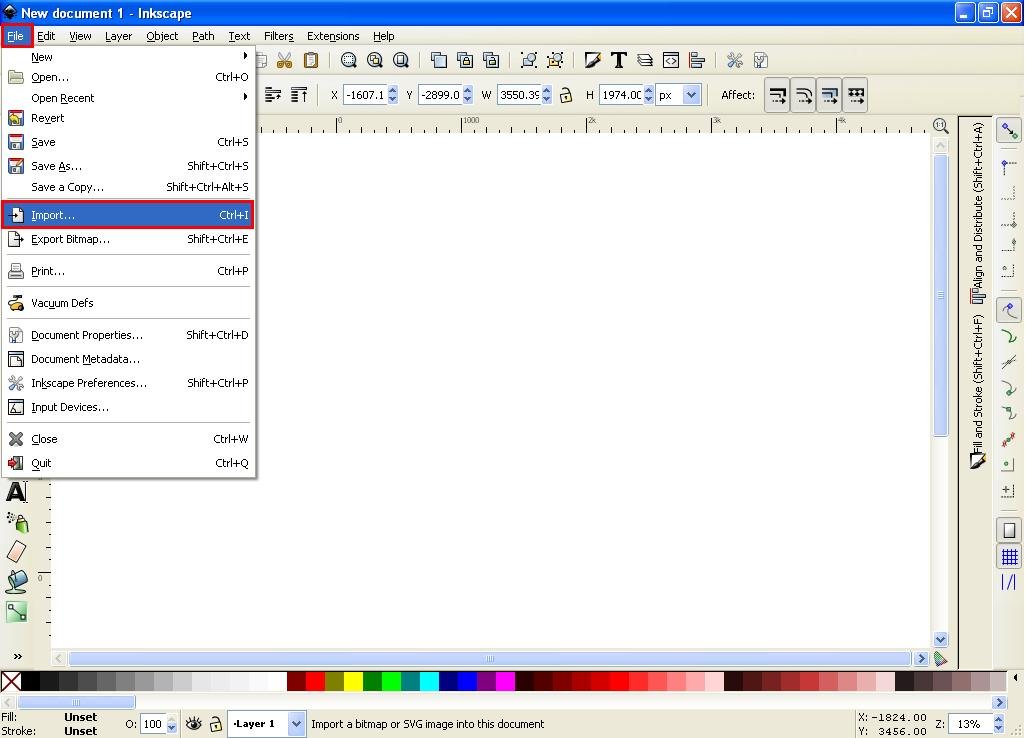
The third step, click the file on the menu bar, select import and then select the file that will be used as the background object, or it can be drag and drop files from your file storage folder, then select embed.


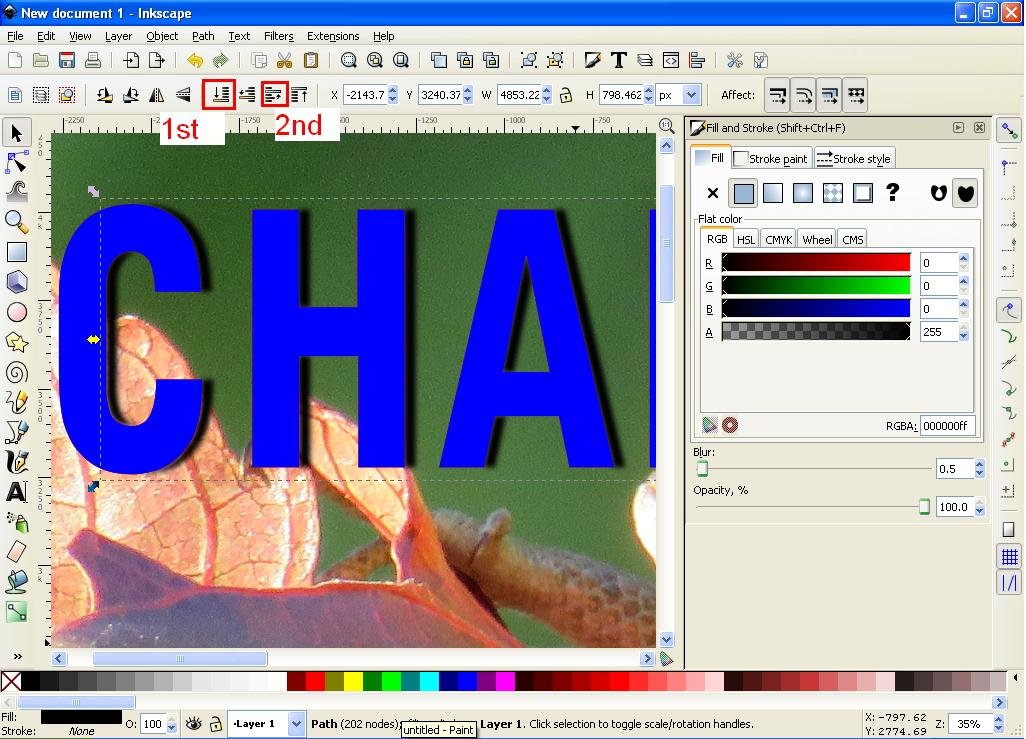
The fourth step, after the image file appears on the screen inkscape work, then click the icon create and edit the text object on the side bar, write a word you want, here I write CHAMELEON in accordance with the object in the image. Next click the icon (T) on the menu bar to edit the text font and give one of the colors you want besides black and white that is available in the task bar, then right click on the text and select duplicate, duplicate the text for five duplicates, and each duplication gives a different color. specifically for the last duplication give black color.


For the fifth step, click on the black text and set the blur capacity to 0.5 on the fill and stroke command screen, then click the path on the menu bar and select Outset, do it three times, then click on the black text and drag it to the right a bit , then click on the lower selection one step icon on the menu bar, hold down the SHIFT key on the keyboard and click on the second text here purple, then click the path again on the menu bar and select the difference, then drag the text down to make sure the text has changed to transparent, this is the first process.


The sixth step, click on the next text, here is blue, then click the lower selection to bottom icon, then click the raise selection icon next step, then change the blue text color to white, then click the path on the menu bar and select outset , repeat five times, then click on the lower selection one step icon, remember lower selection one step, then hold down SHIFT key on the keyboard and click on next text, here is bright red, click the path again on the menu bar and select intersection.


The seventh step, drop the white text opacity to 30% on the fill and stroke command screen on the right, then click on the last text here dark red, and change the color to white, then click the gradient icon on the fill and stroke screen, it will appear edit the gradients, change the position of the line from horizontal to vertical shape, and set the top pin point so that it is out of text as the instructions in the drawings below, the last block of the text as a whole and click the icon group on the menu bar.


The eighth step saves the object into a file, by clicking the file in the menu bar and selecting Save As, then fill in the file name and select the file format. I suggest to be saved in two formats, first save in SVG format so it is easy to re-edit later, both save in PNG format so easy to upload to various media.


All right, everyone! this is all I can share on this turorial, may be useful for us all. thank you for reading and following the tutorial from me and see you in the next tutorial, of course using inkscape software.
And below is the result of my tutorial on this occasion.

Best regards @saini88
Posted on Utopian.io - Rewarding Open Source Contributors
Thank you for the contribution. It has been approved.
You can contact us on Discord.
[utopian-moderator]
Thank you very much @vladimir-simovic #utopian-moderator
Nowadays friends are working alone. you are not voting. Please tell me why are noto you doing today
Hello, you received a boost courtesy of @steemdunk! Steem Dunk is an automated curation platform that is easy and free for use by everyone. Need a boost? Click me
Upvote this comment to support the bot and increase your future rewards!
Hey @saini88 I am @utopian-io. I have just upvoted you!
Achievements
Suggestions
Get Noticed!
Community-Driven Witness!
I am the first and only Steem Community-Driven Witness. Participate on Discord. Lets GROW TOGETHER!
Up-vote this comment to grow my power and help Open Source contributions like this one. Want to chat? Join me on Discord https://discord.gg/Pc8HG9x