Dummy's guide to video editing through Shotcut (open source)- Part 2
In the last tutorial Dummy's guide to video editing through Shotcut (open source)- Part 1, we learnt about basic functionalities associated with using your favorite open source video editing tool Shotcut.
In this tutorial, we will summarize the remaining functionalities and complete the guide.
Lets Start.
Adding Panels: Intro and Outro
In Shortcut, a stage is reached where there’s overlapping of videos or slides. So, make sure that the intro as well as the outro are on the same timeline as that of the your video.
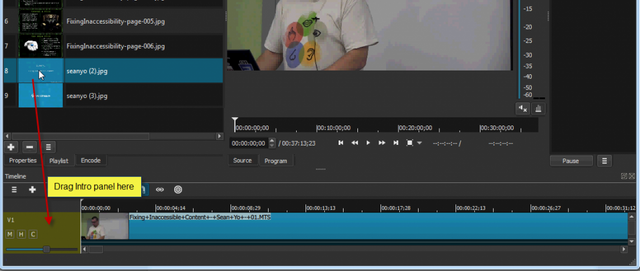
Before adding the intro, place the Playhead in front of the video. The intro is inserted at the location of the Playhead.

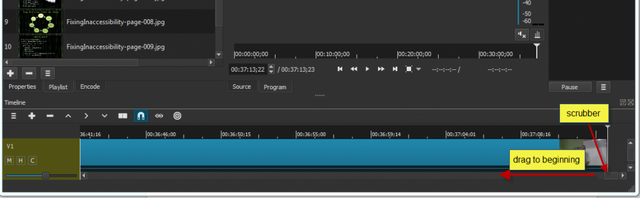
To insert the intro panel, use drag and drop. Place it to the starting of the video timeline. The panel should be placed exactly to the beginning. Failing to do so will result in addition of the intro panel in an awkward position. For inserting the intro at the beginning, See the image-
[image]
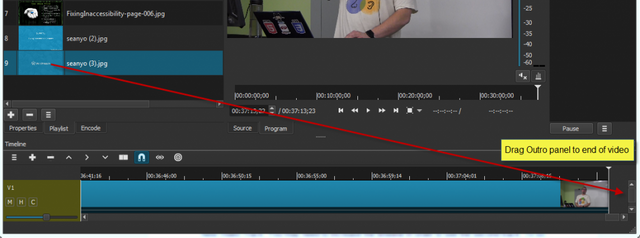
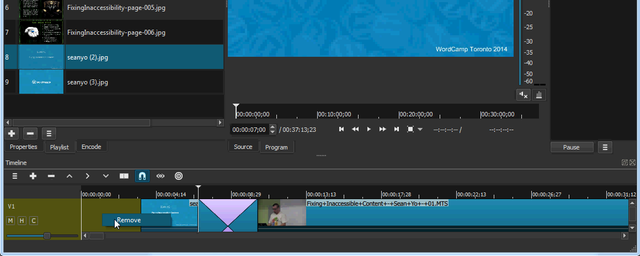
For placing the outro panel, drag and drop it to the end. In case there’s any void between the panel and the video, remove it by using the method described earlier.
[image]
Adding Transitions to the Panel:
To add the transitions, overlap the video, intro and the outro. Now, Drag it (intro panel) to about halfway and then release.

A fade transition will be activated.
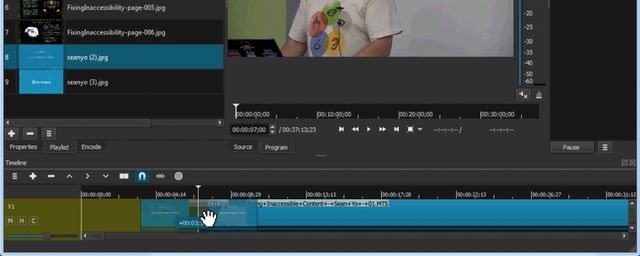
Remove all the blank spaces.
Do the same with the outro panel for activating the transition.
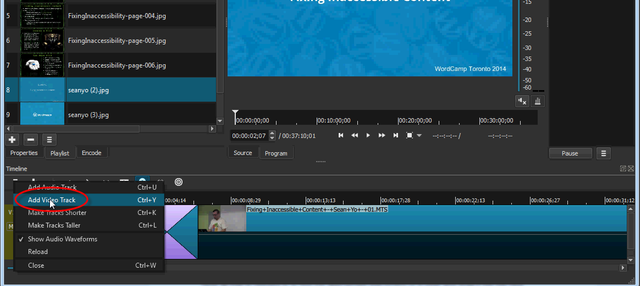
Adding a Video Track & Inserting Slides:
- You can select the video by clicking on the three horizontal lines icon which is in the extreme left, right above the timeline as shown here-

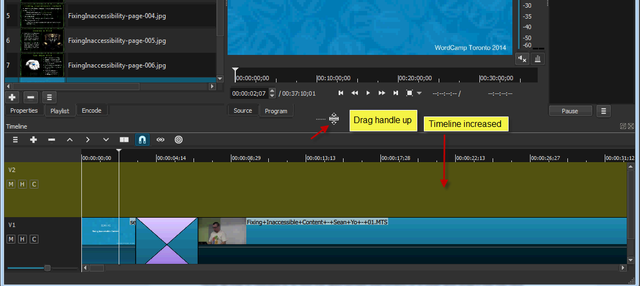
- To view the sound track, increase your timeline. To do this, move your mouse over the handle (the five dots) which is above and in the middle of the timeline. Hold with mouse, move the mouse upward and the timeline will be increased.
- Find the proper position for the slide and move it to the timeline (new) by drag and drop action.
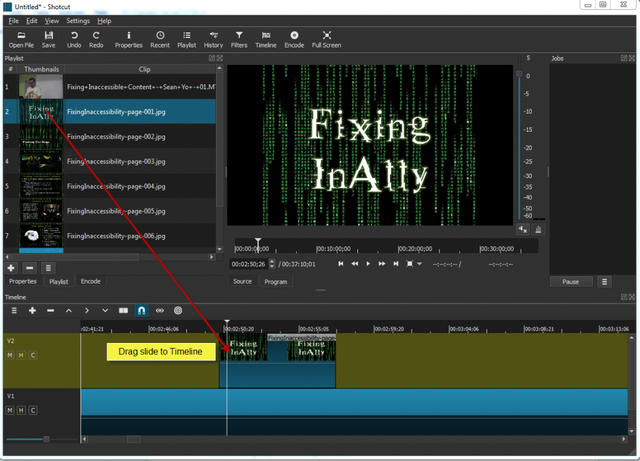
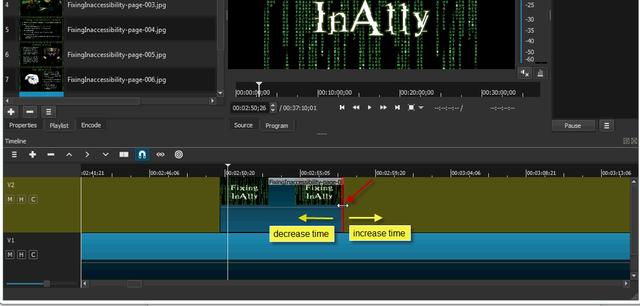
To increase or decrease the slide duration, keep mouse on the edge of the slide it to the time you want.
To increase the effectiveness and readability, add a slide several times.
Encoding a Video:
Encoding a video file is the final and crucial step of editing process.
Videos should be encoded to avi, mpeg/mpg, wmv, mp4, ogv and 3gp/3gp2 so that they can be easily used on WPTV.
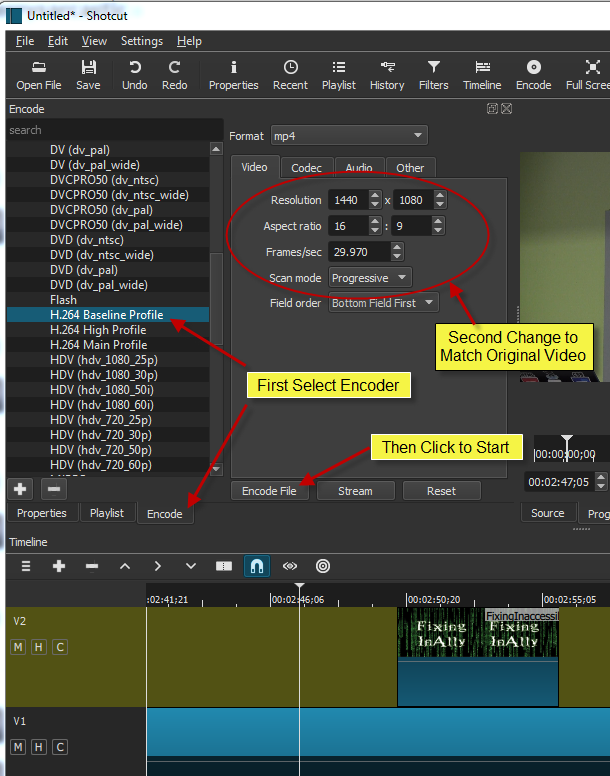
H.264 Baseline Profile encoder is the best for beginners. Select this encoder from the Encode tab. Now, alter the video settings such that they match the settings of the original video. To commence the encoding process, click on Encode File as shown-
To reduce the file size of the video ultimately made, process it in a Transcoder. This is necessary because file size is an important issue.
The end results and time required for processing may vary from system to system, depending on it’s specifications.
Practice and a little hard work is required to get the result you want. All the best !!
Posted on Utopian.io - Rewarding Open Source Contributors
this is great tutorial thank you for this. 👍
I hope people get something out of it!!
Thank you for the contribution. It has been approved.
You can contact us on Discord.
[utopian-moderator]
Hey @osblog I am @utopian-io. I have just upvoted you!
Achievements
Suggestions
Get Noticed!
Community-Driven Witness!
I am the first and only Steem Community-Driven Witness. Participate on Discord. Lets GROW TOGETHER!
Up-vote this comment to grow my power and help Open Source contributions like this one. Want to chat? Join me on Discord https://discord.gg/Pc8HG9x