How to configure Juniper Switch with GNS3 VirtualBox #1
Repository
https://github.com/GNS3/gns3-gui
What Will I Learn?
- Using Virtualbox in GNS3 app
- Adding Juniper Switch to GNS3 app
- Juniper Switch initial settings in GNS3 app
- JunOS port settings in GNS3 app
- How to disable NTP services on Juniper Switch
- Limit / unlimit port speed on Juniper
Requirements
- GNS3
- Virtualbox
- JunOS Virtual Image
- A standart Computer
Difficulty
- Intermediate
Tutorial Contents
Using Virtualbox in GNS3 app
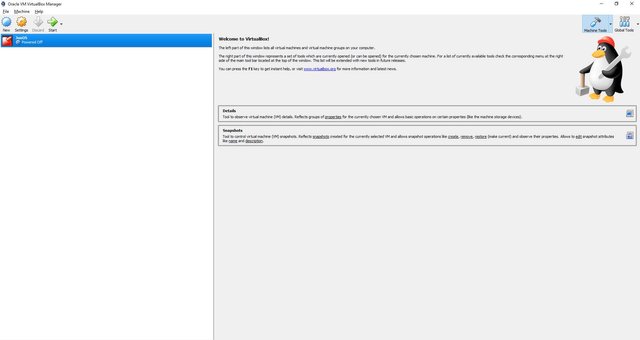
As you know Juniper Switches do not have a Cisco Packet Tracer-style simulation program, so we will use GNS3 and Virtualbox as a tool to simulate before testing Juniper Switch. Installing GNS3 application is very easy so we can skip this step. After successfully installing the GNS3 Program, we install Virtualbox program. You can easily find the installation on the Internet. When we log in to Virtualbox, we will see the following screen.
We will run the Juniper image file below with the VirtualBox program from the Google Drive link I share.
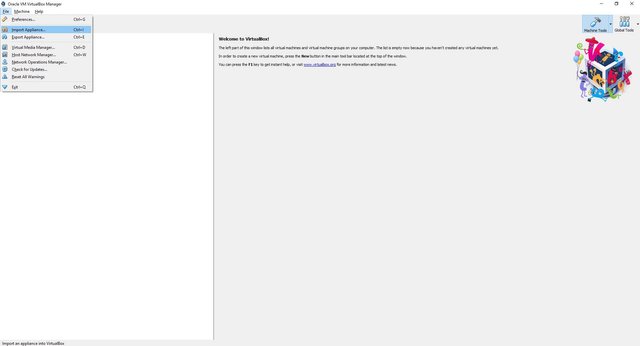
Follow the instructions below in order to run the image file in the Virtualbox, as you can see in the photo;
File – Import Appliance
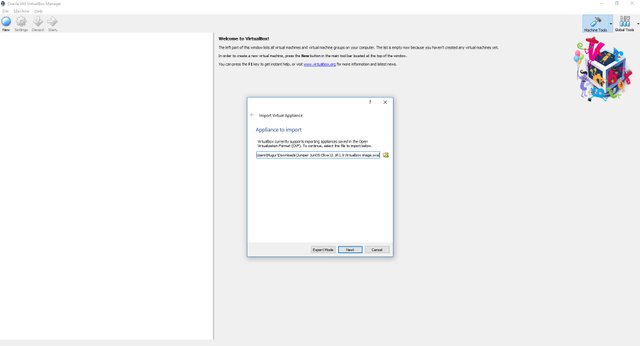
In this step, we need to browse and select JunOS image file and click next.
In this section, we need to set the properties of our device.
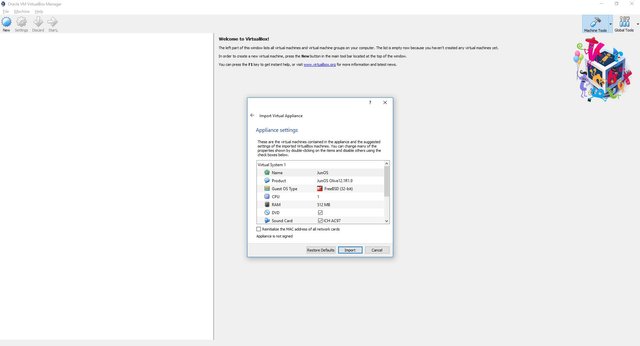

Name: Your switch name
Product: Your product name
Guest OS Type: Your OS
CPU: The amount of CPU you will use
RAM: The amount of RAM you will use
DVD: If you will mount image files to this device, fill the blank
Network Adapter: Network adp which you will use
After these steps click Import and your device has been successfully created as you can see in the picture, our image file is ready to start.
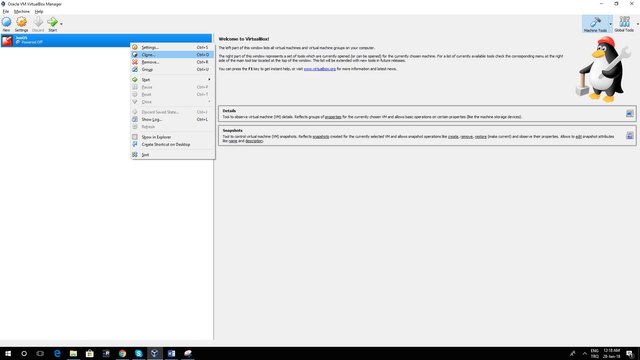
If you want to work with more than one Juniper Switch, click clone option.
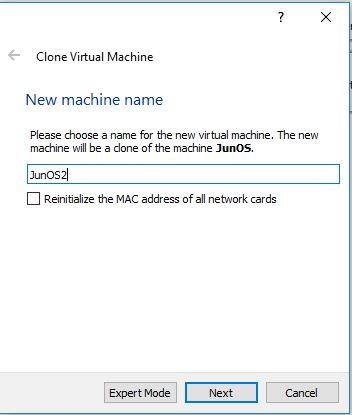
When cloning, It will ask for the name of our new machine as above. Switch to the next step with "Next" by typing the name you want to give to the clone switch.
In the following step, we choose "Full clone" to create a 100% clone.
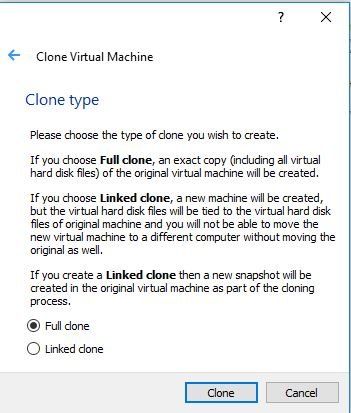
In the Linked clone option, only the new machine will be created, but the virtual disk images will be independent of your main device. If we want to move to another device, we also need to move the main device. After all these steps, let’s open GNS3.
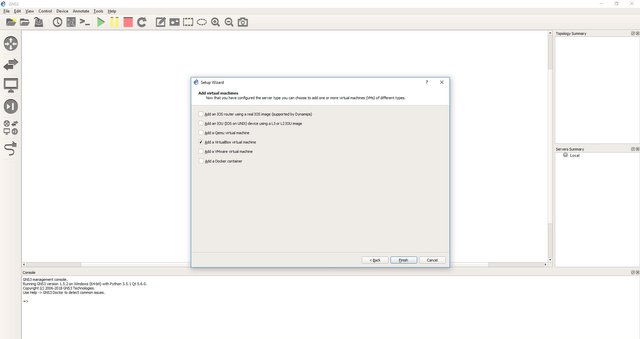
We need to be able to determine which path to add to the Virtual Machine or VM. We continue by clicking "Add a VirtualBox virtual machine" because we chose VirtualBox to work with Juniper Switch.
Adding Juniper Switch to GNS3 app
In this section, we can see a list of all Virtual Machines in Virtualbox Virtual Machine. As you can see, my device name was JunOS.
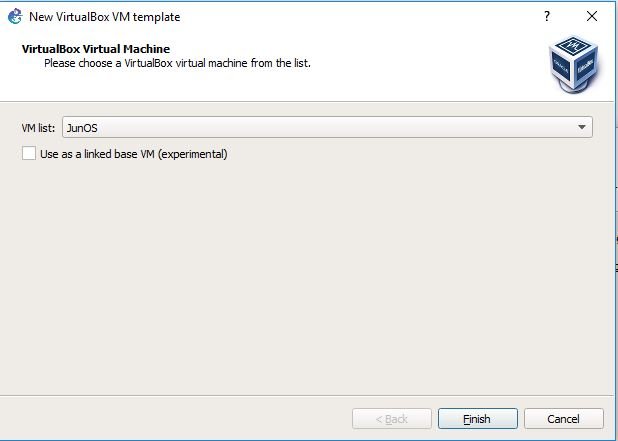
Select your VM device and click finish to see next step. In the Preferences section of GNS3, you can find all the settings.
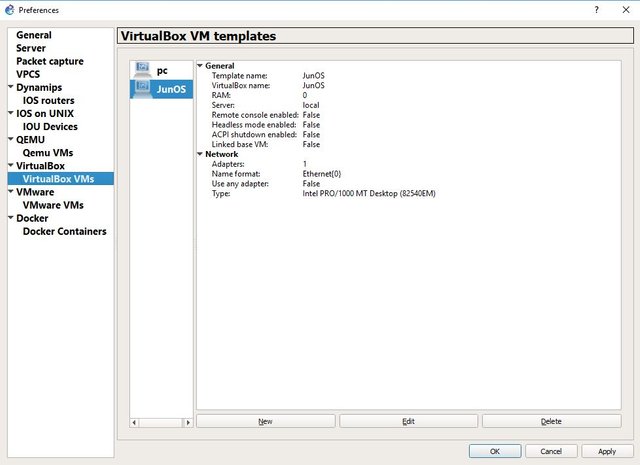
As you can see in this screenshot, our VM successfully added to templates. Click OK to continue.
In this section, GNS3 will ask us to set the name and location for the new project.
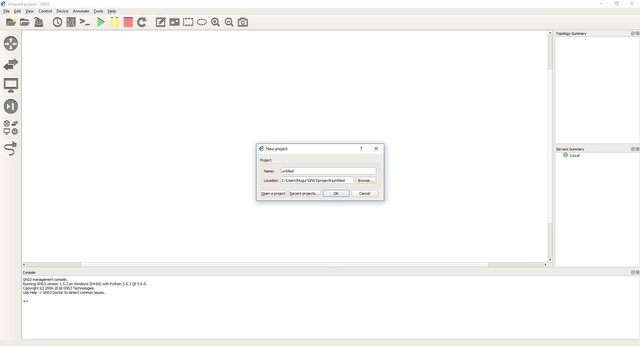
After you fill the blanks click OK.
Since we did not have any support for Juniper's simulation system, we preferred the virtual machine path. For this reason, our Junos Switch will appear in Browse End Devices on the left side. (Indicated by an orange circle on the screen display)
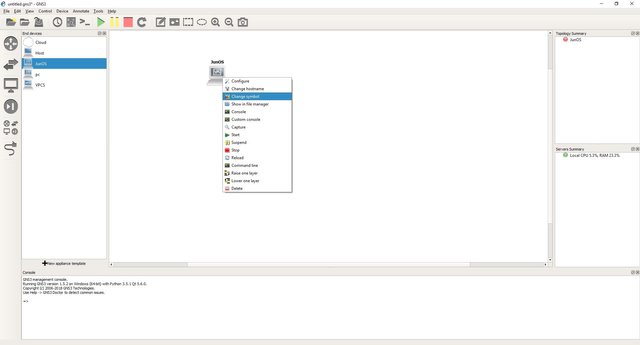
We can add our device to that area by dragging it to the empty area on the right. After adding, our switch appears as a virtual computer due to the reasons I mentioned above. I will change the symbol of our device to the router symbol by right clicking on the device and changing symbol option for working convenience.
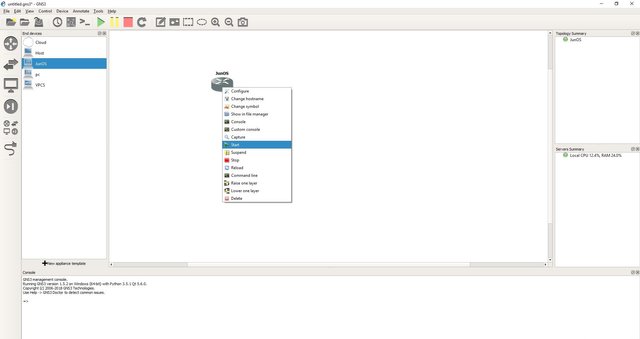
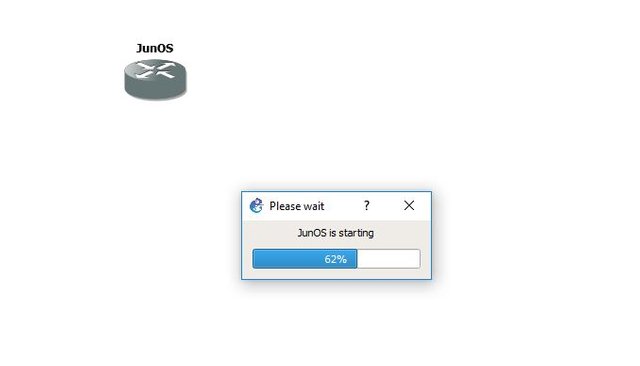
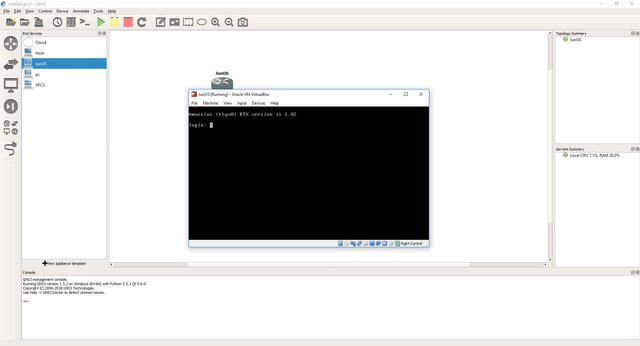
After you change the symbol, right click on your device and select "Start", your device will start as you see below.
Our Junos operating system will welcome you when our device is turned on.
This page simulates that we connect to our Switch through the console port. From the GNS3 program, right-click on the switch and select Putty from the Custom Console option. So we will be connecting to our switch remotely.
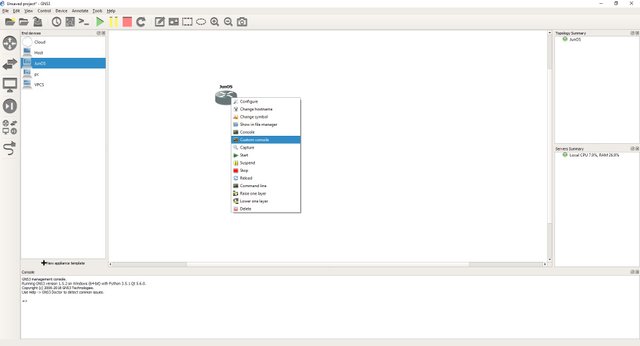
The following section tells us to choose a previously defined code, I use Putty and I choose it and click OK.

Juniper Switch initial settings in GNS3 app
On the following page we can see the PuTTY connection to the Juniper Switch.
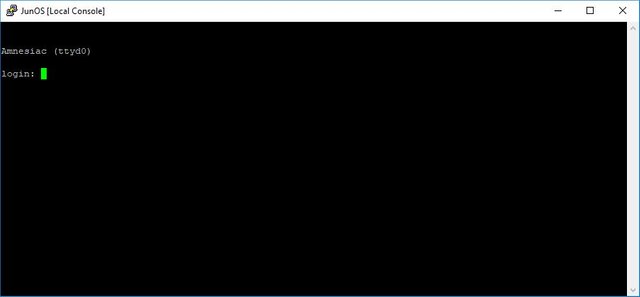
We can login with ;
Login: root
When you log in, we see the command line after the operating system, date and time information .
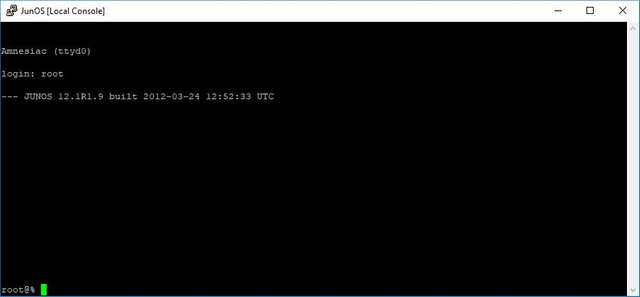
If we think about the fact that you work with real switches, I would definitely recommend you to set a password after the first sign-up to increase your security. We can pass to the password setting phase as below.
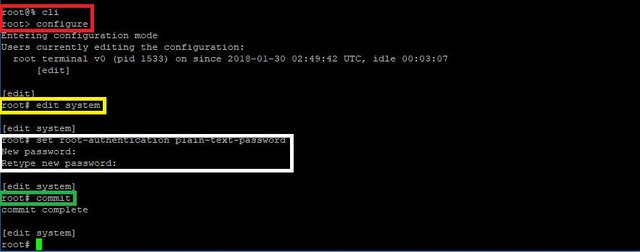
First of all let's check commands;
cli - With this code we can access Command-line Interface. (See Red Rectangle)
configure – With this code we can access configuration settings with root authority. ( See Red Rectangle)
edit system – Edit system command is using for change system settings. (See Yellow Rectangle)
set root-authentication plain-text-password with this basic command, as you can see in the screenshoot system will ask you new passwords which you want to set. (See White Rectangle)
After we finish these steps we should save these changes.
Commit We can save changes with this command. Whatever we change in JunOS, we should definitely use this command. Never forget that. (See Green Rectangle)
Now, It’s better to change router name for security too.
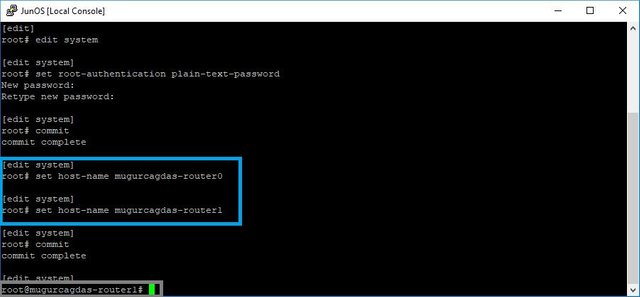
Set host-name mugurcagdas-router0 - For router 0
Set host-name mugurcagdas-router1 – For router 1
(See Blue Rectangle) - Just change the mugurcagdas part :) -
We must save this changes with `commit` command. As you can see in the grey rectangle, our router name has been changed successfully = root@mugurcagdas-router1.
First part of tutorial finished, we will continue in part 2.
Links
Curriculum
Proof of Work Done
https://github.com/mugurcagdas
Thank you for your contribution.
I would like to extend few advices for your upcoming contributions:
Need help? Write a ticket on https://support.utopian.io/.
Chat with us on Discord.
[utopian-moderator]
Thanks for your advices. I will improve myself in tutorials category.