Arduino Nano: communicate to arduino with the pc by serial communication

photocredits
serial communication
Serial ports are the main way to communicate an Arduino board with a computer. Thanks to the serial port we can, for example, move the mouse
There are endless possibilities in which the use of the serial port is required. Therefore, the serial port is a fundamental component of a large number of Arduino projects, and it is one of the basic elements that we must learn in order to take full advantage of Arduino.
Serial ports
A port is the generic name with which we name interfaces, physical or virtual, that allow communication between two computers or devices.
A serial port sends the information through a sequence of bits. This requires at least two connectors to perform data communication, RX (reception) and TX (transmission). Sometimes you will see refer to the serial ports as UART.
Arduino and the Serial Port
Virtually all Arduino boards have at least one UART unit. Many models of Arduino boards have a USB or Micro USB connector connected to one of the serial ports, which simplifies the process of connecting to a computer. However some boards, such as the Mini Pro, do not have this connector so the only way to connect to them is directly through the corresponding pins.
we will connect using the USB cable.
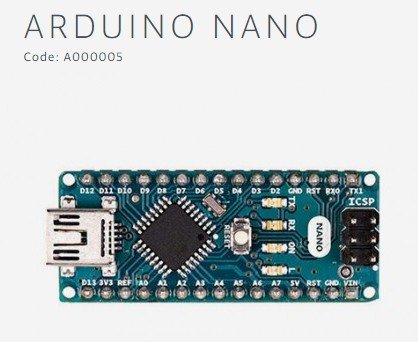
Here we are going to see a photo of the arduino nano:
PhotoCredits
Activity
we are going to use the arduino nano to communicate with the pc by serial communication, specifically we will receive information from the arduino on the pc.
difficulty
This tutorial is for those who know the basics of Arduino.
Requirement
- Arduino nano with USB Cable
- Laptop with Arduino IDE
Steps to follow
- Prepare the equipment needed for the activity.
- Connect the arduino to the Laptop using the usb cable
- Open Arduino IDE
now we are going to open a new project in arduino:
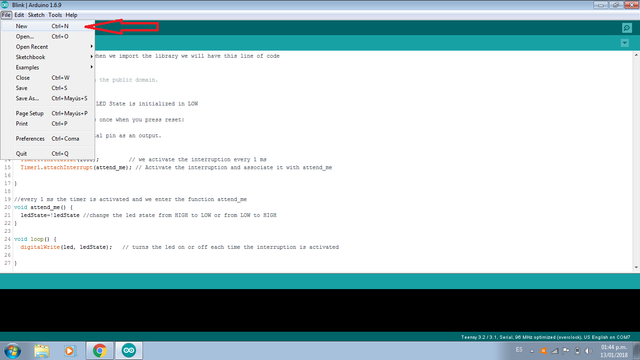
you will see this window:

in the following image we will see the code to send to the PC a number that increases every second. starting from 0 then 1 then 2 and so on. Remember that you must have basic arduino notions.
Program
now you must write the following code that I have explained:
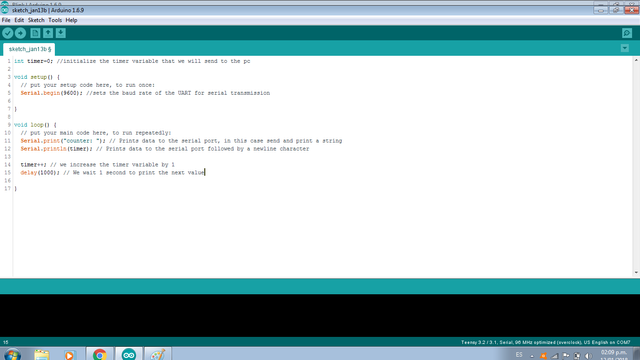
This is the text code:
int timer=0; //initialize the timer variable that we will send to the pc
void setup() {
// put your setup code here, to run once:
Serial.begin(9600); //sets the baud rate of the UART for serial transmission
}
void loop() {
// put your main code here, to run repeatedly:
Serial.print("counter: "); // Prints data to the serial port, in this case send and print a string
Serial.println(timer); // Prints data to the serial port followed by a newline character
timer++; // we increase the timer variable by 1
delay(1000); // We wait 1 second to print the next value
}
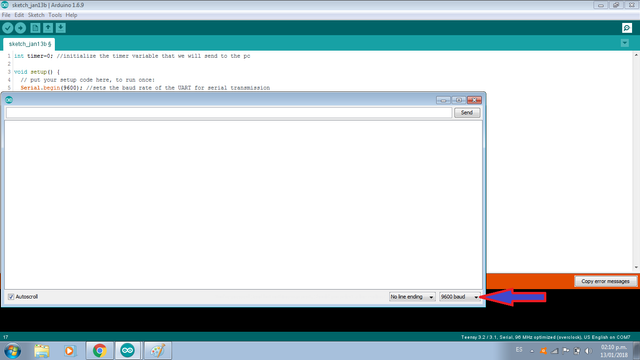
The serial port monitor is a small utility integrated within IDE Standard that allows us to easily send and receive information through the serial port. In the image we see how to open the serial monitor:
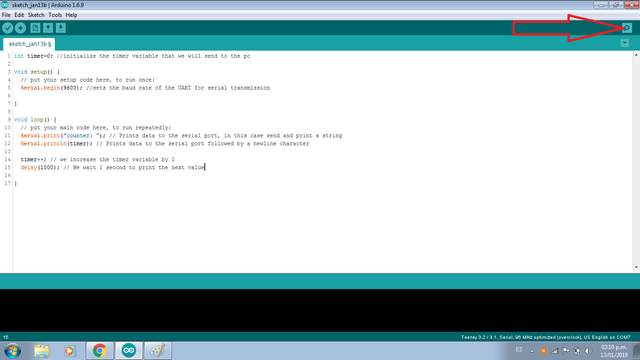
Using the serial monitor is very simple, and has two zones, one that shows the data received, and another to send them. You should check that the baud is 9600 as you configured it with the Serial.begin(9600) function.
run the code and in this part you should see the counter advancing every second:
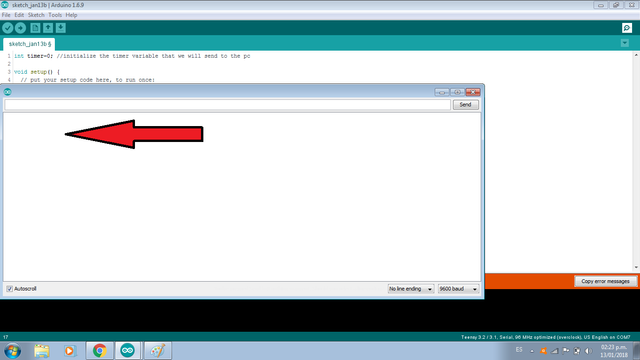
you should see something like that
0
1
2
3
4
5
........
try to run the code and start to communicate.
Collaborations
Posted on Utopian.io - Rewarding Open Source Contributors
Thank you for the contribution. It has been approved.
You can contact us on Discord.
[utopian-moderator]
Hey @flauwy, I just gave you a tip for your hard work on moderation. Upvote this comment to support the utopian moderators and increase your future rewards!
Congratulations! This post has been upvoted by SteemMakers. We are a community based project that aims to support makers and DIYers on the blockchain in every way possible. Find out more about us on our website: www.steemmakers.com.
If you like our work, please consider upvoting this comment to support the growth of our community. Thank you.
Hey @luisrod I am @utopian-io. I have just upvoted you!
Achievements
Suggestions
Get Noticed!
Community-Driven Witness!
I am the first and only Steem Community-Driven Witness. Participate on Discord. Lets GROW TOGETHER!
Up-vote this comment to grow my power and help Open Source contributions like this one. Want to chat? Join me on Discord https://discord.gg/Pc8HG9x