Tutorial How To Install VirtualBox It on Debian 9 (Stretch).
 (Get to know VirtualBox and How to Install it on Debian 9 (Stretch) Into the Introduction of VirtualBox and How to Install It on Debian 9 (Stretch), including Common Way (Easy way) or Hard Way, Adding VirtualBox's Repository, Downloading and Importing VirtualBox's GPG Public Key, Install and Running.

1. Preliminary
VirtualBox is an application that can be used to virtualize so that allows us to run an operating system on another operating system using hypervisor technology. VirtualBox can be installed on Windows, Linux or Mac.
There are two terms we must understand before starting to install VirtualBox on Debian 9 (Stretch) ie;
- Host Operating Systems (OS)
- Guest Operating Systems (OS)
Host Operating Systems (OS)
This is the default Operating System we have, in my case right now, my Host OS is Debian 9 (Stretch). I will install VirtualBox on my Debian machine. This may vary, if you are a Windows user, surely how to install VirtualBox is much different in the way I would use it, usually easier.
Guest Operating Systems (OS)
Arguably this is the Guest Operating System that we will install on the Host Operating System, more or less so simple. Later we will try Ubuntu 17.10 as Guest OS.
# 2. Installing VirtualBox Now it's time to install VirtualBox on Debian 9 (Stretch) as Host OS.
2.1 First Alternative - Common Way
A common way that is often easy and no hassle is to visit the VirtualBox site (https://www.virtualbox.org) and then search the Download page (Download) to download the desired file. If I choose Package for Debian 9 (Stretch). Make sure also what our computer architecture is, 32-bit or 64-bit.
 Simply it's like installing an application on a Windows operating system, just double click it, make sure the app is already installed. If not, can by typing command ;
sudo apt install gdebi
or it could be by using a line of commands in the terminal
sudo dpkg -i [package name to install.deb]
2. 2 The Second Alternative - The Hard Way
2.2.1 First Step - Adding VirtualBox Repository to Debian Repo 9
Repository is where all apps are stored. Debian does not provide VirtualBox apps into their official Repositories, so to install VirtualBox, it can be done by adding another Repo that provides VirtualBox, in this case the VirtualBox Repo.
There are at least two ways to add Repo VirtualBox, ie manually (must use root or sudo account) in a way ;
/etc/apt/sources.list.d/virtualbox.list
then insert a row
deb http://download.virtualbox.org/virtualbox/debian stretch contrib
into the file and save it.

or may also directly type the following commands in your linux terminal;
sudo apt-add-repository 'deb http://download.virtualbox.org/virtualbox/debian stretch contrib'
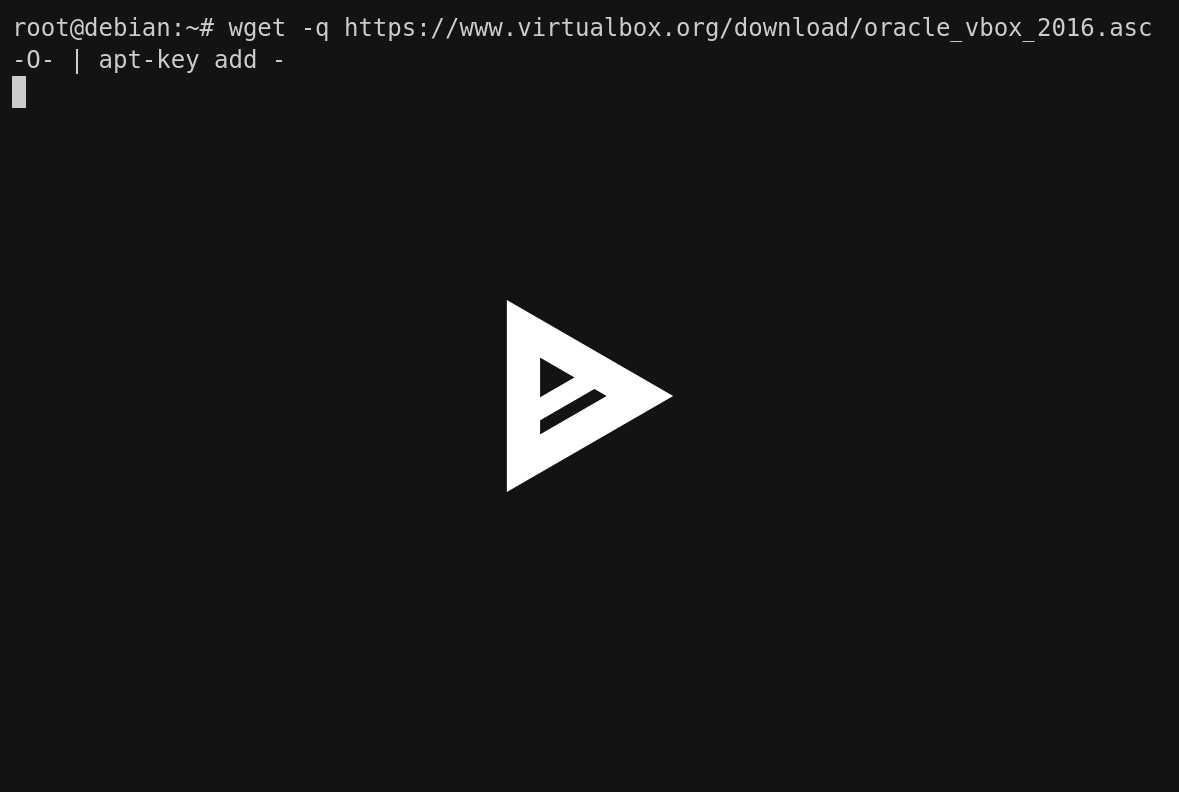
2.2.2 Second Step - Download and Import GPG Public Key VirtualBox
The public key of VirtualBox allows APT package manager to verify the package to download.
wget -q https://www.virtualbox.org/download/oracle_vbox_2016.asc -O- | apt-key add -
If an error message appears, make sure we are logged in as root.
2.2.3 Third Step - Update System Repo, then Install VirtualBox
Next is to update Repo Debian by typing the command;
sudo apt update

Next followed by the install command VirtualBox;
sudo apt install virtualbox-5.2

Wait until the installation process is complete, the speed of this process depends on the speed of the internet we have.
2.2.4 Step Four - Run VirtualBox
If the installation process is successful, VirtualBox can be run with virtualbox commands in the terminal ;

There seems to be a bit of a problem, luckily there are clues that I can use to fix the problem by running
sudo / sbin / vboxconfig
pay close attention to the output displayed on the screen, otherwise try using the root account.
3. Case Study
Now we will try to install Ubuntu 17.10 on VirtualBox machine that we have run.
Press the New symbol (blue gear) to start
 Fill in the Name and Operating System we will use, in my case, the Windows name is Ubuntu and the Operating System is Ubuntu 17.10
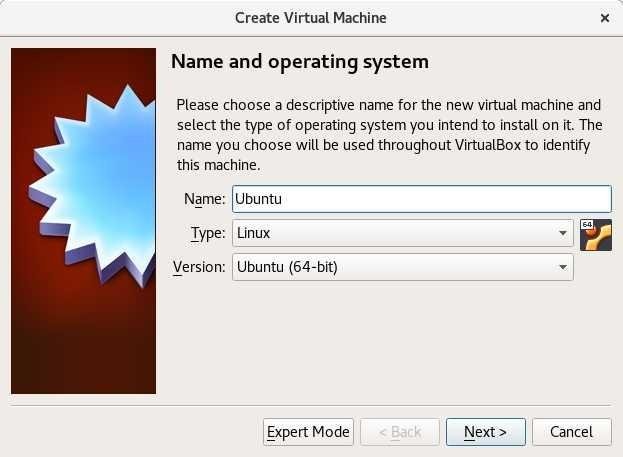
Set the memory that will function as our Guest Host's RAM engine later
 Create a Virtual Hard disk, I chose the second option Create a virtual hard disk now because I want this virtual machine has its own hard disk allocation.
Specify the file type of the hard disk  Next is determining whether our hard disks are dynamically allocated (or are fixed by itself) or Fixed Size (in the sense that they can not increase and decrease)
  The next step determines how many hard disk sizes to use and where we will store them. By default VirtualBox will automatically create a folder and save it in
/ home / user / VirtualBox VMs / Ubuntu.
Due to lack of storage space, I chose to store it somewhere else. Then press the create button.
 wait until the process of making Virtual Hard Disk is complete.

If the creation process is successful, then the result will be like the picture below

4. Conclusions.
Virtualization technology enables IT activists to specifically network administrators to be able to manage servers that are used more flexibly and effectively. For users who want to experiment with a new operating system, this virtualization technology is worth a try, the next is the time to experiment. Hopefully this guide useful and good luck, if in the process of installing VirtualBox is a constraint, please leave a comment for us to discuss together.
Posted on Utopian.io - Rewarding Open Source Contributors.
Best regard by @ghaziya
Congratulations! This post has been upvoted from the communal account, @minnowsupport, by agmalirsadi from the Minnow Support Project. It's a witness project run by aggroed, ausbitbank, teamsteem, theprophet0, someguy123, neoxian, followbtcnews/crimsonclad, and netuoso. The goal is to help Steemit grow by supporting Minnows and creating a social network. Please find us in the Peace, Abundance, and Liberty Network (PALnet) Discord Channel. It's a completely public and open space to all members of the Steemit community who voluntarily choose to be there.
If you would like to delegate to the Minnow Support Project you can do so by clicking on the following links: 50SP, 100SP, 250SP, 500SP, 1000SP, 5000SP. Be sure to leave at least 50SP undelegated on your account.