Applet stylizing with JColorChooser
What Will I Learn?
In this tutorial our goal is to style Applet generated pages by using Java programming language and it's library JColorChooser.
- You will learn the usage of Java Applet (graphic) generation,
- You will learn changing fonts, colors and design of your Applet,
- You will learn the usage of ide to run and test your codes.
Requirements
- Eclipse IDE or any other IDE for java developers,
- Basic knowledge on Java.
- Basic knowledge about Applet.
Difficulty
- Intermediate
This tutorial will assume that you have prior knowledge on Java syntax and classes.
Tutorial Contents
In this tutorail by continung design and generation of Applet we will mainly focus on stylizing it. Mainly we will learn chaning the font, size, format of the texts, adjusting colors of the elements and arranging the position of the objects.
As usual we need to define libraries that are we planning to use in our code. Of course we can extend them while coding too but we should define few of them
For graphics, drawing and painting we need to add awt library that contains most of the classes related to visualty,
import java.awt.Color;
import java.awt.Font;
import java.awt.Graphics;
Then we need to define import GUI objects libraries. To do that below code was entered,
  import javax.swing.JApplet;
import javax.swing.JColorChooser;
import javax.swing.JOptionPane;
Now we need to define our class. For this tutorial we will pick the name of the class as Jscolorchooser,
public class Jcolorchooser extends JApplet
Then we can define the global variables,
int Yaxis = 20;
Color TheColor;
Y axes defines the position of the text. It is distance from the top of the panel. Now we can proceed on designing the graphical panel of the Applet.
public void ColoredWriting(Graphics Screen)
Then we can get the user entered text,
String toBePrinting = JOptionPane.showInputDialog("Please enter some text
It can be any text entered by the user and pressed enter to pass the next stage. We then enable user to pick the color of the text. To do that we will use JColorChooser.showDialog function.
TheColor = JColorChooser.showDialog(this, "Please choose a color ", TheColor);
Now we can let the user pick the font of the text. To do that we can simply use integer.valueOf function,
int FontSize = Integer.valueOf(JOptionPane.showInputDialog("Please enter the font size"));
Now we should change the color of the text by getting the user entered value.
Screen.setColor(TheColor);
To let the user font type, size also italic or bold etc setFont function used,
Screen.setFont(new Font("Arial Black", Font.ITALIC, FontSize)); // When you set the font you can set font type, size also italic or bold etc.
Now we can set the location of the text. We want it to be on the top of the Applet, so 20 pixels from top and 20 from right will be suitable. You may change this value or even ask the user to enter if for custom design.
Yaxis += 20;
Screen.drawString(toBePrinting, 20, Yaxis);
Now we extend the applet by asking the user to enter any text or end the process. To do that another method was defined named paint. This method will run continue until the user wants to end or kill it. We can use a while loop to get the user input answering variable 0 for reply means : yes, 1 is for no and stop. To make it stop we can predefine a boolean variable having true value and false when user enters 1 for the question do you want to continue?
  public void paint(Graphics Screen) {

        boolean IsOK = true;

        while (IsOK) {

            ColoredWriting(Screen);

            //Answer variable 0 for reply means : yes, 1 is for no  and stop
            int TheAnswer = JOptionPane.showConfirmDialog(this, "Do you want to continue printing colored text?");

            IsOK = (TheAnswer == 0) ? true : false; // easy to use inline IF statements

        }
    }
Now the overall code became ready and we can test to see the outcome,
import java.awt.Color;
import java.awt.Font;
import java.awt.Graphics;
import javax.swing.JApplet;
import javax.swing.JColorChooser;
import javax.swing.JOptionPane; // implementing libs.

public class Jcolorchooser extends JApplet {

    //defining the global variables
    int Yaxis = 20;
    Color TheColor;

    public void init() {
        setSize(640, 480);
    }

    public void ColoredWriting(Graphics Screen) {

        String toBePrinting = JOptionPane.showInputDialog("Please enter some text ");
        TheColor = JColorChooser.showDialog(this, "Please choose a color ", TheColor);
        int FontSize = Integer.valueOf(JOptionPane.showInputDialog("Please enter the font size"));

        Screen.setColor(TheColor);
        Screen.setFont(new Font("Arial Black", Font.ITALIC, FontSize)); // When you set the font you can set font type, size also italic or bold etc.
        Yaxis += 20;
        Screen.drawString(toBePrinting, 20, Yaxis);
    }

    public void paint(Graphics Screen) {

        boolean IsOK = true;

        while (IsOK) {

            ColoredWriting(Screen);

            //Answer variable 0 for reply means : yes, 1 is for no  and stop
            int TheAnswer = JOptionPane.showConfirmDialog(this, "Do you want to continue printing colored text?");

            IsOK = (TheAnswer == 0) ? true : false; // easy to use inline IF statements

        }
    }
}
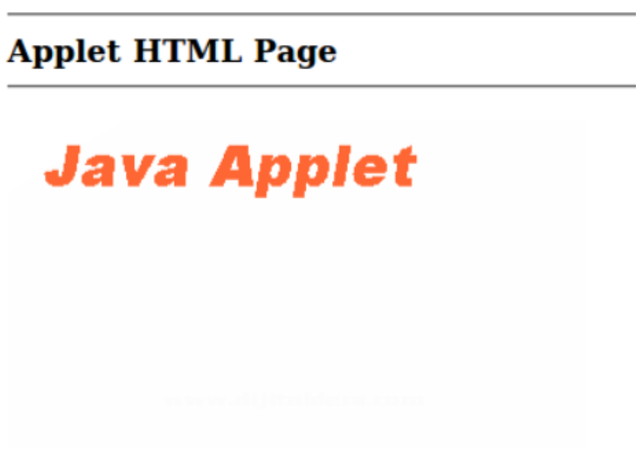
and the output is,

You can change the text, its location, font, color and style(italic,bold) for different results. Moreover the user can add multiple tests by continuing do you want to continue question.
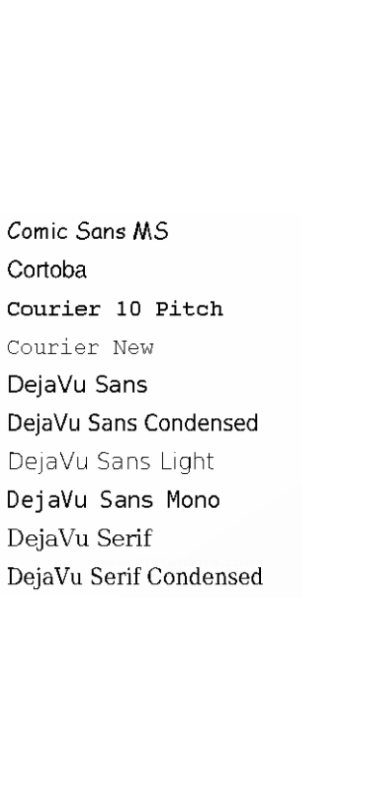
Furthermore, we can make function that lists the font types so that we can easily pick the ones that we are willing to use.
Again libraries are added,
import java.awt.Font;
import java.awt.Graphics;
import java.awt.GraphicsEnvironment;
import javax.swing.JApplet;
then the class type is defined,
public class FontList extends JApplet
and the graphical screen panel is defined where here we can see the output of our Applet.
public void paint(Graphics Screen
We should now use the get font famil method to list the avaliable fonts,
String FontList[] = graphObjs.getAvailableFontFamilyNames();
Now by using a for loop we can list them from zero the the end of the fontlist,
for(int i = 0; i < FontList.length; i++){
            Screen.setFont(new Font (FontList[i], Font.PLAIN, 24));
            Screen.drawString(FontList[i], 20, (i* 40) +20);
as a result of testing the output on eclipse ide we can get the below output. Note you can use any other java supported ide,

In our next tutorail we will learn to merge text fields with graphics and begin using dynamic images.
Curriculum
Posted on Utopian.io - Rewarding Open Source Contributors
Hey @disturbia, your contribution was rejected by the supervisor @espoem because he found out that it did not follow the Utopian rules.
Upvote this comment to help Utopian grow its power and help other Open Source contributions like this one. Do you want to chat? Join me on Discord.
Thank you for the contribution. It has been approved.
You can contact us on Discord.
[utopian-moderator]
The contribution will be rejected. The code is taken from another website.
You can contact us on Discord.
[utopian-moderator]