WP User Frontend #01 Installation , Activation of the plugin Settings of pages and payments

What Will I Learn?
I will learn how to use the frontend plugin which is a WordPress plugin to control your website .
- How to install and activate the plugin .
- Options about the plugin .
- The general settings , post and dashboard , account settings .
- Payment , log in / registration and emails settings .
Requirements
- Must has a WordPress website
- Version of WordPress 4.x.x
Difficulty
- Basic
Tutorial Contents
First we go to the WordPress admin panel ' Dashboard ' after login as admin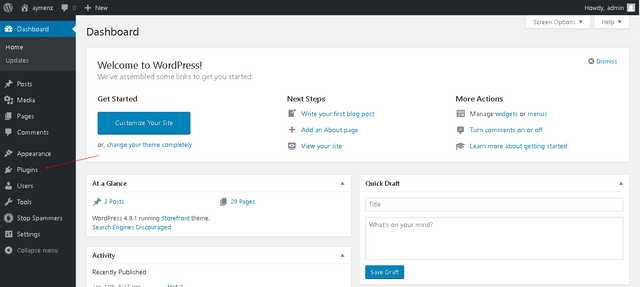
Second go to plugins as I mentionned and click on add new to add new plugin , when you click on a new page will open which the page of plugins you have an input just type the name of our plugin ' WP User Frontend ' it will search automatically about our plugin then when you find it just click on install like it :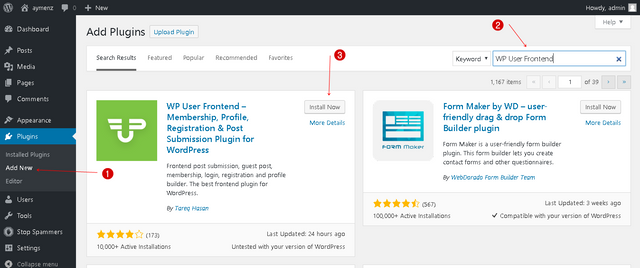
Then you need to activate the plugin by click on the blue button ' activate ' to start using it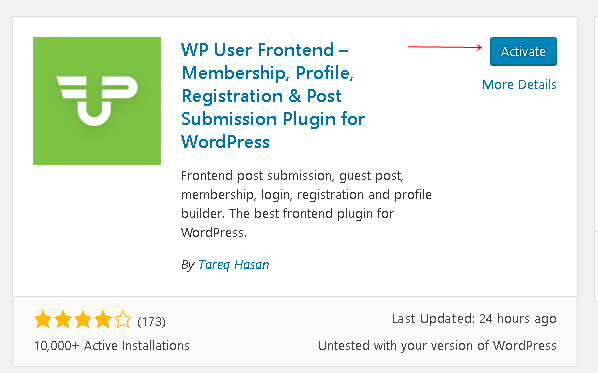
There is another installation it's not another but it's an options if you want to do them or no as you like , for me I must explain all so this is the option page you can click on skip or do the dialogue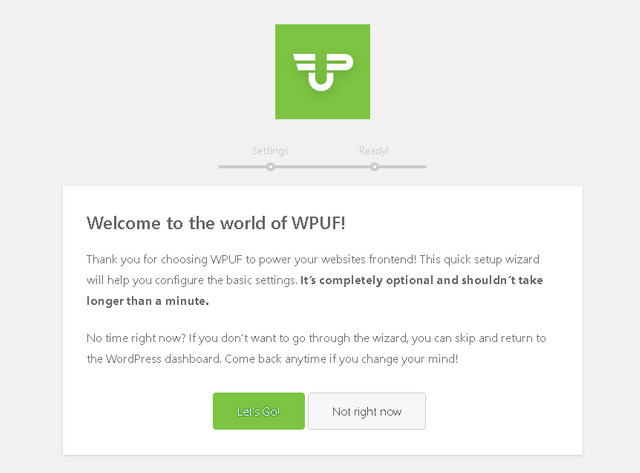
Here we have two options the first is if you want to enable payment in this plugin and the second if you want to generate pages just enable or disable as you need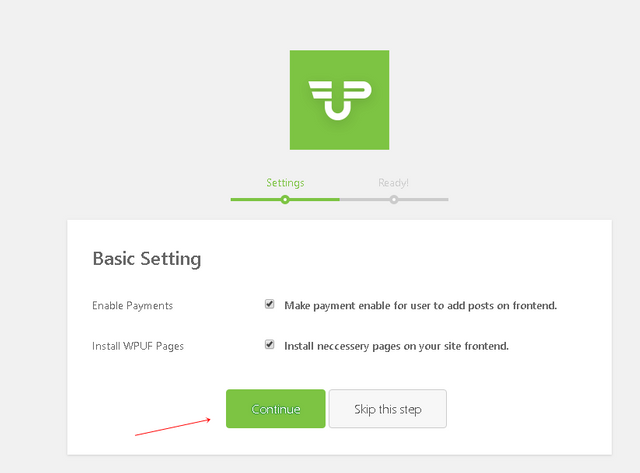
Congratulations the plugin installed successfully and this is the first page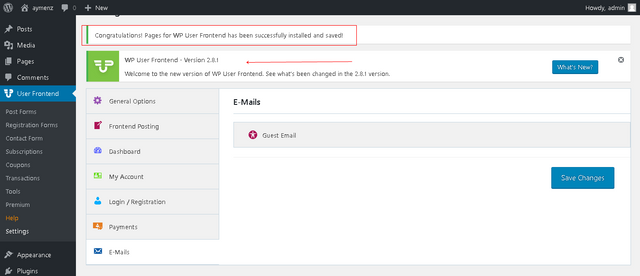
Now we will check the settings of the plugin , firstly the general settings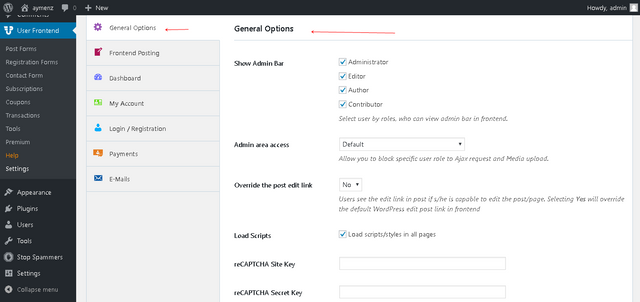
- Show admin bar : this option for the bar on the top to the quick tools like log out , these are the groups that you have in your website just check what you want .
- Admin area access : Allow you to block specific user role to Ajax request and Media upload , you can choose between the default or the groups that you have like the admin only or the others also .
- Override the post edit link : You have two choices ' Yes or No ' in this choice the user can edit the post you will override the link by default of WordPress to past the new .
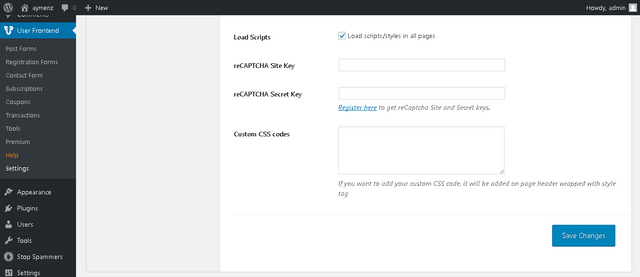
- Load Scripts : if you want to load the scripts of style CSS in all the pages .
- reCAPTCHA Site Key : if you have registered in website that allow you to use the CAPATCHA , you type the key .
- reCAPTCHA Secret Key : the generator of reCAPTCHA give you secret and key just you past them here in this input .
- Custom CSS codes : if you want to do some CSS codes or modification about your site here
Finally save the changes that you did.
Now the second setting is about ' Frontend Posting '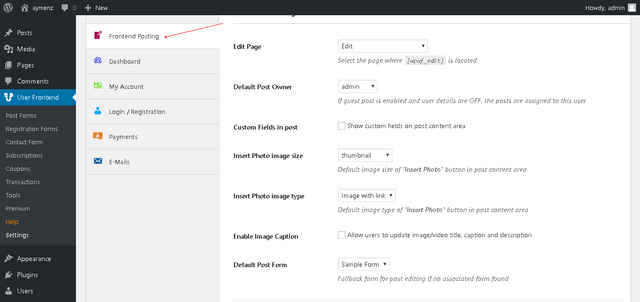
- Edit Page : There is some pages that the plugin generated here if you want to leave it as it's or you want to change the edit page to another page that you did ..
- Default Post Owner : the default owner post is admin you can choose another user if you want to change the property .
- Custom Fields in post : Here this plugin give us the option to show another fields in the post textarea if you check it , it will appear .
- Insert Photo image size : You can modify the size of the picture in your post by default is ' thumbnail ' we have large , medium ..etc
- Enable Image Caption : the caption is the title of your picture if you want to allow it for your users to do some titles and description ...
- Default Post Form : firstly if you haven't new forms or you haven't created some forms you have just simple form , we will create new forms and link them with the plugin to show you how it will appear .
After all modifications just click on save changes blue button to save what you did .
The third element in our settings list is ' Dashboard ' these are the settings that it contains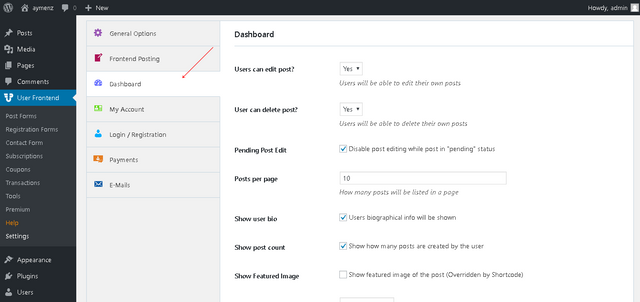
- Users can edit post? : there is two options ' Yes or No ' the question is very clear if you want the users that can edit them posts just chose yes ..
- User can delete post? : also this questions is very clear too if you want your users can delete the posts just chose yes or no between the options .
- Pending Post Edit : disable or enable post editing while post in "pending" status .
- Posts per page : Here the number of post in the page by default we have 10 pages you can edit the number as you like .
- Show user bio : in this option you can show the Users biographical info .
- Show post count : I like really this option it's very good and nice idea show how many posts are created by the user .
- Show Featured Image : to show the featured image of post by shortcode , nice method to be free in your website .
- Featured Image size : The image is an important element in your page you can select the size of your image between ' thumbnail , medium , medium-large ..etc ' .
- Unauthorized Message : write a message for not users to see it where they logged in .
The fourth element is ' my account ' there is one option which is the subscriptions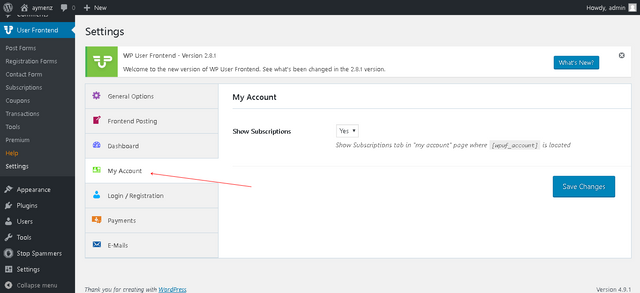
- Show Subscriptions : as the others we have ' yes or no ' if you want to show the subscriptions in the page by the shortcode or no .
Now we go to the login and registration element that the plugin give us the propriety to control them from it .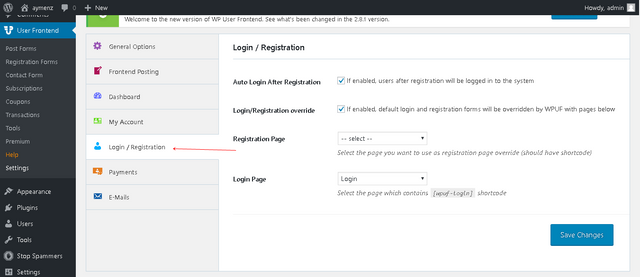
- Auto Login After Registration : the option is clear after the registration of new user it will log in automatically .
- Login/Registration override : if you enable it , the pages of registration and log in it will be generate by the plugin not the original of WordPress .
- Registration Page : you can select any page that you did for the registration .
- Login Page : the same thing with the registration chose the log in page after enable the option of override .
The most important thing is ' Payment ' and these are the settings that we have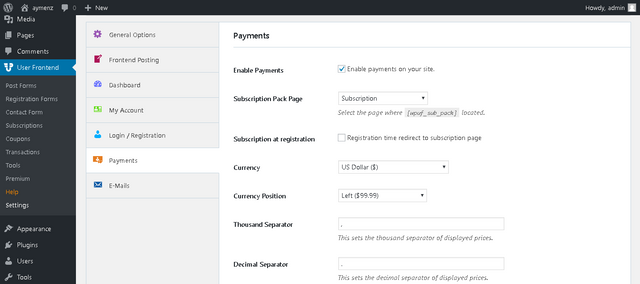
- Enable Payments : if you want to enable the payment way in your website just enable this option to do it .
- Subscription Pack Page : select between the pages the page that you want to be the page of subscriptions .
- Subscription at registration : after the operation of registration the page will redirect to the subscription page if you enable this option.
- Currency : Here you can chose the currency of your payment method by default is the dollar , there is many of currencies .
- Currency Position : we have 4 choices , the position is before or before with space the amount or after and after with space you can choose what you want of the appearance .
- Thousand Separator : type the separator that you want if you have in your price thousand .
- Decimal Separator : This sets the decimal separator of displayed prices.
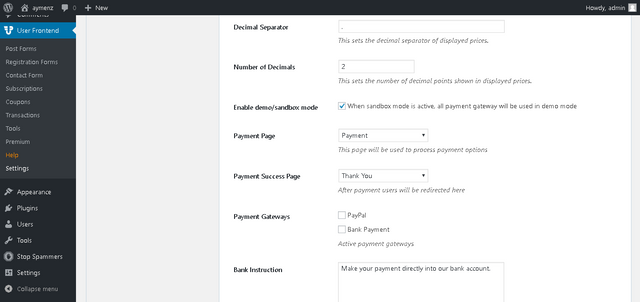
- Number of Decimals : This sets the number of decimal points shown in displayed prices, by default is 2 you can change it as you like
- Enable demo/sandbox mode : when you active the sendbox mode all payment will send by demo mode .
- Payment Page : Here you can choose the payment page that generated by the plugin .
- Payment Success Page : same thing with the payment page here we have the default page which is ' Thank you ' page , you can change it with your pages .
- Payment Gateways : you have two choices here the first with PayPal bank or with the Bank Payment
- Bank Instruction : this option is to make your payment directly into our bank account.
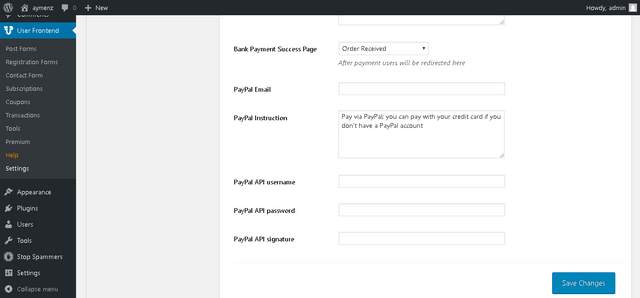
- Bank Payment Success Page : here we have the success page that by default with the generator page is Order Received .
- PayPal Email : enter you PayPal email to do the link operation between them to the payment .
- PayPal Instruction : Pay via PayPal; you can pay with your credit card if you don't have a PayPal account.
- PayPal API username : enter here the API username of your PayPal account.
- PayPal API password : also here we have your password API of your PayPal .
- PayPal API signature : finally the signature or the API PayPal .
The final element is the Emails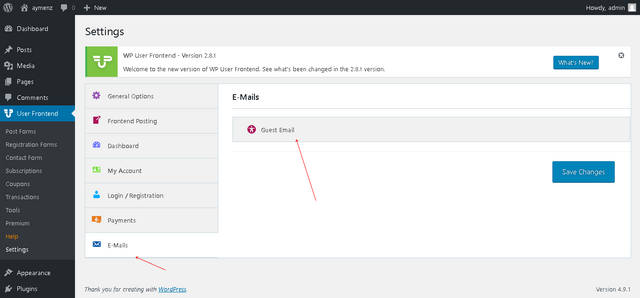
You must click on guest email to open the page of the form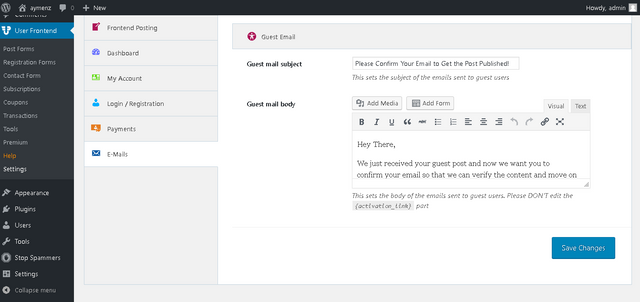
- Guest mail subject : this is the title or the subject of your email message .
- Guest mail body : the body of your message , you change the default message and write what you want there .
Curriculum
This the first video about this plugin .
Posted on Utopian.io - Rewarding Open Source Contributors
Nic post
Thank you
@aymenz this is a good post... i like your post ...i am upvoted your this post..thanks for sharing..
@emonnaim01
Your contribution cannot be approved because it does not follow the Utopian Rules.
Even though this post might be of high quality, the actual tutorial doesn't teach the user anything difficult. It's a post full of screenshots of a on-screen instalation with some very, very basic explaintation of the options present (without actually teaching any practical use for them).
You can contact us on Discord.
[utopian-moderator]