Tutorial Editing, How to Fix Photo Quality with GIMP
good night friends, on this occasion I want to share how to improve the quality of photos with GIMP, sometimes the results of shooting via camera phone or pocket camera has a quality that does not match expectations when it is printed or just simply displayed on the screen. This can be overcome by using an image-processing application such as with GIMP, either by Instant using Plug in G'MIC, or any existing fu scripts. But this time I will share a simple way but without using G'MIC or Script-fu, I will use the manual technique to improve the quality of the photos, so you all easy to use, following the stages:
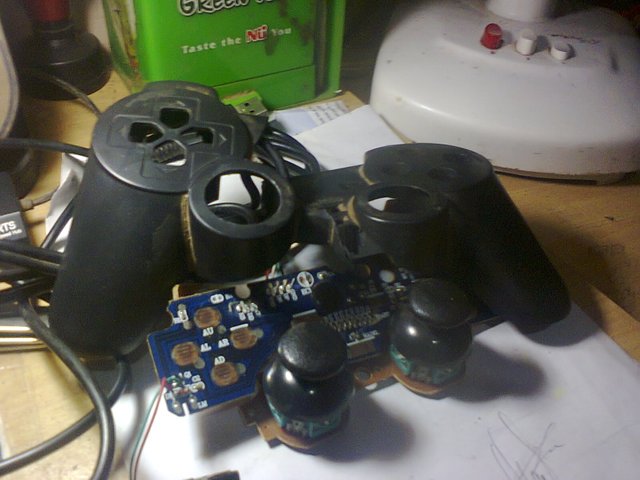
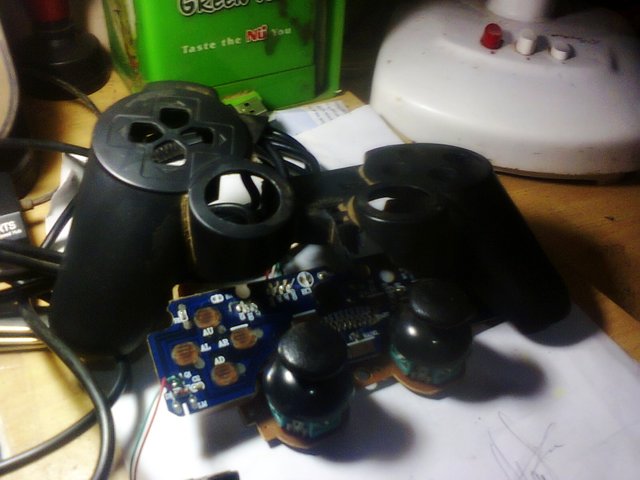
We use this sample photo that I took using the 2.0 MP camera phone (can be downloaded for practice material).
I use GIMP version 2.8, but I emphasize that GIMP of any version does not matter as long as there is layer layer mode feature.
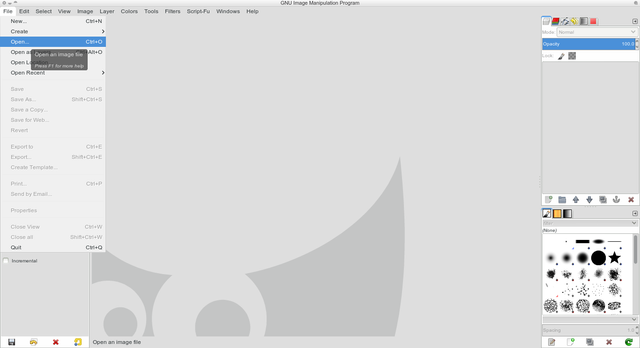
We open the photo to GIMP by File - Open (Ctrl + O)
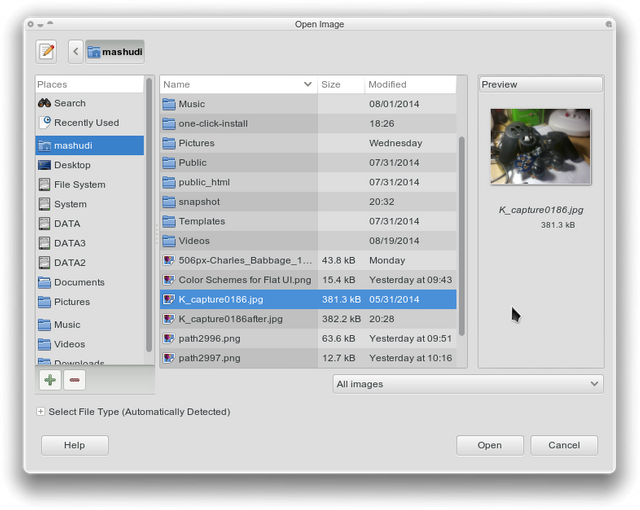
Select the photo and click Open
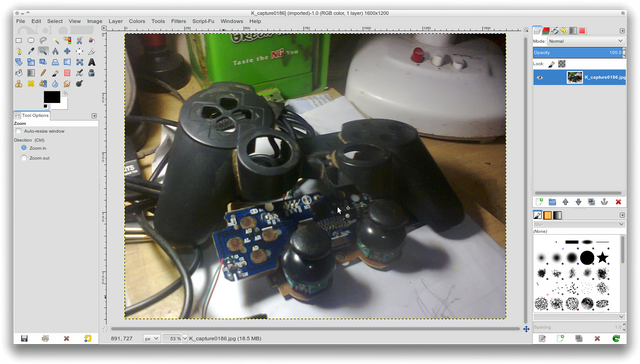
Once open in GIMP, we duplicate the photo by clicking Duplicate icon


In the duplicate Layers Tab above the original photo, rename the duplicate photo so as not to be confused later.
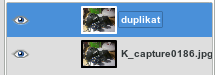
Rename the photo on the layers tab just double click on the name of the photo, then type in the new name and hit enter.
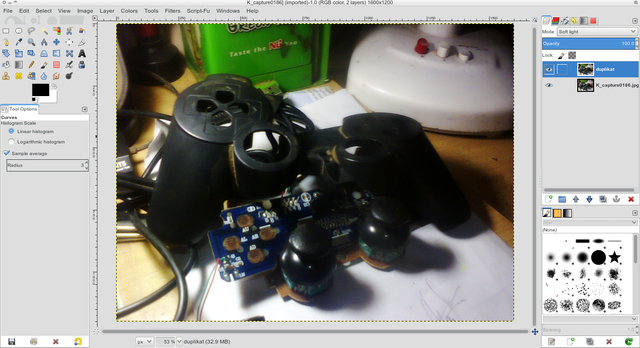
We start to give effect, make sure the selected duplicate photo was selected, then to Filter - Blur - Gaussian Blur
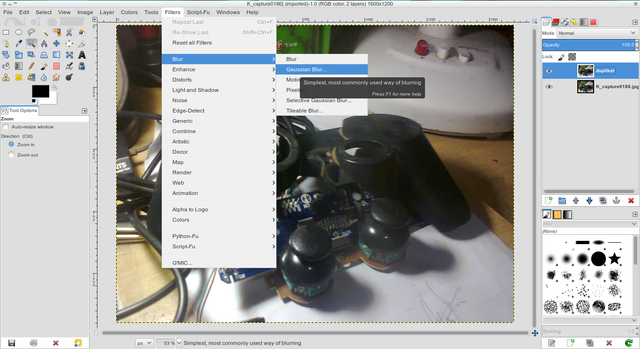
Set the Horizontal and Vertical Blur Radius about 15 - 45 px as you wish, here I use 30 px.
If it is then it will look like this.
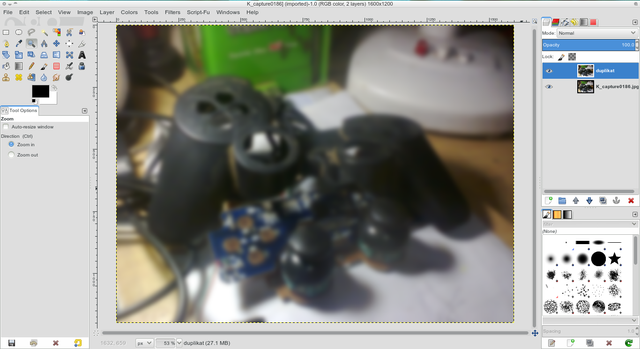
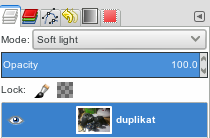
If so, go back to Layers tab and still stick to "duplicate" image (duplicate photo), in layer mode (written only mode, and default parameter is normal) change to Soft Light.
If true, then the results obtained are as follows
So simple guidance I, fixing photos not only stop at this stage, you can also exploration back as in the coloring (Color), or wherever exploration of your creativity.
Comparison before and after.


Noise on the photo looks reduced and color sharpness increases.
Posted on Utopian.io - Rewarding Open Source Contributors
Your contribution cannot be approved yet because it is not as informative as other contributions. See the Utopian Rules. Please edit your contribution and add try to improve the length and detail of your contribution (or add more images/mockups/screenshots), to reapply for approval.
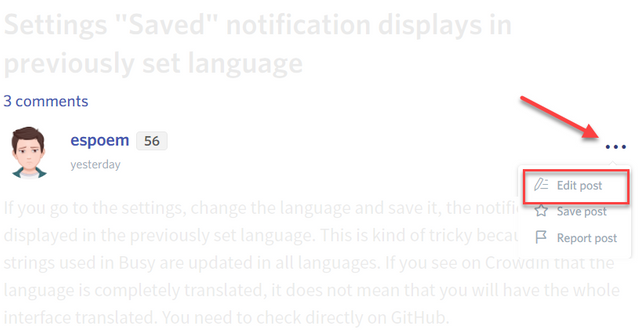
You may edit your post here, as shown below:
You can contact us on Discord.
[utopian-moderator]
Done @shreyasgune
Thank you for the contribution. It has been approved.
You can contact us on Discord.
[utopian-moderator]
Hey @asmaulhusna I am @utopian-io. I have just upvoted you!
Achievements
Suggestions
Get Noticed!
Community-Driven Witness!
I am the first and only Steem Community-Driven Witness. Participate on Discord. Lets GROW TOGETHER!
Up-vote this comment to grow my power and help Open Source contributions like this one. Want to chat? Join me on Discord https://discord.gg/Pc8HG9x