Tutorial Gimp - How to convert a Photo into a Color Pencil Drawing
Hello Everyone
Today I will be sharing the tutorials GIMP, how to convert a photo into a drawing pencil color in GIMP, follow these steps, it may be useful.
Follow this tutorial how to create a colored pencil drawing :
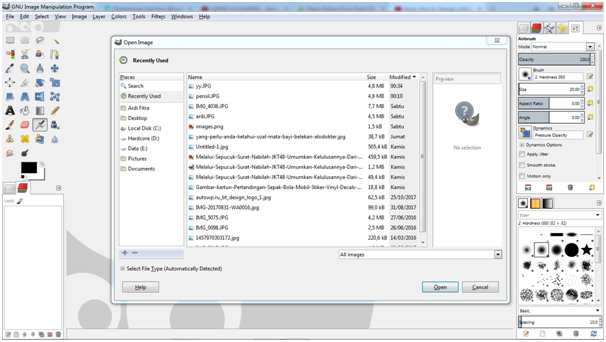
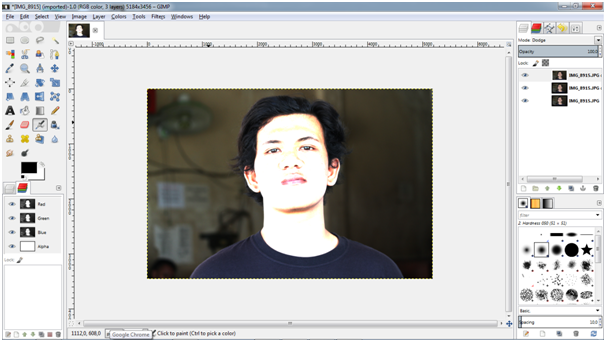
• The first step you should do first, open the photo you want to edit, press CTRL + O
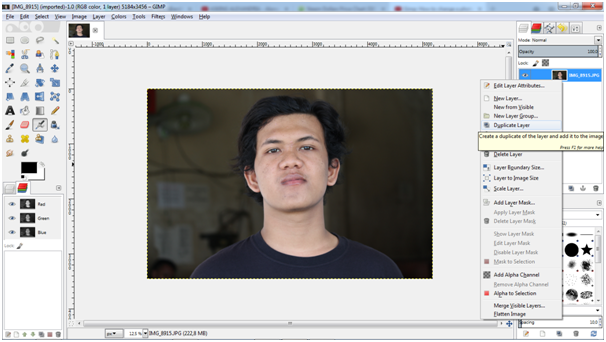
• After the steps above, make duplicate on your photo 3 times
• Select Mode, then select Dodge
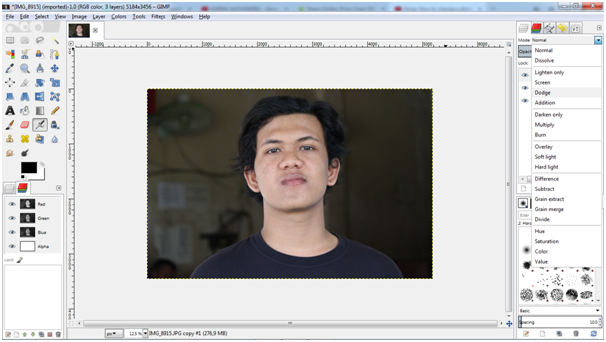
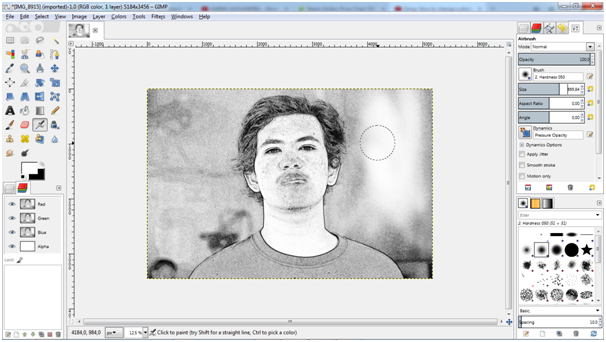
• After select Dodge until exit look like in the image below
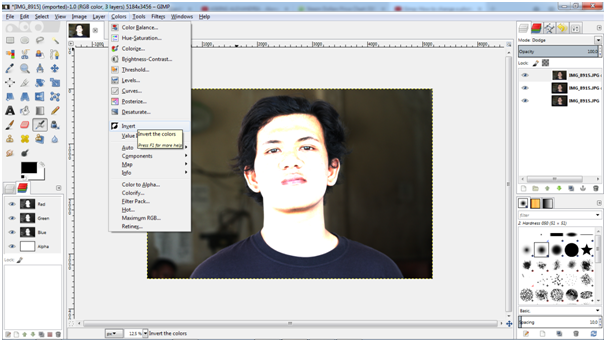
• Press Menu colors > Invert as shown below
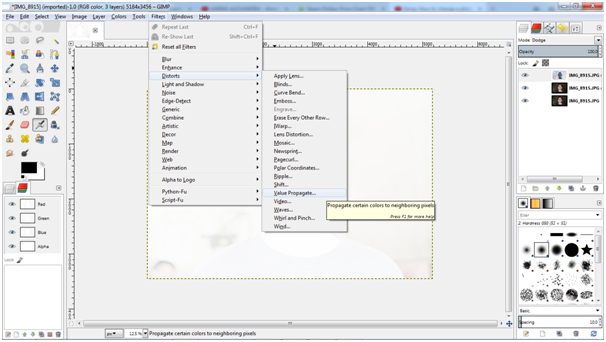
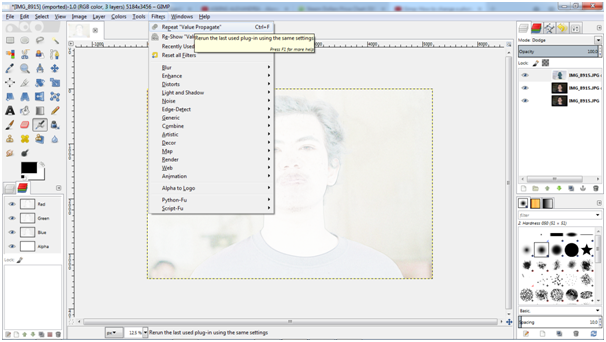
• Press menu Filters > distorts > Value Propagate
• After the Select Value Propagate up to come out like the picture below, then select mode > More Black and then press ok
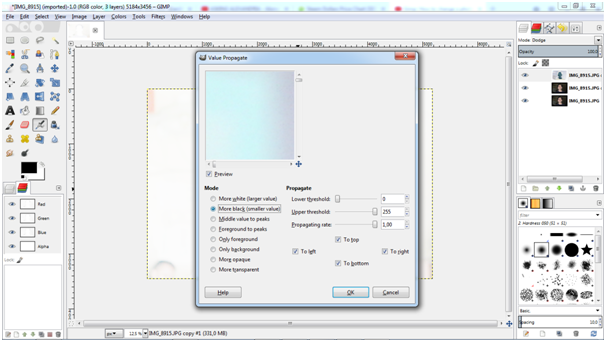
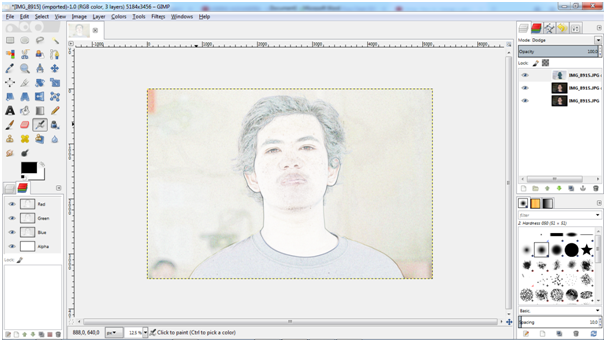
• Press Repeat "Value Propagate" as much as 3 times then press ok
• After you Press Repeat "Value Propagate" as much as 3 times to exit such as picture below
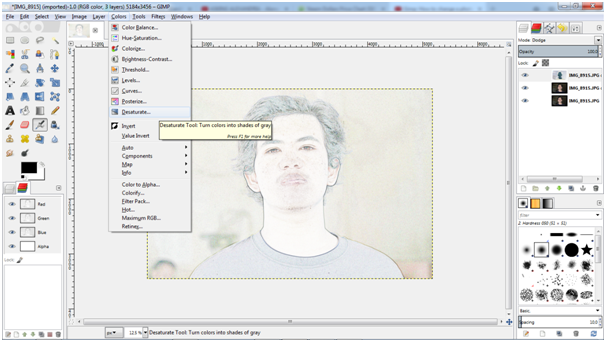
• Select in menu Color > Desaturate and press ok
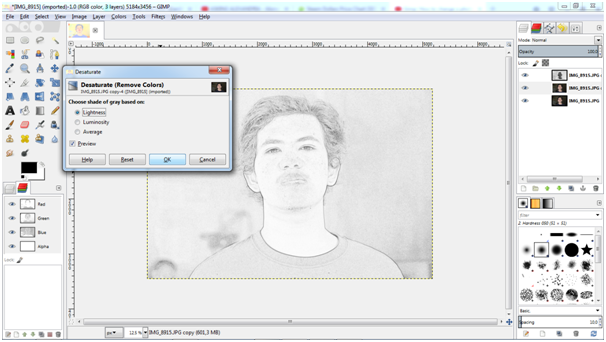
• After the press Desaturate to get out like the image below and select Lightness and press ok

• Select the second layer on your photos and select the Desaturate and press OK
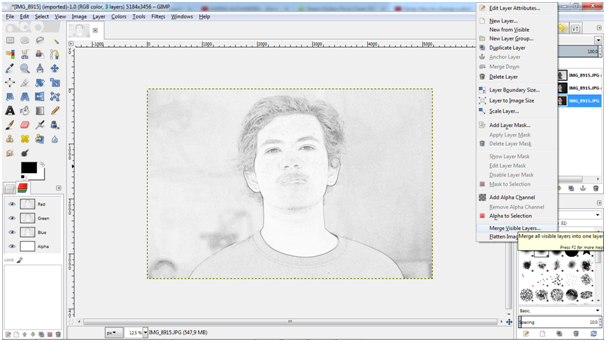
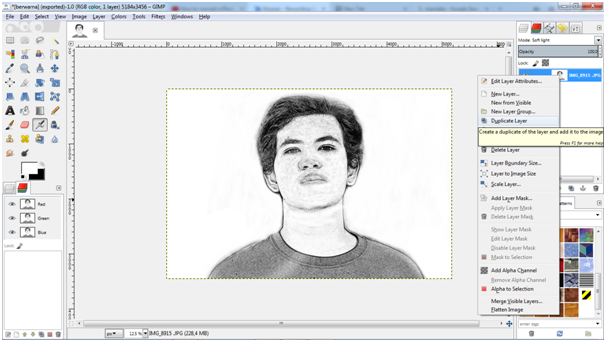
• Select the layer 3 on your photo then right-click Select marge visible layers and press ok
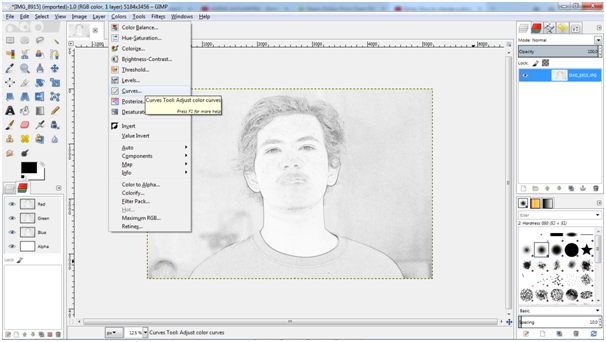
• Press menu Color > Curves and press ok
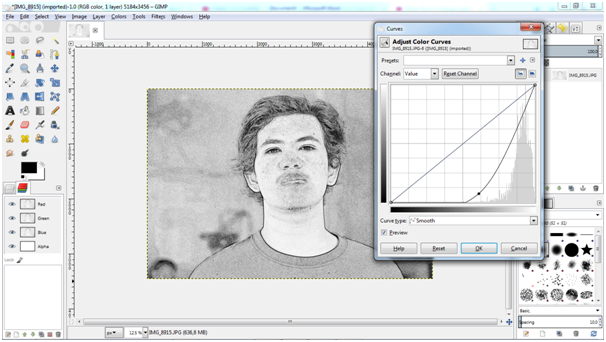
• After pressing the Curves and then adjust Color curves as shown below and press ok
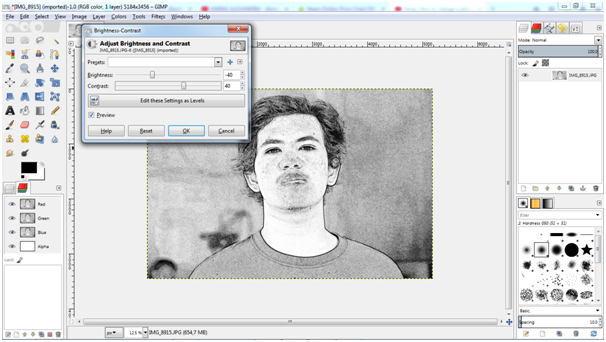
• Press menu Colors > Select Brightness-Contrast and then set up like the picture below
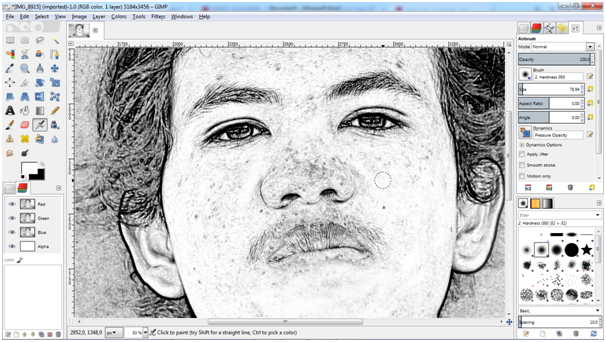
• Press icon Airbrush Tool to remove freckles – freckles less nice black color in your photos

• Freckle removal process – black spots using the Airbrush Tool
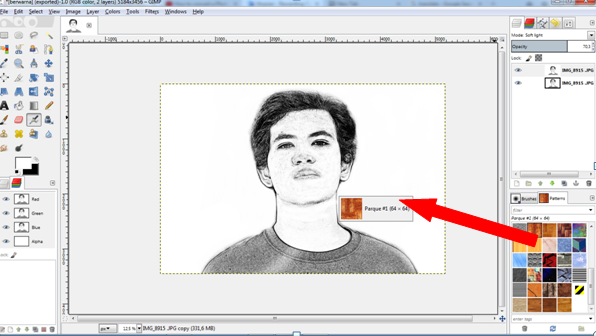
• To create a colored pencil drawing we need to create a new layer again, follow these steps
• After passing the above command, click on the layer we've created earlier, now create a pencil drawing to color, follow the steps like the image below.
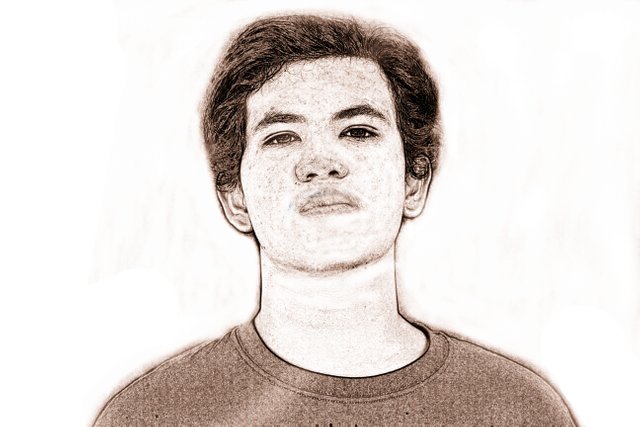
• After doing the above command to exit the results as shown below

• The last step to export the photo press Shift + Ctrl + E and select jpg image format.
• Results
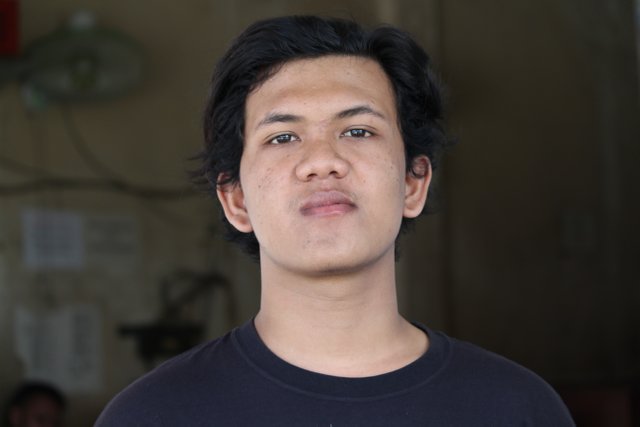
• Before
• After
Posted on Utopian.io - Rewarding Open Source Contributors
thanks sir , nice posting, saya baru belajar gimp
thank you @miflinux sama saya juga baru belajar
Thank you for the contribution. It has been approved.
You can contact us on Discord.
[utopian-moderator]
thank you mod @manishmike10
Gawat ago... Wkwmwm
pujih yang gawat tgk @jekisatria
Hey @ardifitra I am @utopian-io. I have just upvoted you!
Achievements
Suggestions
Get Noticed!
Community-Driven Witness!
I am the first and only Steem Community-Driven Witness. Participate on Discord. Lets GROW TOGETHER!
Up-vote this comment to grow my power and help Open Source contributions like this one. Want to chat? Join me on Discord https://discord.gg/Pc8HG9x