Create your own Ledger Nano S Hard Wallet using AES-256 encryption with IND-CDBA-secure and MAL-CDBA secure open-source password manager program.

Overview
We will use an inexpensive USB , encrypt with Bitlocker using AES-256 encryption, and install PasswordSafe v3, an IND-CDBA-secure and MAL-CDBA secure open-source password manager program. Next, we will run MyEtherWallet Offline and Locally to the USB to create our poor man wannabe Leger Nano S wallet.
Assumptions
- Windows BitLocker To Go ( Default on many Windows OS)
- USB Flash Drive
- Paswordsafe ( https://pwsafe.org/news.shtml)
- MyEtherWallet is a free, open-source, client-side interface (https://www.myetherwallet.com/)
Windows BitLocker
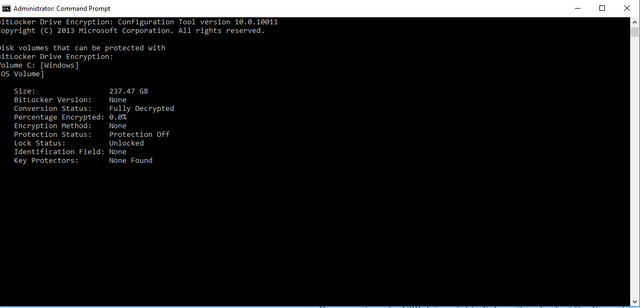
By default Windows BitLocker if enable defaults to AES-128. BitLocker using a level such as AES-128 does not meet the encryption requirement of a 256-bit cipher key. No worries we can check and modify if required. Lets Go review Bitlocker Drive Encryption settings.
View BitLocker Drive Encryption Settings
- Login to the computer using an account with Administrative rights.
- Open the command prompt:
Type manage-bde -status and hit the Enter key. If the drive status shows no encryption or default AES-128 as shown in Figure 1 go to the section Set BitLocker to Use AES-256 Encryption.
Figure 1

Set BitLocker to Use AES-256 Encryption
You must be logged in to the computer with Administrative rights, and the computer cannot be joined to a domain.
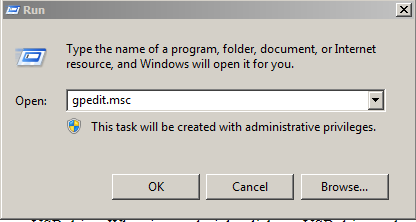
1.Launch the Run program.
A. In the Open field, type gpedit.msc and click OK as shown in Figure 2.
Figure 2
2.Modify Local Group Security Policy
A. Browse to Computer Configuration -> Administrative Templates -> Window Components -> Bitlocker Drive
B. Encryption -> Double Click on Choose drive encryption method and cipher strength as shown in Figure 3.
Figure 3

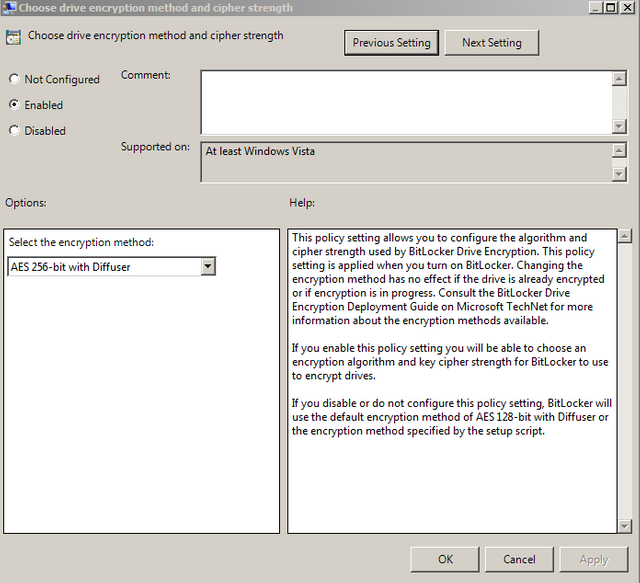
Choose drive encryption method and cipher strength Window
A. Click Enable, Select the encryption method: AES-256 Diffuser as shown in Figure 4.
Figure 4
USB Flash Drive
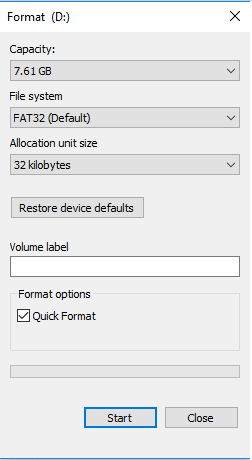
Insert the USB drive into the computer , right-click on it and select the Format command from the menu, Choose Fat32 as shown in Figure 5.
Figure 5
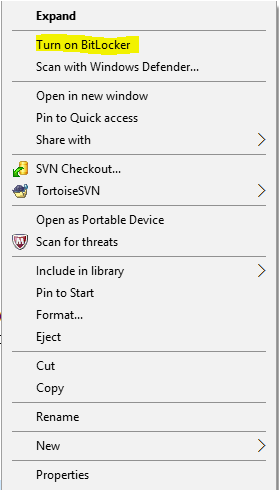
Our next step will be Setting up BitLocker on a USB drive. When inserted right-click on USB drive and select the Turn on BitLocker command from the menu, as shown in Figure 6.
Figure 6
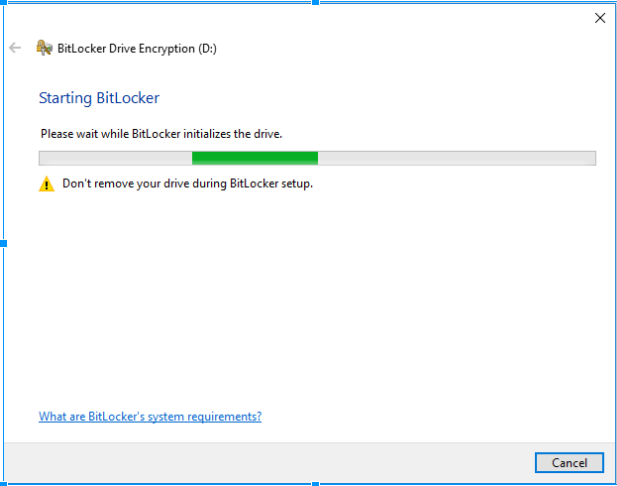
Bitlocker will start the initialization process as shown in Figure 7.
Figure 7
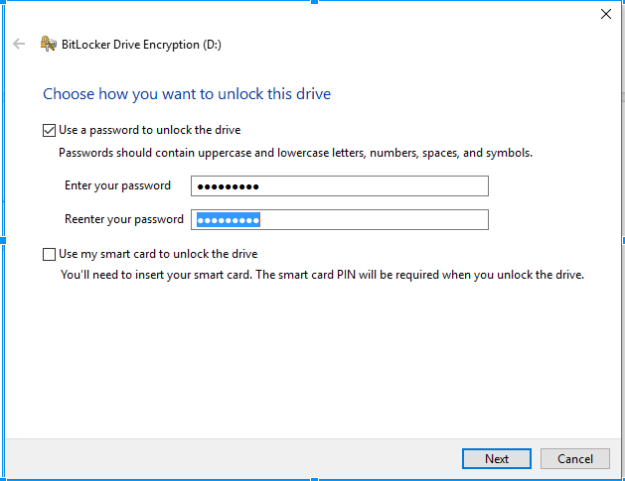
On the Choose How You Want To Unlock This Drive page, select Use a password to unlock this drive as shown in Figure 8.
Figure 8
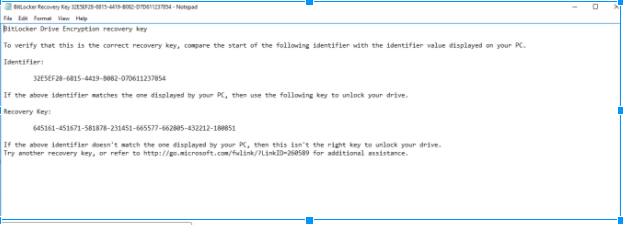
After you set up a password, BitLocker will prompt you to store a recovery key, as shown in Figure 9. Save the Recovery Key in a secured place (not on the USB) and make a printout copy in the event that you forget the password.
Figure 9
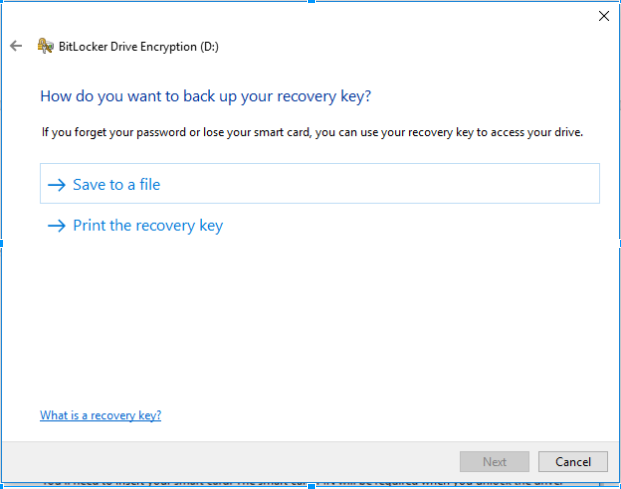
Print and Secure Recovery Key as shown in Figure 10.
Figure 10
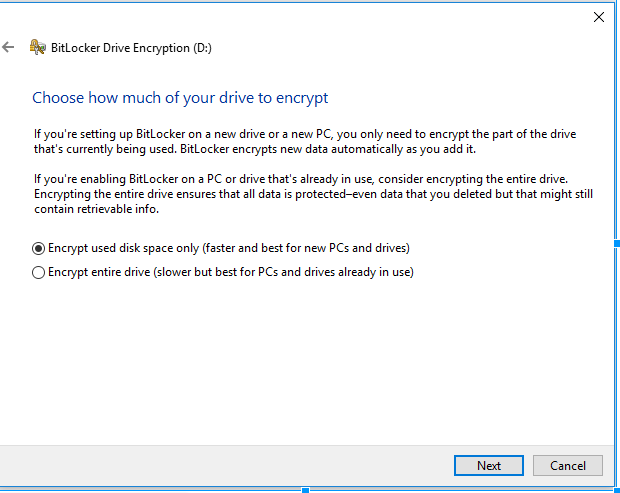
On the Choose how much of the drive to encrypt page, Select Encrypt used disk space only as shown in Figure 11.
Figure 11
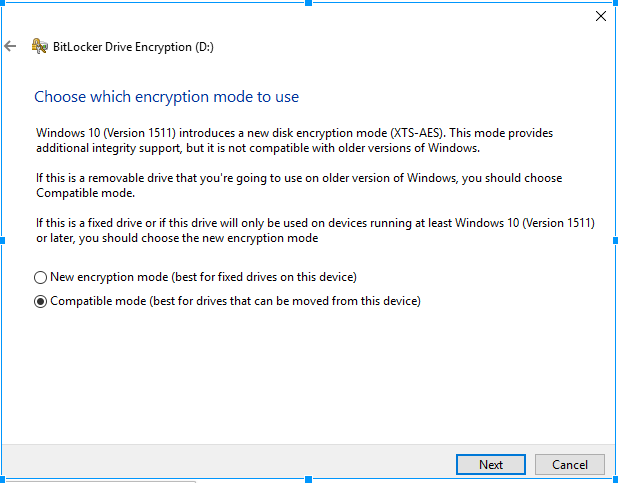
If you are running Windows 10, as shown in Figure 12, you have the option of choosing New encryption mode for Windows 10 devices only or Compatible mode which allows you to connect USB to older Windows versions.
Figure 12
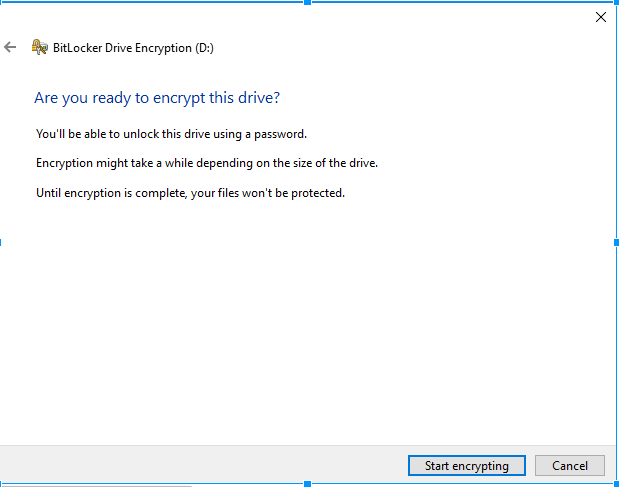
Click the Start Encryption Process as shown in Figure 13. Depending on the options this can take up to 5 minutes.
Figure 13
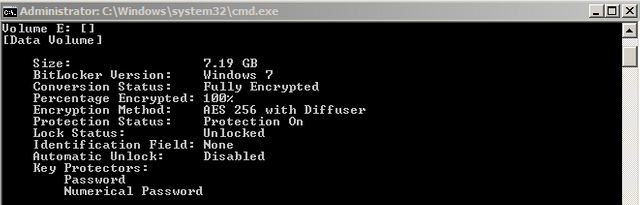
Once the encryption process is completed we will validate the encryption is set to AES-256
- Login to the computer using an account with Administrative rights.
- Open the command prompt:
Type manage-bde -status and hit the Enter key as shown in Figure 14.
Figure 14
Password Safe
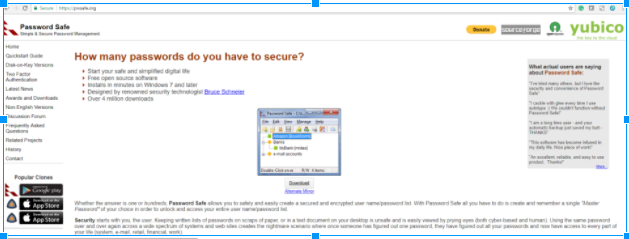
Password safe is a free open source password management program that I have been using for more than 10 years to create a secured and encrypted user name/password lists. In addition to encrypting USB Flash Drive with AES-256, we will download Password Safe, install it and configure it to store our private keys as wells as any exchanges, emails accounts/passwords managing our cryptocurrencies.
STEPS
Download Password Safe @ https://pwsafe.org/news.shtml
Figure 15
Install to USB as shown in Figure 16.
Figure 16
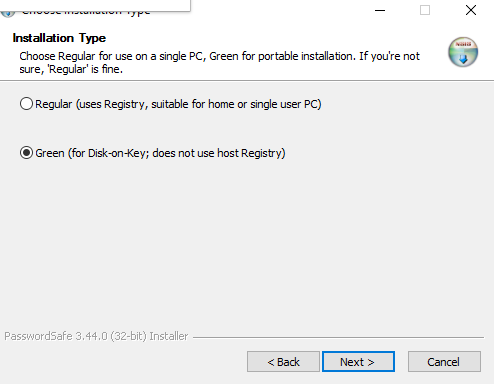
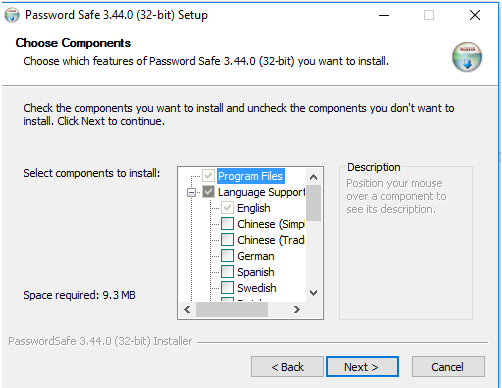
Select Green Disk on Key option as we will be installing Password Safe on USB as shown in Figure 17.
Figure 17
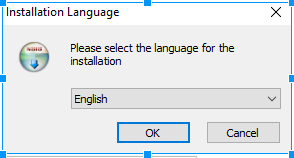
Leave English as the default and click Next as shown in Figure 18.
Figure 18
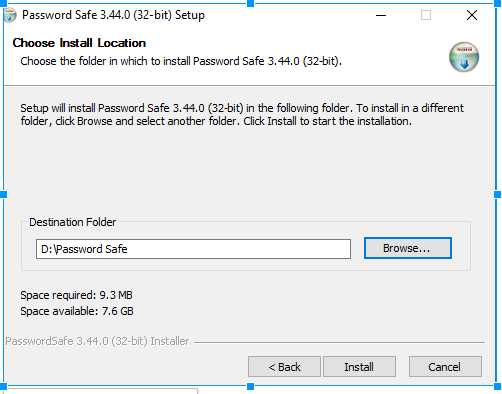
Make sure install path is on USB Drive\Password Safe as shown in Figure 19.
Figure 19
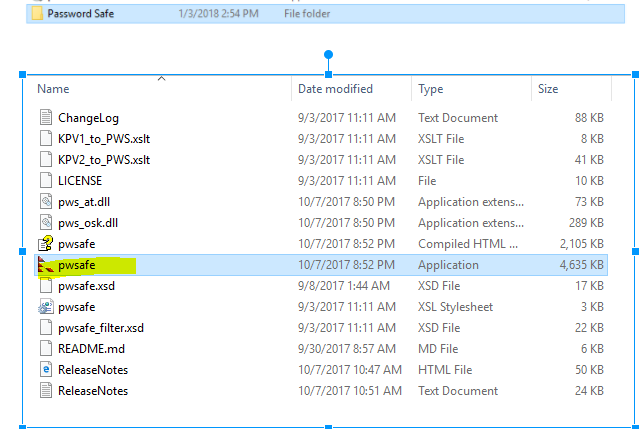
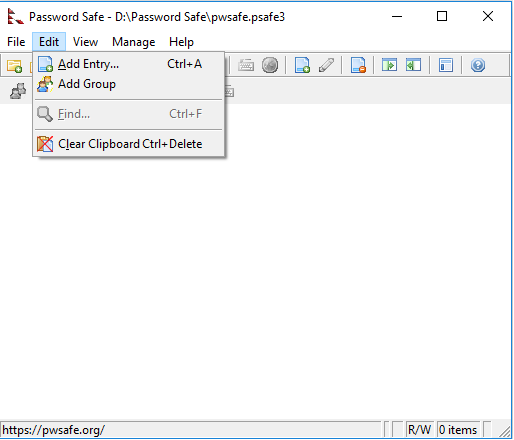
Password Safe is now installed , Access pwsafe application in Password Safe Folder as shown in Figure 20.
Figure 20
The first timing clicking on pwsafe you will create New Password Safe Database as shown in Figure 21.
Figure 21.
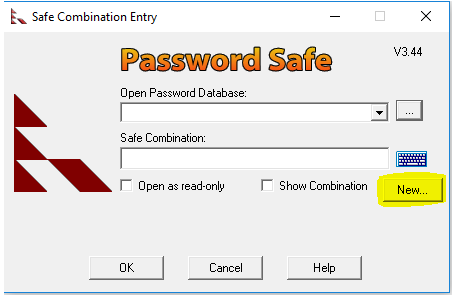
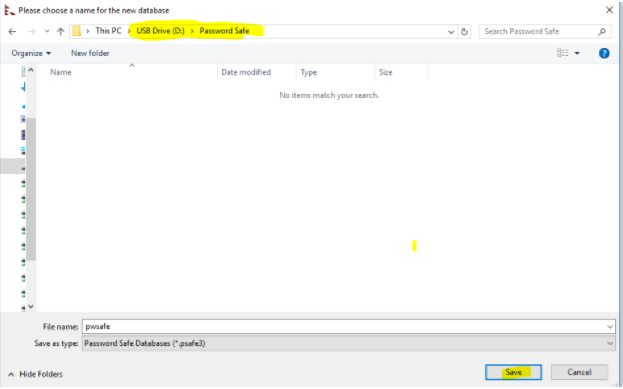
Please choose a name and save on USB Drive \ Password Safe folder as shown in Figure 22
Figure 22
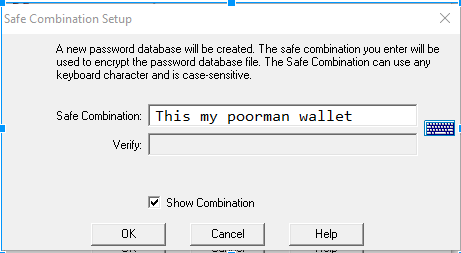
Create Combination password as shown in Figure 23. You can now use Password Safe
Figure 23 .
How To Run MyEtherWallet Offline and Locally
Step 1. First follow steps on MyEtherWallet Create a Local Secure Wallet .
https://myetherwallet.github.io/knowledge-base/offline/running-myetherwallet-locally.html
Step 2. Add Entry for MyEtherwallet in Password as shown Figure 24 and 25.
Figure 24
Enter a password that you will use to Create your new wallet
Figure 25

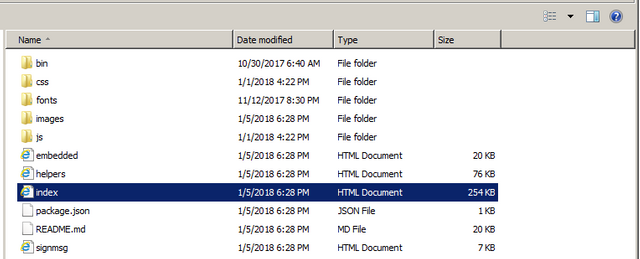
Access index
Figure 26
 <\center>
Copy Password from Password to
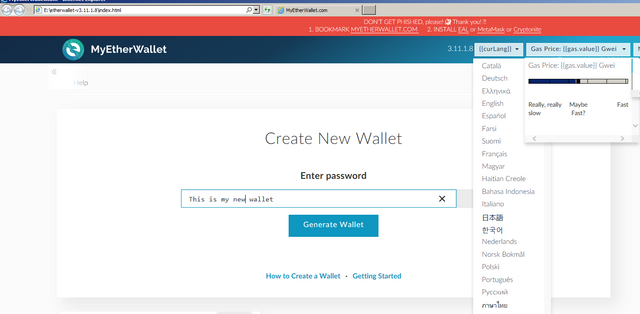
Create New Wallet
Enter password
Figure 27
 <\center>
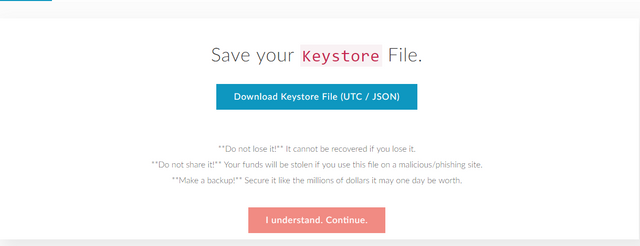
Download Keystone json USB
Figure 28
 <\center>
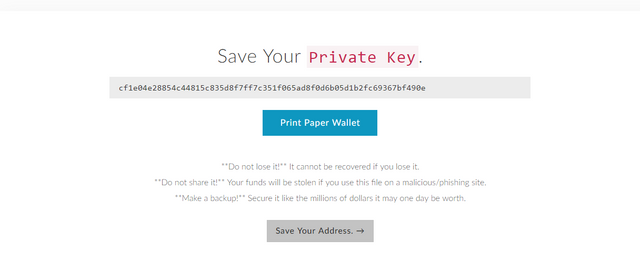
Figure 29
 <\center>
Add Private Key Entry and Address to Password Safe
Congratulations @cogitx! You have completed some achievement on Steemit and have been rewarded with new badge(s) :
Click on any badge to view your own Board of Honor on SteemitBoard.
For more information about SteemitBoard, click here
If you no longer want to receive notifications, reply to this comment with the word
STOP