How to upholster a window cornice.
Julie Seams To Be Making an upholstered window cornice.
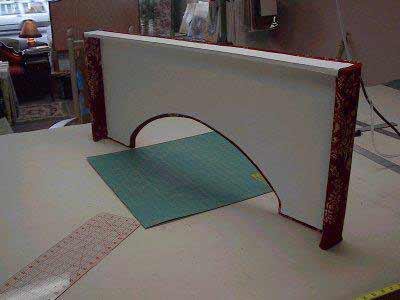
Obviously you need to produce a wooden frame to cover, but this tutorial will be mainly on the upholstering aspect. I will be doing up another tutorial on building a frame. Producing a frame, especially one without any shaping, is pretty straight forward. I generally use plywood for shaped cornice frames. For straight frames I use 1 x's of pine. Which actually measure 3/4" thick. If you will be putting another window treatment underneath the cornice you'll want to keep the width of the projection in mind. Using 1 x 4's for the sides is usually ample for most underneath window treatments to clear the inside back of the cornice.
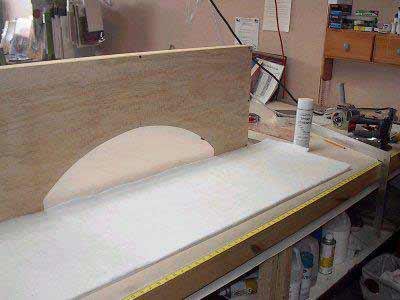
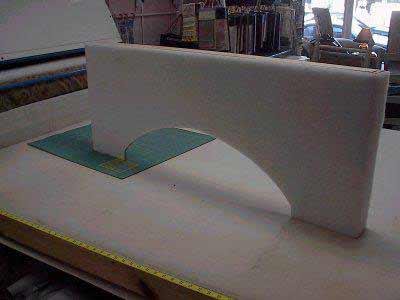
The first step is padding the frame. You'll need a spray adhesive for this to keep the batting in place. Just spray the front and sides of the cornice and trim off the excess batting.
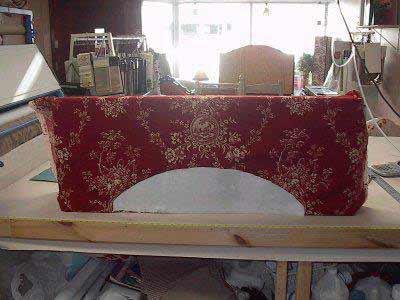
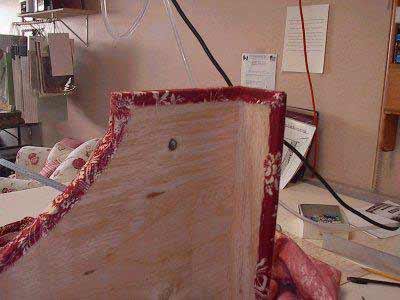
If you are using a patterned fabric, you'll want to lay your fabric over the cornice to decide how you would like to position the pattern. Smooth the fabric around the frame and staple to the back side, staple within a 1/2" or so from the edge. Start with a couple staples at the center top and bottom. Smooth and staple from the center to sides at the top, then again at the bottom. Then smooth the fabric (pulling out any possible looseness) at the sides and staple to the back of the cornice. Lastly, trim off the excess.
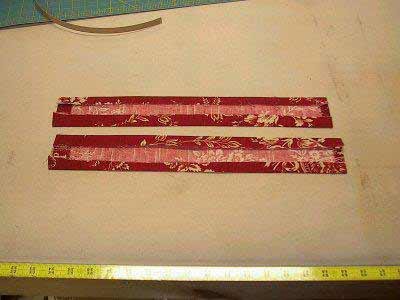
Next you'll want to produce your cording to go around the frame. Some people opt to leave out this step, but I find it gives your work a professional finish. 5/32" cording is my favorite size. Cut 3 1/2" strips of bias from your fabric. Just a note that I will also be putting up a tutorial on how to easily cut continuous long lengths of bias for large jobs. Sew your welting together leaving a 1/2" to 5/8" on one side of the bias.
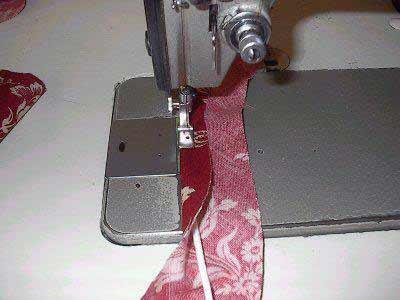
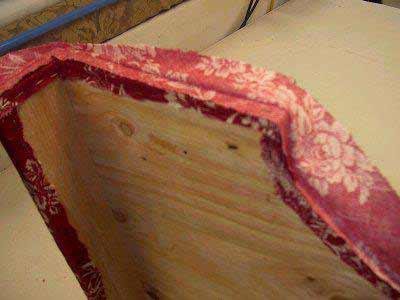
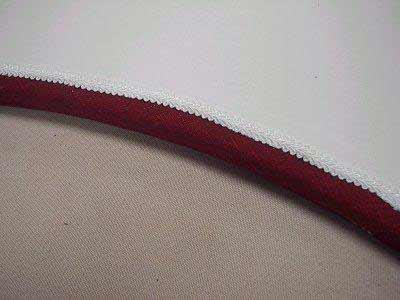
Staple your welting all around, keeping the cording inside snug against the frame. You don't need to use a lot of staples at this point, as the next step will be the one that keeps the welting positioned.
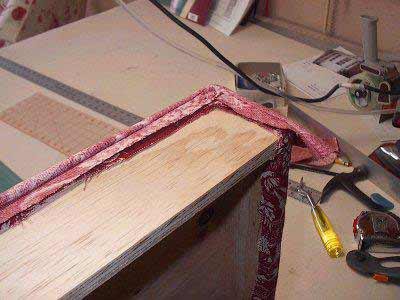
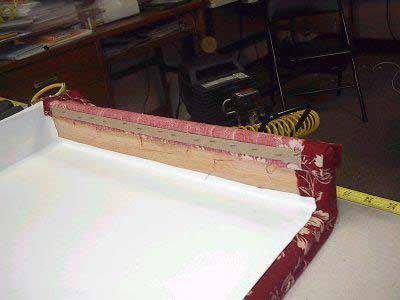
Use 1/2" cardboard upholstery tack strip to staple down the seam allowance all around.

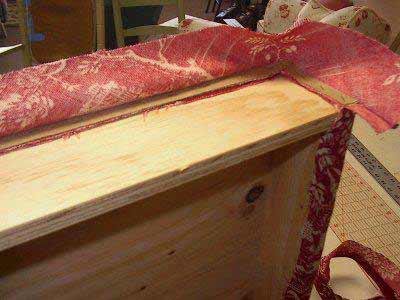
Bring around the other side of the welting, folding in corners etc...like wrapping presents and secure with staples.

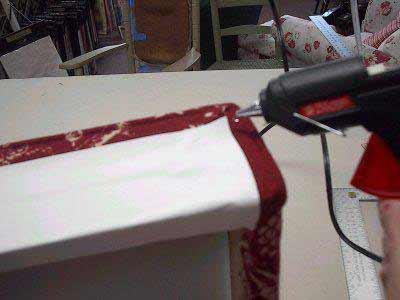
I have found that blackout lining works perfectly for finishing off the inside of cornices. It can take the heat of being hot glued and of course has the ability to conceal any wood imperfections. Cut a piece the width of the inside of the cornice plus 1", and a length to cover the inside and up and over the top. Brush a fringe adhesive on the wood, being sure to get all the way into the wood corners and a 1/2" in on the fabric edges. Then put on the lining. Smooth it all out and let it dry. To get any loose edges or corners of the lining in place, use a hot glue gun.
To finish off the inside projections, cut fabric pieces the same size with a 1" allowance all the way around. Then press the allowance to the wrong side. You can glue the entire piece on. I prefer to staple the backside with the upholstery cardboard, fold back and glue in the rest of the piece.
The last step is applying fringe all along the bottom where the fabric meets the trimmed off lining. White glues, fringe adhesives work nicely. They give you a little drying time and dry clear.
And there you have it!

A list of supplies you'll need:
Wood
Fabric
Glue gun
Staple gun/staples
1/2" cardboard upholstery tack strip
Batting (1/2" to 1" thick Dacron works well)
Fringe adhesive
5/32" cording
Finishing fringe
Iron