Upgrading the 500GB hard drive in the UniFi NVR to 2TB
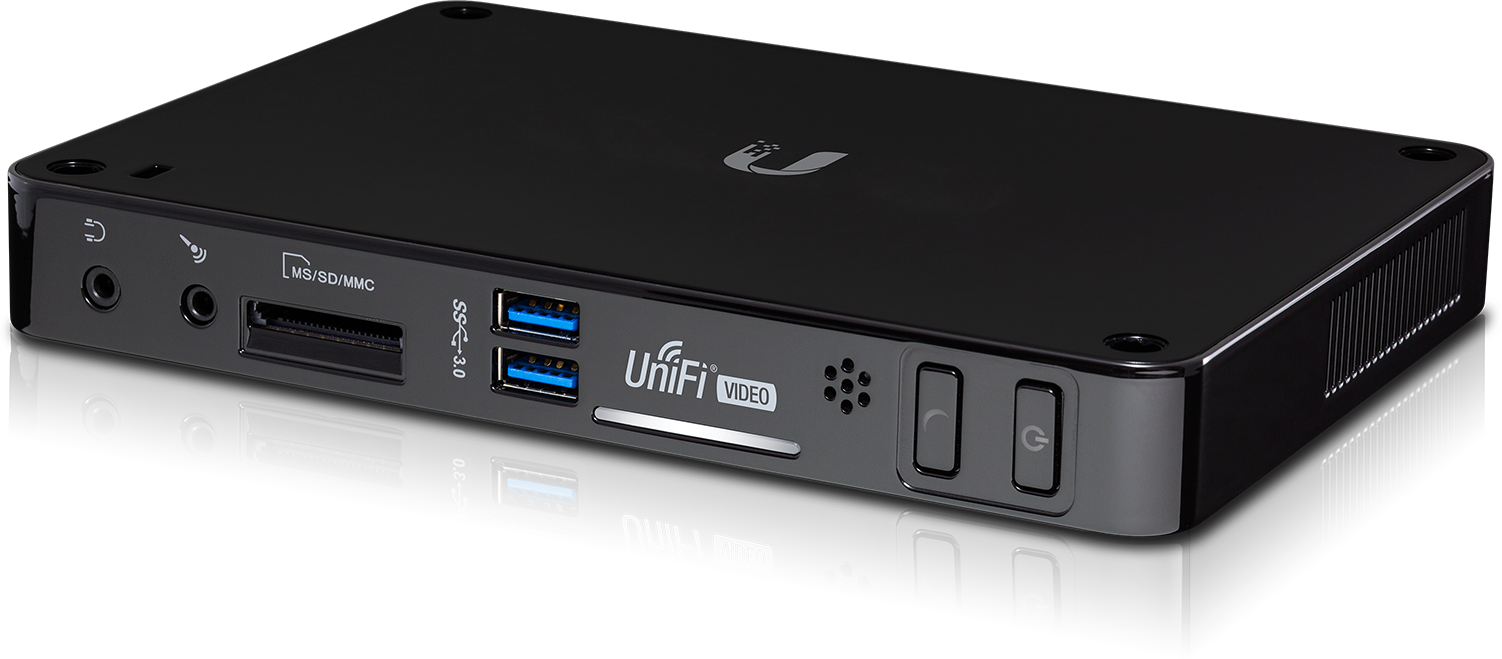
My current NVR (Network Video Recorder) is the Ubiquiti UniFi NVR that came pre-installed with a 500GB hard drive. That capacity has been fine for quite some time, but I am looking to add additional cameras to my setup soon ad decided that I would need a larger capacity hard drive in this device for it to hold everything I required.
I went online to the manufacturer's everything their community forums and various other sites and everything seemed disjointed, with so many people asking questions after they cloned their drives, as the larger capacity was not showing correctly. As well as this, there seemed to be a worry about the hard drive sizes to use... so eventually I decided that this all seemed like too much work and too much hassle, and decided to leave things alone until another time.
As time went on, Ubiquiti launched a new series of CCTV cameras with better features (not available in the UK as of 18/02/2018), so I knew I had to go back and try to do this upgrade or buy their new NVT that has a 2TB hard drive as standard! After checking costs, I decided that the upgrade path was the way to go, so it was time to get the head down and start to collate everything into something that would work and be easy to share with others.
The first thing I decided to do was see what hard drive I would get for the NVR. I shopped around looking for a 2TB hard drive, and one that would be slim enough to fit into the UniFi NVR case, and eventually went with the following model from Scan Computers: Seagate 2TB 2.5" 7mm Laptop / Ultrabook Hard Disk Drive/HDD - Scan code: LN72270 that came in at just under £70.00 before postage was applied.
Next up, I had to figure out how I could clone the drive, so I settled on downloading Clonezilla (http://clonezilla.org/clonezilla-live.php). While I could have used Acronis that I own, I decided that for many people they would wish to do things as cheaply as possible, with FREE being the best option.
To create the bootable USB media I downloaded Rufus 2.18.1213 (https://rufus.akeo.ie/) and installed the Clonezilla ISO on to the stick.
When the drive arrived, it was a case of opening up the Ubiquiti UniFi NVR device, and I have created a YouTube video showing you how I got on, but it boils down to nothing more than removing 4 sticky tabs covering screws, unscrewing them, and then prising apart the plastic box to get access to the smaller 500 GB hard drive. Once again, I'll point you to the video of this as it's a little tricky if you do not want to break everything!
Once this was done I switched my main computer off, removed my main hard drives and installed the 500GB and new 2TB hard drives into the machine. I inserted the Clonezilla USB stick I had created, started the computer, went into Clonezilla and followed the step by step guide to cloning from the small to large drive. Full coverage on how this looks is in the YouTube video as well.
I installed the newly cloned 2TB hard drive into the UniFi NVR, powered up and I could log back into the NVR again, but because I had done a clone, the drive size was the exact same as the original, so now it was a case of trying to expand the current storage into to use the available extra space on the new drive.
I had read material online about doing this from Terminal on the Mac, or using Putty on a Windows PC and using SSH to log into the UniFi NVR and make the changes from the command line, but no matter what commands I tried, I ended up in a mess and had to reclone everything again as I had no faith that what I had done, could be sorted!
So, I downloaded GParted Live :https://gparted.org/download.php then ran Rufus to create the bootable USB stick for gparted-live.
I removed the drive from the UniFi NVR, redone the clone again off the master 500GB hard drive, and inserted it back into my PC again to be edited by GParted Live, then I inserted the USB stick and booted up the PC again.
Once the software loaded, I then did the following:
Right-click /dev/sda4 (you will see padlock icon) Primary LVM2 PV LVM and select choose Deactivate.
Now select /dev/sda4 (lvm2 pv) with the right mouse button and click extend the LVM partition to the new partition size and then save settings.
Right-click /dev/sda4 again and reactivate it again.
It seems the GParted GUI only changes the partition entries, so if you just insert the drive into the UniFi NVR now, you will not have any increased space available, and we would be back to the same position as earlier!
If you launch terminal from the desktop in GParted, you can use the shell commands below to expand the partitions to the newly available space. Once again, the video shows all of this, so you can watch and see whats involved before you try yourself.
sudo lvdisplay
sudo lvresize -l+100%FREE /dev/lvm/data0
sudo e2fsck -f /dev/lvm/data0
sudo resize2fs /dev/lvm/data0
sudo lvdisplay
With the done, I shut everything down and put the drive back into the UniFi NVR unit.
I logged back into the UniFi NVR console, and the web page informed me it was doing an update, and after a few seconds I could log into the device again. When I checked the drive space straight away, it looks as though nothing had changed but giving the device about a minute and the larger capacity became available for recordings.
At this point, I was delighted that I had cloned everything over, and everything appeared to be working, but when I tried to do a live view, I got an error of "UNEXPECTED ERROR THE SERVER RESPONDED WITH A STATUS CODE OF 400".
No amount of searching online could give me a definitive solution on why this would be happening, but I decided that there had to be something that the software wasn't quite happy with the cloning process or the operating system itself, so eventually to get things working, I used PUTTY on a Windows PC to log into the UniFi NVR with the user account of UBNT and my password and then ran the following command to update the system (we are re-installing things fresh again after checking for updates):
apt-get update ; apt-get upgrade -y ; apt-get dist-upgrade -y ; apt-get autoremove -y ; apt-get autoclean ; apt-get clean
After that, everything was back to working normally once again, with the added benefit of a larger hard drive!
I would like to point out that I am not a user of Linux and the command line structure that is used with it, so I struggled to get information on the commands I eventually used to get things working.
I will no doubt bit hit by a wave of criticism on the way I have done this upgrade but the usual crowd of experts who suddenly pop out of the woodwork whenever anything techie is released, but I will be more than happy to make amendments to the video or written tutorial that need changing, if something can be done a lot easier or quicker.
Nice guide Gordon, cloning drives is always a pain especially when you wish to increase size from one drive to the next. To be honest GUI never gets the tricky partition adjustment from my own past frustration- I always end up googling command line scripts to sort things out.

#thealliance
Yes, the simple 1 to 1 always works fine, but with this device, it certainly was a head-scratcher to sort out. The most annoying thing is that the company does not supply an easy way to backup the entire drive so that in the event the unit does die, you can swap it out. The video is quite unique from what I discovered... I have not found anyone else online showing how to do this with this device. Will be interesting to watch the views and the Trolls pour in :) Thanks for the comment!