Sketchup - "Step by Step" Entry 1 (Rexona Men V8)
This is the first entry of the series I'm starting, creating retail products in Sketchup, I hope you find it usefull.
"LET'S-E GO!":
First of all we need reference photos and i'm placing some here so you have an idea of what will be the final outcome.
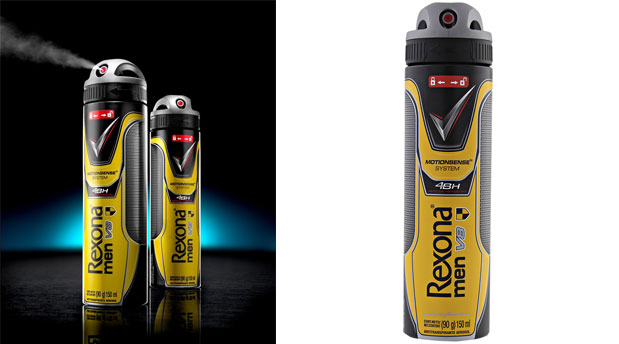
I've the real object with me and i've opened it and been taking exact measurments, if you happen to have any object that you want to 3d model you'll have an easier and faster ride.
"FROM THE HEAD DOWN."
- 2.1.- We are going to start by making half a sphere with just a circle, rotate it 90°, use the "Follow me" tool, and then cut it in half.
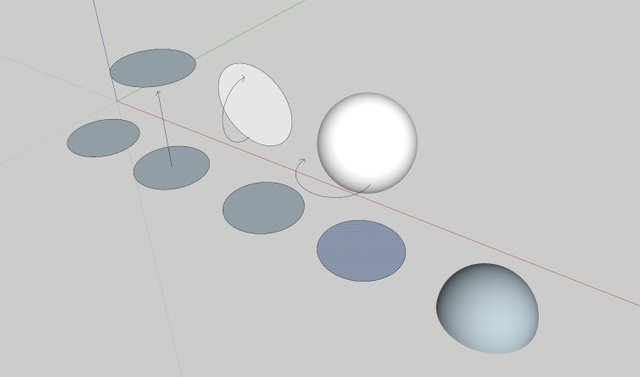
- 2.2.- Then we are making the component that is going to slice and make the strange shapes that the top has.
We create a square, the size of it doesn't matter, Pull it and Draw one arc on the corner, you just need to care about the curved corner size since that's the part we need, ok we Group the rectangle object and we Rotate it with a guide (i have a little triangle there to align it).
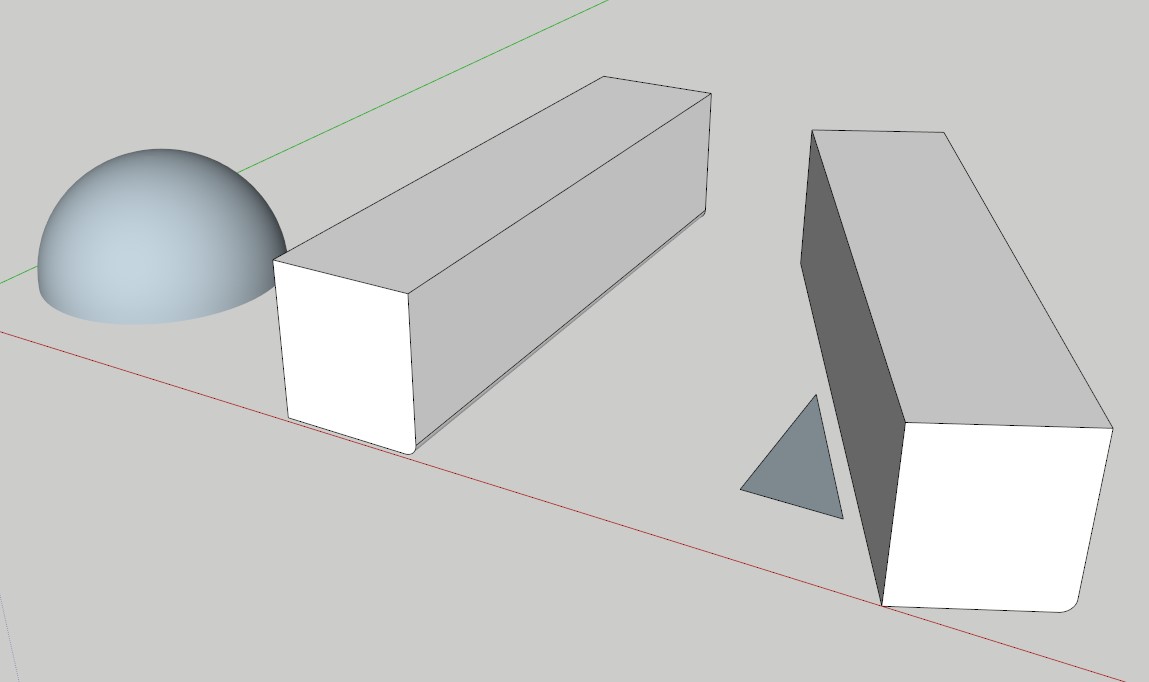
We align this with the sphere (Remember group each shape to its own component) and intersect each one separately.
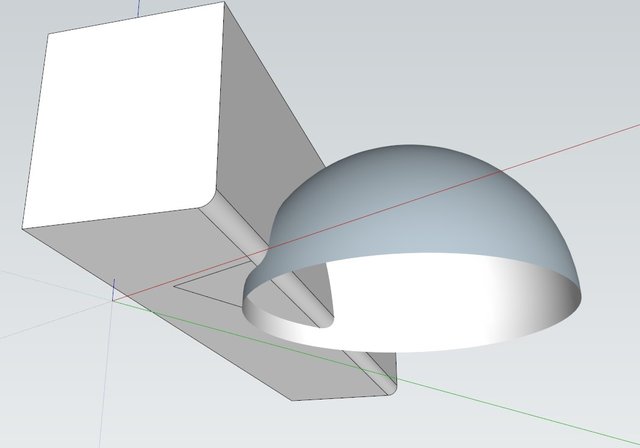
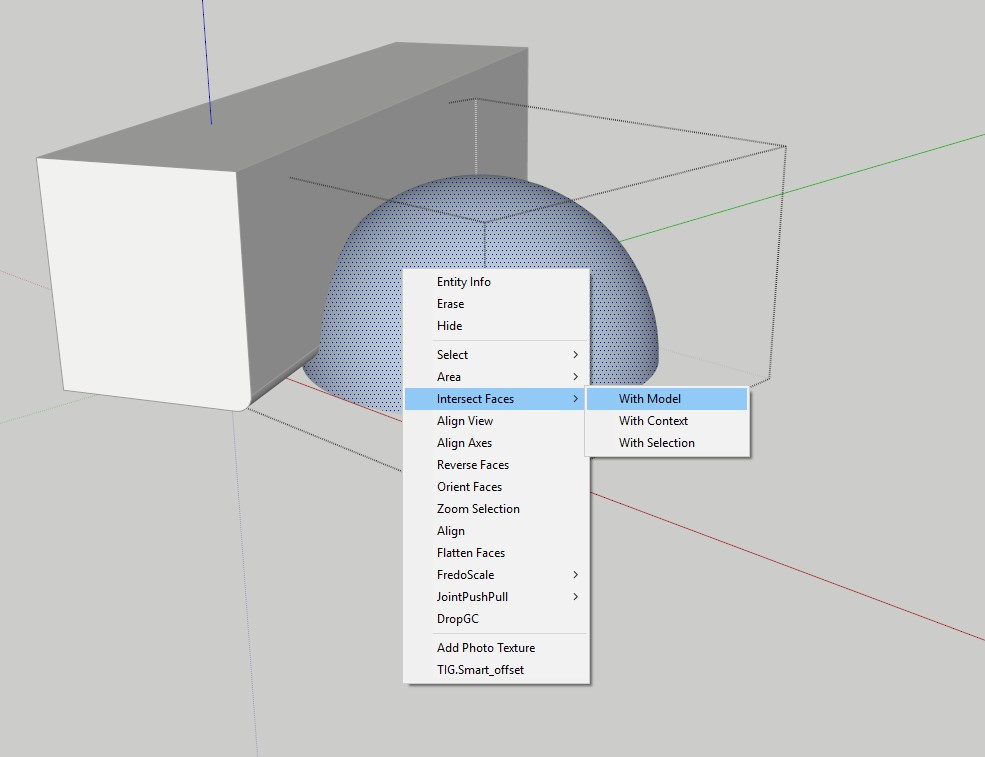
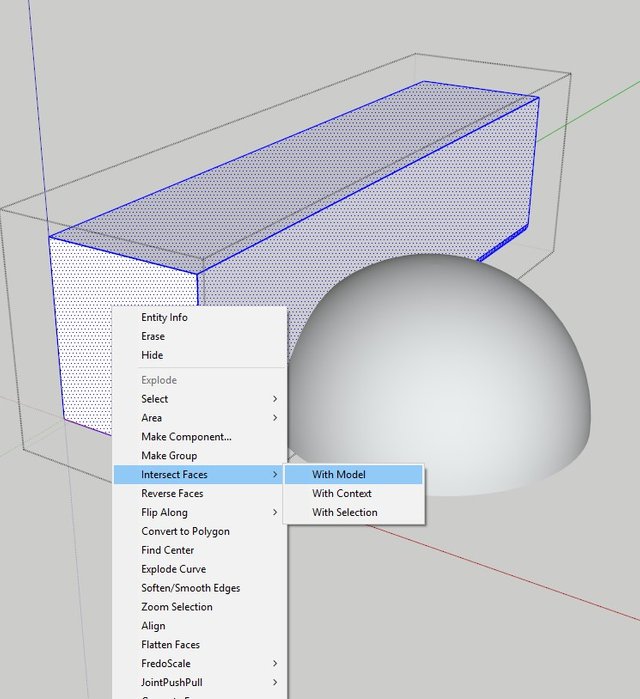
After that you delete half of the circle and the remains of the square, you should end up with something like this.
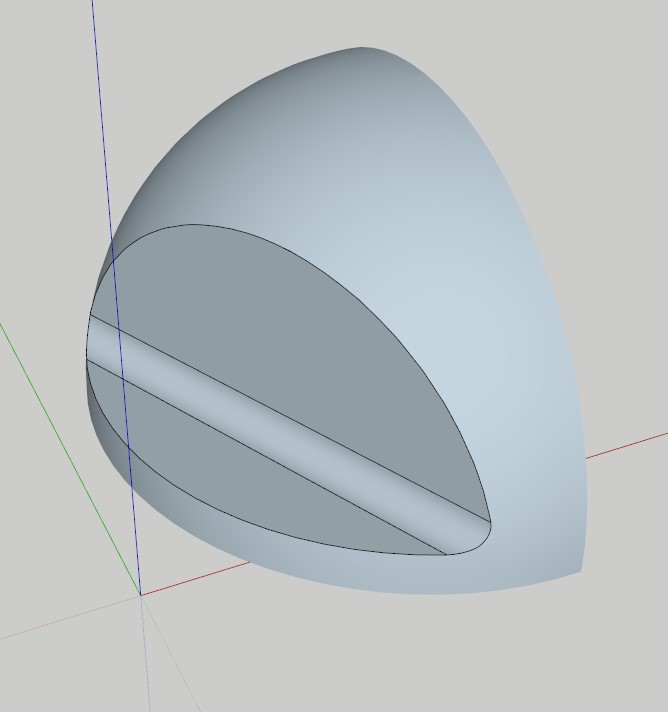
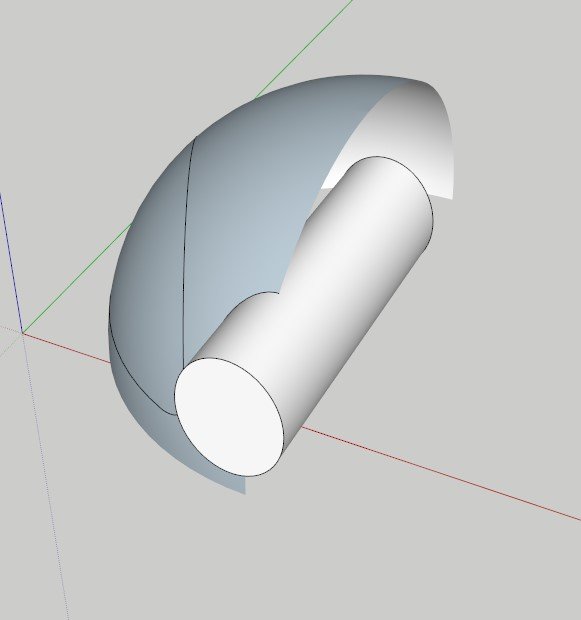
- 2.3.- Ok now we build a cylinder to create the middle part (Where the spray will go).
Same thing, just Group it, and then Intersect
- 2.4.- Use the "Tools on Surface" Plugin to offset this shape and create a somewhat of mouth.
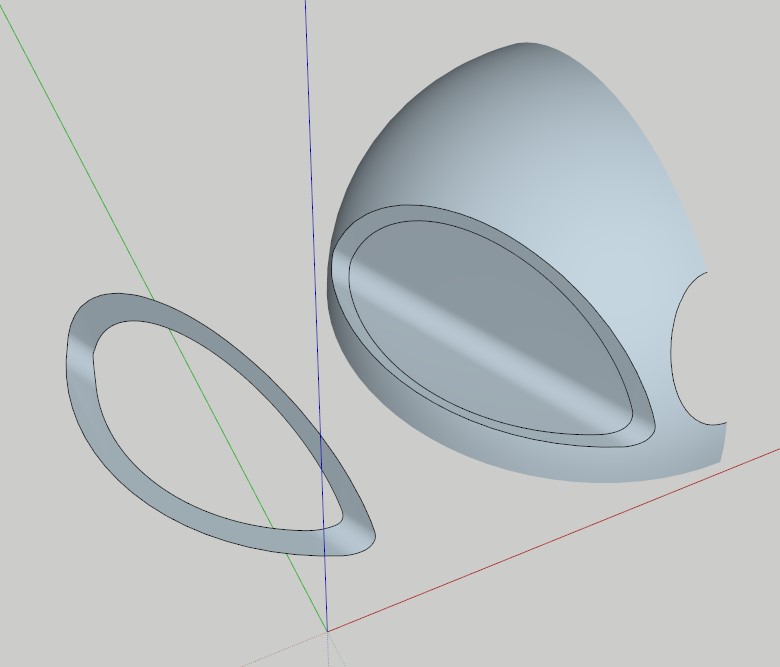
- 2.5.- We then draw a plane and this shape, use the "Drape" tool under the "Sandbox" tools, and intersect and drape both shapes.
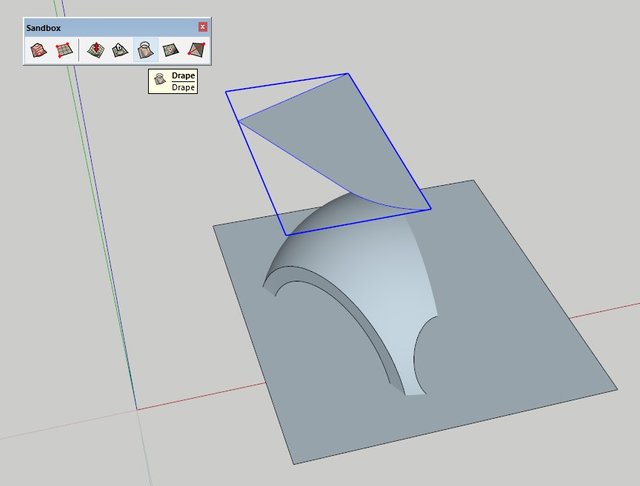
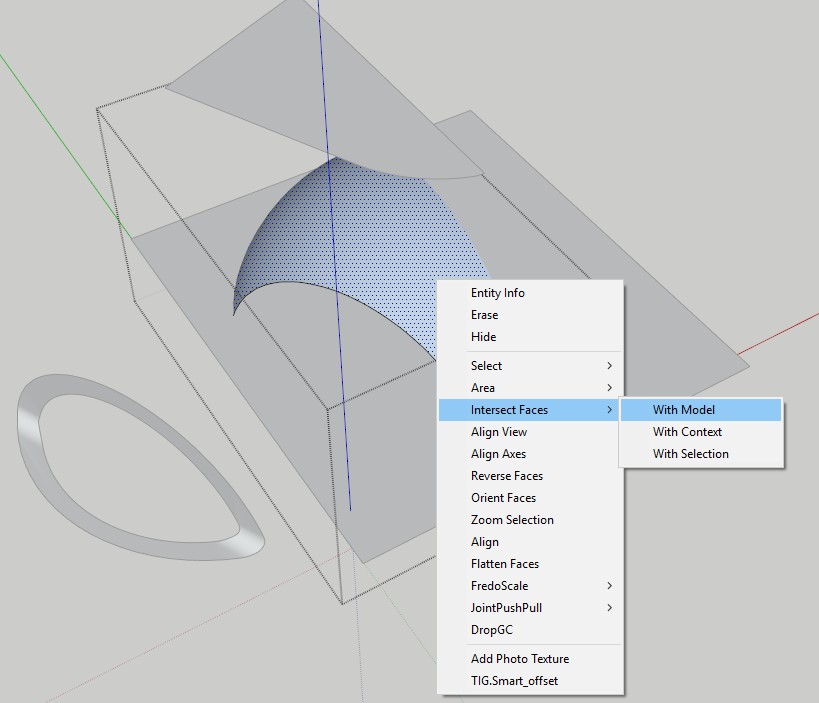
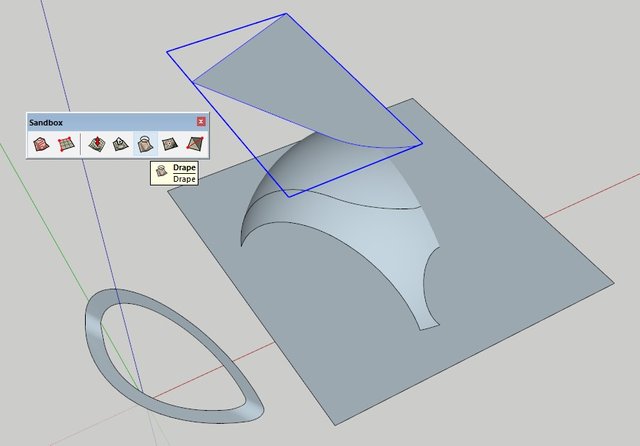
Delete the lines and planes that you are not going to use and curve the corners with the "Tools on Surface" plugin.
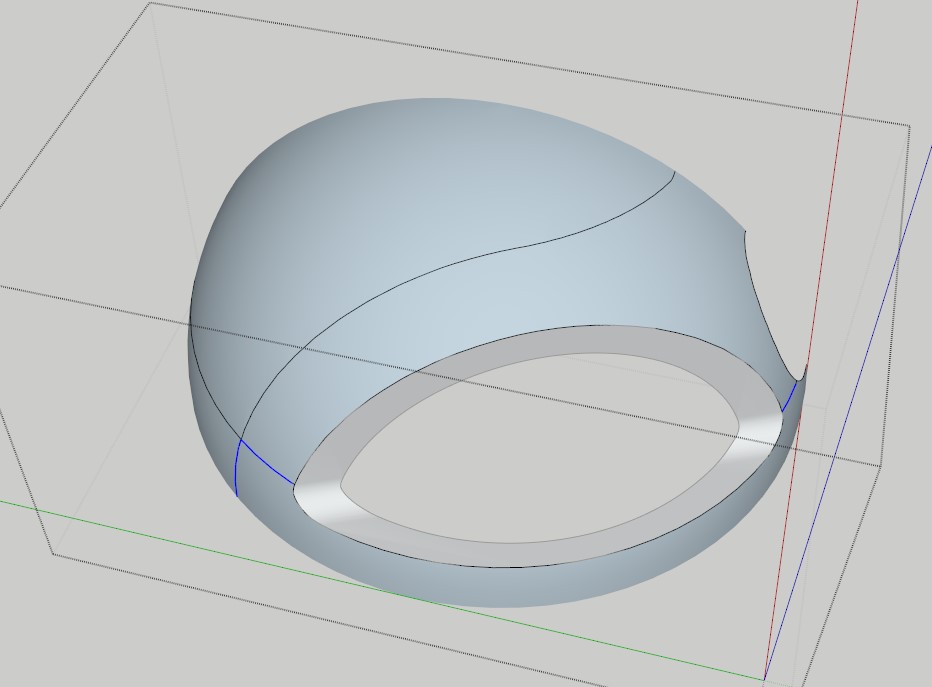
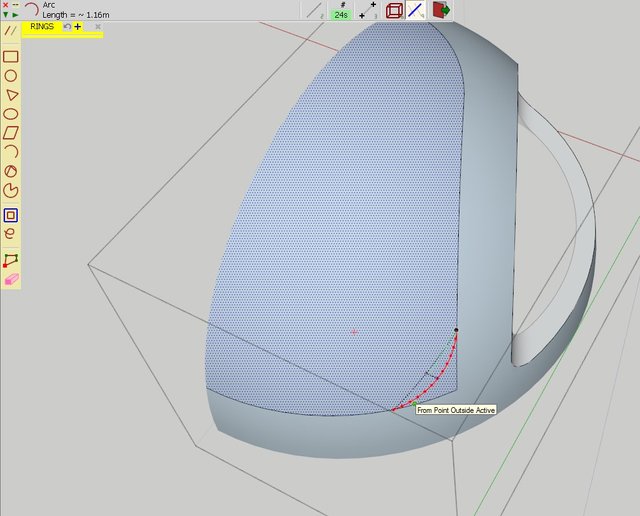
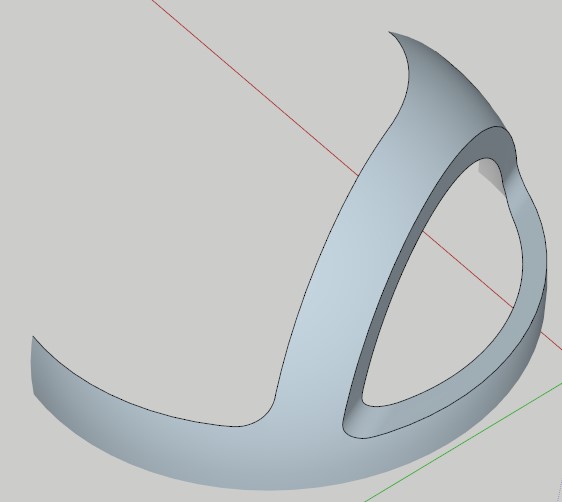
- 2.6.- Now we have 2 Components, 1 the top surface and 1 the "mouth" surface, we group them both into one component (don't explode anything keep using the inception components).
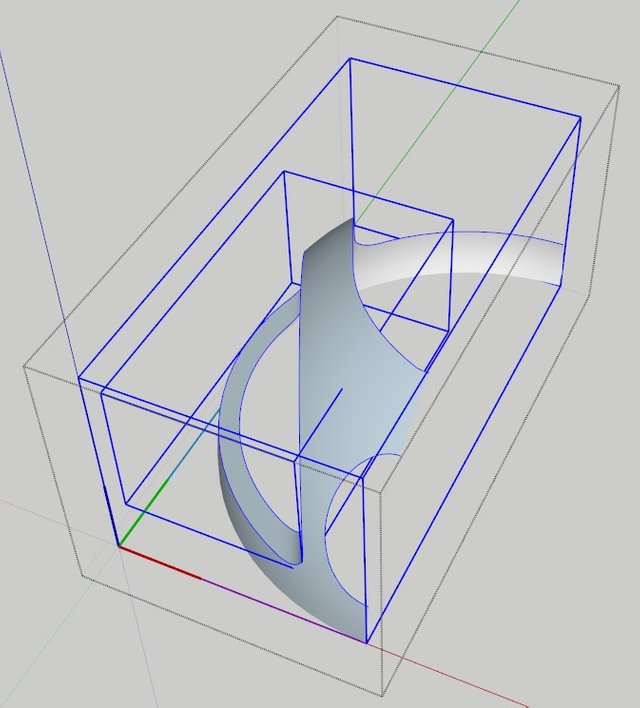
- 2.7.- Copy and Scale horizontally (-1.00) to mirror the component, we do this so any change we make to the component, it will change both sides symmetrically.
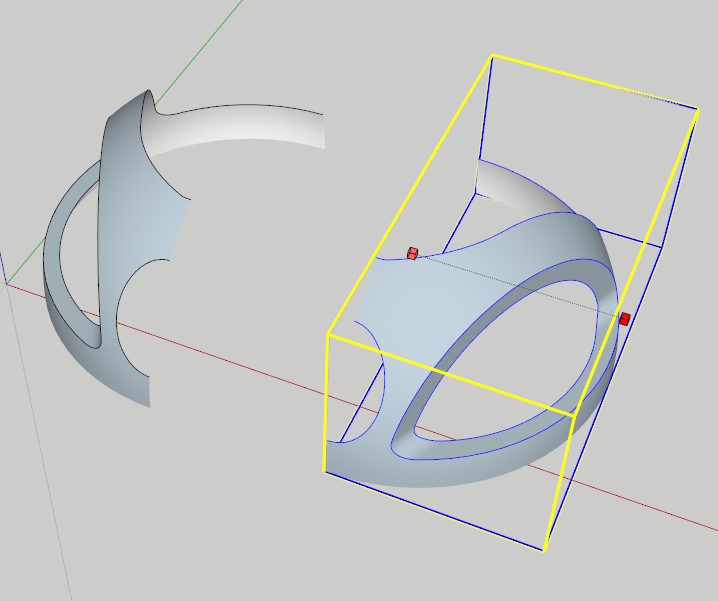
- 2.8.- To create the back side we need to select the face that we had before, make a group out of it and scale it to the size we see convenient.
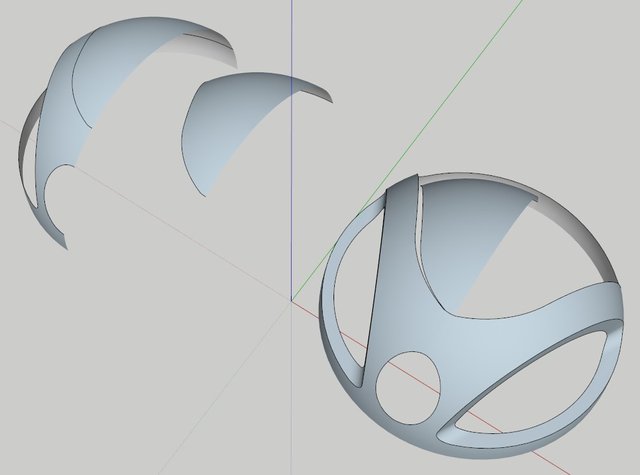
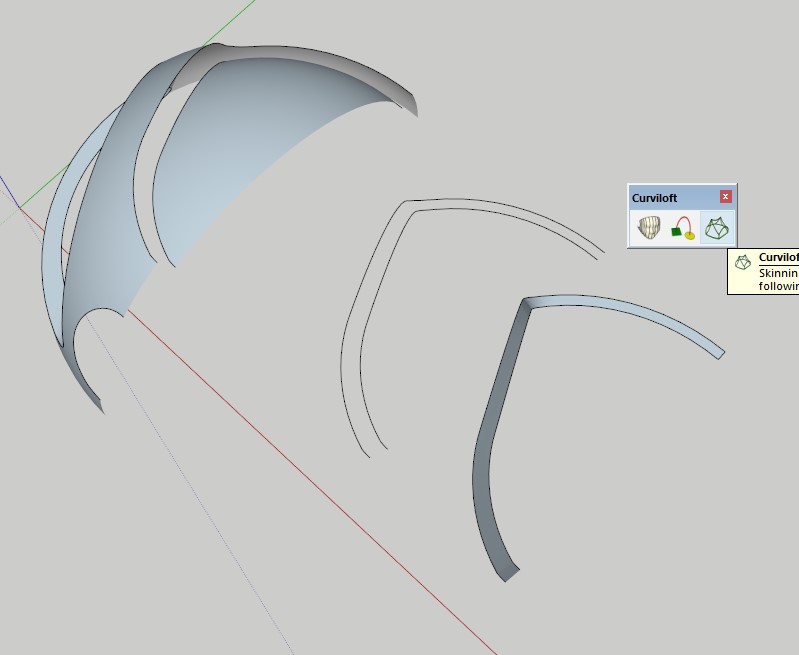
Then when we have this we need some lines to create the contour and join both shapes together so we select the lines and with the "Curviloft" plugin we create the plane between two lines.
- 2.9.- We reach the final part of the first entry, we just paint it and with the "Joint Push and Pull" plugin we give the shape some thickness.
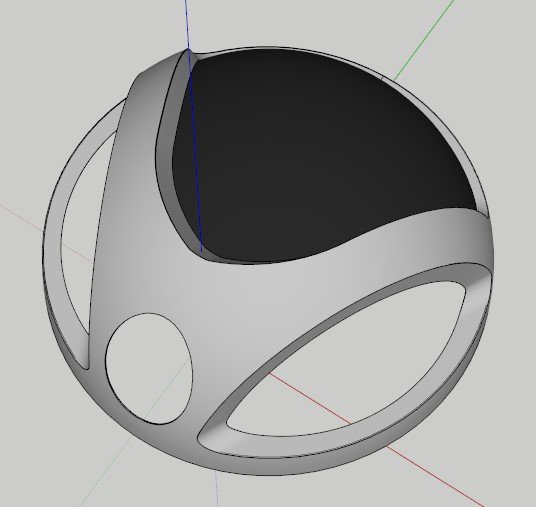
We did it.. keep it up for the next entries.