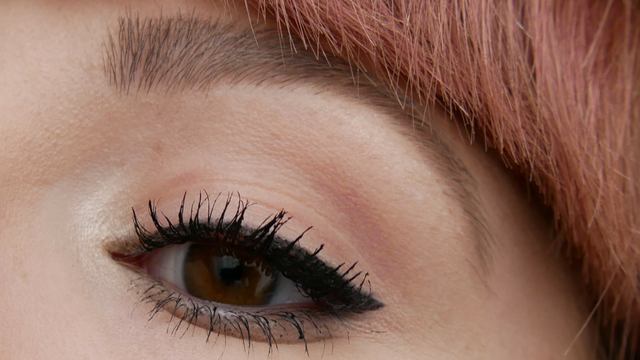
How to finally be able to get winged eyeliner done!
Getting winged eyeliner done can take ages! People are always telling you how easy they can create winged eyeliner and that it is still on point!
In all actuality regardless of whether you're doing it consistently you never truly know for how long they’re sitting in front of the mirror to get it done and even!
I’m telling you my experience: If you want to be able to get it done in a short time, you need to practice each and every day so that your hand and brain will save the movement and how it should look like (you need to feel pretty with your own length and shape of the eyeliner) when it comes to create a winged liner.
It also depends on your mood. Sometimes it will take you a few minutes and sometimes 30min. But this is normal! – Not everyone is always in a good mood, doesn’t matter how good you are at it.
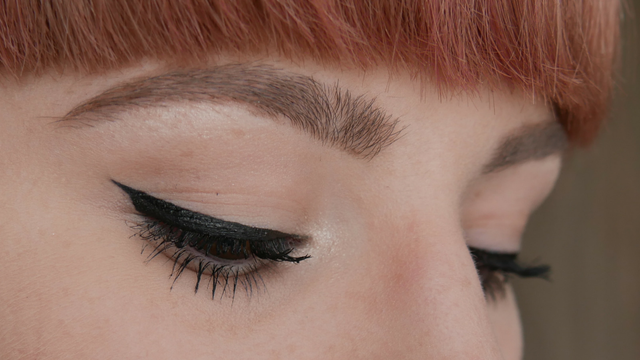
You would think that it will take you ages of getting them even, but I’m telling you that I had some troubles for this tutorial to get them “uneven “– I want to show you two ways of how the wing could look like. – luckily someone has invented concealer;)
So let’s begin with the first steps:
Never close your eyes while you’re creating a winged eyeliner! – I just closed my eyes for certain pictures so that you’re able to see what I’m doing. Do your winged eyeliner with your eyes open. I would recommend taking a little mirror where you can look down into it so that you’re able to see what you’re doing.
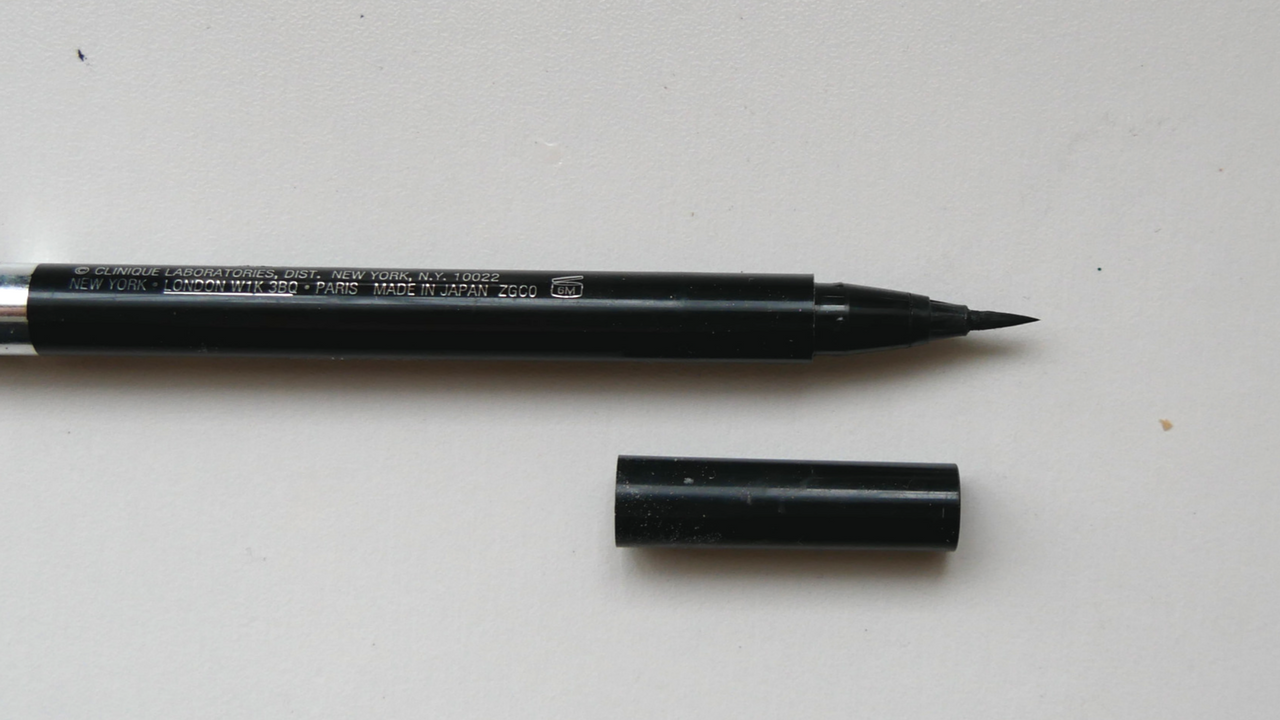
Recommendation: Felt Tip Liquid Eyeliner Pen
Step 1: Position.
If you have an unsteady or shaky hand, use your table or something where you can rest your hand or elbow. This will give you stability to create a clean winged eyeliner.
Step 2: Little by Little.
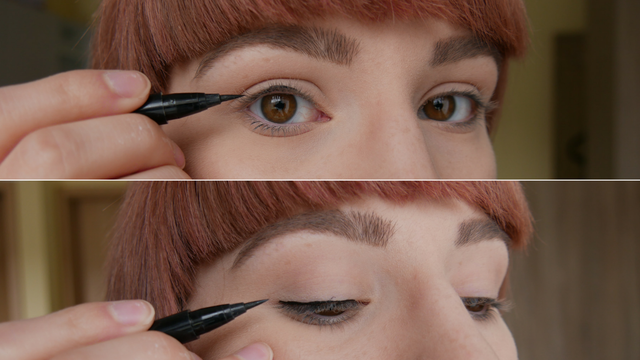
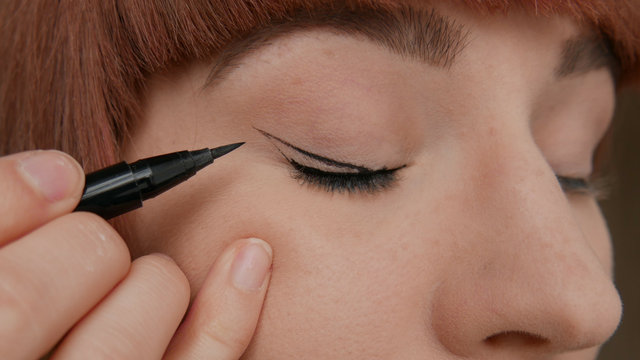
Start from the midsection above your upper lashline towards the outer corner of your eye. Little strokes will help you to create a line along your upper lashline. Use your lashes to support your eyeliner on it. This will help you to get a thin and even line. Start with a thin line – later on, you can always thicken it!
Step 3: Guide Line.
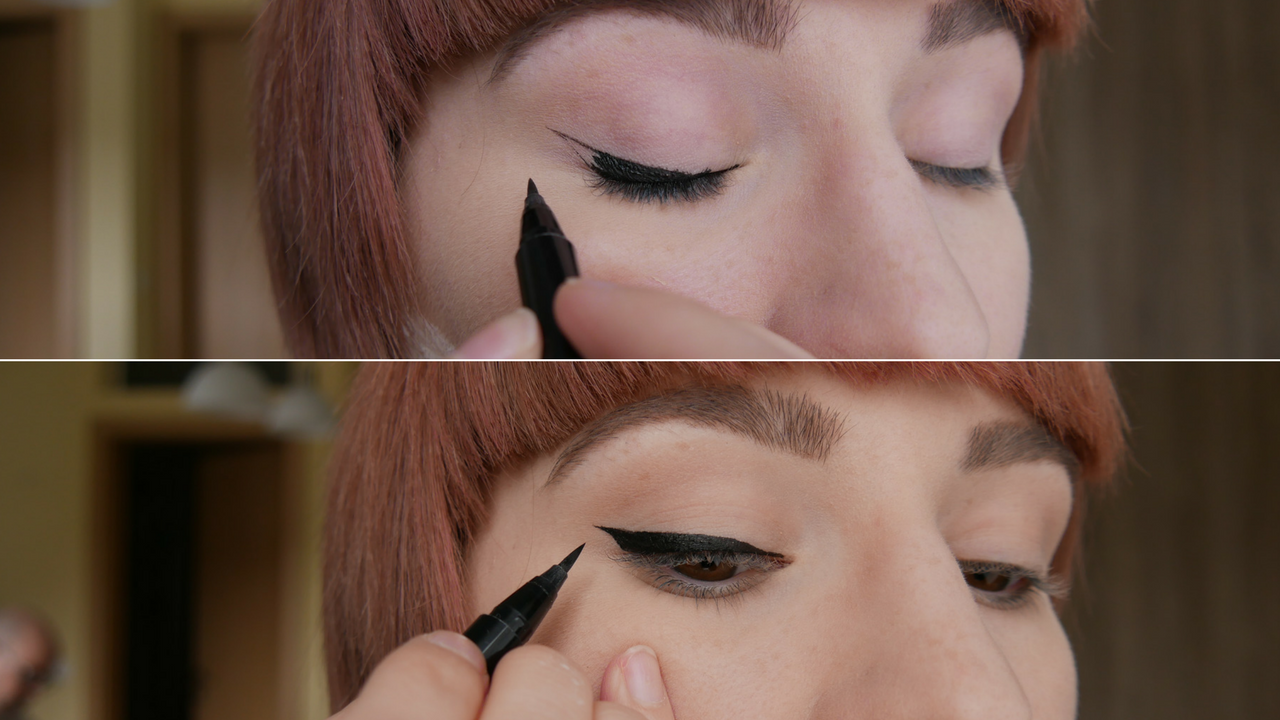
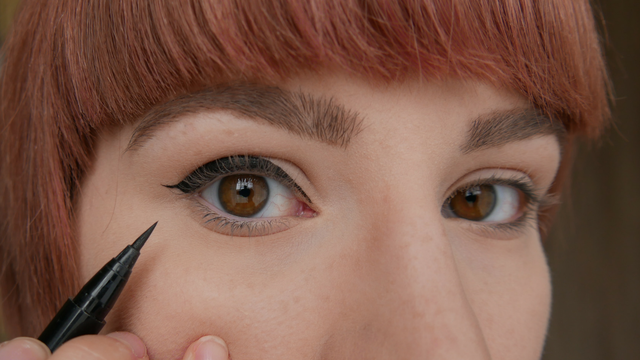
Open your eyes and look into the mirror for the guideline to know where the wing should be. Follow your lower lashline and the end of your brow tail to know which angle you should go for. The tip of your wing should be visible when you have your eyes open. So, extend the tip of the wing until your able to see it after your crease. Use a very light hand to create your guideline, this way you’re able to change anything if you need to.
Step 4: Connect.
Once you’re happy with your guideline, you can now start from the tip of the wing and connect it with the upper part of your lash line. Try to create a straight line. You can always use your pinky to support your hand for stability.
Step 5: Fill in.
Now you can fill in the whole winged eyeliner with the same eyeliner pen, or you could switch to a gel or liquid eyeliner in a pot.
Step 6: Inner Corner.
You could stop right here or add a little bit of eyeliner towards the inner corner of your eye to add more drama.
Step 7: Clean up.
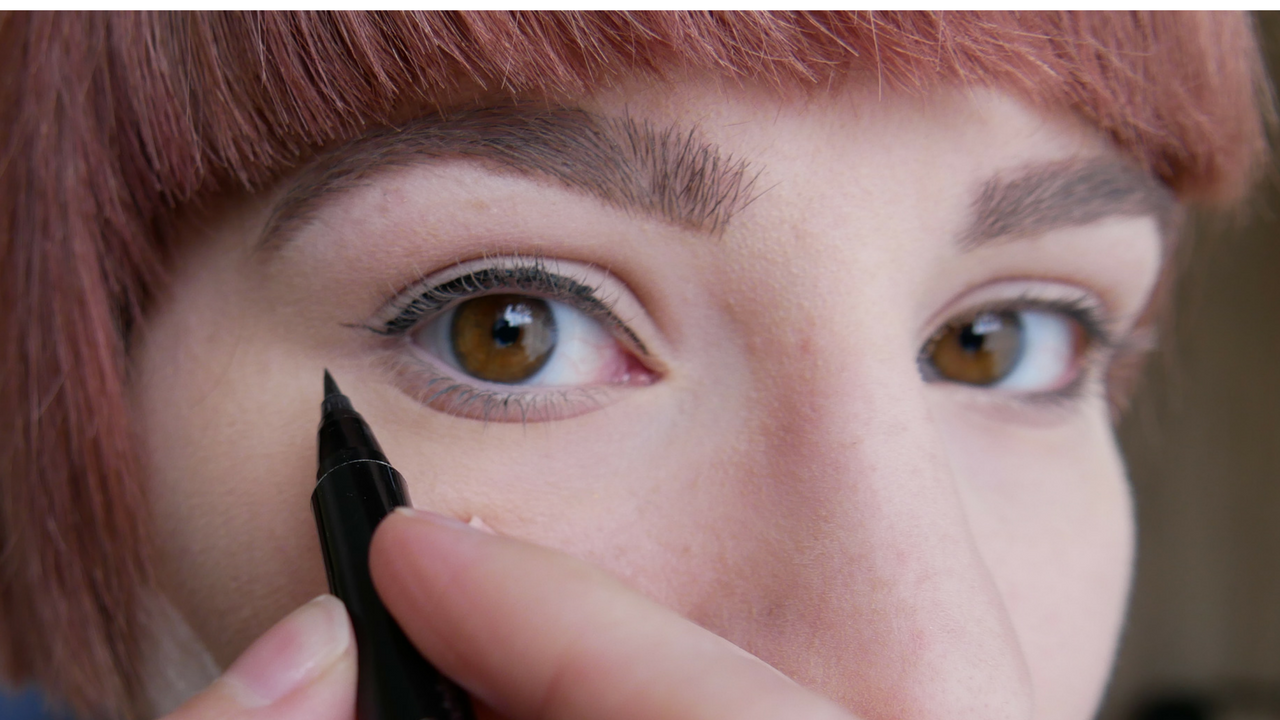
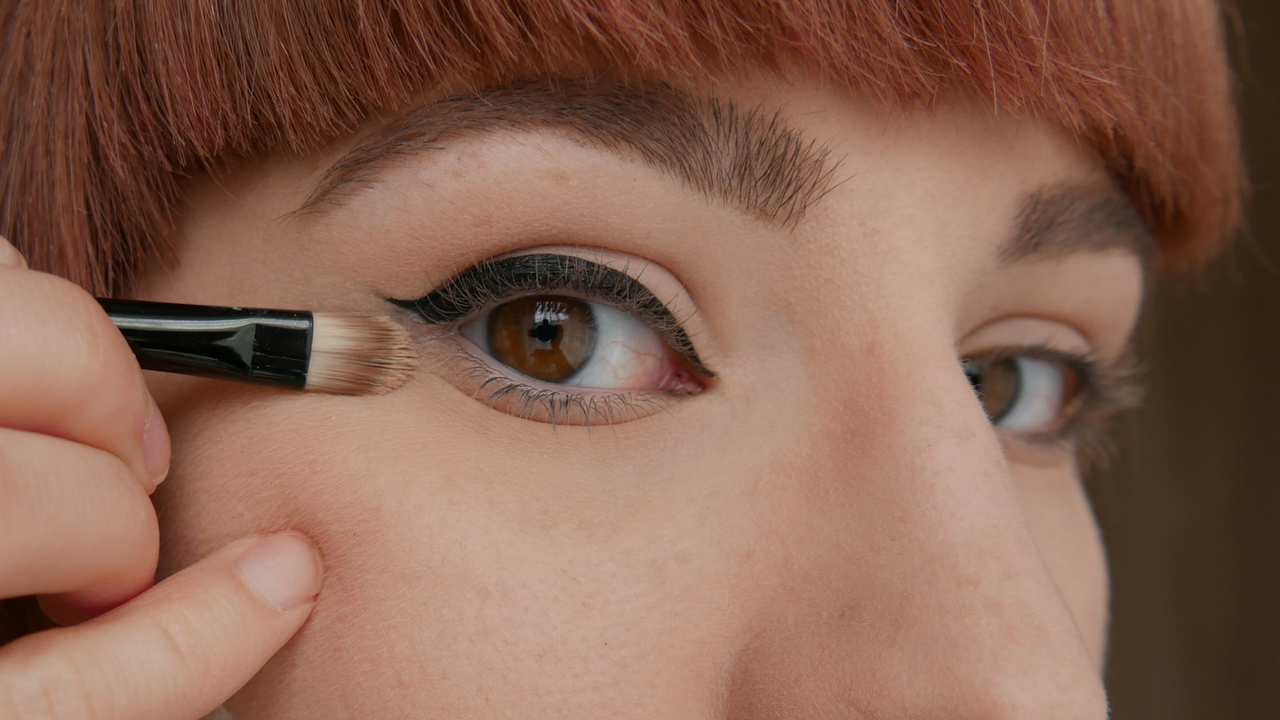
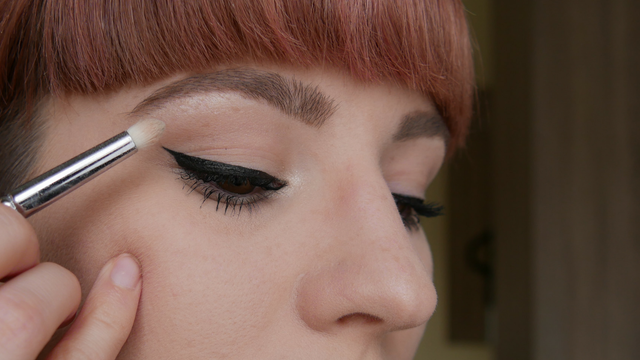
As I wanted to fill in the eyeliner, I played myself by getting a dot from the eyeliner next to the wing which can happen, in any case, it doesn't make a difference since we are going to tidy up and making a sharp wing. So, use a little bit of concealer and a very small and flat brush to clean up any uneven areas from your wing.
To sharpen the wing, you can place the brush with some concealer on it right underneath the wing and swipe it close nearly against the wing so that a little bit of ink (that will move with the brush) will give it a sharp tip.
Step 8: Eyeliner Pencil.
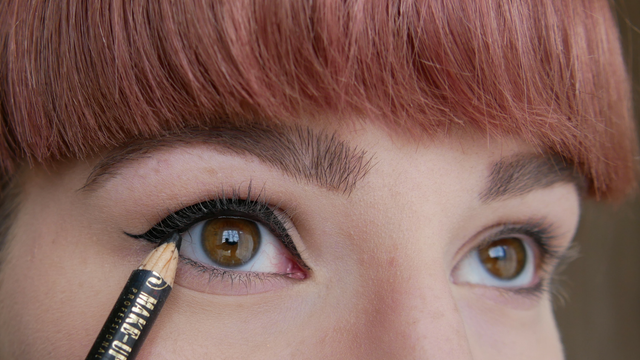
If you want to create a rich black winged eyeliner, you should pop some black eyeliner pencil on your upper waterline. So that your skin color won’t look through your upper lash line – Riche, black and drama eyeliner.
Step 9: Mascara.
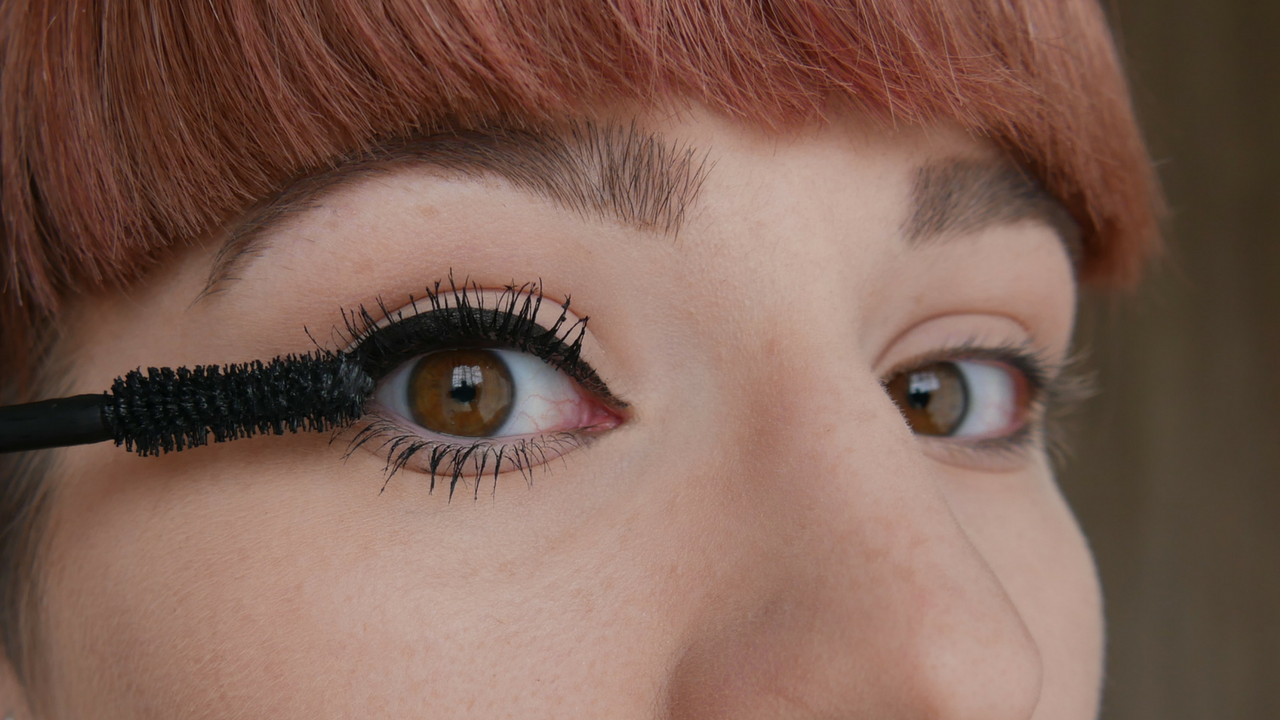
Add a few coats of mascara – I love this step because this can change the whole eye makeup look.
Step 10: Highlight.
Highlighting under your brow bone, inner corner of your eye, cheekbones, nose and Cupid’s bow will complete the whole makeup look.
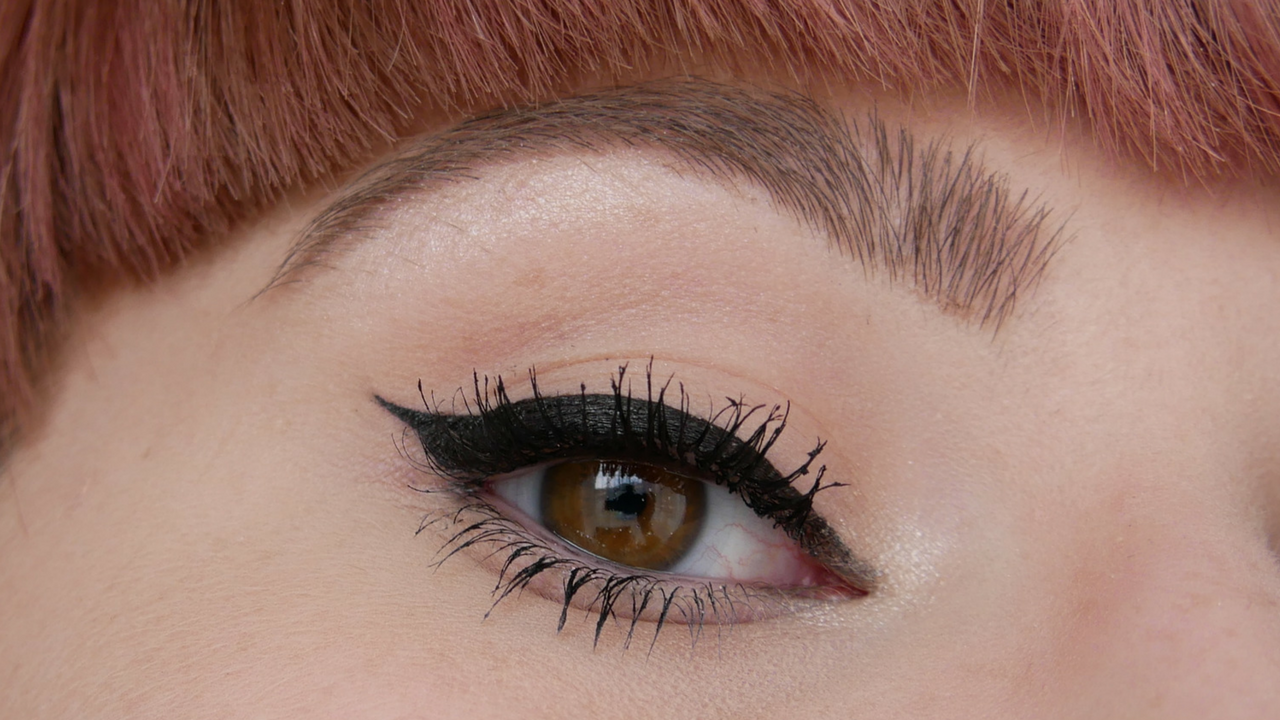
The first option of how a winged eyeliner could look like:
The second option of what it could look like:
So that’s it for today’s winged eyeliner makeup look. I hope that you can follow each step and that my pictures are showing you enough to demonstrate you how you ought to do it independent.
