Guitar Rig 5 Tutorial (Record guitar riffs with virtual amps, effects and other on PC/MAC)
Guitar Rig is the ultimate software solution for
perfect custom tone with more amps, effects and creative potential
than ever before, all in a powerful and intuitive virtual effects rack.

Guitar Rig 5 Pro for Windows and Mac.
Buy here https://www.native-instruments.com/en/products/komplete/guitar/guitar-rig-5-pro/
Download here Windows version or https://thepiratebay.org/torrent/7878804/Native_Instruments_Guitar_Rig_5_Pro_v5.1.1_UNLOCKED_-_
MAC Version.
https://thepiratebay.org/torrent/9774968/
All modules embedded in the application (supports).
- Rammifire
- Reflektor
- Traktor's 12
- Transient Master
- Solid Mix Series
- Vintage Compressors
Tutorial to setup Microphone/Line-In/USB input (Windows version)
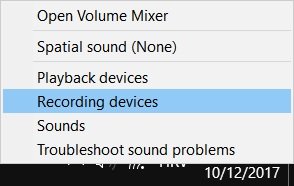
- Check your sound settings. Right-Click on Sound Icon (taskbar down-right) then click on Recording devices.

- You should see something like this. Disable all recording devices that you are not using. On device that you are using, right-click on input device you want to use then click Properties.
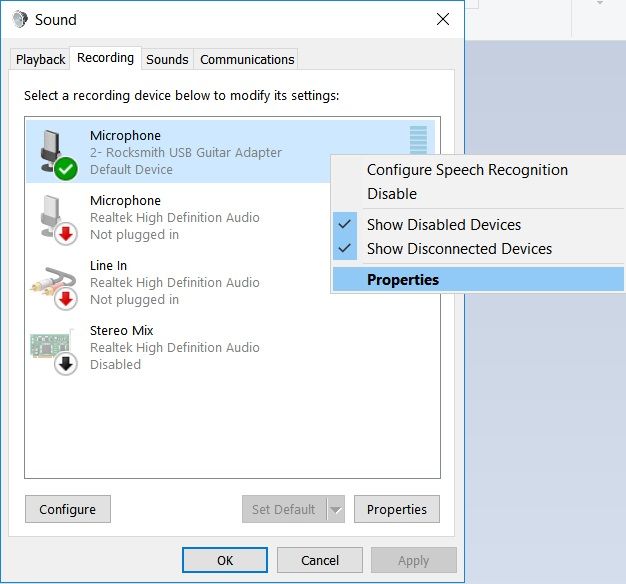
- If you don't see your recording devices and you know that you have them, right-click on blank layout. (May repeat previous step).

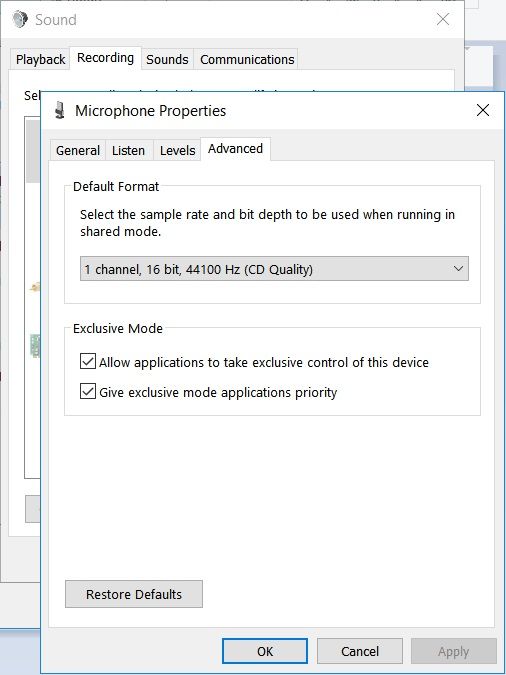
- Click (choose) Advanced Tab and choose as shown. Except Default Format, Studio or CD quality is suggested.
- Install ASIO4All (Recommended before Guitar Rig 5) and Guitar Rig 5.
- Plug in input device in your PC ()
*Line in (blue port), microphone (red port) or USB of back panel. - Turn on volume of an instrument (if any knob).
- Double-click, open Guitar Rig 5.exe and you should see this.


 9. Click on File, click Audio and MIDI settings
 10. Driver or selected driver should be ASIO, if you don't have it, install it. You can download here ASIO4ALL driver http://www.asio4all.com/. After you install it, change driver to ASIO.

- Click on ASIOconfig. Then you should see this (image below). To see detailed, click on tool icon. [Diamond is for Default Settings].

In my case I have activated USB Rocksmith (it's input that I use), you can freely choose other line in or microphone. (Blue or red port back of PC panel)
Line In option

Mic option

Don't use both microphone and line in, interference may cause crackling sounds.
After you chose your option, click simply X (auto-saves). After that, click on Routing Tab.
Routing your Audio and MIDI settings is important. Choose Routing {Inputs} option that you want to use.

Then click on routing outputs. Speakers or else.

After all that, choose Audio Tab and change Sample rate to CD, STUDIO (suggested) and click OK (to save). Higher or lower may cause latency in ms (miliseconds). Default tolerant latency is 20.0 ms.

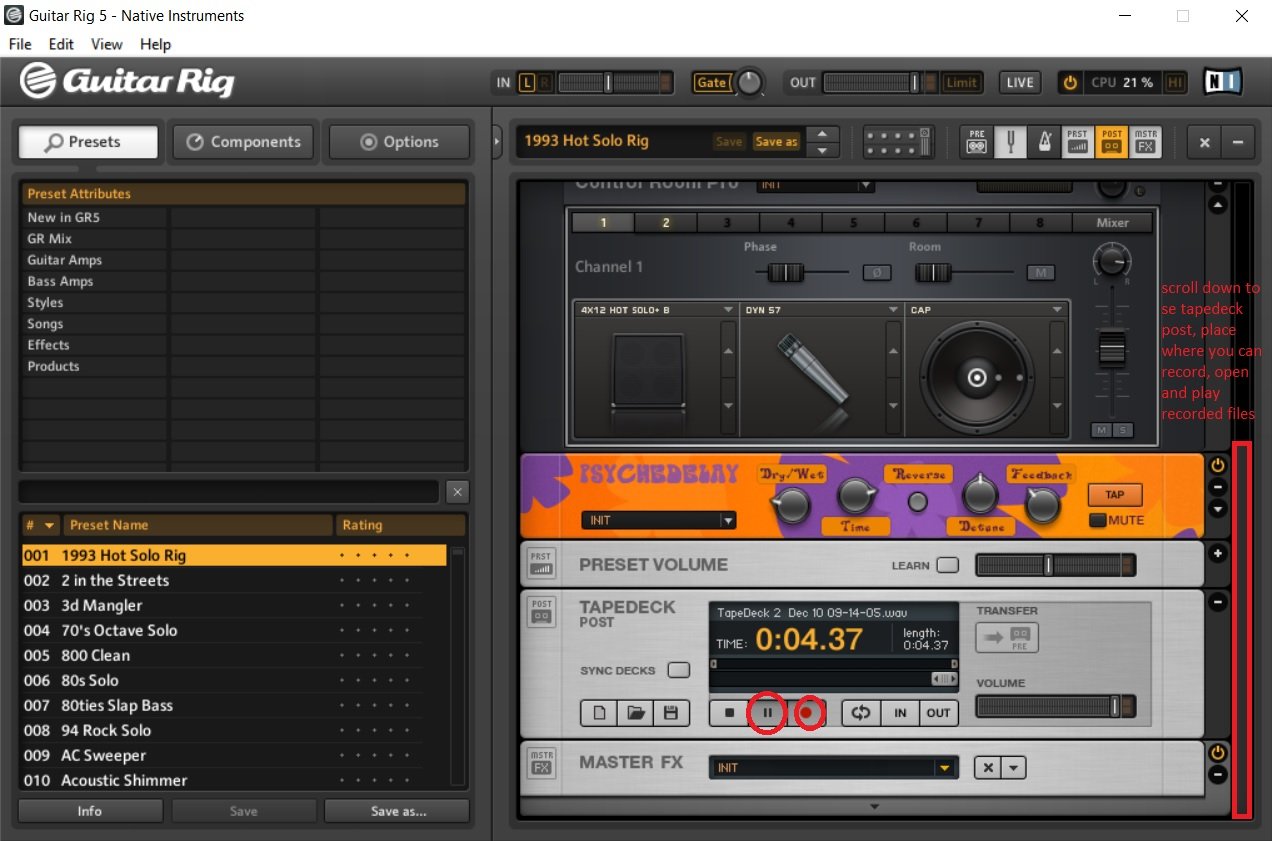
Double-click as shown on picture. Strum or play your instrument, you should hear modified guitar sound. You're ready to go :)

Scroll down and you'll see tapedeck. First click on record button (red circle) then click Play button, after those two buttons are pressed in this order, recordings starts. Play or strum your instrument, after done, press Stop button. When you are happy with your performance click Save button. Name it and save it as songname.wav. wherever you want.
After you did all steps from now on, you can record tasty guitar riffs :D In next post, I can show you how to use electric guitar in FL Studio 12 (Fruity Loops). How to make backtracking and play guitar along with it, like a one-man band.
Thank you for reading and support. Leave comment, I'm glad to help.

Farewell.
To test this tutorial with mic or line in option, guitar jack --> 3.5 mm jack is must. How this converter looks like, you can see it here https://www.google.hr/search?q=guitar+jack+to+35mm&source=lnms&tbm=isch&sa=X&ved=0ahUKEwjR8dmgiv_XAhVJFuwKHXjtASAQ_AUICigB&biw=1024&bih=489#imgrc=wc6y32e_XshLZM: