I show you Special effects: how to add rain to a scene with Photoshop
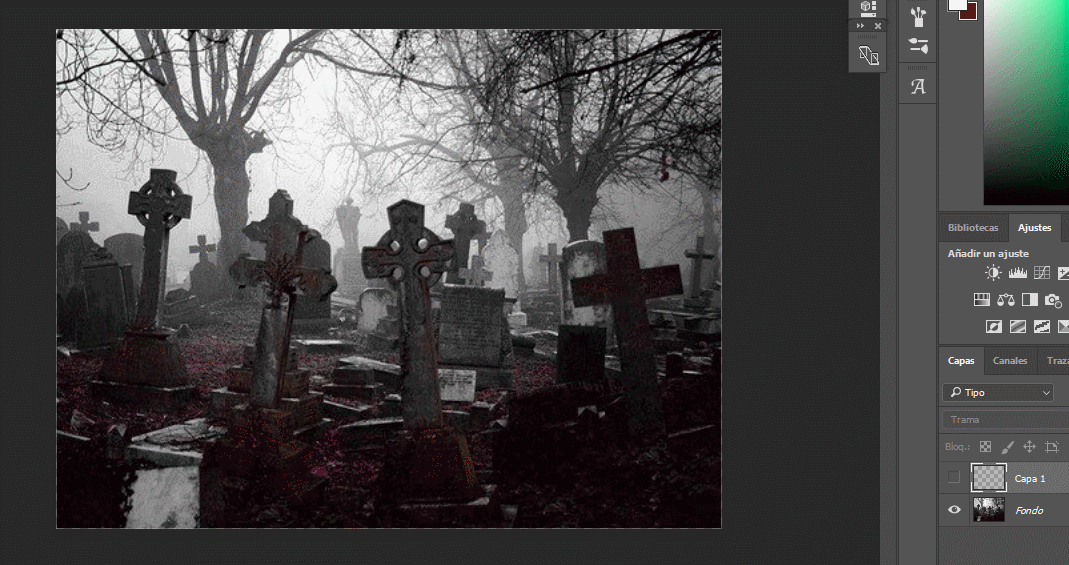
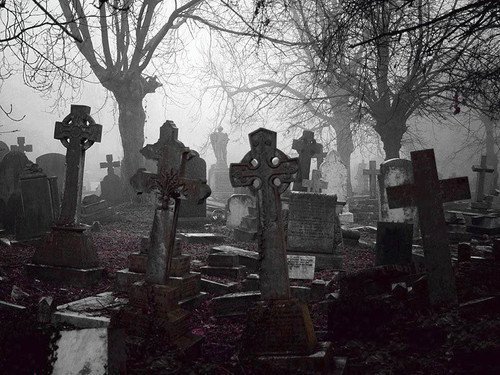
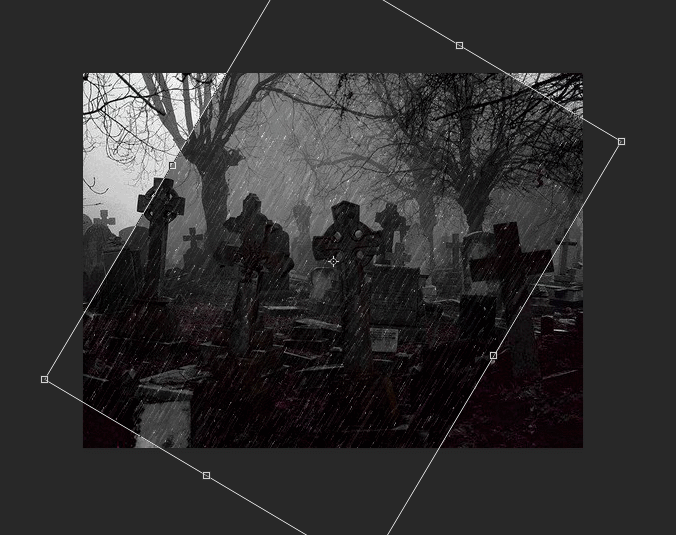
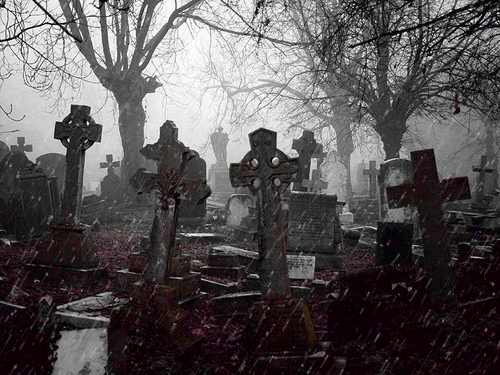
Sometimes, even if it's rare, adding special effects can make the look of a photo stand out. In this case on an image of a cemetery on a stormy day, I added a rain effect.
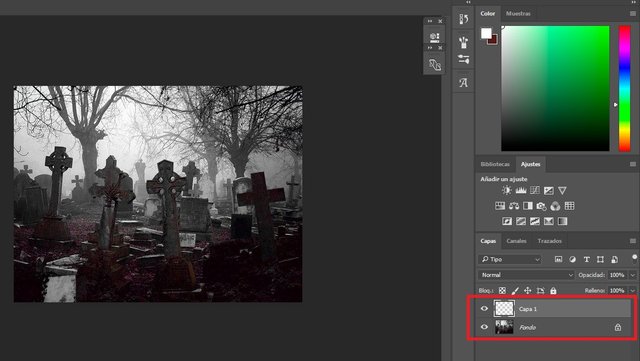
The first thing is to create a new layer.
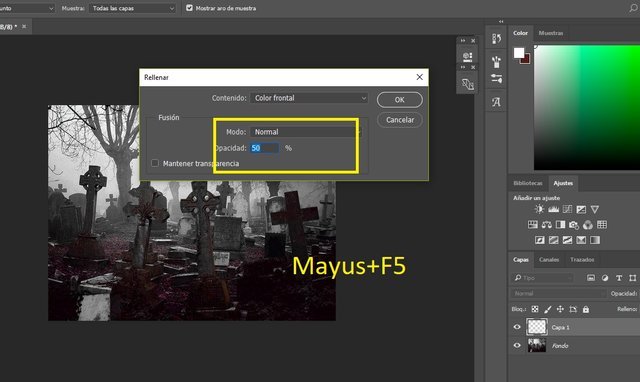
Now let's go to Edit - Fill - Use 50% Grey and give it OK.
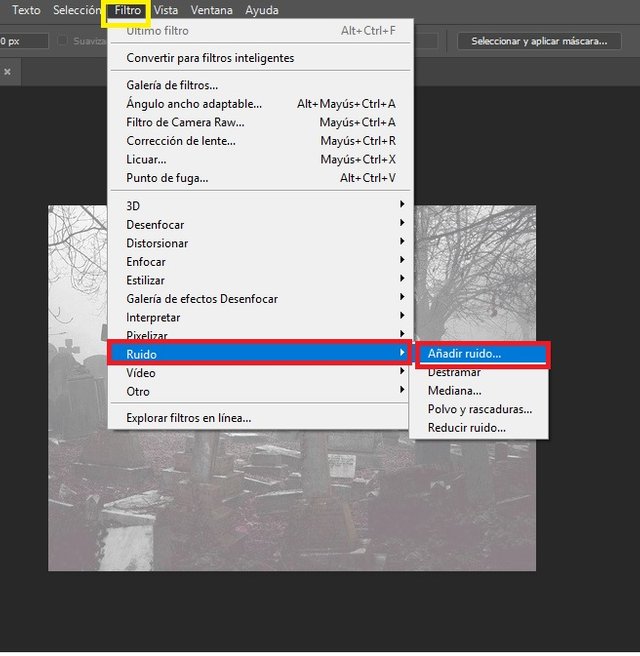
On this gray layer, we go to Filters - Noise - Add Noise.
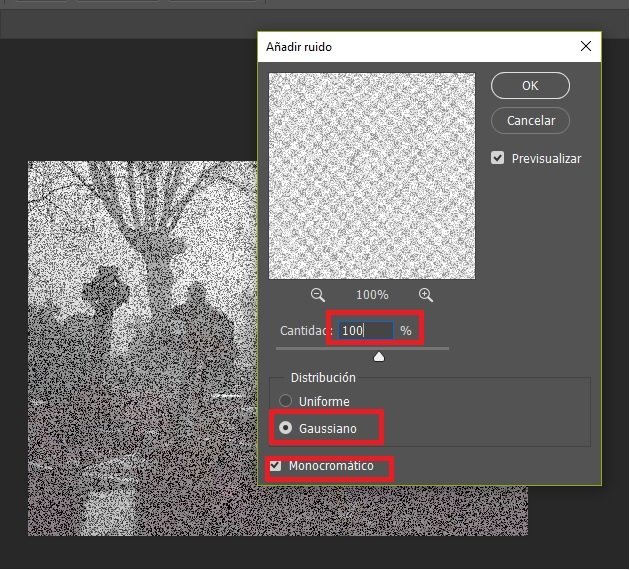
Quantity of noise 100% Gaussian and Ok.
Now let's go to the De-Focus Filter and then De-Focus again.
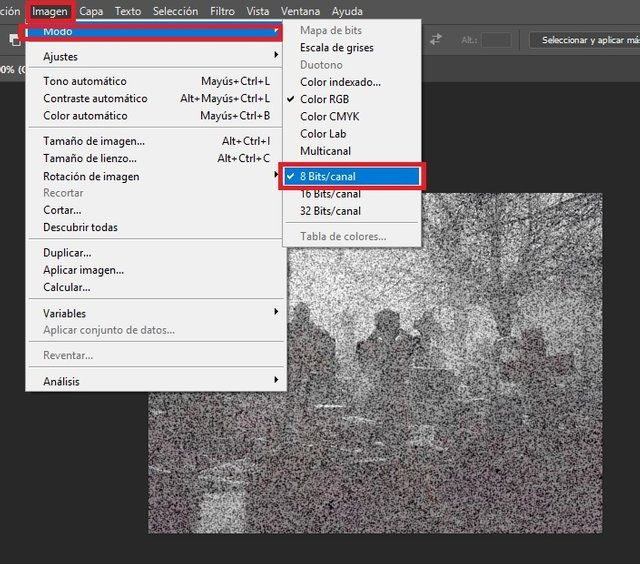
To execute this technique we must use an 8-bit image. If our image is not, we go to the image tab and select it.

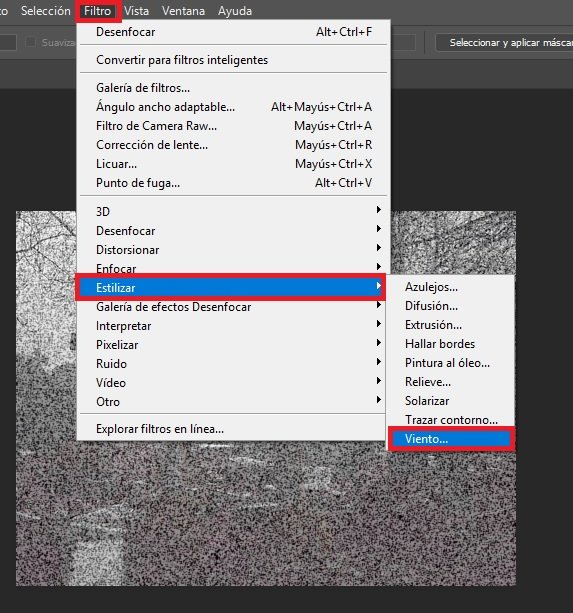
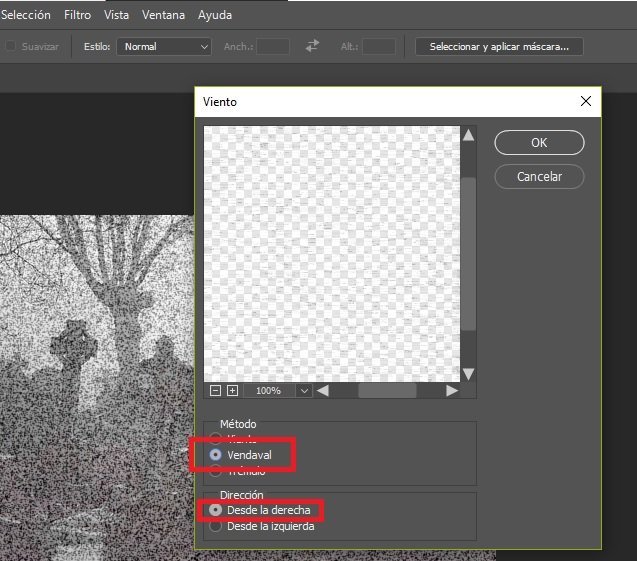
Now let's go to Filters - Style - Wind.
Gale method.
Right to left -
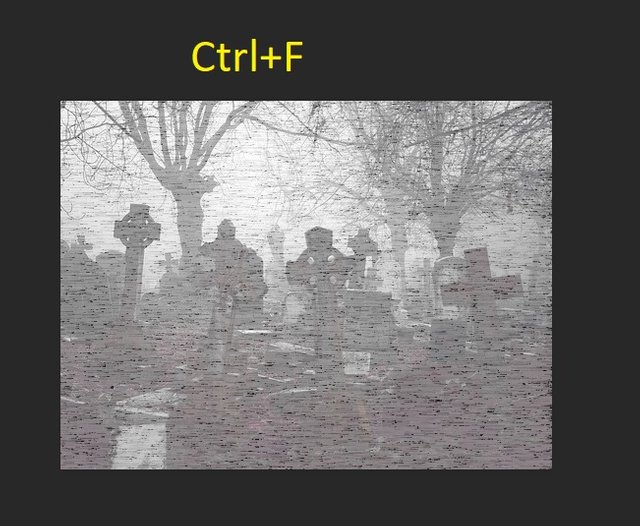
We will intensify the effect by pressing Ctrl+F twice.
Now we must reverse the layer and change it to negative by pressing Ctrl+i.

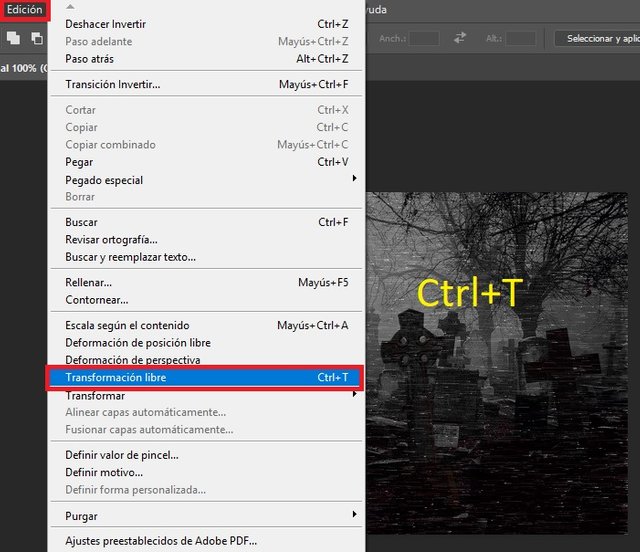
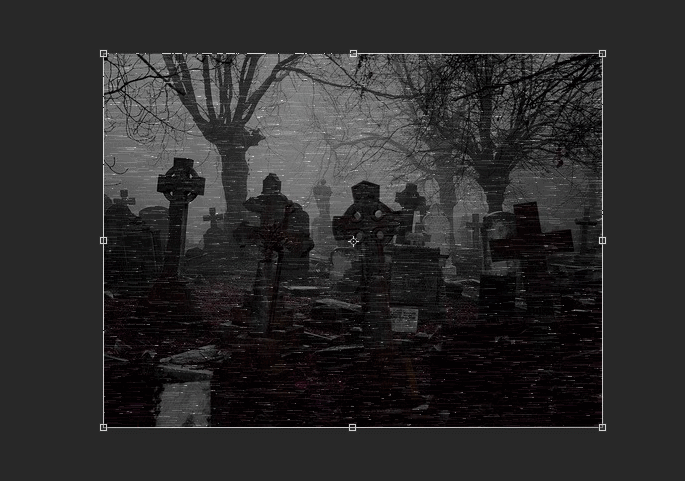
Now let's go to the edit tab, free transformation. And we move our layer to produce a top-down rain effect. We covered the whole picture.
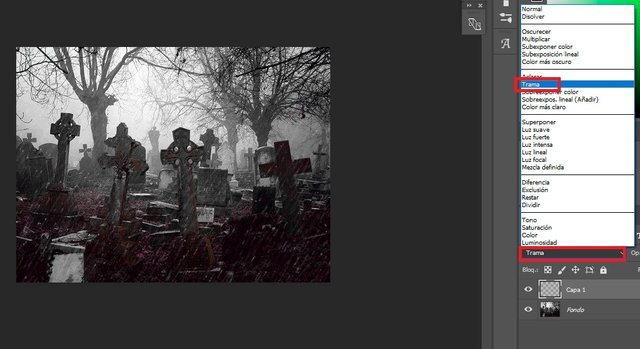
Now let's go to the Layer Merge mode and change the normal mode to Frame mode.
To reduce the intensity of our rainfall by controlling levels. Press Ctrl+L

All that's left to do is play with the levels until it suits us.
This article was helpful! I will try it next time!
Posted using Partiko iOS