How to Install Windows on MacBook / Mac - Dual Boot macOS and Windows
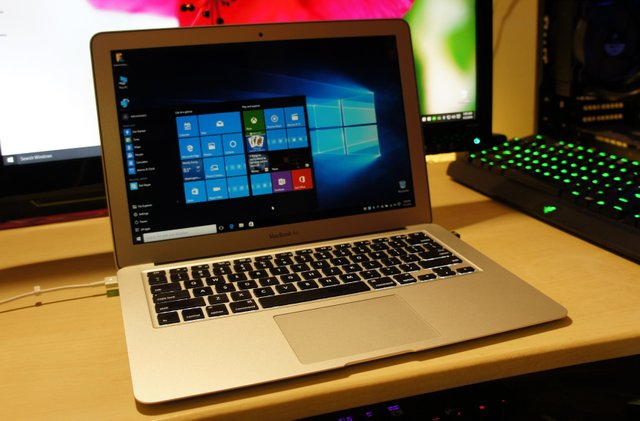
So actually there are many ways to install windows on mac, like just using virtual machine, dual boot through boot camp, or install on external drive with windows to go. All have advantages and disadvantages of each.
But this time we want to practice install windows pake Boot Camp Assistant, because if you want to use Windows on Mac with optimal performance, install via Boot Camp this is the easiest way.
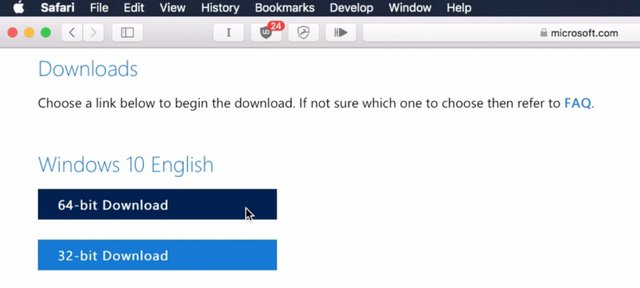
First prepare first ISO ISO file. Here I want to install the latest windows 10, the ISO file you can download here .
Make sure you select Windows 10 64-bit version, and click to download.
https://www.microsoft.com/en-us/software-download/windows10
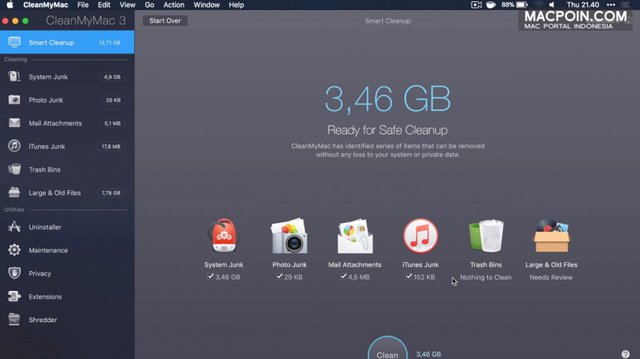
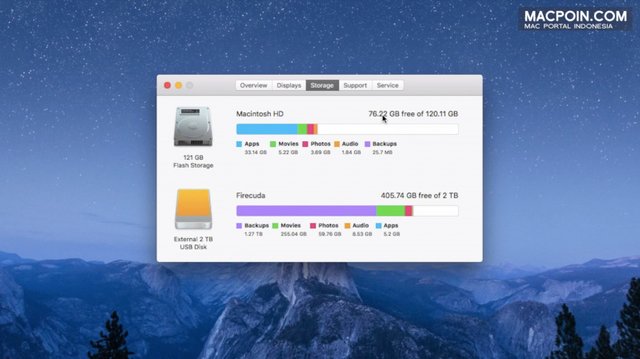
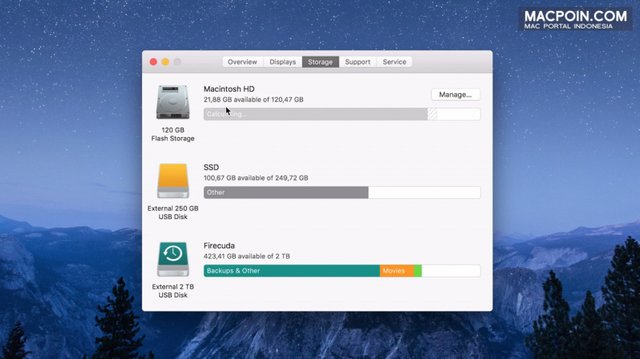
While waiting for the download to complete, check the remaining storage on your MacBook, make sure there is about 55GB of free space. If less than that delete the files that are not useful, uninstall applications that are rarely used, or move the various files and important documents to an external hard drive.
You can clean it manually, or use CleanMyMac to make it easier. If you do not have, you can use 30 days for free through Setapp, download here .
https://setapp.com/
If the free space in your Mac storage is sufficient, and the Windows ISO file has been downloaded, it's time to get ready to install Windows. First off all the devices and accessories connected to the macbook, whether it's an external hard drive, sd card, etc. Then connect your MacBook to the charger.
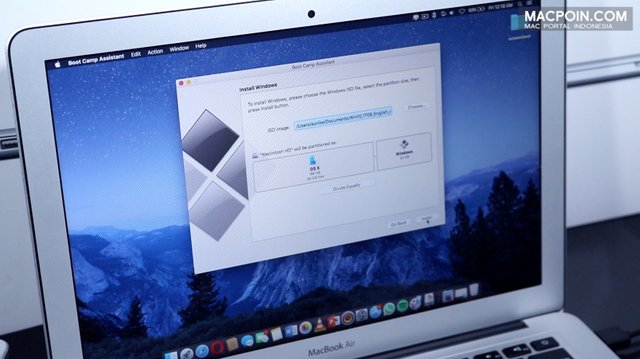
If so, open the boot camp assistant. Just click continue. After that select the Windows ISO file that you have downloaded earlier. And for the partition, you can set your own Windows partition by sliding the boundary of this partition.
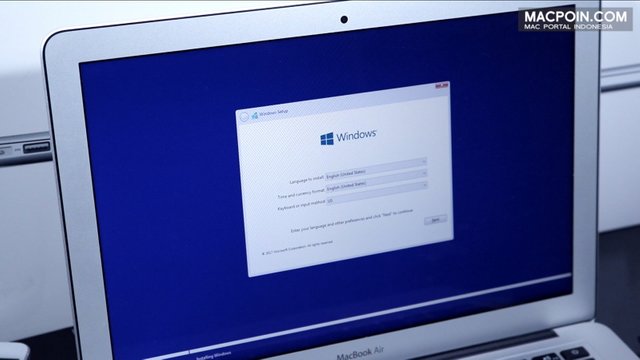
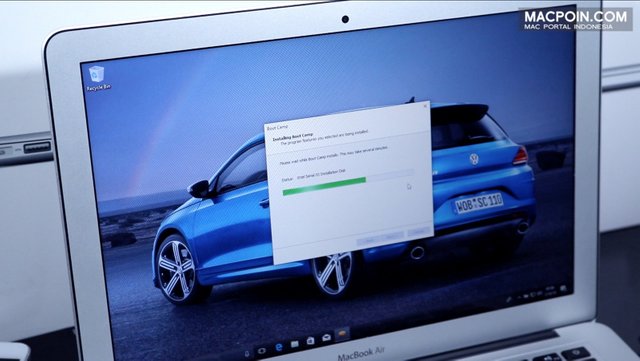
Boot camp assistant will directly download various Windows drivers for Mac, then proceed with preparing Windows partition and installation files. Once the process is complete macbook will automatically restart and you will be brought into windows installer. Here you just follow the process of install windows as usual, ranging from choosing a language, entering the license key, and accept license terms.
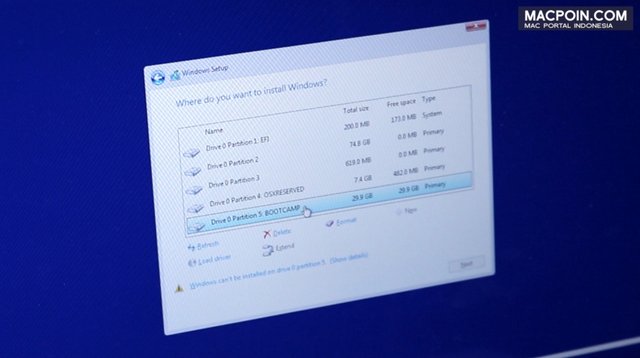
Well this is the most important part, so pay close attention. If you are faced with a choice of partitions like this, select the partition with the BOOTCAMP label, then click the format, and OK. Remember, do not format any partitions other than BOOTCAMP.
Okay click next. And the Windows installation process will start immediately. Just follow all the steps of Windows installation to complete.
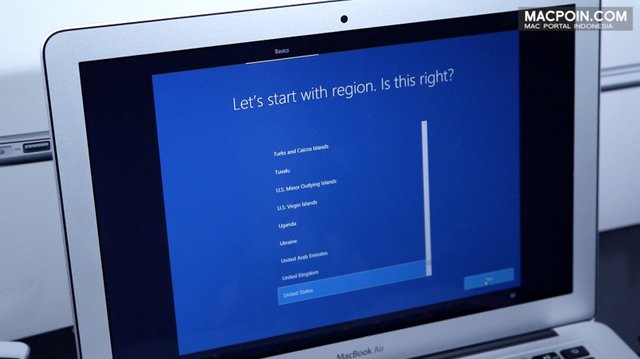
Select the region you want, keyboard layout, then sign in to Microsoft Account, set up PIN, to link to phone, you can skip it. For free onedrive, I select only save files to this PC because it does not want to sync to the cloud. Cortana is free to activate or not, set privacy, and finish, just wait a moment and you will be brought into Windows.
When you first enter Windows, you will be presented with a driver installation window, install it so that Windows can run optimally in your macbook.
The Macbook will restart, and when you first enter windows after driver installation, do not be surprised if there is a Command Prompt view, this is the driver installation completion process and only happens once this time.
And finished, your windows are ready for use.
And a few tips for you who have successfully installed windows on the macbook via Boot Camp, you will find experience scroll on the touchpad in contrast to the Mac. Scroll down will be upwards, and vice versa, because the nature scroll in windows and mac is different.
To fix this you can install additional third-party driver named Trackpad ++ which you can download here .
http://trackpad.forbootcamp.org/
After that run, if smart notification appears like this, click more info, and select Run Anyway . Well follow the given steps, select the macbook version, and restart if it is.
Do not forget to press and hold the option during restart process, to appear boot option, then select to Windows.
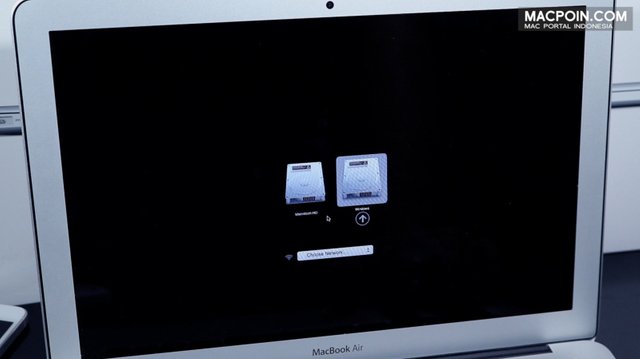
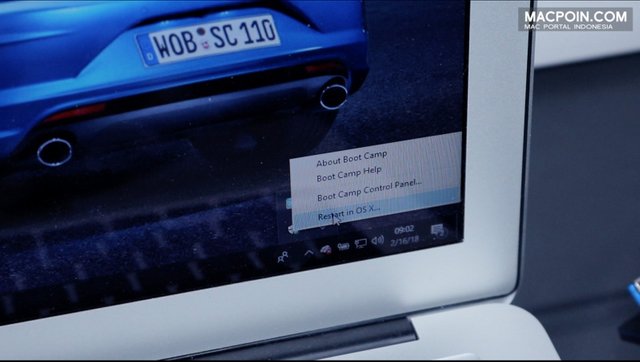
OK, now your macbook is dual boot macOS and Windows with experience that is now quite similar. To switch from one OS to another OS, you can press and hold the option at restart or turn on the macbook, and choose to boot to MacOS or to Windows. Or if from Windows, you can just click on this Boot Camp's systray icon, then select restart in OS X.
Install Windows on MacBook using Boot Camp is highly recommended, especially for you who want to optimize Windows performance and ease of installation process.
But there are disadvantages, install Windows with Boot Camp can only be done on the hard drive or internal mac SSD only. So for you macbook users whose storage capacity is limited, for example macbook with 128GB SSD and has started full, will be a little difficult to use this way.
For the future will also share MacPoin also other ways, namely install Windows on the hard disk or external SSD Mac.